Many users reported encountering Windows 11 24H2 connection issues.
What causes Windows 11 PCs not to have internet?
How to fix internet or Wi-Fi issues in Windows 11 24H2 update?
This post fromMiniToolprovides 4 fixes to help you.
When you experience Windows 11 24H2 data pipe issues after updating, it can be incredibly frustrating and exasperating.
Modern computing heavily relies on a stable internet connection for various tasks.

All of the answers you’ve got the option to find in this post.
This leads to a loss of internet and data pipe connectivity.
Encountering the bound image unsupported error on your Windows PC?
This post can help you to fix it easily.
Step 2: In the pop-up UAC window, click theYesbutton to grant administrator permission.
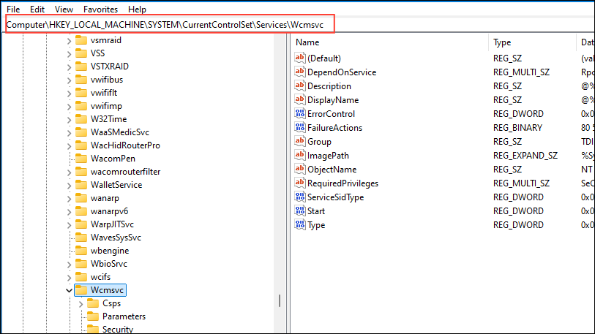
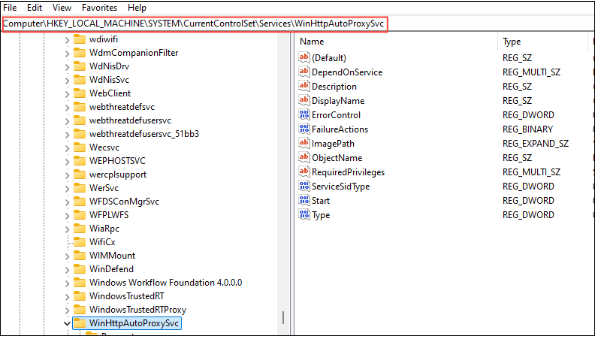
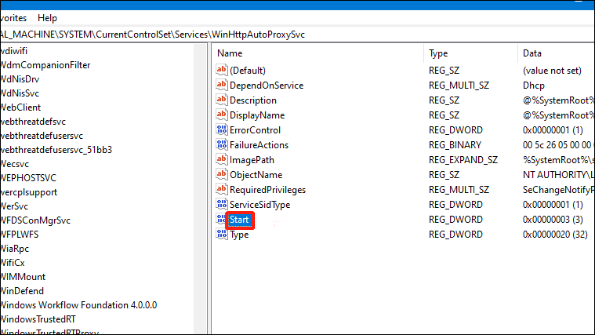
Step 5: In the pop-up interface, removeWinHTTPAutoProxySvcfrom the list, leaving onlyRpcSsandNSI.
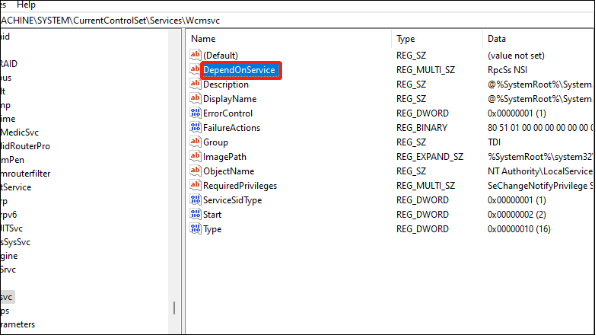
Step 6: Click theOkbutton to save the change.
kickstart your PC to check whether these internet/Wi-Fi issues in Windows 11 24H2 are solved.
Step 2: In the pop-up UAC window, click theYesbutton.
reboot your PC to check whether these Windows 11 24H2 online grid issues are solved.
if you stumble on a BSOD because of ci.dll, dont worry.
This post will guide you through effective methods to fix the ci.dll BSOD.
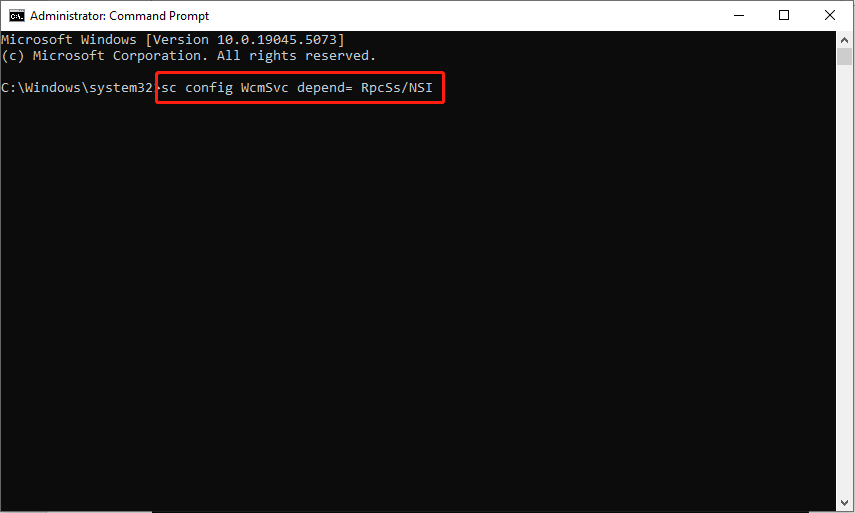
Step 1: PressWin+Xto the WinX menu and selectCommand Prompt (Admin)orWindows Terminal (Admin).
Step 2: Click Yes in theUACwindow.
Reboot your gear to implement the changes.
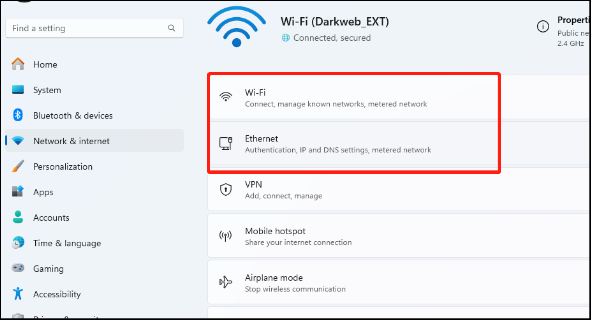
Step 1: PressWin+Ito open Windows options and go toNetwork & Internet.
Step 2: In the right phan, selectEthernetorWi-Fibased on your connection jot down.
Step 3: ChooseHardware properties.
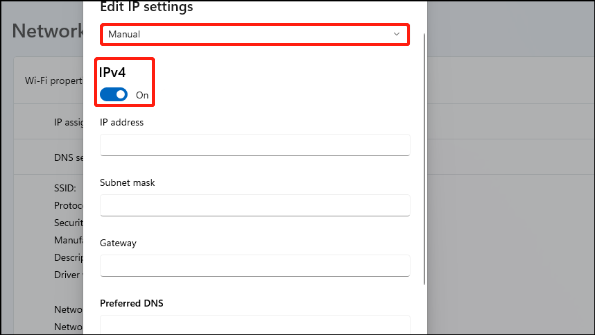
Step 4: Click theEditbutton next to theIP assignment.
Step 5: Under the Edit IP configs section, selectManualfrom the drop-down menu and toggle theIPv4switchOn.
Step 7: Click theSavebutton to apply the tweaks.
power cycle your setup and see if these issues are gone.
Hope everything can be useful for you.