But most of you experience the Night Light option greyed out problem.
The following content introduces you to some working fixes.
Step 1: PressWin + Ito open Windows tweaks.
Step 2: ChooseAccounts>Email & accounts.
Step 3: Scroll down to find and press the unused Microsoft account.
Step 4: ChooseRemoveand clickYesto confirm.

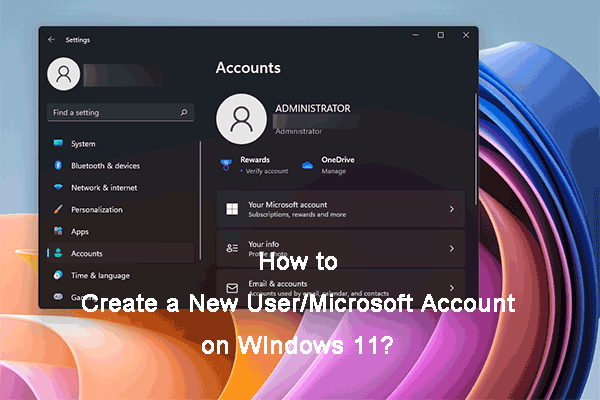
Do you know how to add a user account or Microsoft account on your Windows 11 computer?
you might get some easy and useful guides from this post.
Method 2: Tweak Windows Registry
Step 1: PressWin + Rto launch the Run window.
Afterward, start your gear to fully apply these changes.
you’re able to find out if the Night Light feature can work normally.
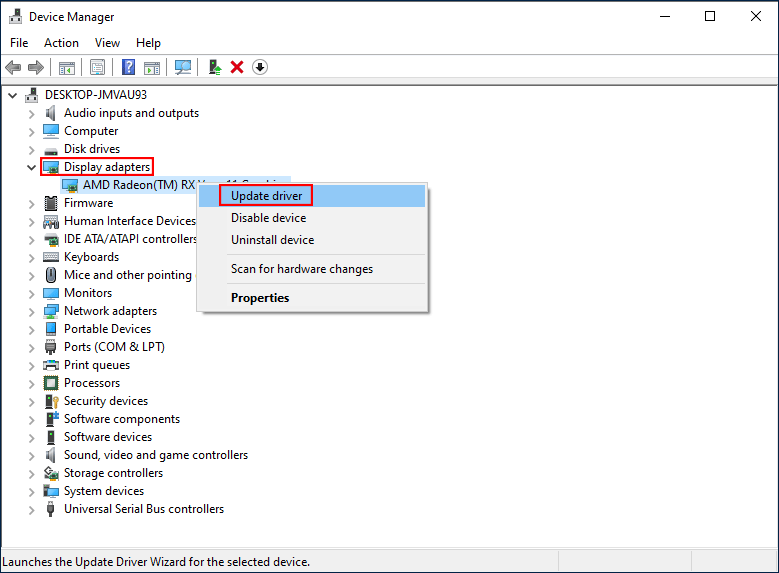
you’re able to update the display driver to the latest version to fix bugs.
Step 1: PressWin + Xand chooseDevice Managerfrom the WinX menu.
Step 2: Expand theDisplay adapterschoice.
Step 3: Right-press the graphics driver and chooseUpdate driverfrom the context menu.
Step 4: ChooseSearch automatically for driversin the popup window.
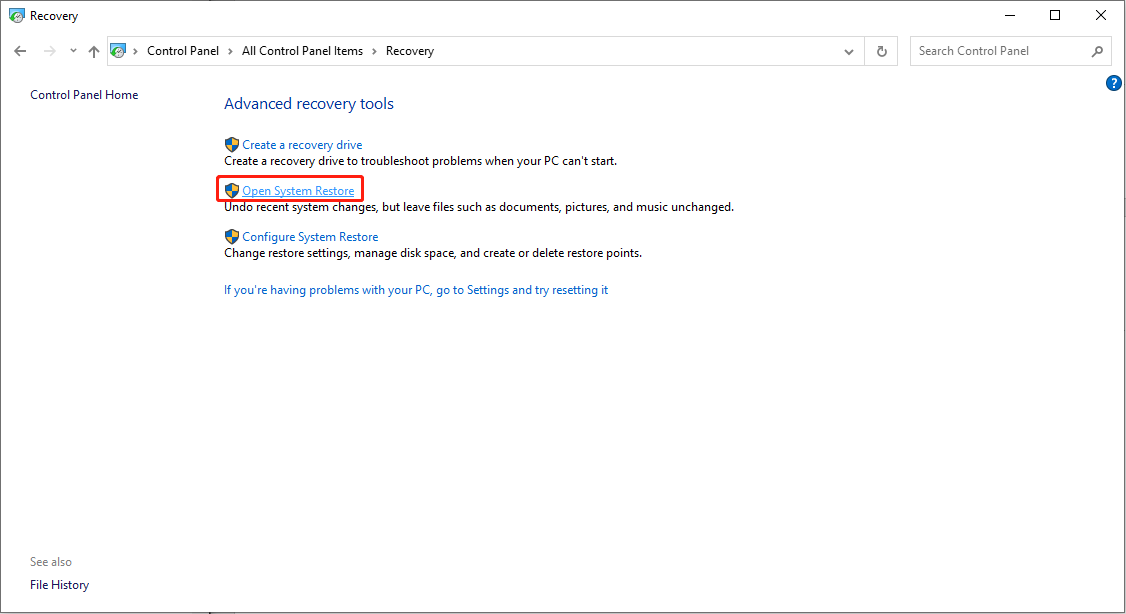
System restore can bring your box back to the previous status when this problem hasnt happened.
But the premium to use this method is you havecreated system restore pointsbefore.
If yes, follow the next steps to fix the Night Light option greyed out problem.
Step 1: PressWin + Sand typeControl Panelinto the search box.
Step 2: HitEnterto bring up the window.
Step 3: SelectRecoveryfrom the panel or chooseSystem and Security>Security and Maintenance>Recovery.
Step 4: ClickOpen System Restore.
Step 5: Click onNextto choose an appropriate system restore point, then chooseNext.
Step 6: Confirm the information and clickFinishto start the system restore process.
When the process is finished, your setup will reverse to the previous status.
you could check whether the problem is solved.
Bottom Line
All these methods tell how to fix the Night Light option greyed out problem.
Hope one of them can help you rectify it.
This software provides asecure data recovery serviceto you, which will cause no damage to the original data.
you might try the free edition first to make a deep scan and recover files.
