Here,MiniToolwill show you the details about how to upgrade MSI GE75 Raider SSD.
Why Do You Upgrade MSI GE75 Raider Hard Drive?
MSI GE75 Raider is a high-end 17.3 gaming laptop.
This model packs much-improved gaming performance into a sleeker design.
Paired with a 1080p/144Hz display, this MSI is an ideal platform for eSports and other fast-paced games.
This laptop has a large screen that ensures you get an immersive experience when playing games or watching videos.
Therefore, it is necessary to upgrade MSI GE75 Raider hard drive to a better one.
Here are three common reasons:
Can you upgrade MSI GE75 Raider SSD?
Yes, of course you’re free to.
it’s possible for you to upgrade MSI GE75 Raider SSD with ease.
The MSI GE75 Raider laptop usually comes with multiple storage options.
This provides great flexibility for upgrading the storage.
Also read:How to Perform HP Spectre x360 SSD Upgrade?
Heres a Guide
How to Choose the Best SSD for MSI GE75 Raider?
How to choose a new SSD for MSI GE75 Raider?
You should consider the following 3 things.
#1.
#2.
Form Factor
The MSI GE75 Raider computer can use both 2.5-inch SATA SSDs and M.2 NVMe SSDs.
Choose the SSD based on your preference.
#3.
How to Upgrade MSI GE75 Raider SSD?
How to perform an MSI GE75 Raider SSD replacement?
The section below will illustrate the whole process in detail.
kindly keep reading the post.
To do that, I recommend you to use MiniTool Partition Wizard, which is very professional and reliable.
Before that, you should download and install this software on your PC.
MiniTool Partition Wizard DemoClick to Download100%Clean & Safe
Way 1.
Use the Migrate OS to SSD/HD Feature
Step 1: Connect the new SSD to your system.
Then launch MiniTool Partition Wizard to enter its main interface.
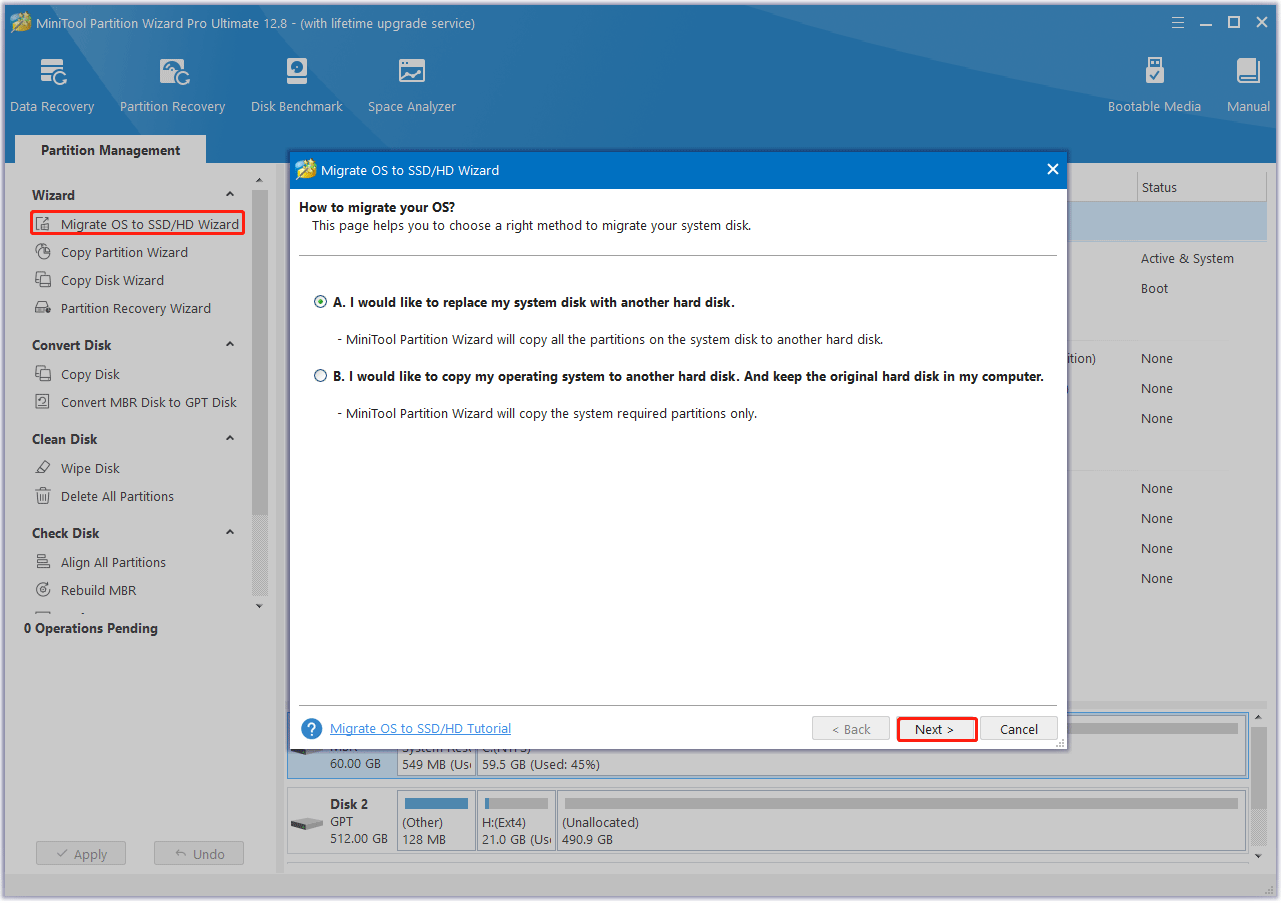
Step 2: SelectMigrate OS to SSD/HD Wizardfrom the left action panel.
In the pop-up window, choose an option to migrate the OS based on your needs.
Step 3: In the next window, choose the new SSD and clickNext.
When prompted, clickYesto continue.
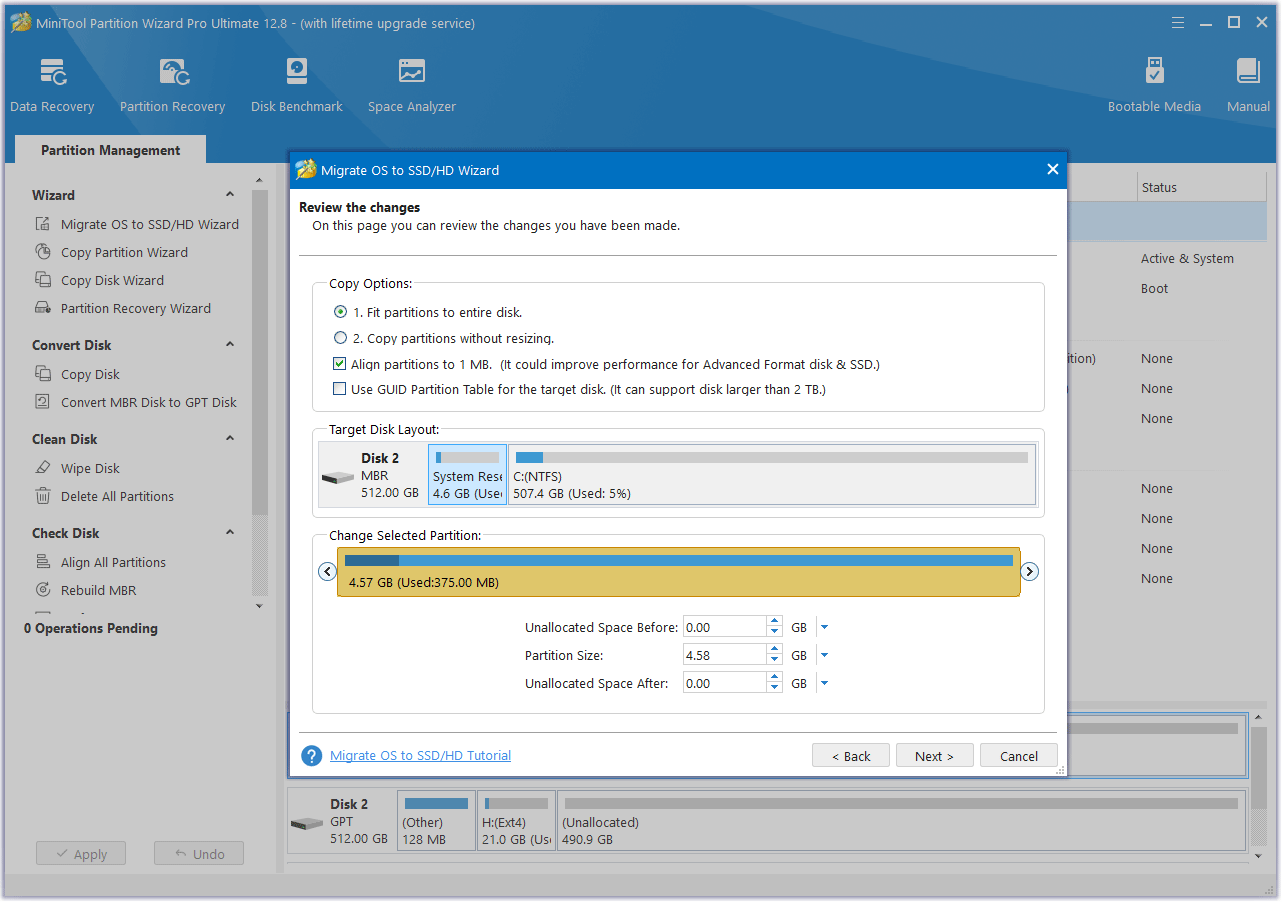
Step 4: After that, choose the desired copy options and clickNext.
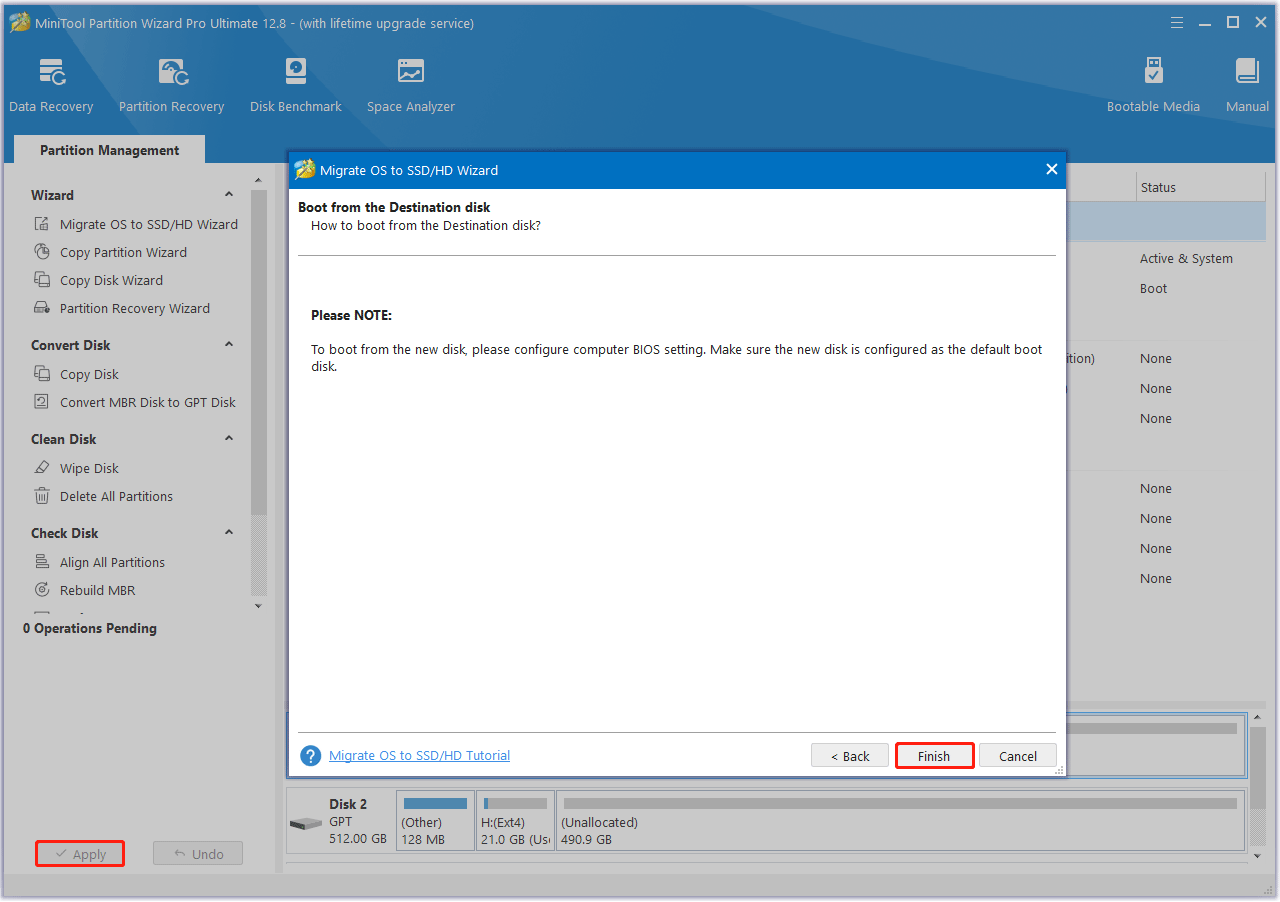
Step 5: Finally, clickFinishandApplyto complete the pending operation.
Use the Copy Disk Feature
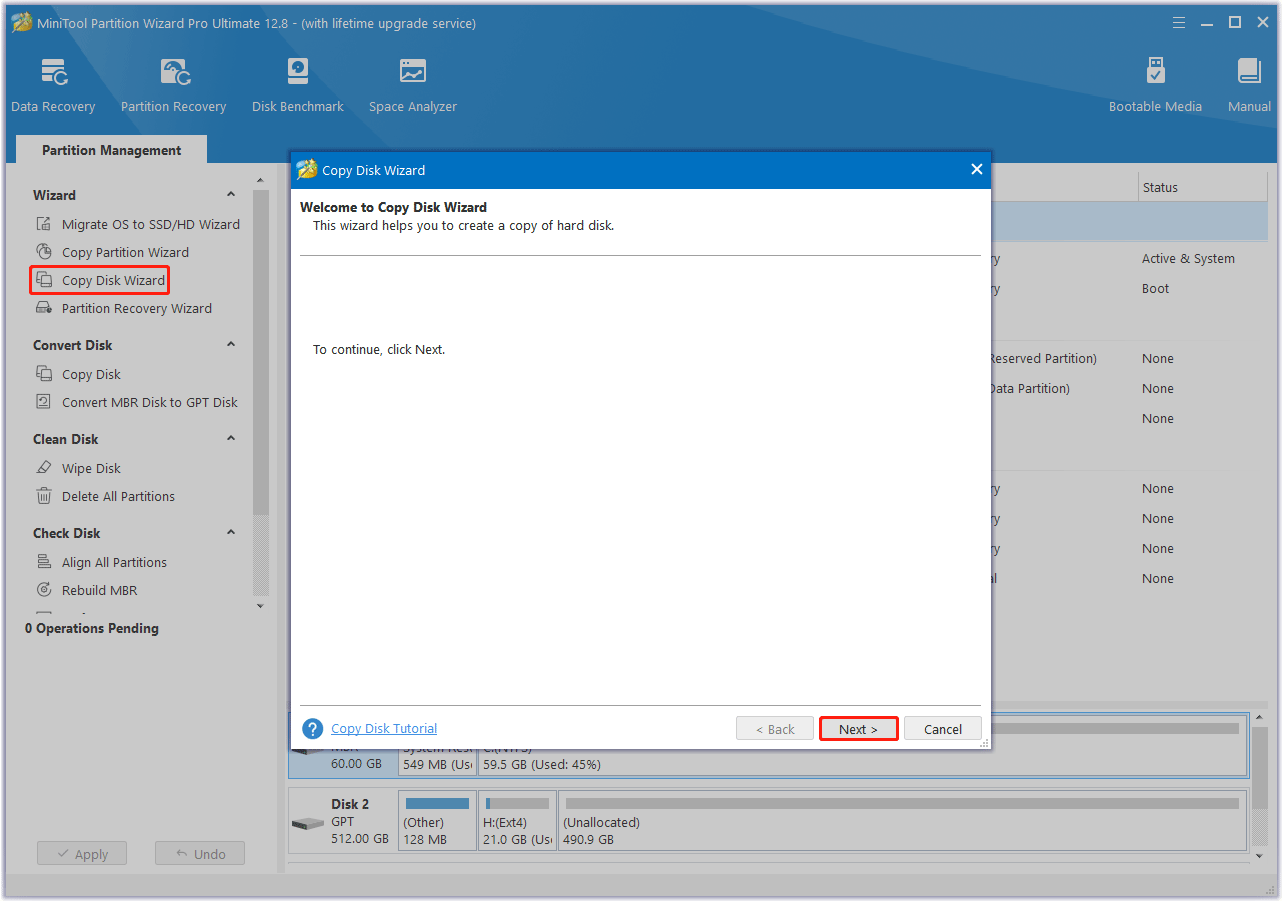
Step 2: SelectCopy Disk Wizardfrom the left action panel.
Then click onNextto continue.
Step 3: In the next window, choose the original disk to copy and click onNext.
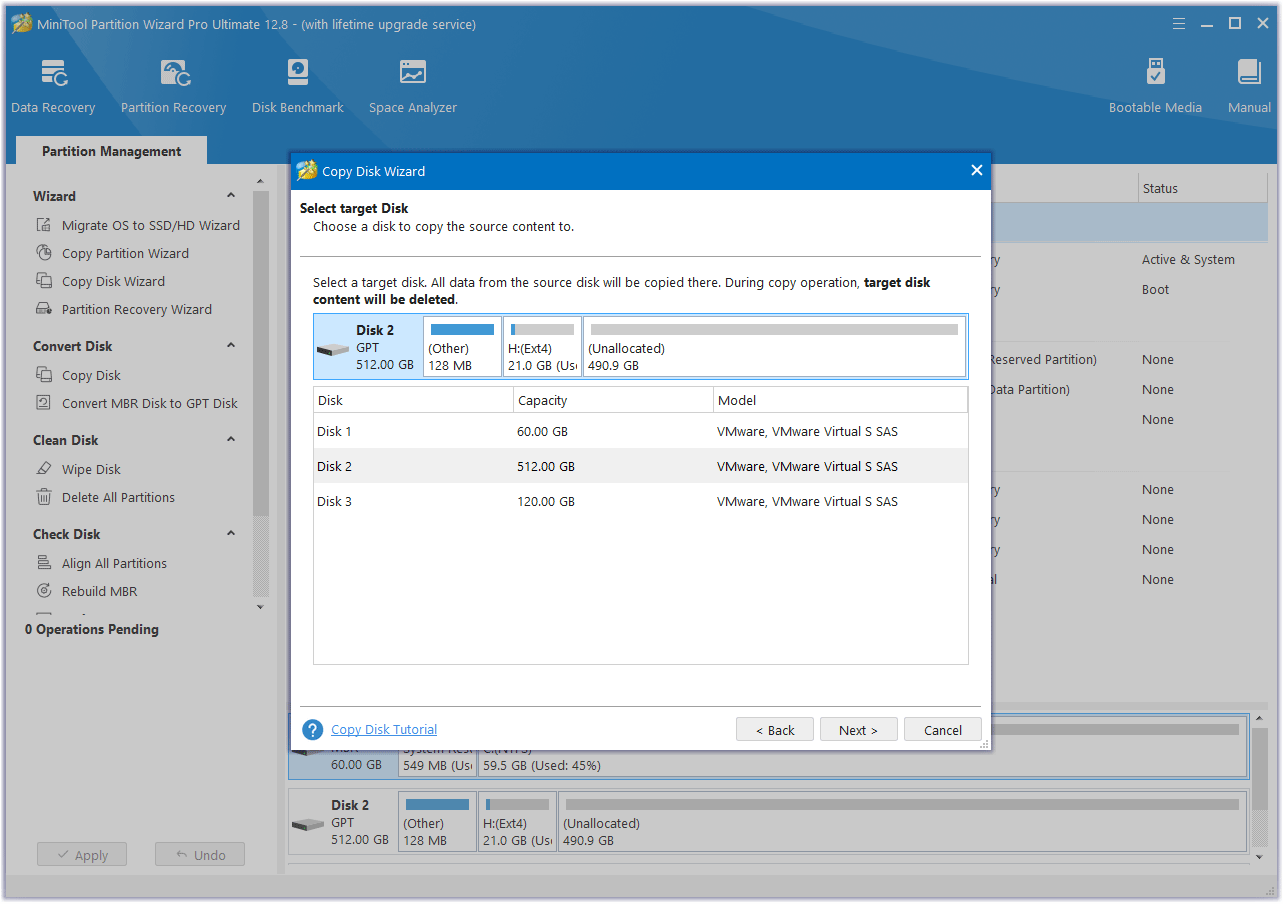
Step 4: After that, choose the new SSD as the destination disk and click onNext.
If you are warned that all the data on the disk will be destroyed, click onYesto confirm.
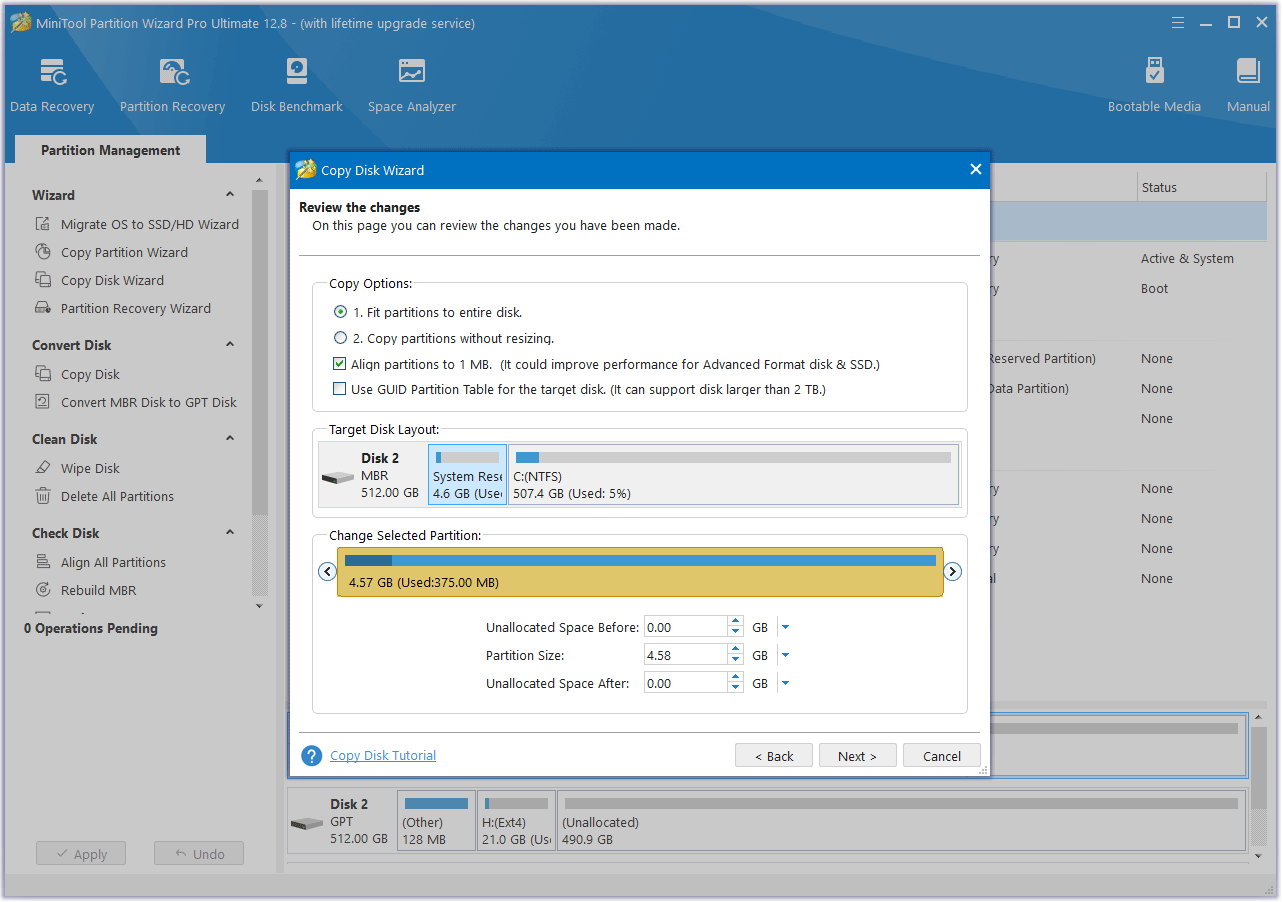
Step 5: In theReview the changeswindow, choose the preferred copy options.
Also, you’ve got the option to configure the target disk layout according to your needs.
Once done, click onNext.
Step 6: Finally, click onFinishandApplyto complete the pending operation.
Part 3.
The replacement process is complicated and risky, so it’s crucial that you be careful when doing it.
you’re able to refer to the following steps to perform the MSI GE75 Raider SSD replacement.
What to Do After Upgrading MSI GE75 Raider SSD?
After putting everything back in place, it means the MSI GE75 Raider SSD upgrade process is over.
Now, turn on your setup and test the SSD.
If you cannot boot from the new SSD, enter the BIOS andset it as the boot drive.
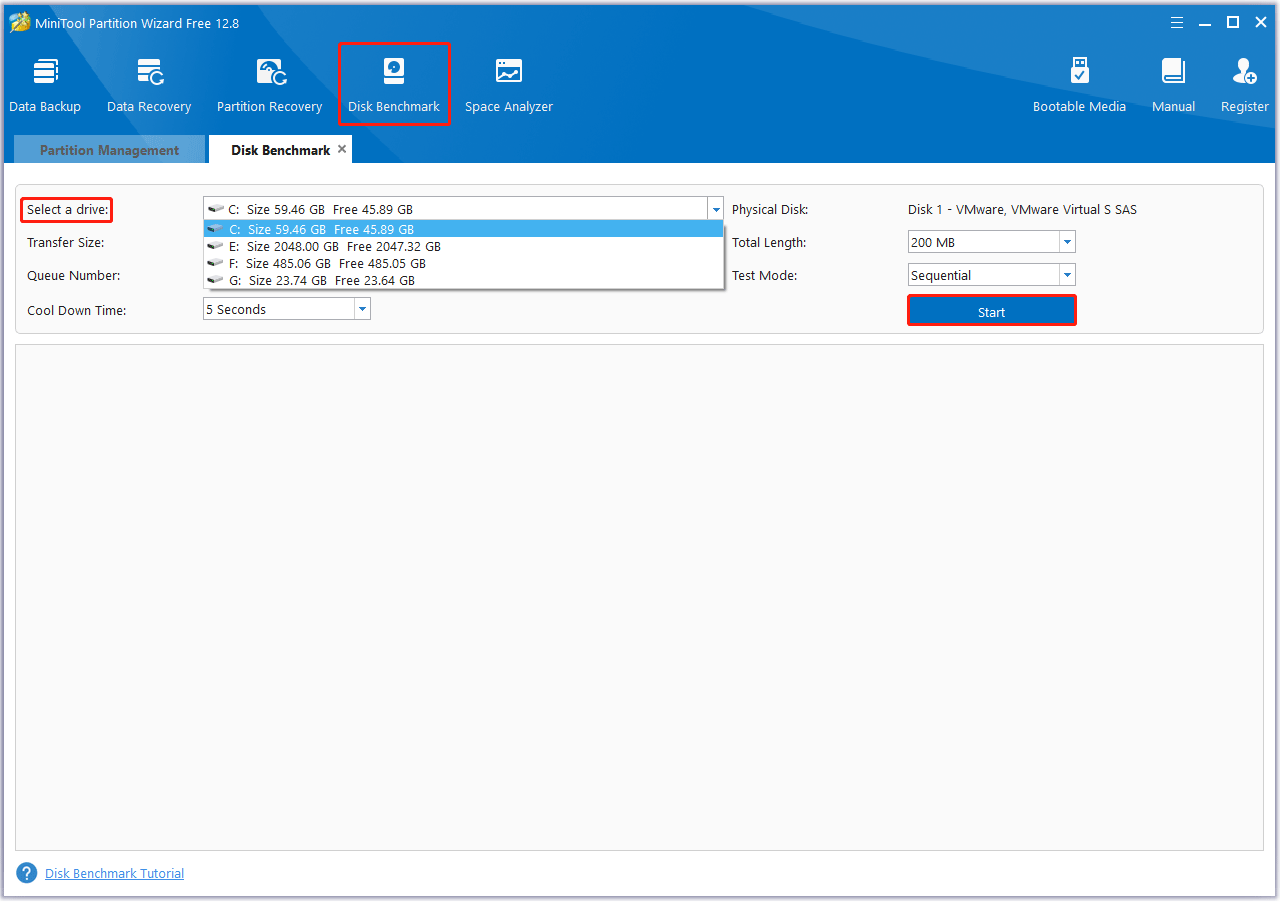
To benchmark the SSD on your system, you might try MiniTool Partition Wizard.
This tool is multifunctional and powerful.
After that, select theStartbutton.
Here you could set theTransfer Size,Queue Number,Total Length, andTest Mode.
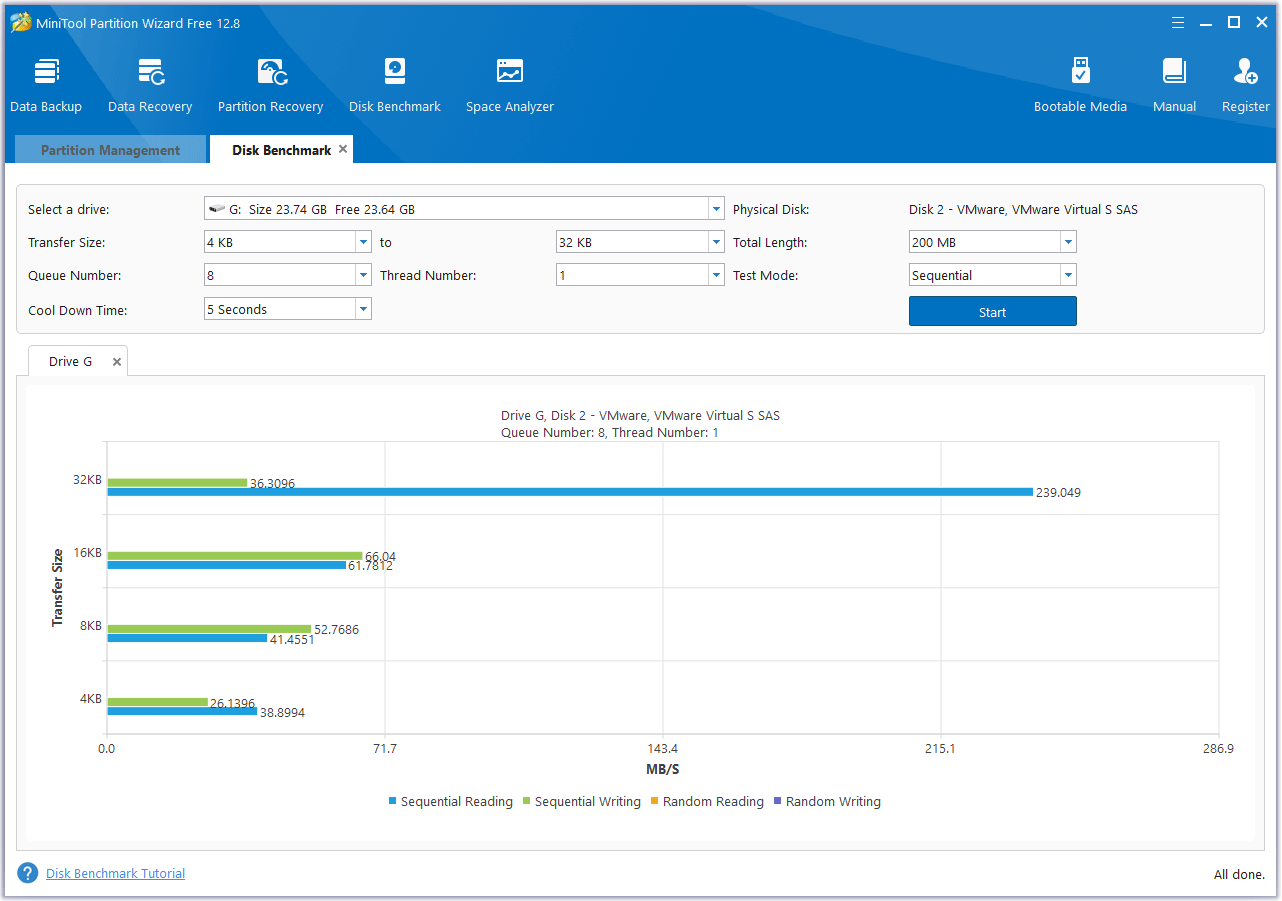
Step 3: Wait for some time to complete this disk benchmark.
Do you want to upgrade the SSD for your MSI GE75 Raider laptop?
If so, this MSI GE75 Raider SSD upgrade guide deserves your attention.
Finally, you might refer to the guide to utilize new SSD and test the new SSD speed.
