Auto HDR not working is a common problem in Windows 11.
If you are encountering this issue, how can you get rid of this situation from your PC?
However, in some cases, Auto HDR wont work properly in Windows 11.

The main reason is the use of incompatible DisplayPort or HDMI.
And the fixes are not complicated and you’re able to follow these ways below.
Besides, you should also see to it this feature is enabled.
If yes, enable this feature.
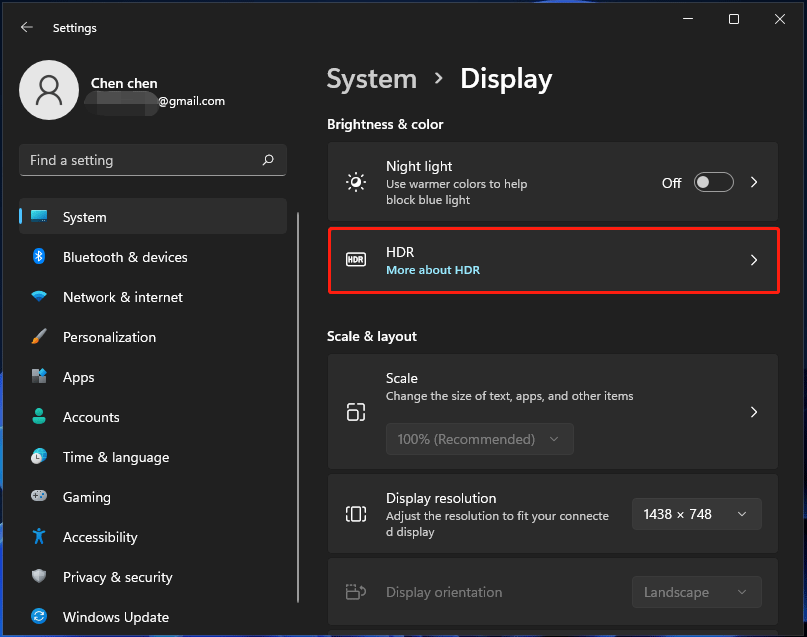
To enable Auto HDR, turn on the toggle ofUse HDR.
Then, ensureAuto HDRis enabled.
To fix the Auto HDR not working issue, you’re able to also have a try.
Step 1: Click theWindowsicon and chooseSettingsto bring up the app.
Step 2: TypeColor Managementto the search box in configs, pressEnterand tap the result.
Step 4: ClickBrowseand choose the file you have downloaded.
Step 5: Choose the new color profile and clickSet as Default Profile.
double-check you use the required HDMI cable and this feature can work properly.
How can you fix this issue to get richer colors and more visual details on the computer?
After trying these ways above, you’re able to use Auto HDR properly.
