We often receive zip files from our colleagues, friends, and others., over emails.
But what to do when we dont know how to zip and unzip files in the new Windows 11?
So read ahead and learn to compress and decompress files in Windows 11 with ease.
How to Zip Files in Windows 11
Its pretty easy to create archives in Windows 11.
There are atotal 5 methodsto achieve this.
In this section, well explain all the methods.
So check all the possible methods below:
1.
Using the Contextual Menu
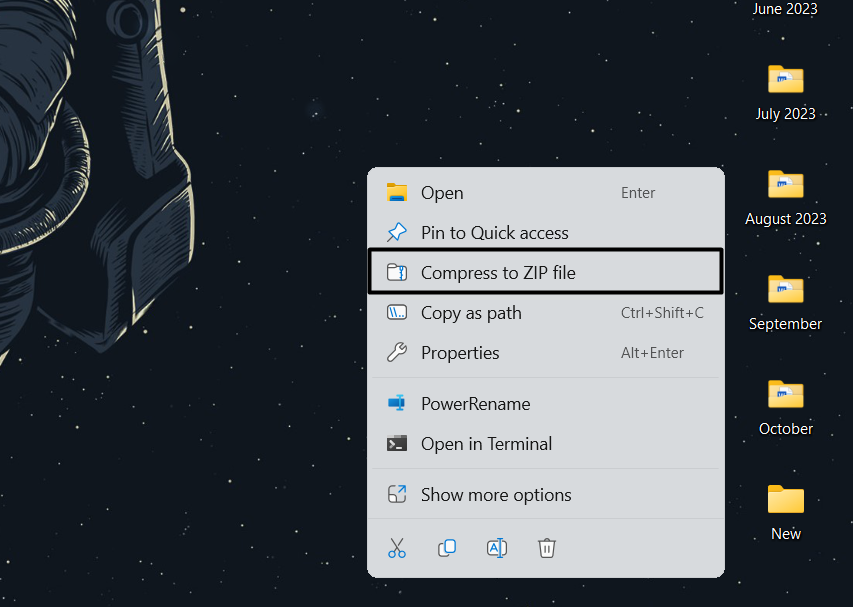
One way to create an archive in Windows 11 isusing the contextual menu.
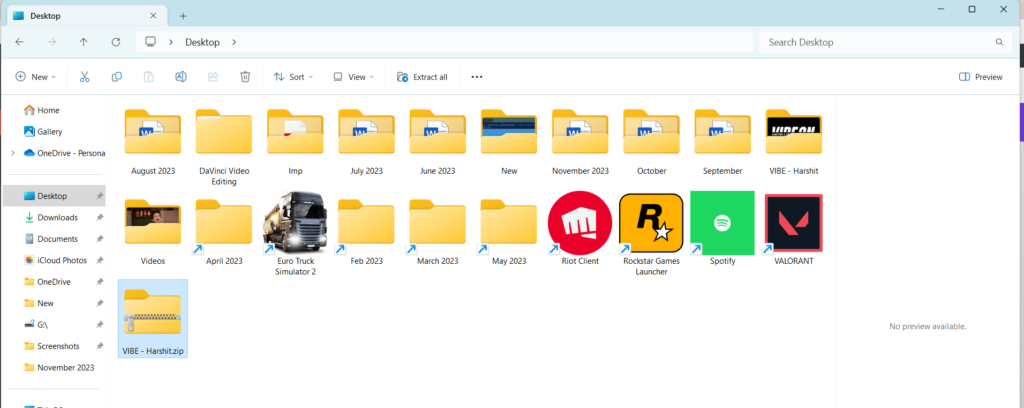
2.Finally, the zip file will be created on the desktop.
You only need to double-click it to open it.
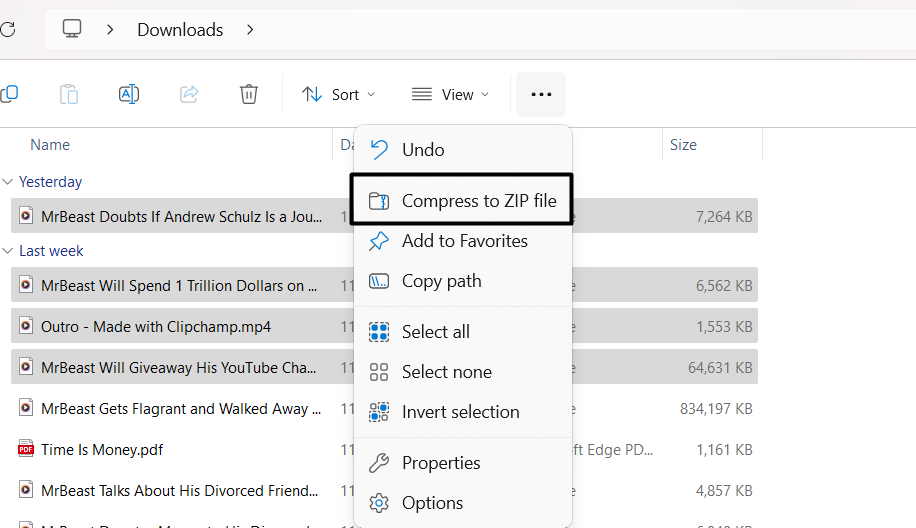
2.Lastly, pick the files, right-click any file, and choose theCompress to ZIP fileoption from the menu.
Otherwise, click thethree dots (…)at the top, and selectCompress to ZIPfile.
With Command Prompt
Another way to zip files in Windows 11 iswith Command Prompt.
To do so, you only need to run a few commands in it.
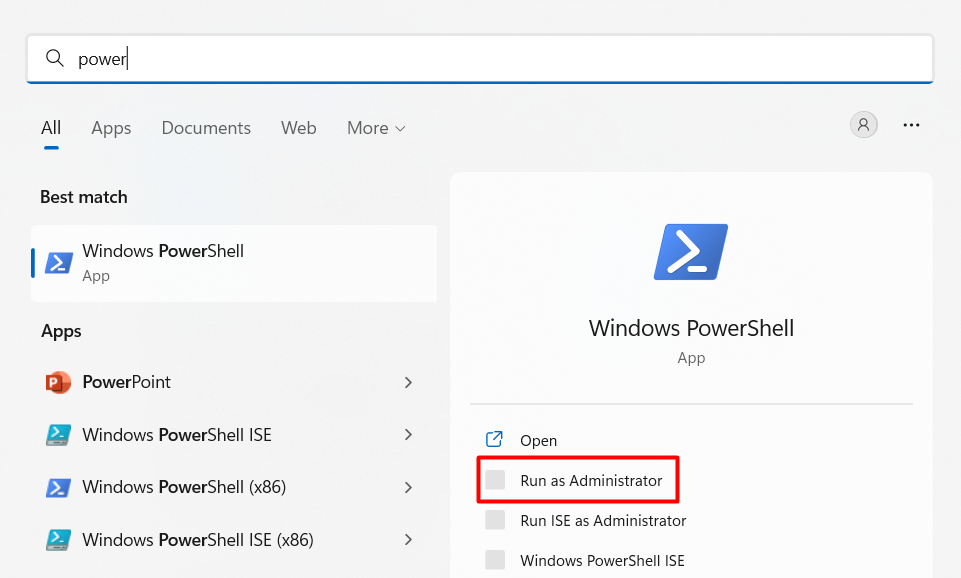
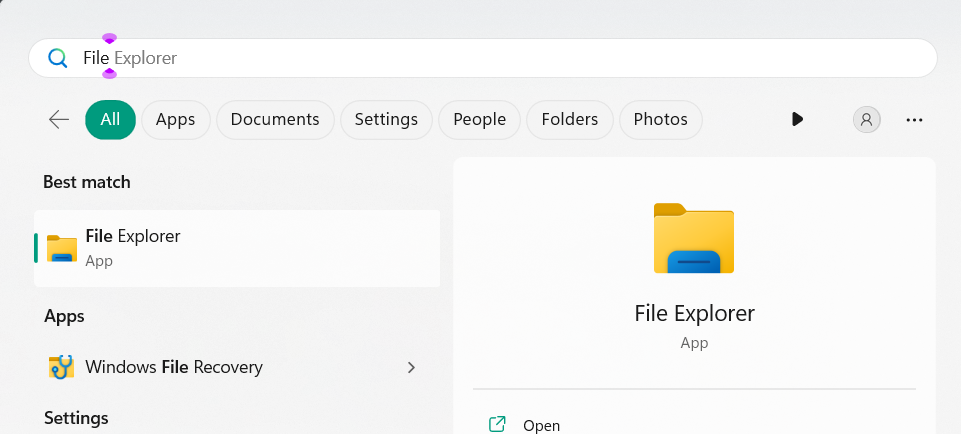
2.Hit theWindows key, typeCMDin the box, and selectRun as administratorfrom the results.

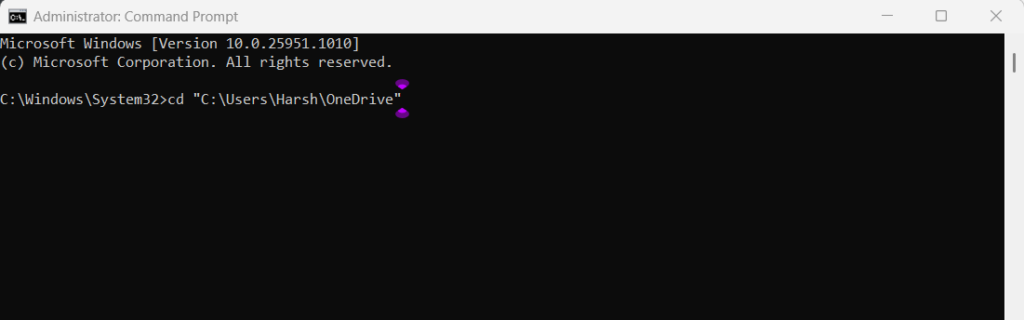
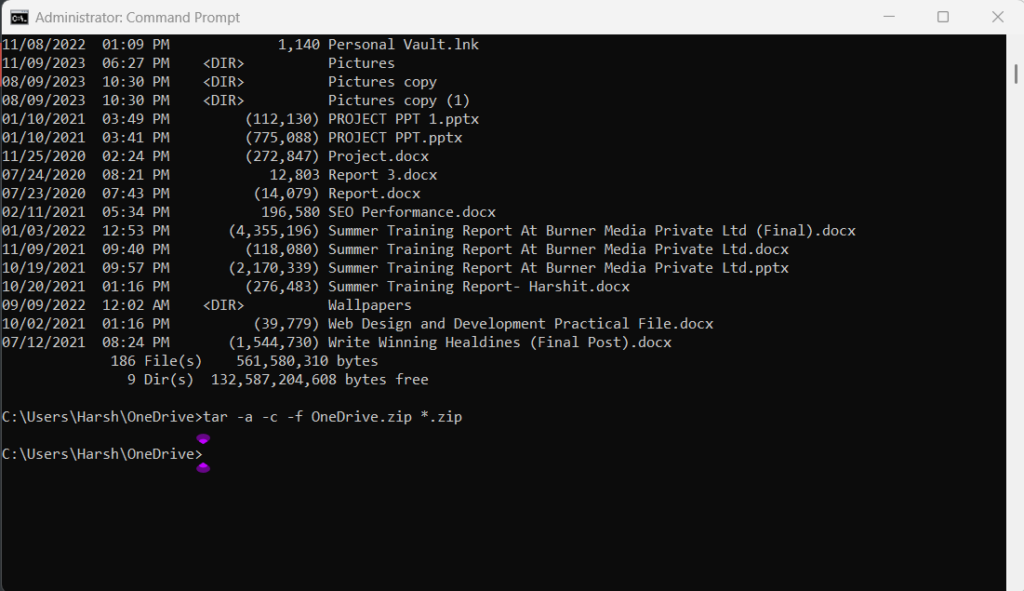
3.In theCommand Promptwindow, copy-paste the location of the unzipped folder, and then pressEnter.
Note:Replace Location in the above command with the location of the folder you want to archive.
4.Typedirin the same window and then hitEnterto pop swing open the directory of the above path.
5.bang out thetar -a -c -f Compressed.zip *.FileExtcommand in it and hit theEnter key.
Using PowerShell
Other than Command Prompt, you might also create an archive fileusing Windows PowerShell.
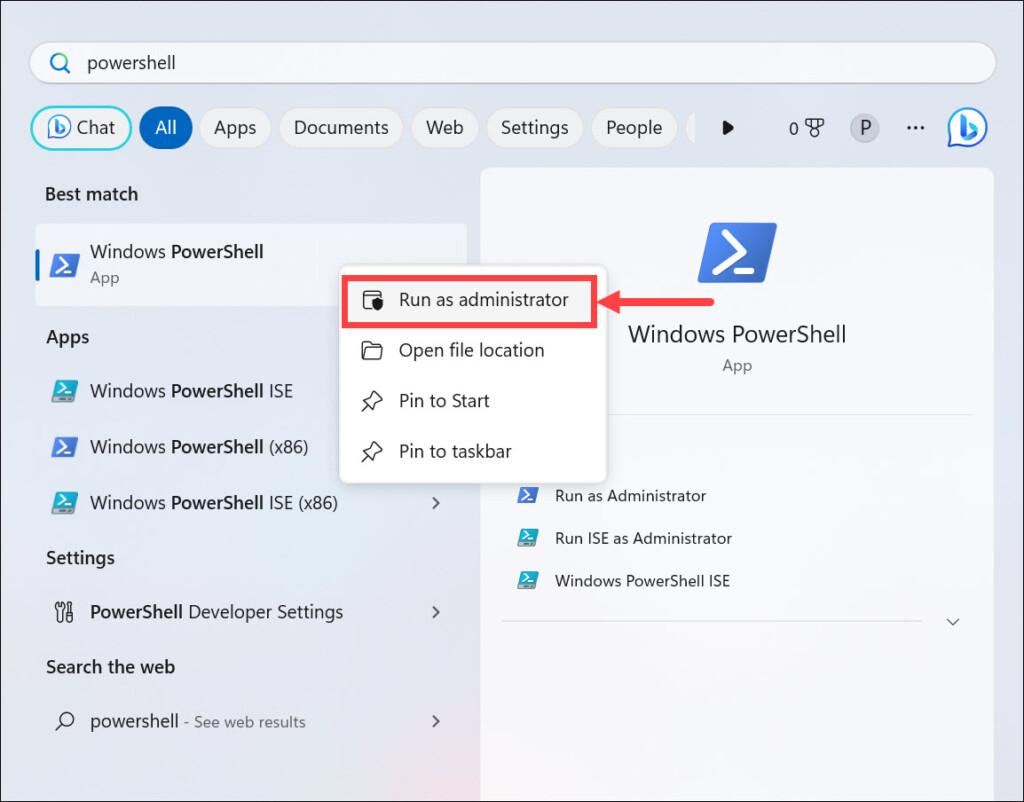
2.Press theWindows key, typePowerShellin the search box, and choose theRun as administratoroption.

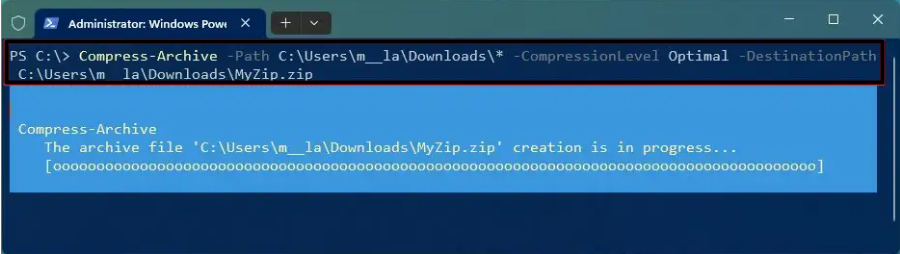
Then, replaceDESTINATION\PATH\ZIPPEDFILE.zipwith the location where you want to store your zipped file.
Several tools let you compress files.
Some of the best zip tools are WinZip, 7-Zip, Bandizip, etc.
you’ve got the option to check our tutorials to use tools, likeWinZipand7-Zip.
So read all the methods and choose any of the listed ones to unzip files:
1. it’s possible for you to go to different folders from the left.
3.Once the zip is extracted, go to the selected location and look for the extracted folder there.
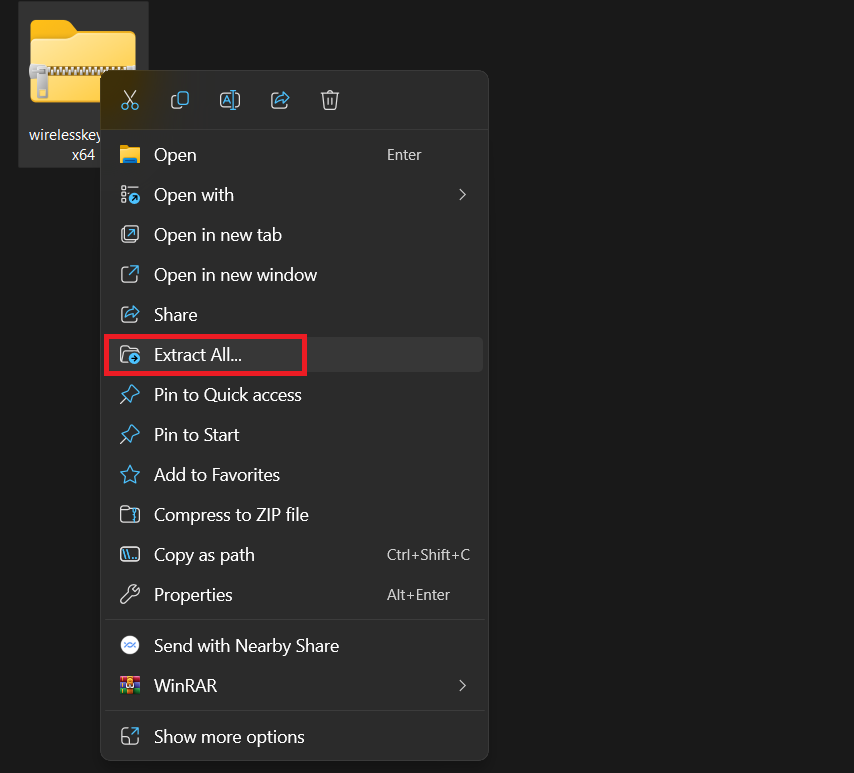
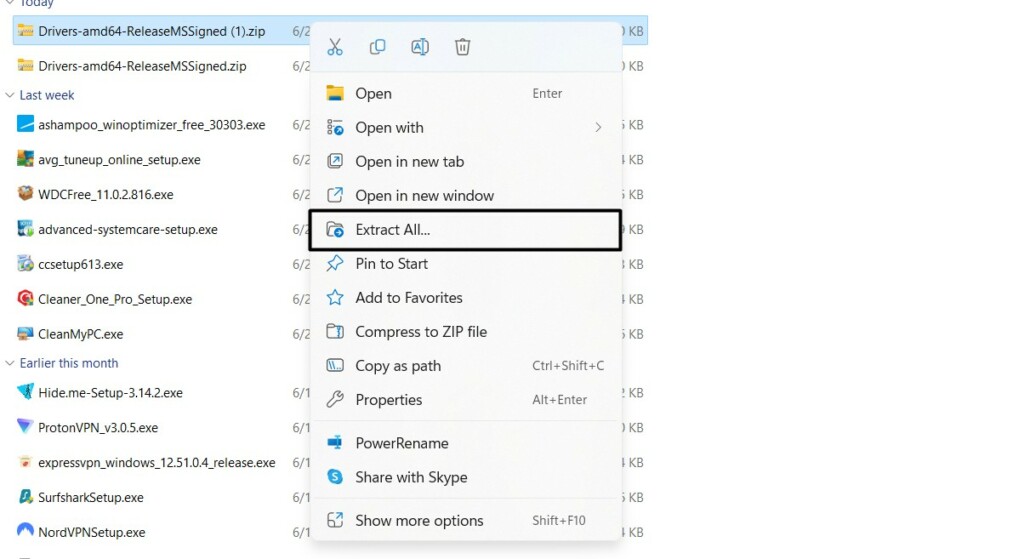
File Explorers contextual menu also has an option to extract files in any desired location on the PC.
2.Right-poke the zip file, and chooseExtract All…from the popup menu to open a new window.
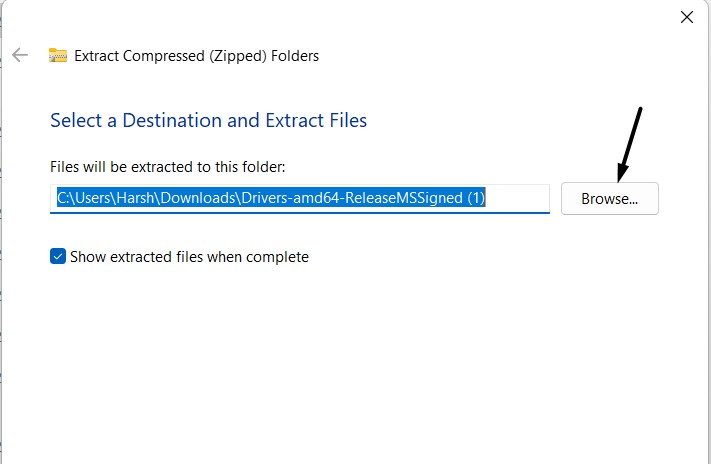
3.In the next window, choose the location where you want to extract it and then clickExtract.
4.Once the extraction is completed, you’re able to find the extracted files in the selected location.
2.Once done, openFile Explorerand go to the location where the zip file you want to unzip is saved.
3.Right-nudge the compressed file, and from the context menu, choose theCopy pathoption.
4.In thePowerShellwindow, copy-paste the following command and pressEnter.
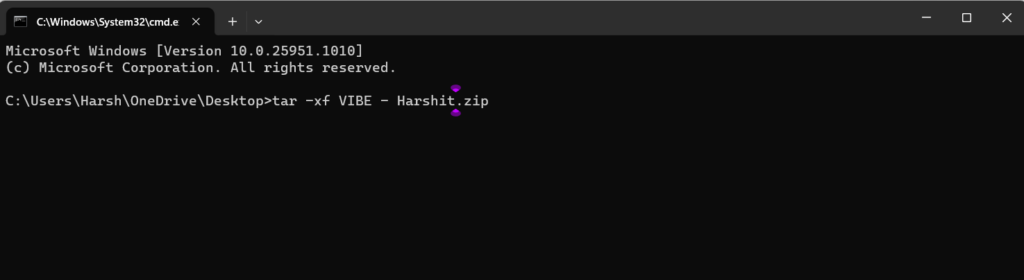
3.In theCommand Promptwindow, copy-pastetar -xf filename.zipand press theEnter key.
Note:Replace thefilename.zipwith the actual name of the zip file you want to extract on your PC.
4.Once you execute the above command, the CMD will extract the file in the same location.
FAQs
How Do I Unzip a Zip File on My Computer?
Why Cant I Open Zip Files in Windows 11?
How Do I Give Permission to Extract a Zip File in Windows 11?
you’ve got the option to give permission to extract an archive from thePropertiessection in theSecuritytab underAdvanced.
How Do I Extract a 7 Zip File in Windows 11?

How Do I Unzip All Files in a Folder in Windows 11?