Windows 10 Shared Experiences is a feature that could keep your PCs or laptops synced.
Here are the steps.
Step 1: Press theWindowskey +Ikey at the same time to open theSettingswindow.
Step 2: Click theSystemsection.
Step 3: Now clickShared experiencesfrom the left side.
Step 4: Under theNearby sharingsection, switch the toggle toOff.

After you finish the steps above, you’re free to turn off Windows 10 Shared Experiences successfully.
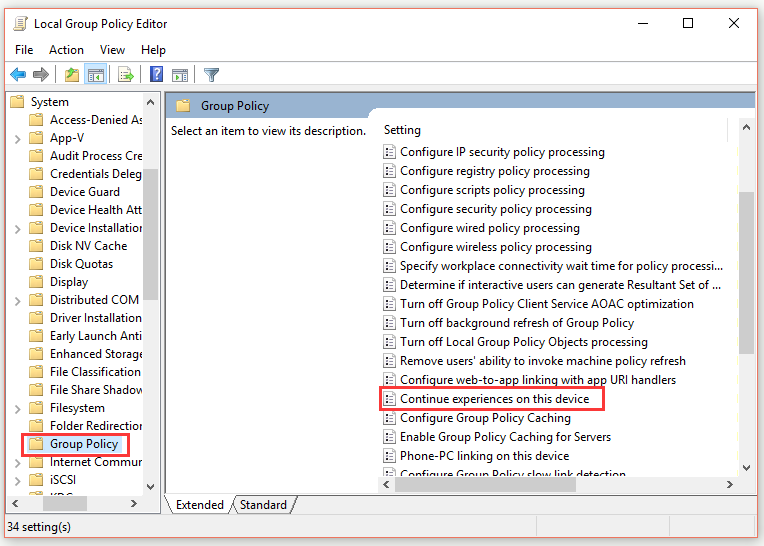
Step 3: Navigate toComputer Configuration>AdministrativeTemplates>System>Group Policy.
Step 4: SelectGroup Policyand then double clickContinue experiences on this devicein the right panel.
Step 5: Check theDisableoption from the pop-up window.
Once you complete all the steps, you might successfully turn off Windows 10 Shared Experiences.
Here are the methods to fix it.
Step 3: Navigate toHKEY_LOCAL_MACHINE\SOFTWARE\Policies\Microsoft\Windows.
Step 4: Find theSystemfolder.
Right-click it, select theNewoption and then chooseDWORD (32-bit) value.
Step 5: Name the new fileEnableCdp.
Now right-click this new file and select theModifyoption.
Step 6: ChangeValue datato1and then clickOK.
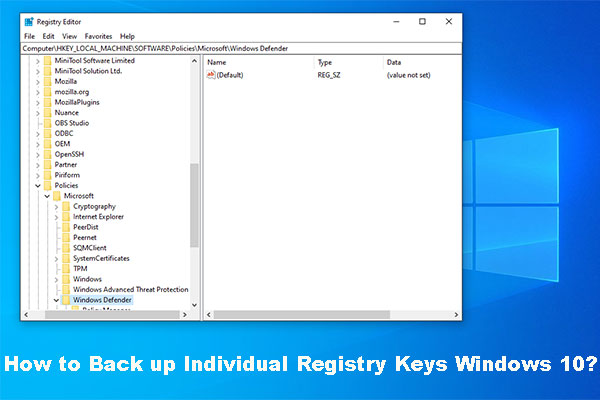
Do you know how to back up individual Registry keys Windows 10?
Now, this post will show you a step-by-step guidance to do this job.
Hope it will help you.
