Transferring photos from iPhone to Mac or vice-versa through iCloud is a piece of cake.
In this detailed guide, Im going to walk you through the whole process.
Better still, this app has existed on Mac for years.
Hence, you wont have to bother about macOS compatibility either.
However, the steps in the older version of macOS might be a little different.
1.To get started, connect the iPhone to the Mac using a compatible USB cable.
2.After that, grab the Allow option when you are prompted to have access to the USB machine.
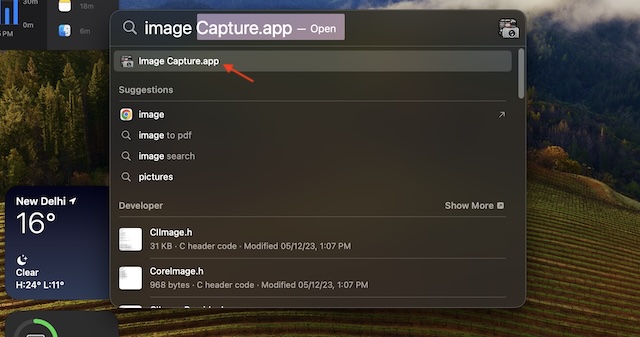
3.Now, launch the Image Capture app.
To do so, head over to the /Applications folder in Finder.
Then, punch in in Image Capture and select it from the results.
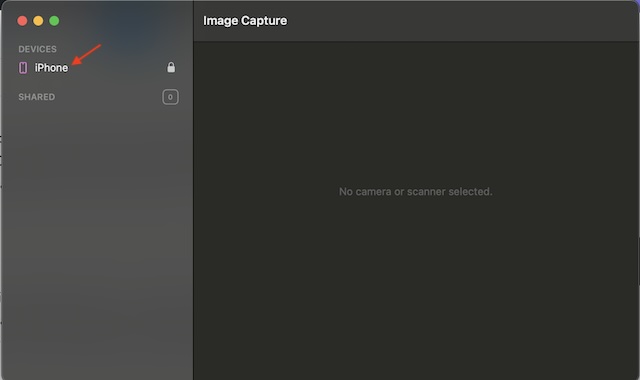
4.Next up, choose youriPhonethat appears in the left side menu.
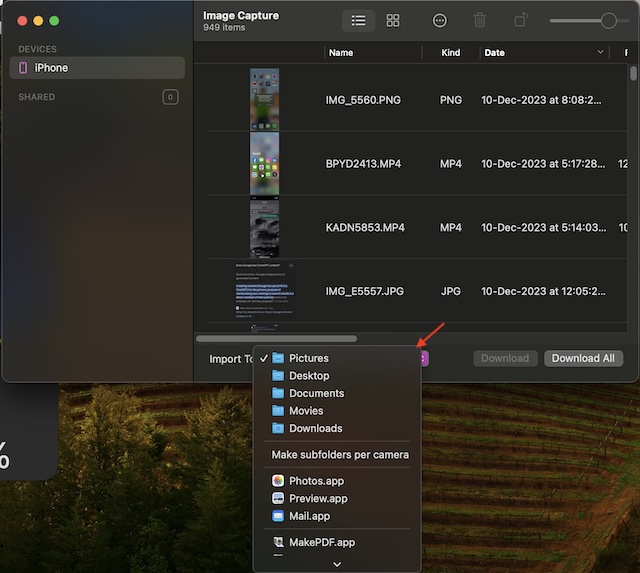
5.Its worth pointing out that you’re free to also optionally select a particular destination on the Mac.
Just hit theImport todropdown menu, or go for the Pictures folder as the default option.
And thats about it!
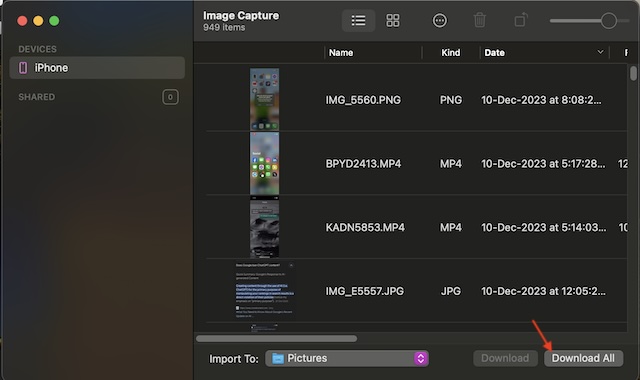
Up next, have some extra patience and allow the photo transfer to complete without any interference.
you’re able to find all of your transferred images in the destination folder.
Final Thoughts…
Moreover, its also comparatively faster.
