How to move a partition to the end or beginning of the disk on your Windows PC?
If you wonder about that, you’re able to focus on this post.
Here,MiniToolintroduces details about theWindows 10 move partition to end of diskoperation.
Its also applicable when you want to move partition to beginning of disk.
Here, we summarize several reasons why to move partition to end of disk as follows.
How can you move the partition to the end of a disk?

You cannot do this with Windows built-in partition-managing utilities Disk Management or Diskpart.
Instead, you have to take advantage of a third-party disk partition manager.
MiniTool Partition Wizard is the best choice for executing the Windows move partition to end of disk operation.
Its a professional and reliable partition manager with a wide range of features.
Simply pick one according to your situation.
you might also refer to the ways when planning to move partition to beginning of disk.
Download and install MiniTool Partition Wizard on your PC first.
Then follow the given instructions to finish moving the target partition to the end of your disk.
Heres how to do this.
Step 1: Launch this partition manager to enter the main interface.
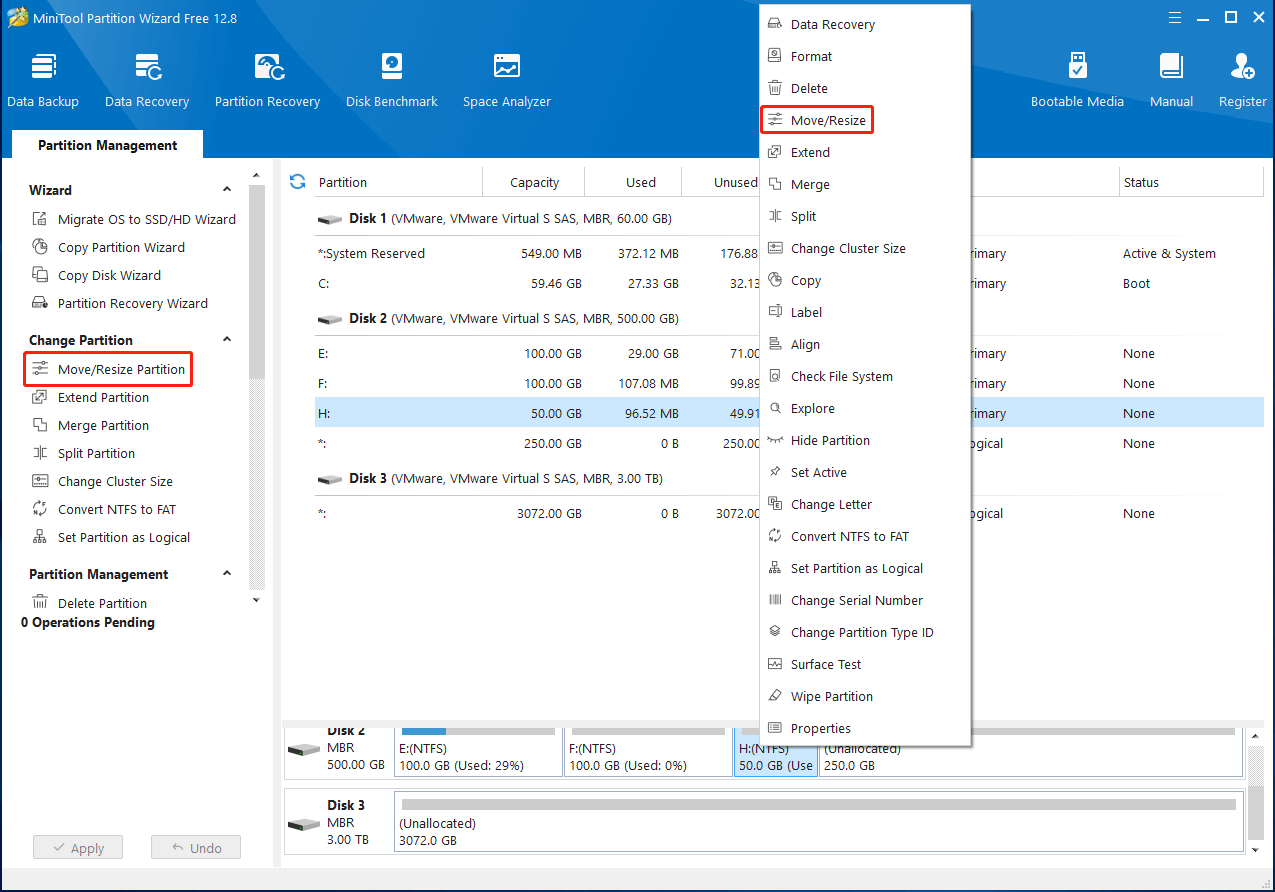
Step 2: Right-tap the partition youre about to move and then selectMove/Resize.
Also, you’re free to highlight the target partition and then chooseMove/Resize Partitionfrom the left action panel.

Step 3: In the pop-up window, drag the whole partition handle to the rightmost.
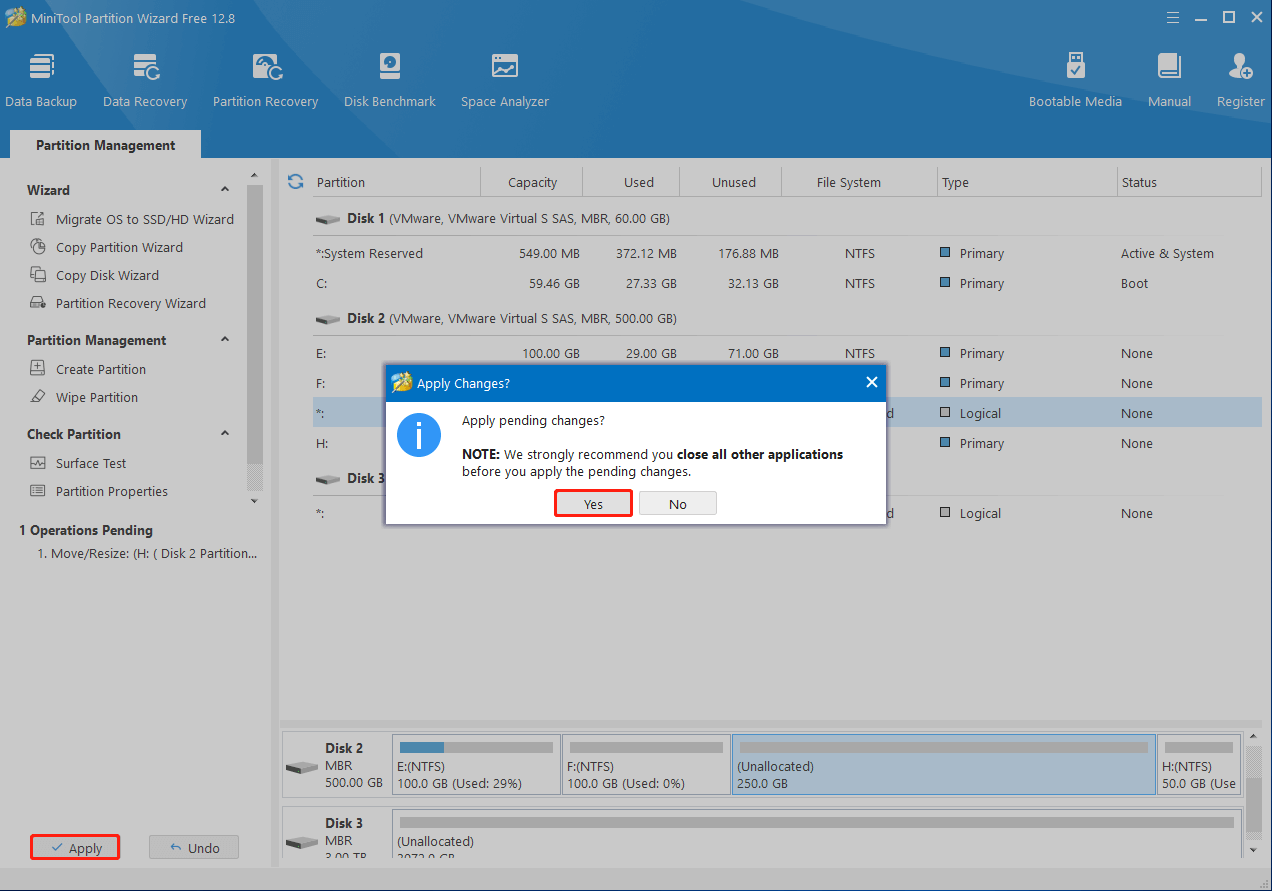
Step 4: Finally, dont forget to clickApplyto execute the operation.
When prompted, clickYesfor confirmation.
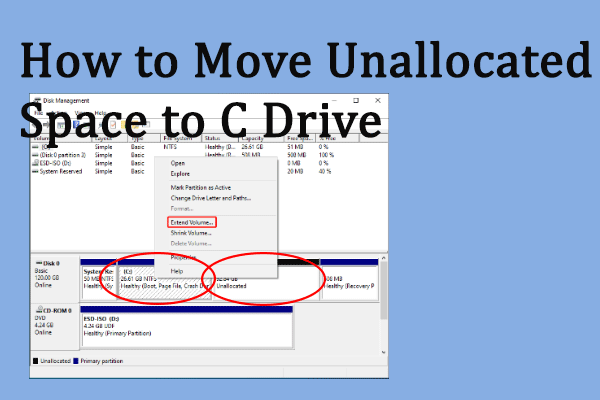
Do you want to extend the space of the C drive?
Here shows you the best way to move unallocated space to C drive.
To do this, you’ve got the option to follow the steps below.
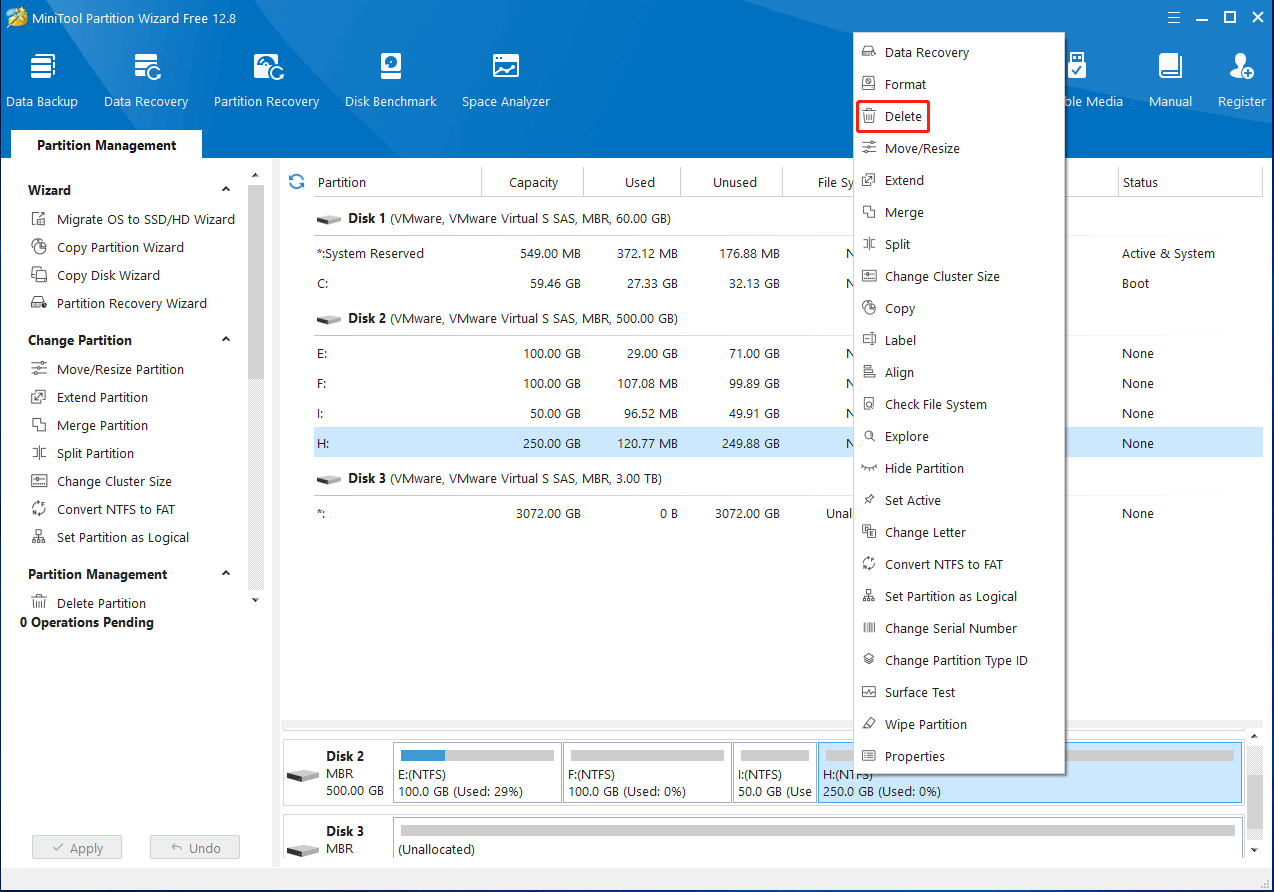
Step 1: Get into the main interface of MiniTool Partition Wizard.
Then right-tap the target partition and selectDeletefrom the context menu.
Step 2: ClickApply>Yesto complete deleting the chosen partition.
Step 3: After that, the disk situation will be the same as that mentioned above.
Below this post provides you with a step-by-step guide on how toshrink a Windows partition for free.
Step 1: PressWindows+Xto open theStartmenu and then selectDisk Management.
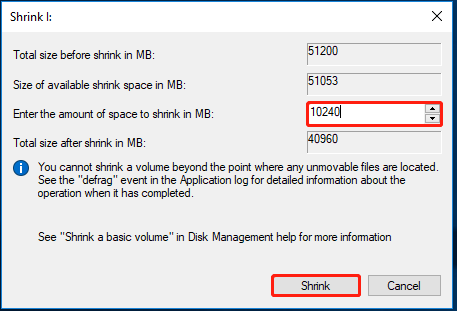
Step 2: InDisk Management, right-tap the partition you want to shrink and selectShrink Volume.
Step 3: In theShrinkwindow, enter the amount of space to shrink in MB.
Then click theShrinkbutton to save the change.
The following are detailed steps for you.
Just follow them to move your partition to the end of disk.
Step 1: Download, install, and run MiniTool Partition Wizard in your Windows 10.
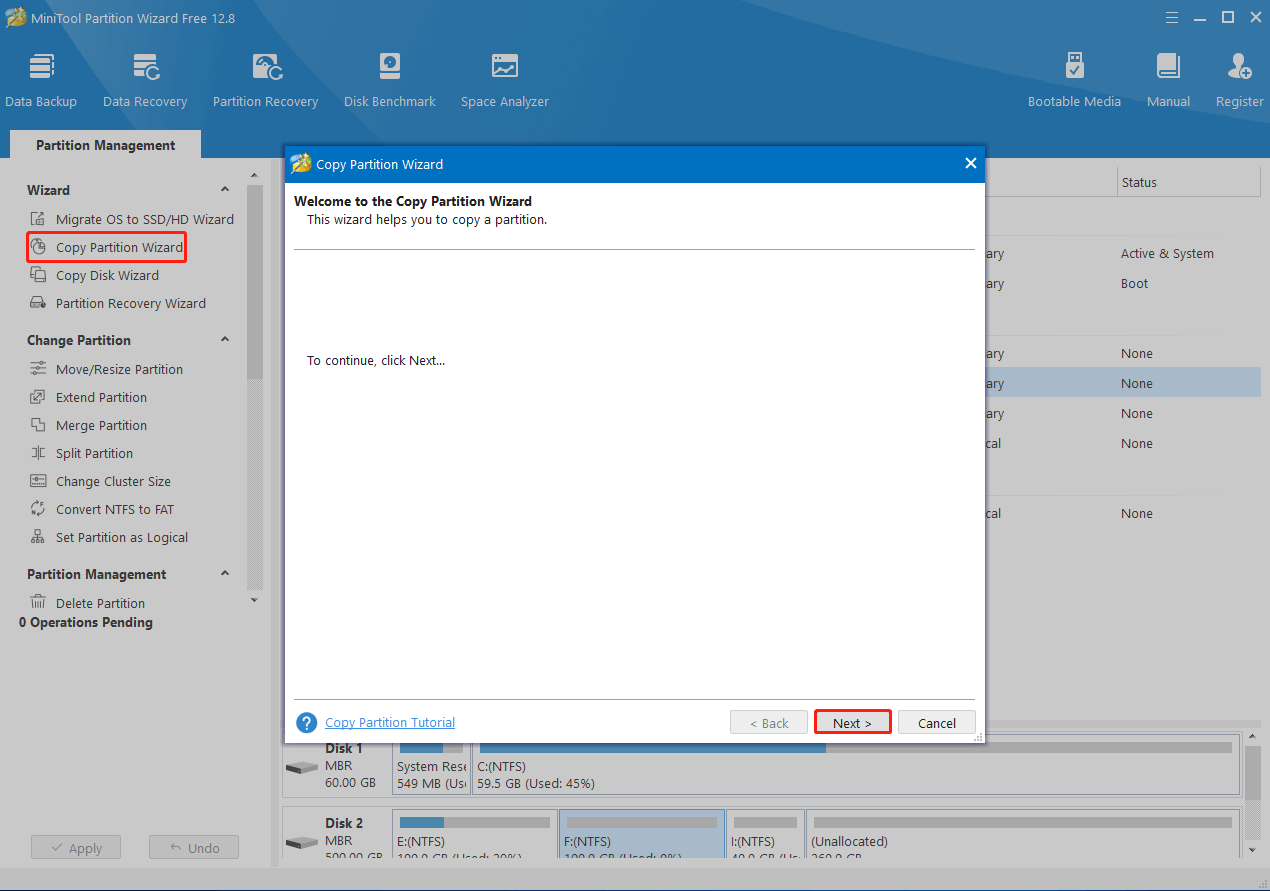
Step 2: SelectCopy Partition Wizardfrom the left action panel.
Step 3: After theCopy Partition Wizardwindow shows up, clickNextto continue.
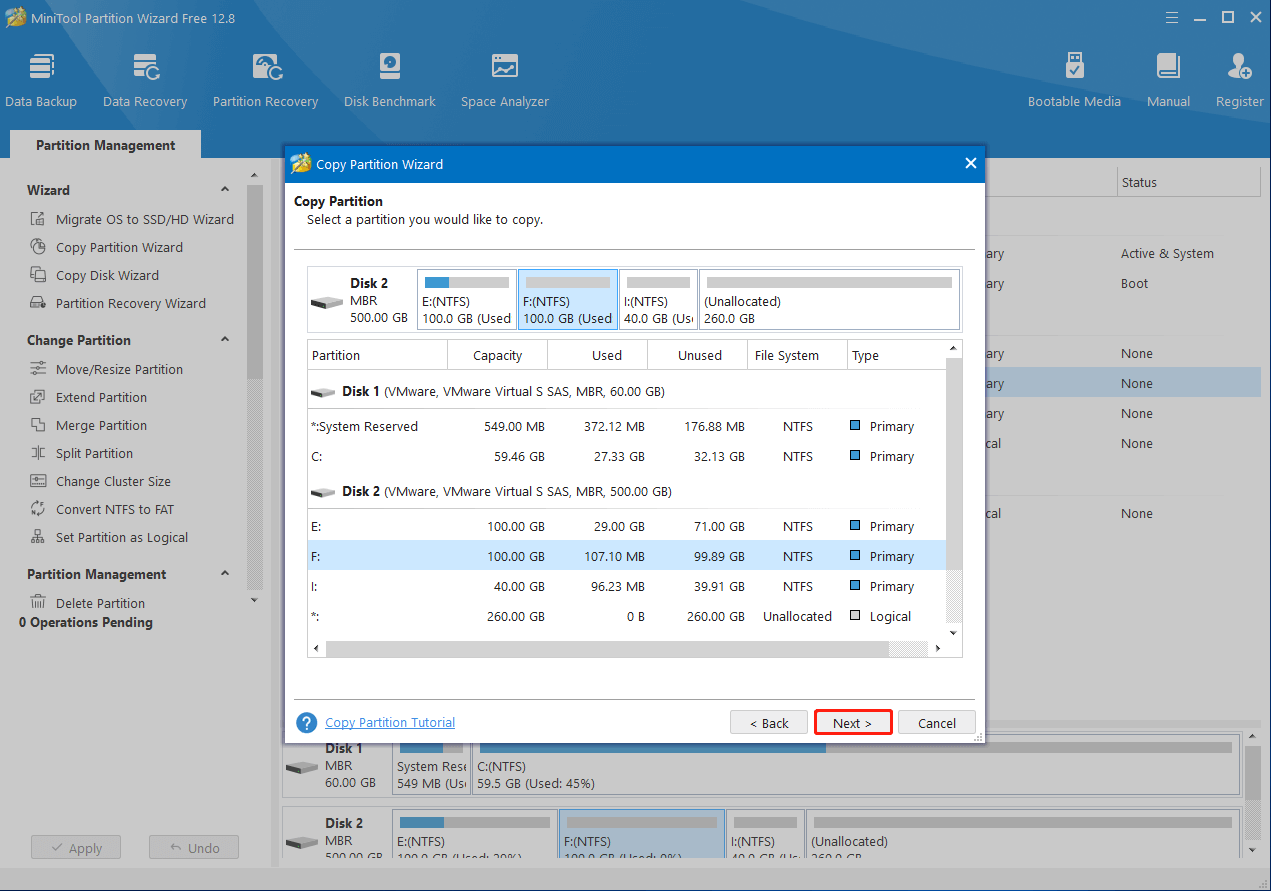
Step 4: In the next window, highlight the partition you decide to copy and clickNext.
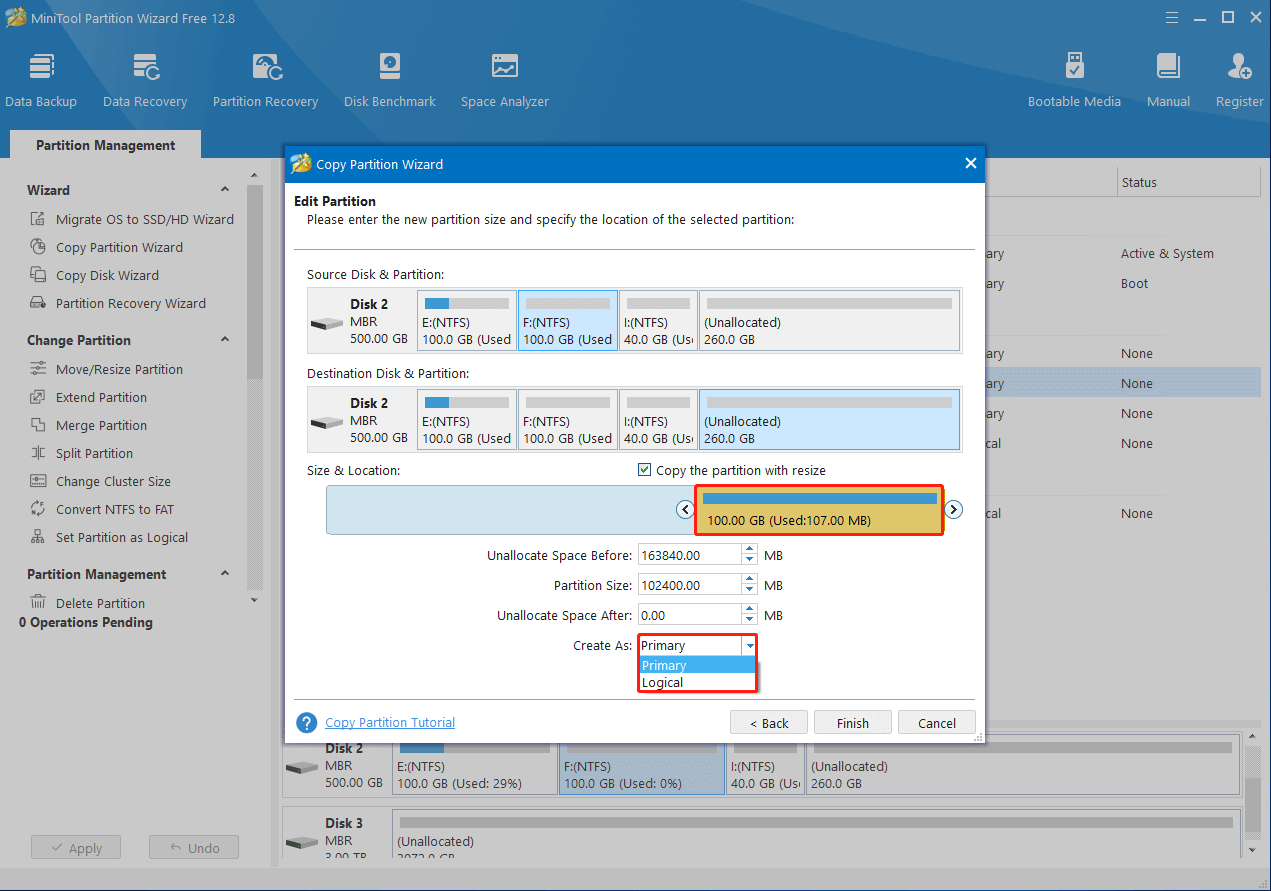
Step 5: After that, choose the unallocated space at the end of the disk.
Then choosePrimaryorLogicalfrom theCreate Asdrop-down menu depending on the partition jot down of the original partition.
Step 7: Once done, clickFinish>Applyto start copying the partition to the end of the disk.
Additionally, its also recommended that you move the system partition to the beginning by clean installing the Windows.
Usually, the system partition will be created at the start of the disk during a clean installation.
Its the safest way that can move the system partition to the correct location without any unexpected problems.
Then, this post is what you need.
Hope you’re free to find the answer after reading this post.
Well make a reply to help sort them out as soon as possible.
