All you should probably do is tweak some minor parameters and enjoy those more vibrant colors on your screen.
How to Check Your Graphics Card on Windows 11
1.pop pop the Start Menu.
you might do it by pressing theWinkey from your keyboard.
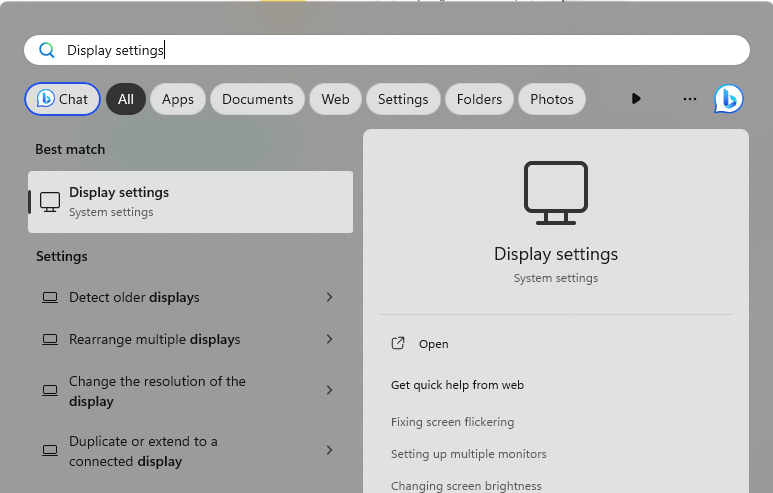
2.TypeDisplay Settingsand press theEnterkey on your keyboard.
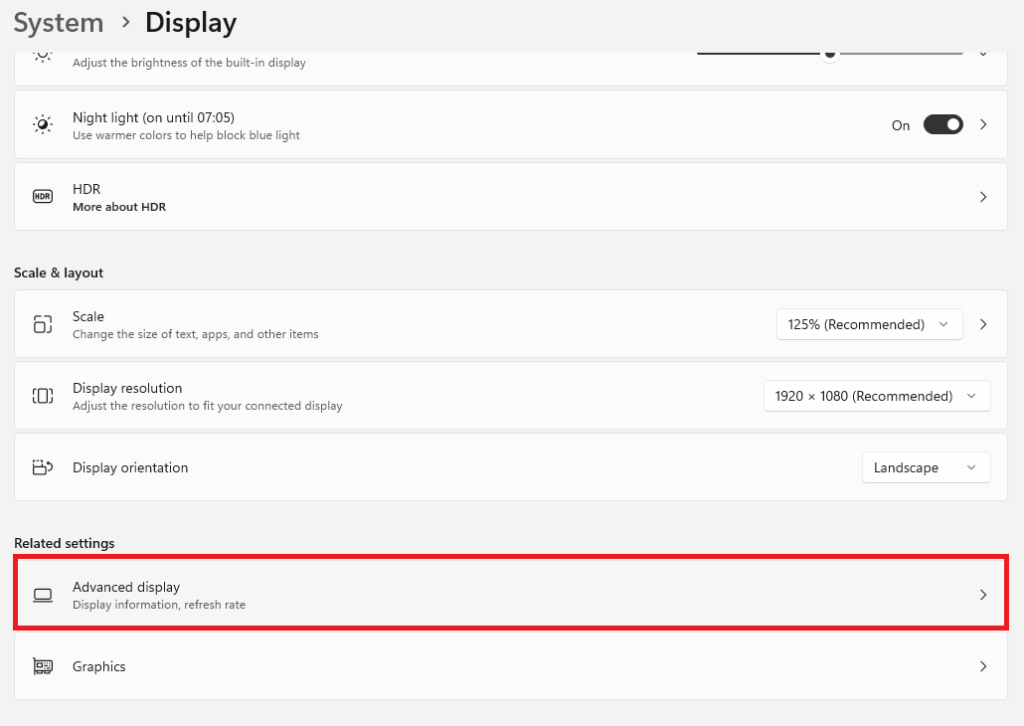
3.Scroll down and click onAdvanced displayunderRelated configs.
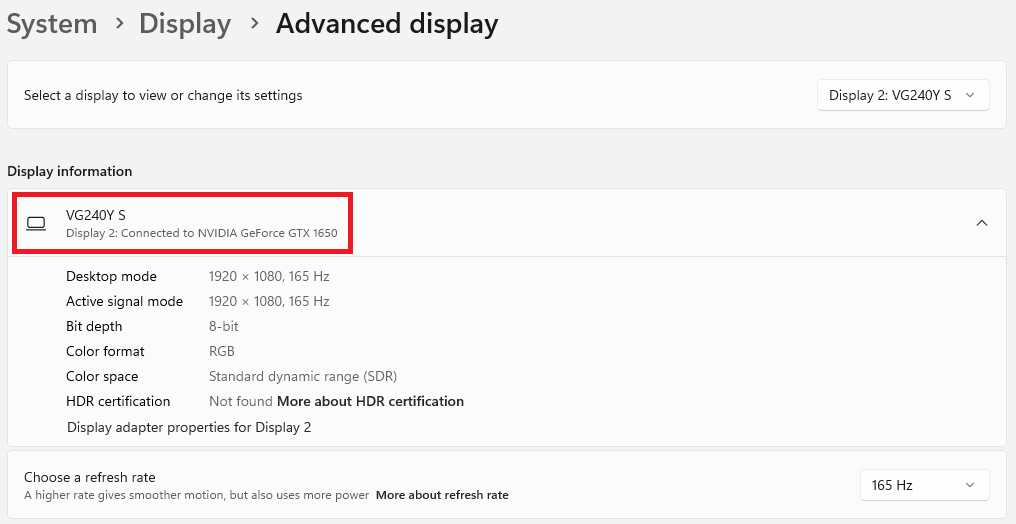
4.In theDisplay information, it’s possible for you to see which GPU your display is using.
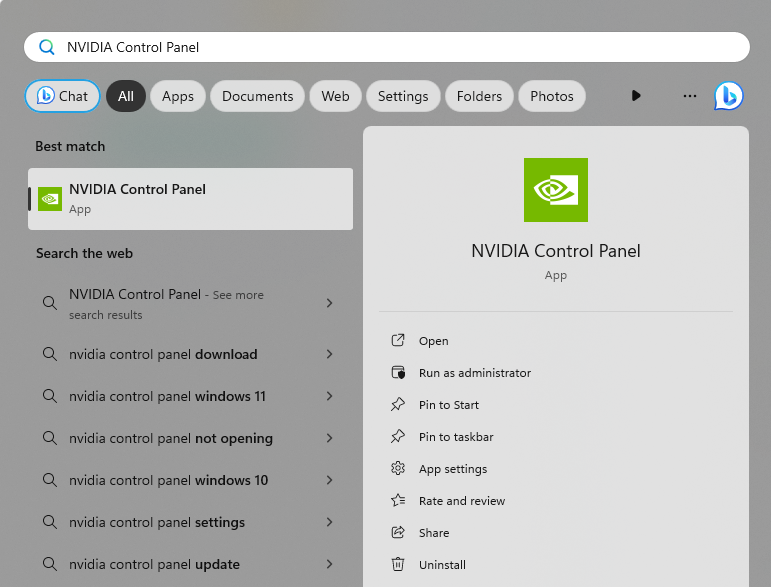
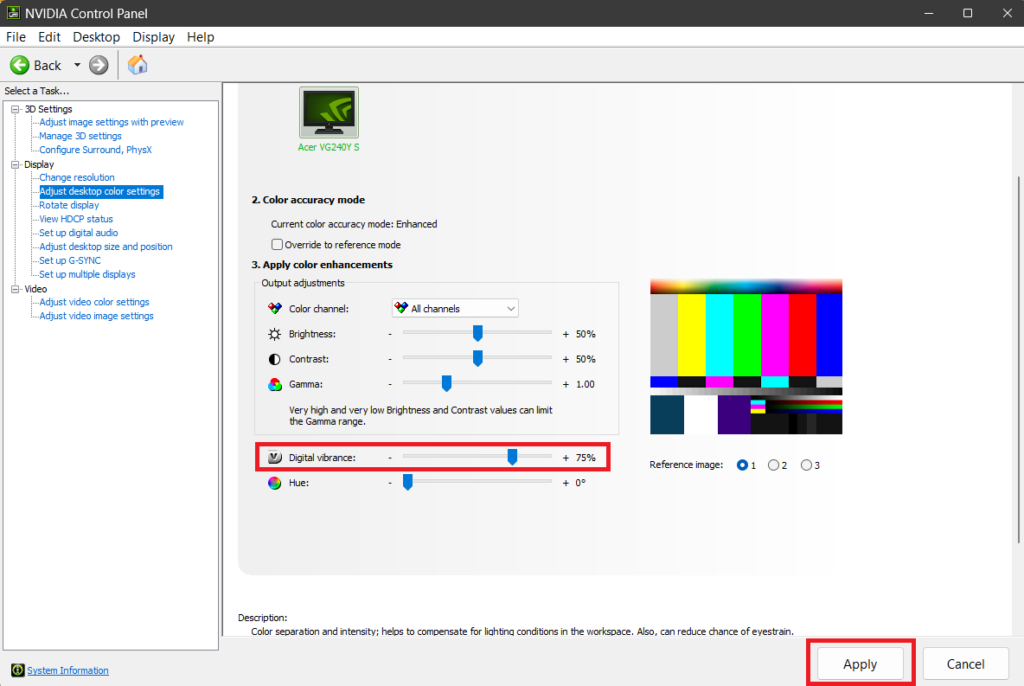
1.Launch the Start Menu, typeNVIDIA Control Panel, and press theenterkey from your keyboard.
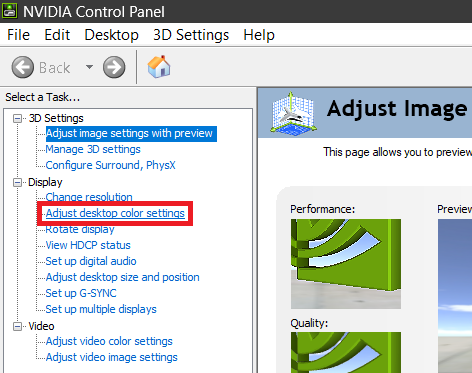
2.Click onAdjust desktop color configs.
3.Increase theDigital Vibranceto75%and click theApplybutton.
you’re free to try values between 65-85 and find the one for yourself.
Get Better Colors with AMD GPU
Dont have a dedicated NVIDIA GPU running display on your laptop?
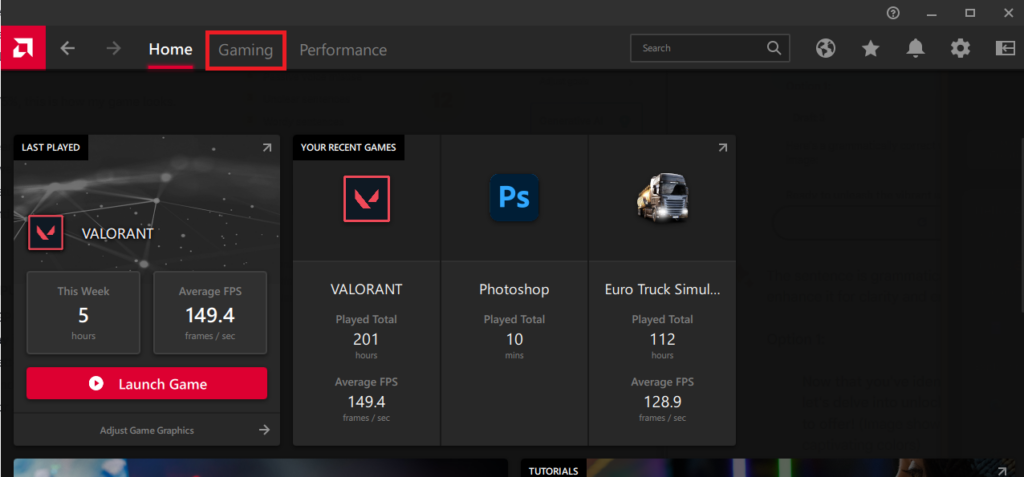
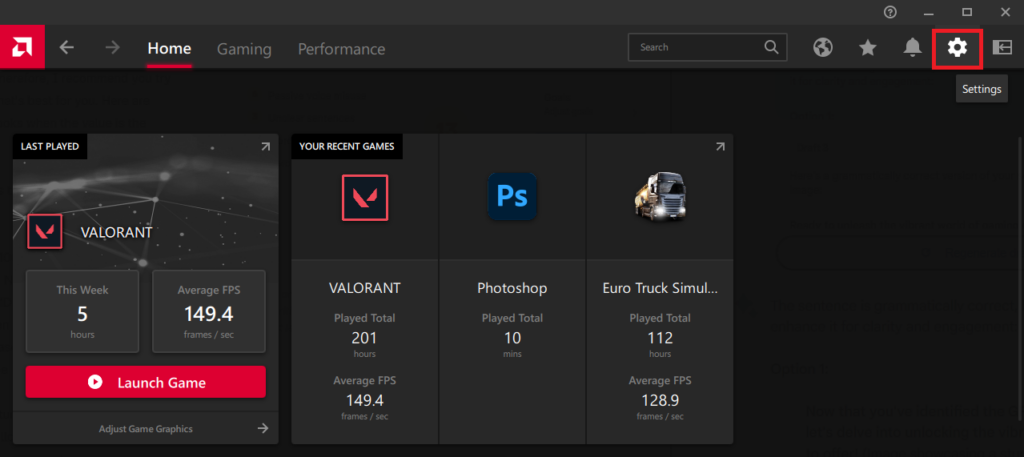
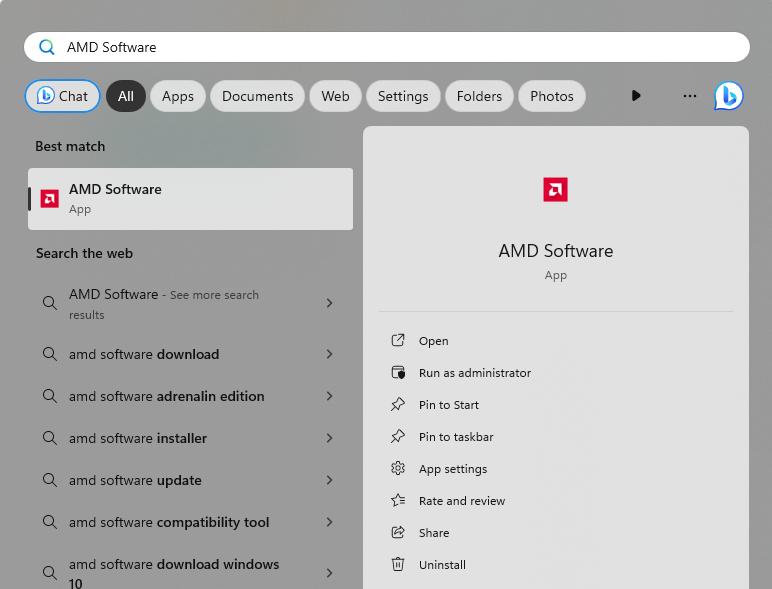
1.initiate the Start Menu, search forAMD Software, and press theEnterkey to open it.
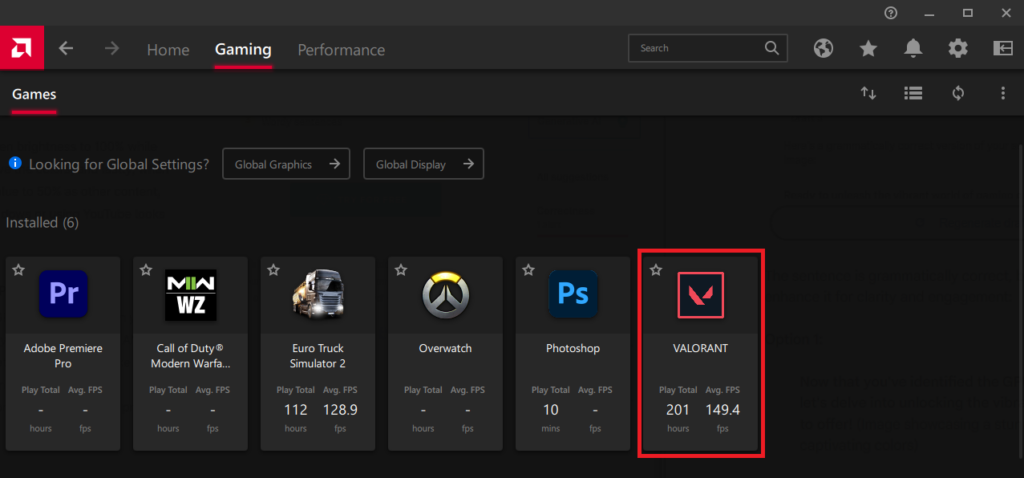
3.choose the game for which you want to enhance the colors.
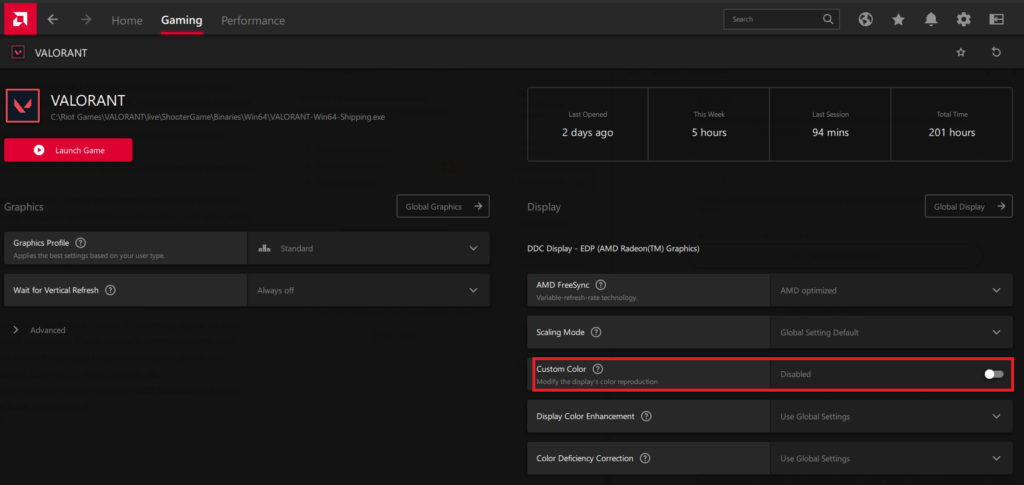
4.unlock the toggle forCustom Color.
Now, the game will show better colors on your monitor.
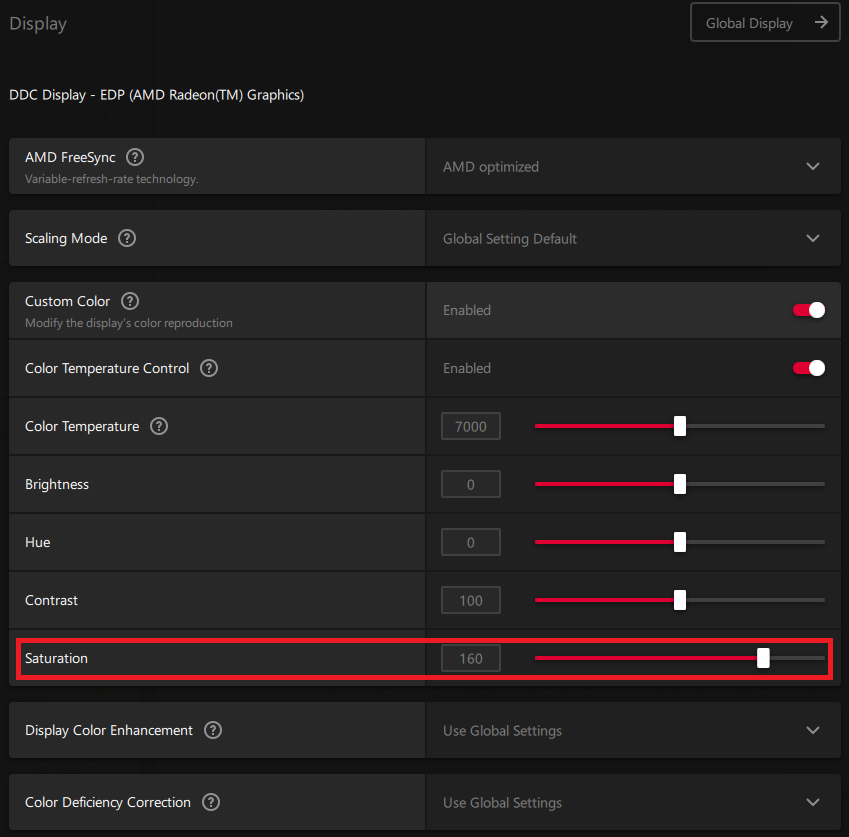
Therefore, I recommend you try values from 120-180 and find whats best for you.
Like the last one, if you play on 100% brightness, it will improve your experience.
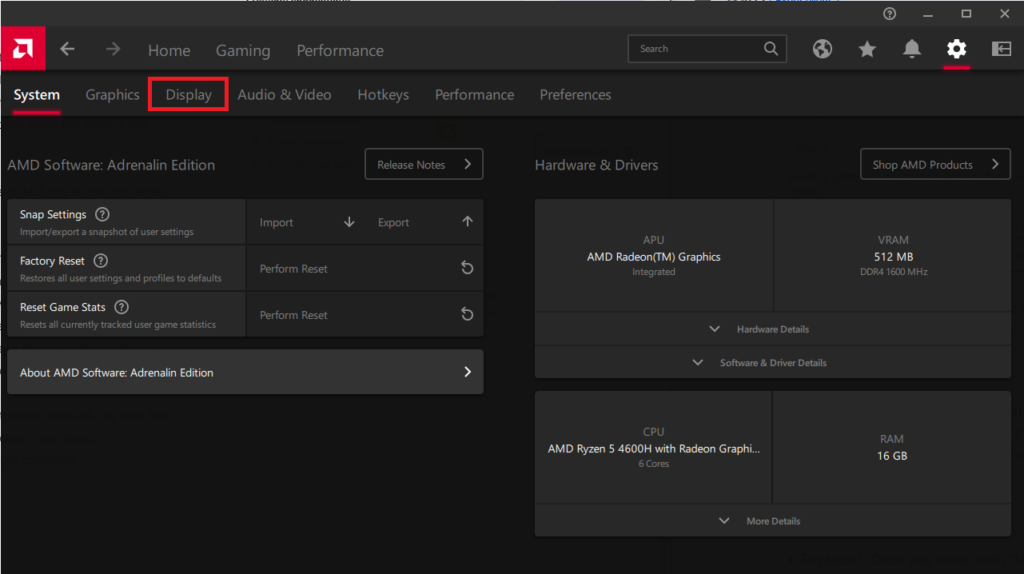
2.OpenSettingsby clicking the cog icon in the top right corner.
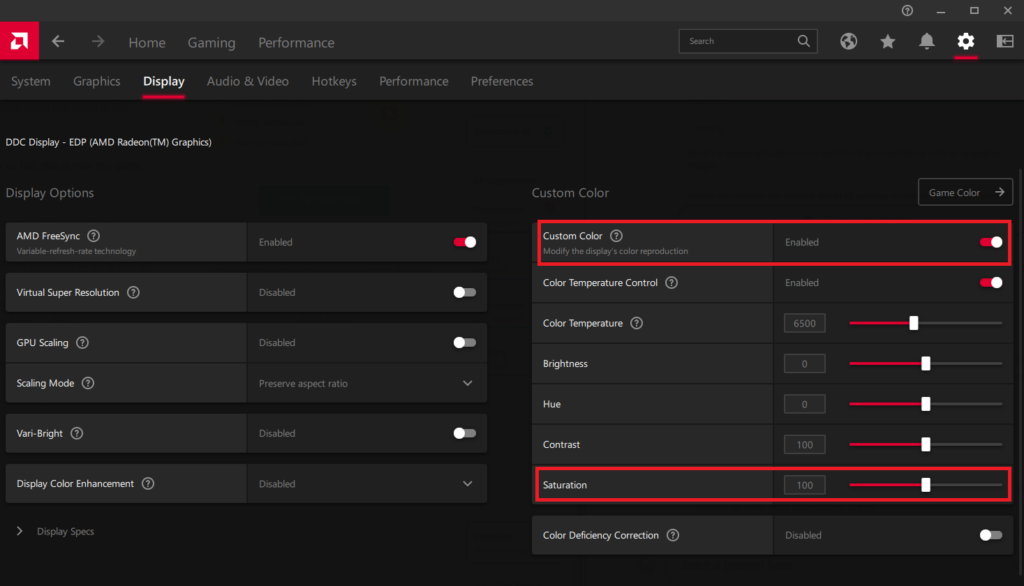
4.EnableCustom Colorand then set the saturation value to your liking.
Doing this will change the color of your entire display instead of any specific game.
Ive tried it, and 110 was the perfect value for me.
We would have loved it if NVIDIA also had options like AMD has for changing system-specific colors.