Thankfully, you do not need a third-party app to monitor your data usage in Windows 11.
Microsofts flagship OS comes with a data monitoring feature built-in.
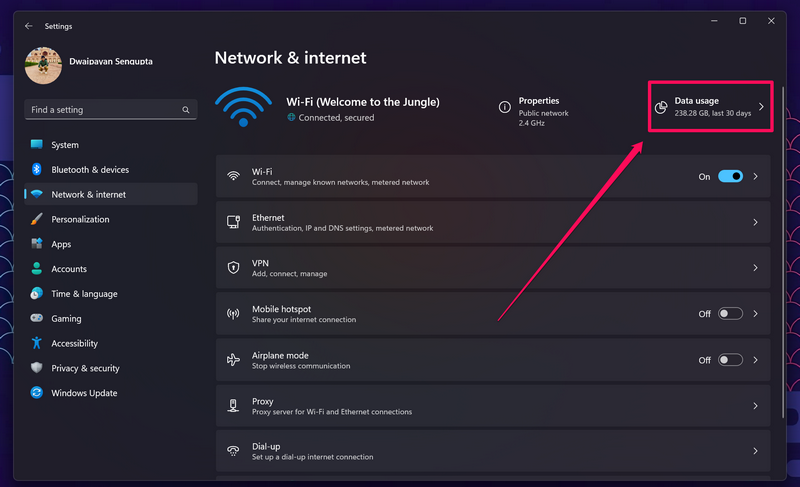
2.Go to theNetwork & internettab on the left navigation bar.

4.Here, you could check which apps are consuming how much data on your PC or laptop.
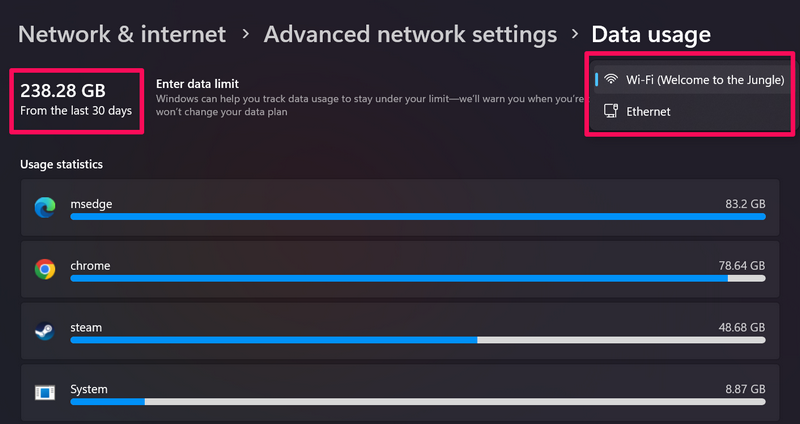
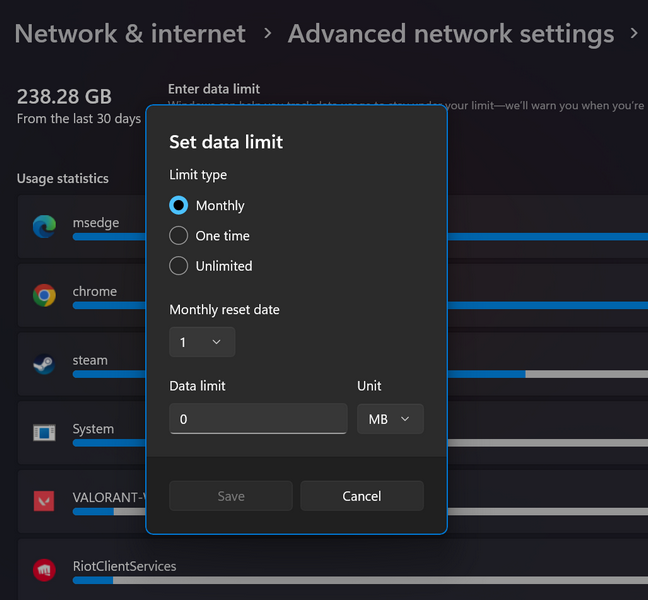
you could also check your total data usage in the last 30 days at the top-left.
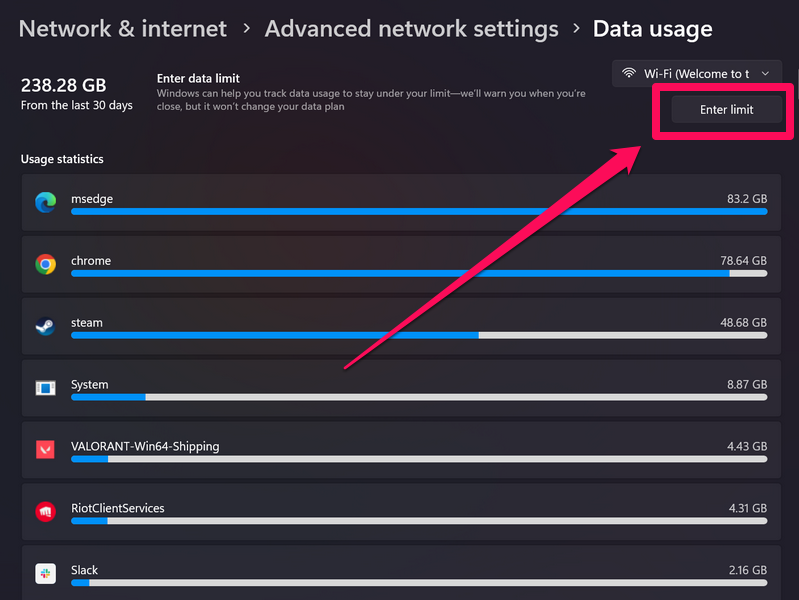
5.you might also tap the box with the connection name at the top right toswitch between Wi-Fi and Ethernet.
Check out the following section to know how it’s possible for you to do that.
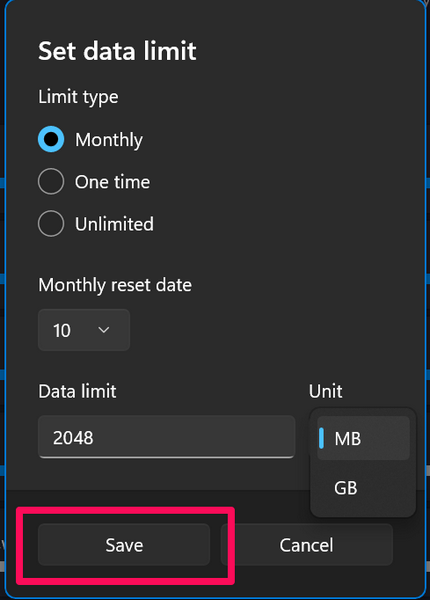
3.In the followingSet data limit window, choose your desired limit throw in Monthly,One time, andUnlimited.
4.Next, choose the date you want the data limit to be reset in theMonthly reset datebox.
5.Now,key in in your data limitin theData limittext box.
Note:1024MB = 1GB
6.After making the above changes, click theSavebutton below.
2.Go to theNetwork & internettab on the left nav bar.
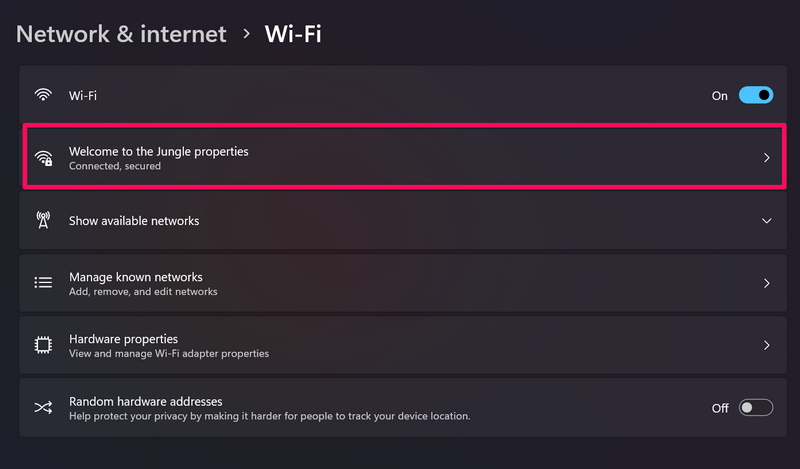
3.Click thenetwork throw in that is currently activeon your unit Wi-FiorEthernet.
4.For Wi-Fi connections, you need toselect your active Wi-Fi networkon the following page.
5.Next, poke the toggle for theMetered connectionoption to enable it on your Windows 11 PC or laptop.
Exit the prefs app and you are all done!
Check them out right below:
FAQs
Does Windows 11 consume more data?
Can I set a data usage limit in Windows 11?
Can I check which app is consuming how much data in Windows 11?