Java is a popular language for competitive programming and app and applets development.
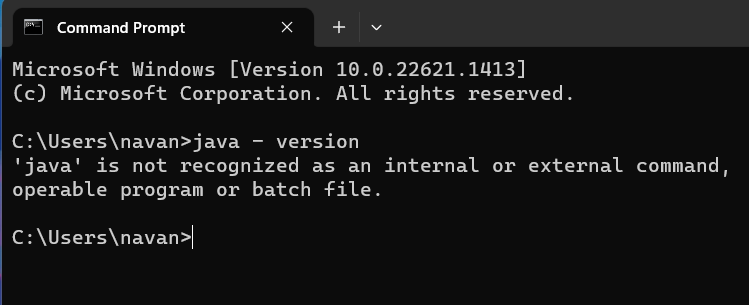
In that case, follow our guide onJava JDK/Java JREinstallation on Windows 11 to install Java on your system.
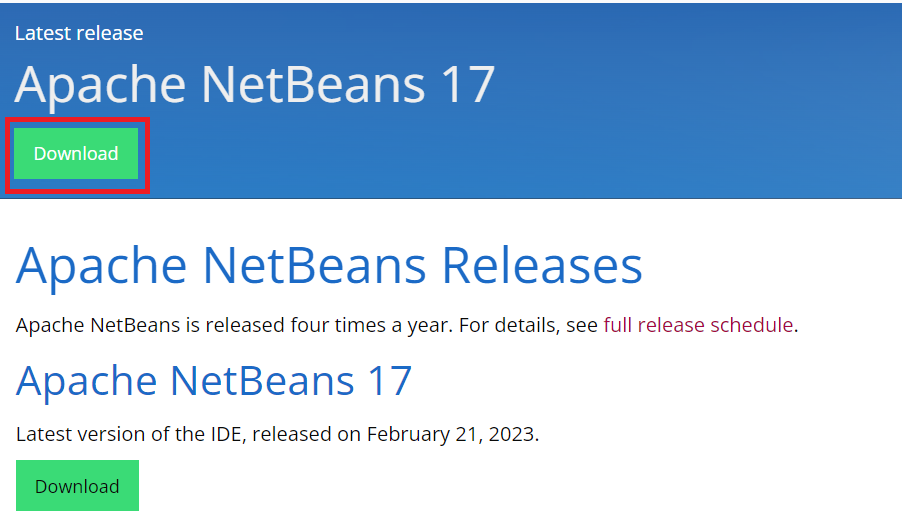
2.Click theDownloadbutton under theLatest releasesection.
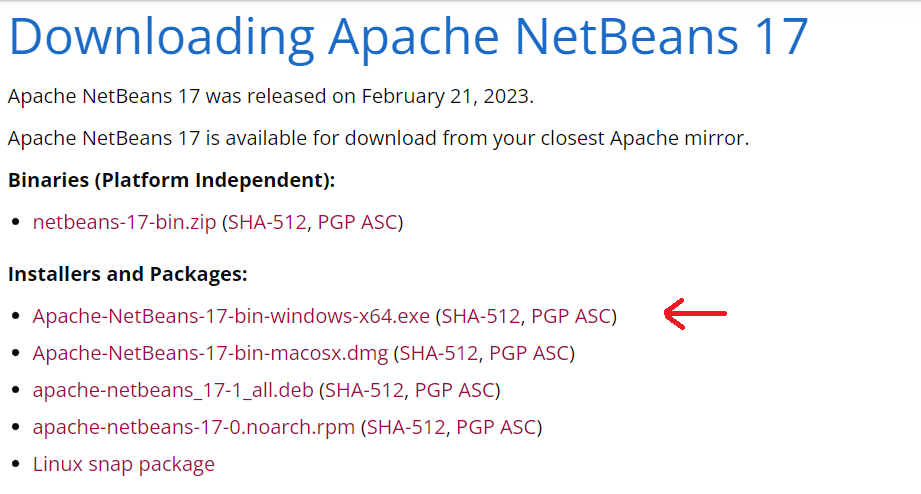
3.UnderInstallers and Packages, choose Windows Installer.
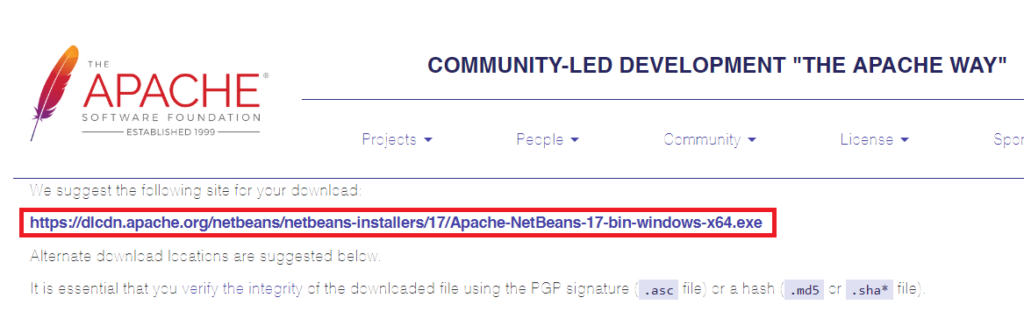
4.It will open a new page.
On the new page, pick the link to start the download.
1.Locate the file in theFile Managerapp, and double-tap on the installer to launch it.
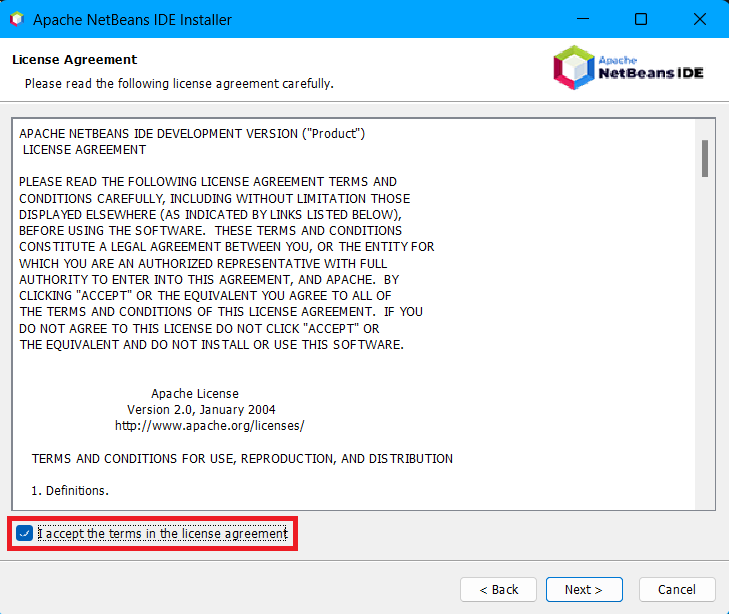
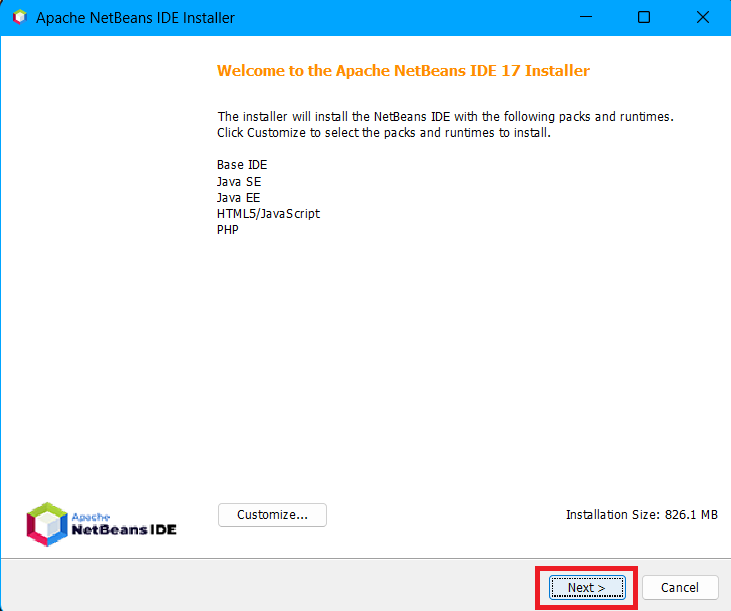
3.On the next screen, accept the terms in the license agreement and click theNextbutton.
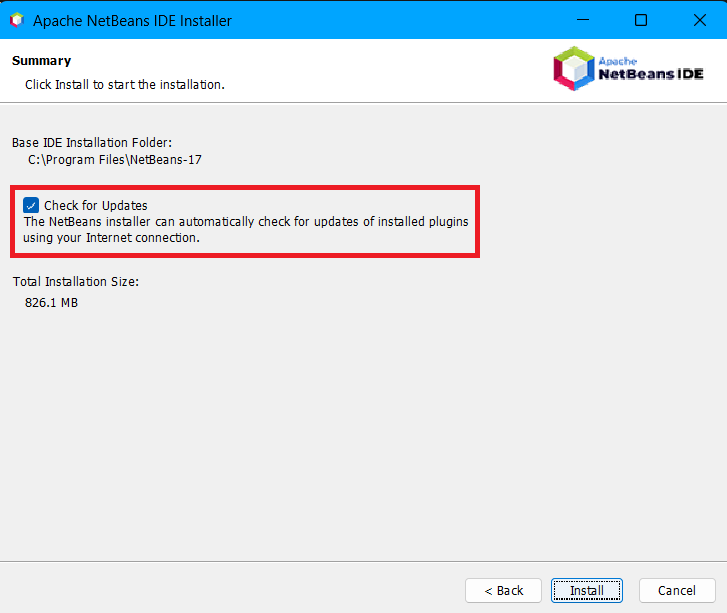
5.Enable auto-updates for the IDE and click theInstallbutton.
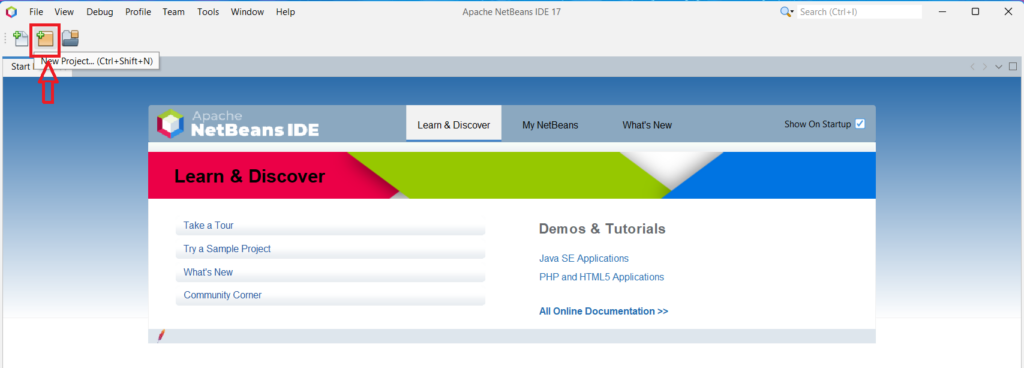
2.On the home screen, pressCtrl+Shift+Nor punch theFoldericon at the top left to open a new project.
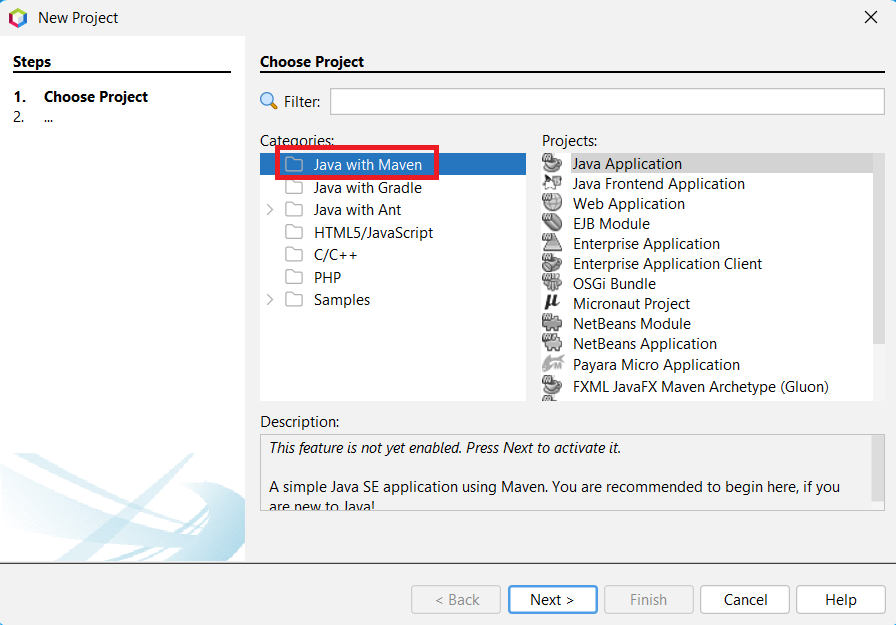
3.At the next screen, selectJava with Mavenas the categoryandJava Applicationas the project jot down, and click theNextbutton.
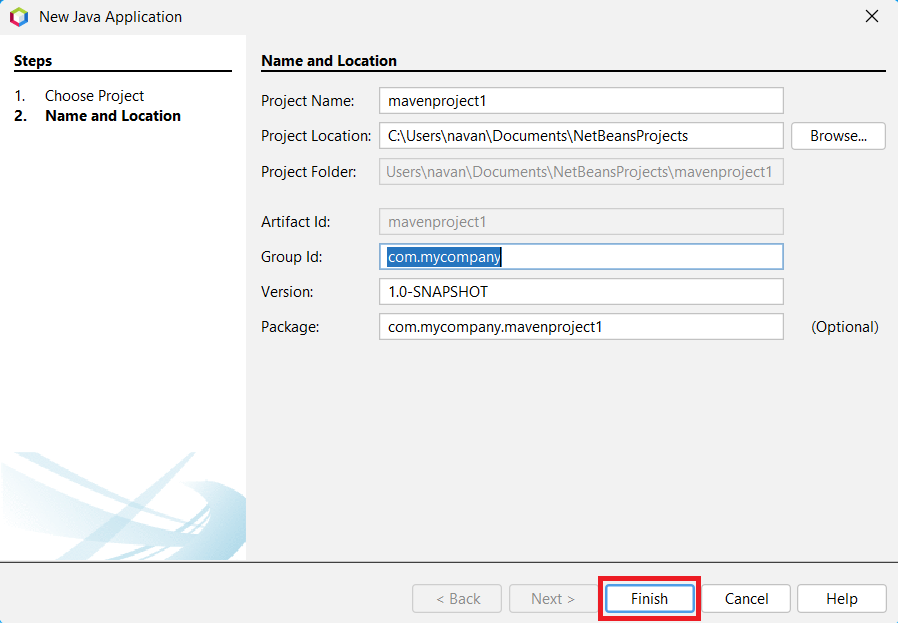
Once youre done changing, hit theFinishbutton.
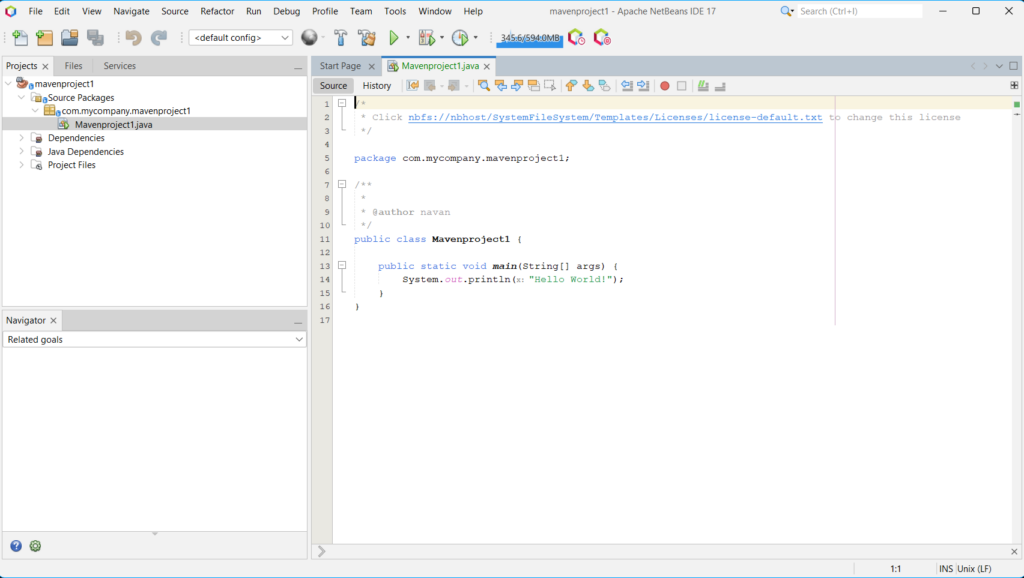
5.After clicking theFinishbutton, you will see a newly created Java project on the NetBeans IDE.
Thats it, and now youre ready to write and run Java programs on your Windows 11 computer.
Once you do that, it will open theName and Locationsettings for the class youre creating.
Change it accordingly and punch theFinishbutton to create the class.
Final Words
Netbeans is a powerful IDE that provides a feature-packed environment for Java development.