If youre interested in installing JDK, check our guide oninstalling Java JDK in Windows 11.
Once your gear has everything we need for the installation, let us start the process.
The installer comes in two variants: Ultimate and Community Edition.
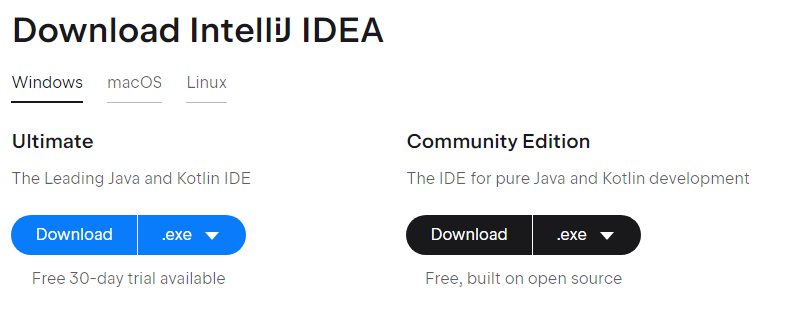
The Ultimate Edition is the paid version.
It comes with a 30-day free trial, while the Community edition is a free version.
Head to the location where the installer is downloaded and double-hit the file to start the installation process.
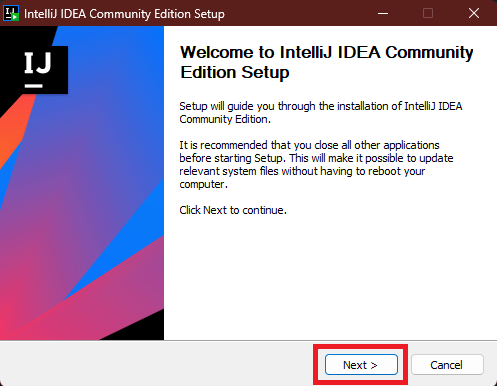
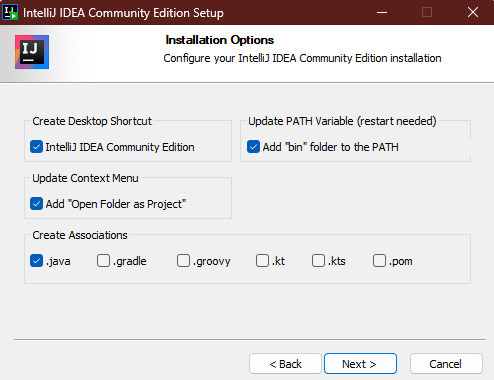
Click theNextbutton on the installers homepage.
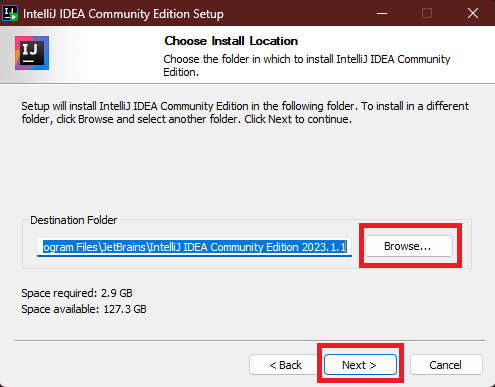
If you want to change the install location, use theBrowsebutton.
Else, click theNextbutton.
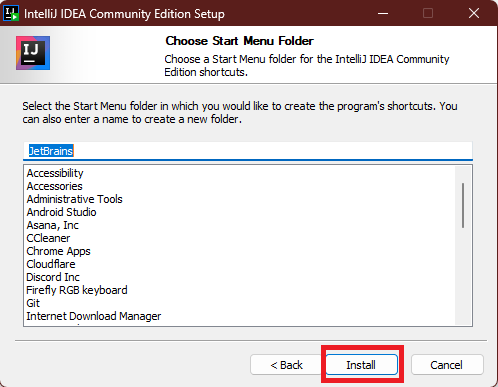
ChooseReboot nowand select theFinishbutton.
Heres how to do it on your Windows 11 PC:
1.
Launch the IntelliJ IDEA from the apps section in the Start menu.
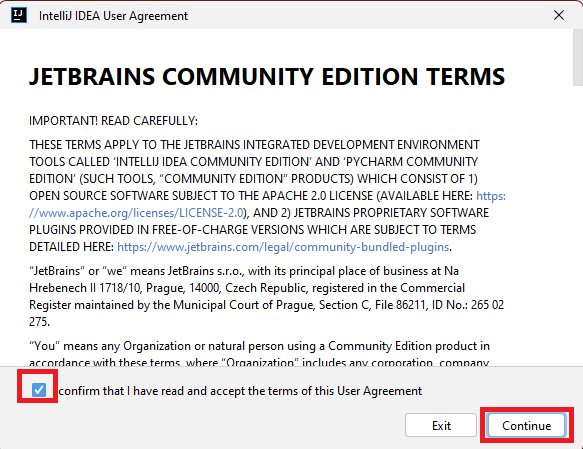
Read and accept the JetBrains community edition terms.
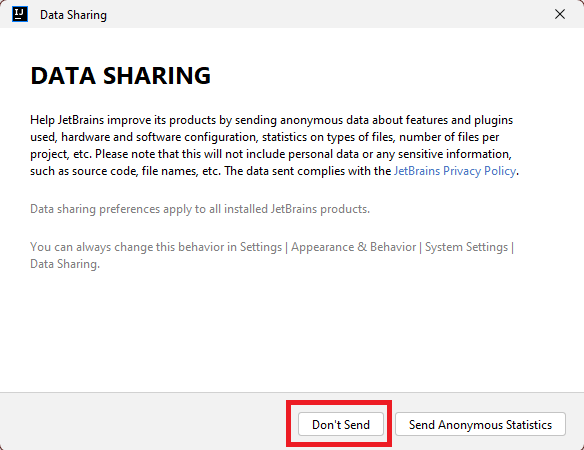
3.Click theDont Sendbutton on the Data Sharing page.
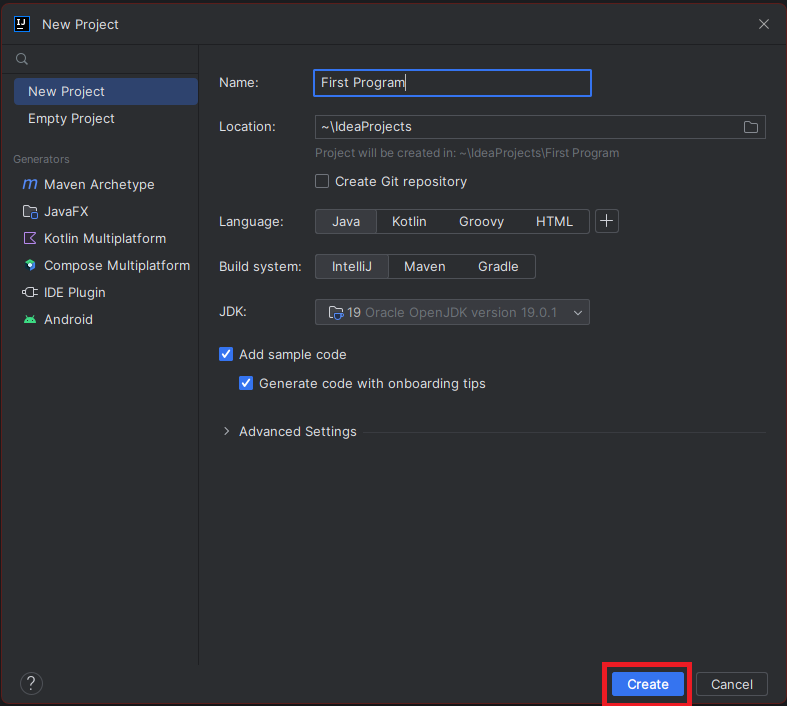
Click onNew Projecton the Welcome screen of IntelliJ IDEA.
Give a name to the new project and click theCreatebutton.
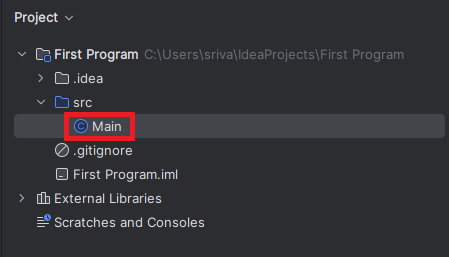
3.When the new project opens in the IntelliJ IDEA code editor, clickMainclass from the Project section.
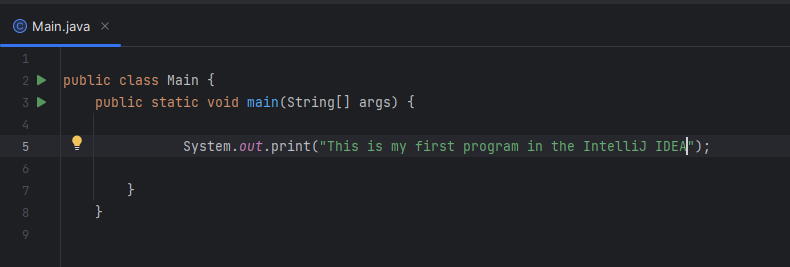
Paste the following code in the code editor and pressCtrl+Sto save it.

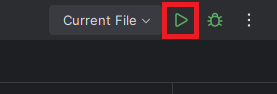
5.Now spin up the code using thePlayicon on the top right.
you’re free to also pressShift+F10to execute the code.
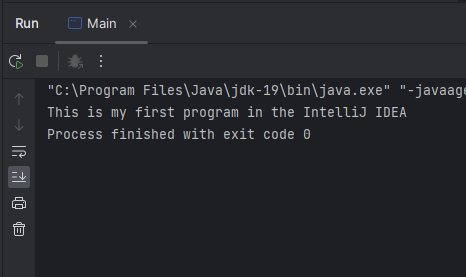
6.IntelliJ IDEA will create a .java file, run it and show the output in theOutputssection.
Thats it, and now youve successfully compiled and run your first program in the IntelliJ IDE.
Now use it for coding and developing apps and games.
In this article, we have tried to provide a short and easy-to-follow step-by-step guide on installing the IDE.
We hope that you have installed the IDE on your system without facing any issues.