There are many IDEs available for Java programming, like IntelliJ, JDeveloper, NetBeans, etc.
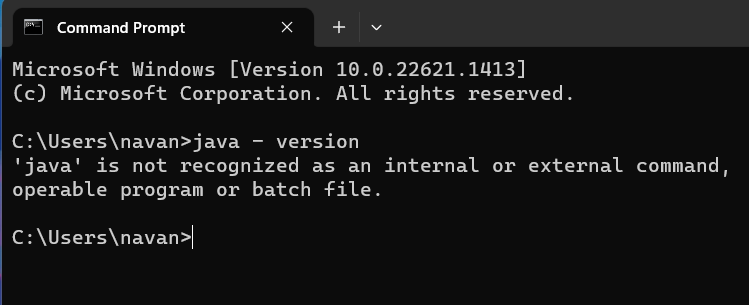
To peek if your system has Java JDK, open theCommand Promptapp and run this command.
If CMD returns the following message, JDK is not installed on your system.
Now, you should probably install JDK on your system first and then follow the Eclipse IDE installation process.
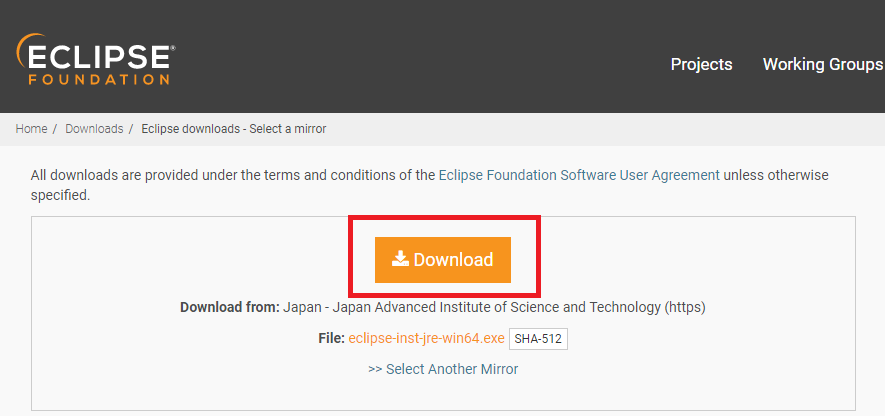
3.On the next page, choose theDownloadbutton.
If you face server errors while downloading, choose a mirror server that is close to your location.
The steps for installation will be almost the same.
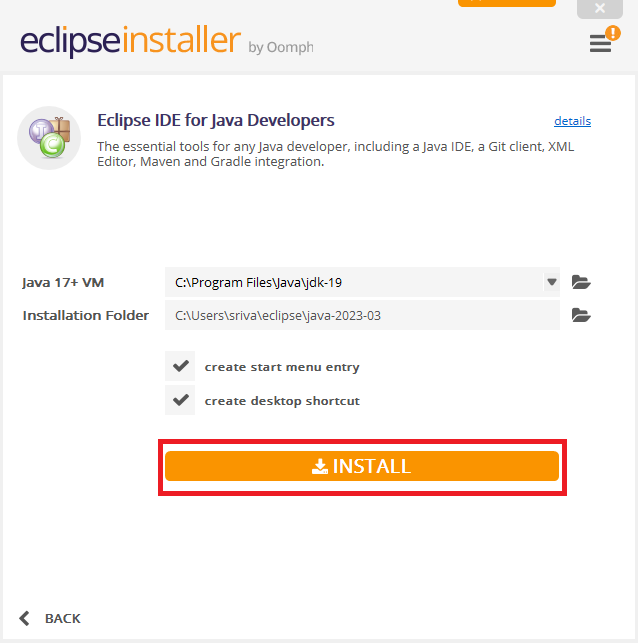
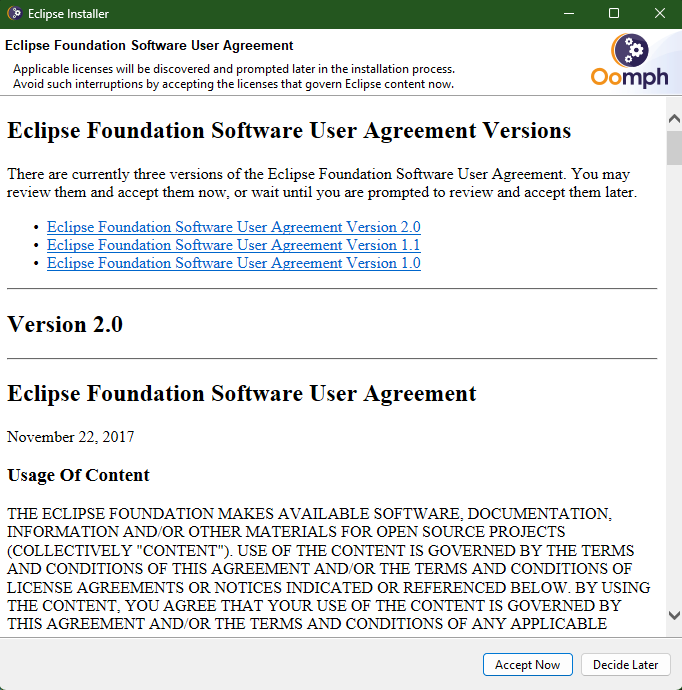
3.Read the license agreement and click theAccept nowbutton to start the process.
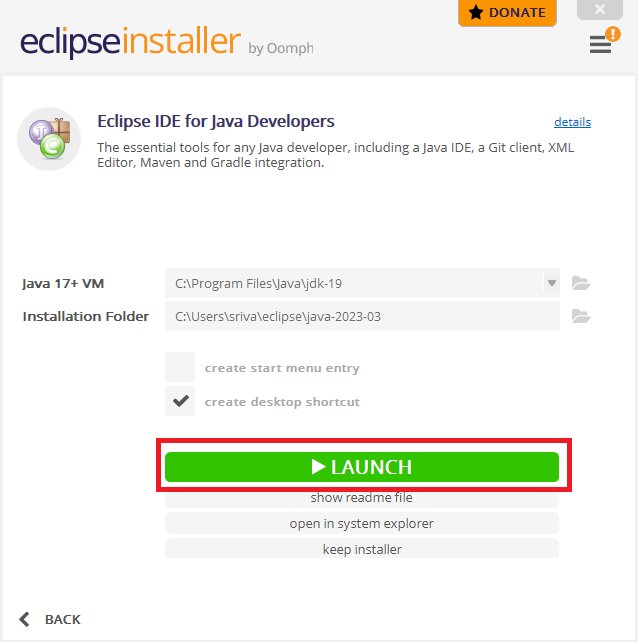
Heres how to do it:
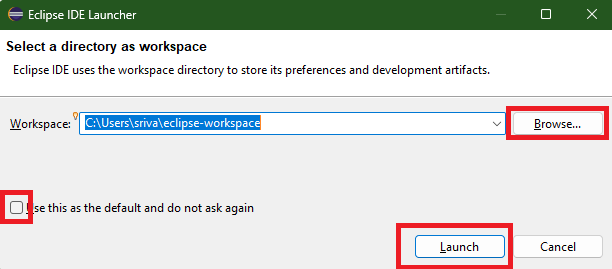
1.choose theLaunchbutton in the installer to kick off the Eclipse IDE.
2.Use theBrowsebutton to select a location for the workspace directory.
you could use thecheckboxon the left to make it the default directory, and after that, click theLaunchbutton.
Heres how you might run your first Java program on the Eclipse IDE:
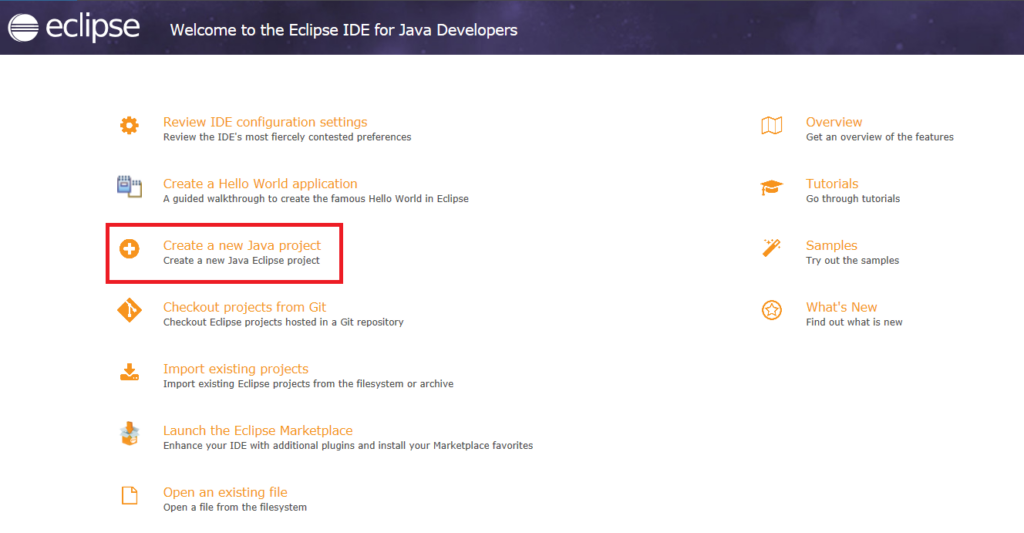
1.Launch the Eclipse IDE.

2.Click onCreate a new Java project.
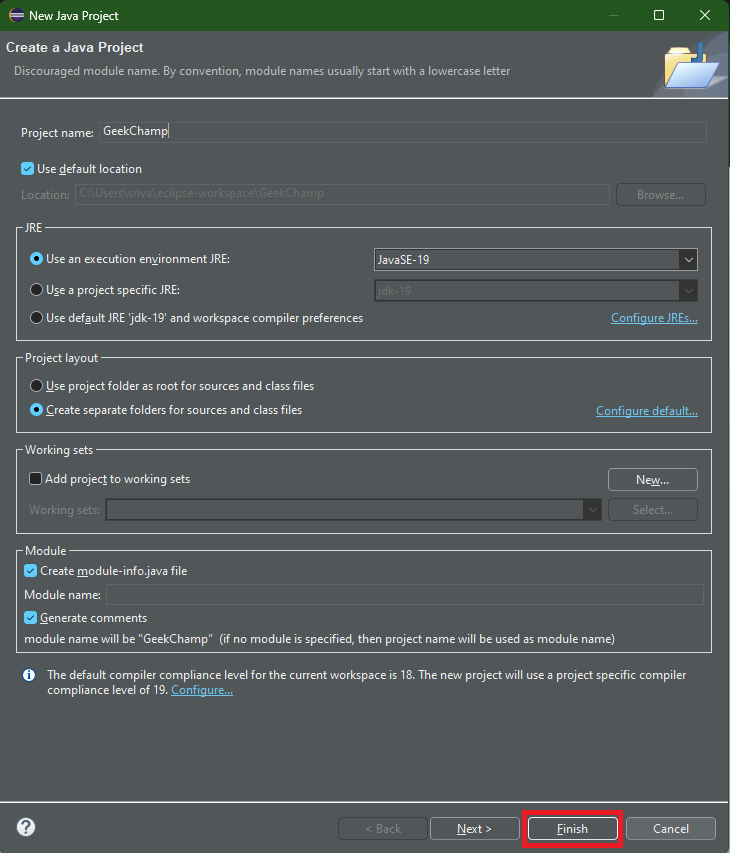
3.throw in theproject nameand click theFinishbutton.
4.The project will open on your screen.
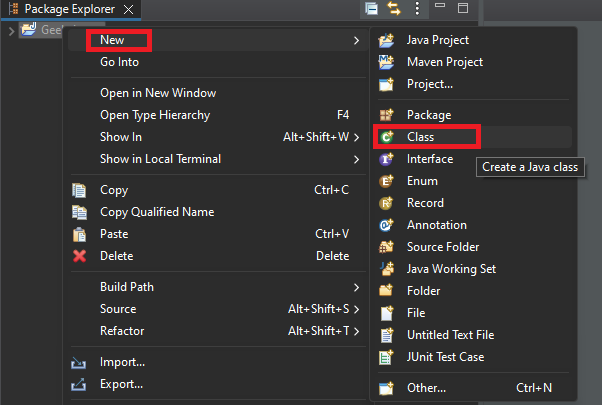
Right-poke the projects name, clickNew,and thenClassto create a new class.
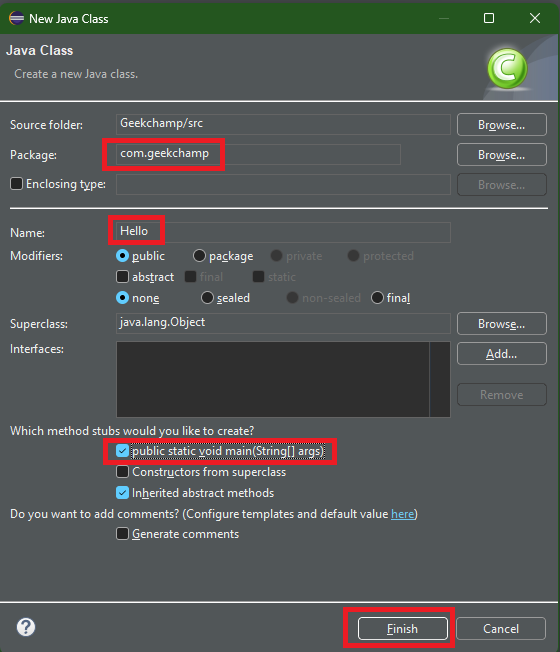
5.Fill in thePackageandNamefield, check the box for thepublic static void mainoption, and click theFinishbutton.
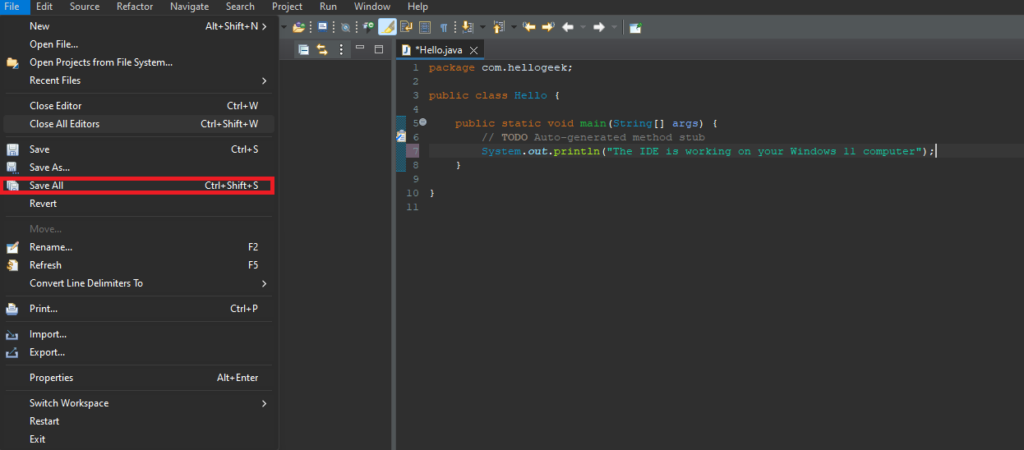
6.Write the following code, click onFile, and clickSave all.
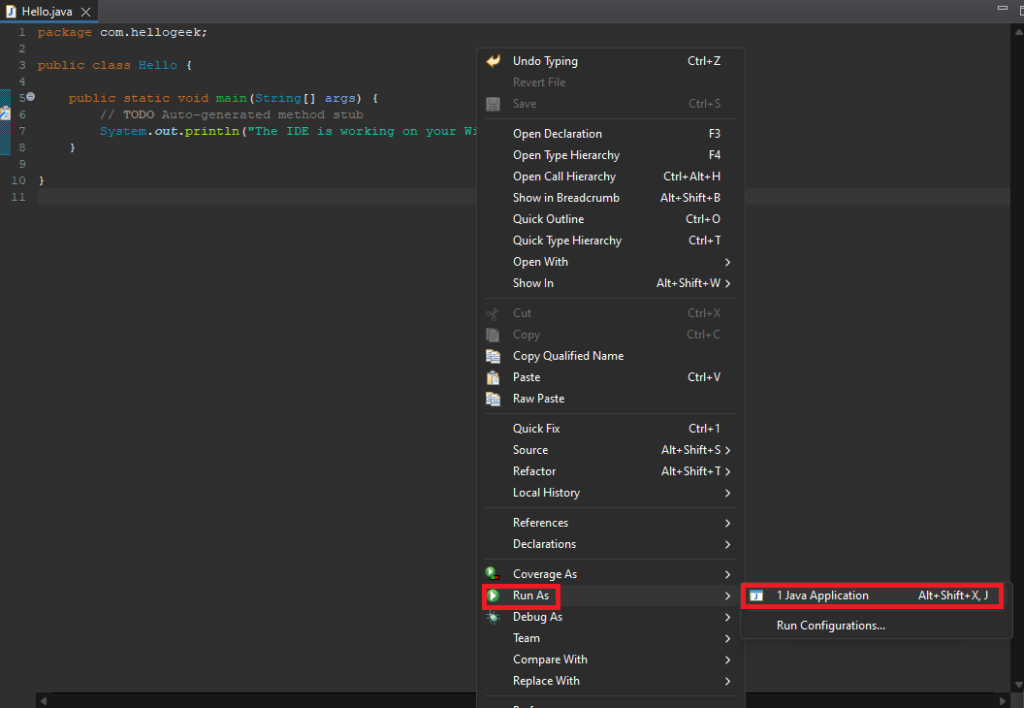
7.Now, right-choose the coding area, click onRun As, and then use theJava Applicationoption.
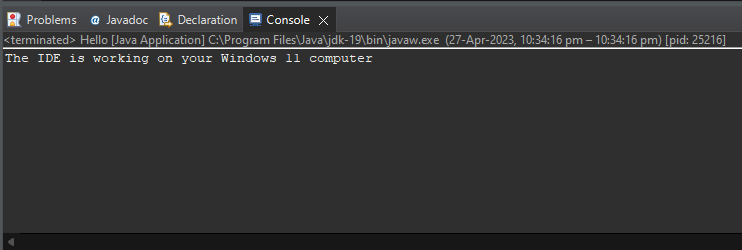
8.you might see the output in the console section.
Congratulations, youve successfully compiled and run your first Java program on the Eclipse IDE.
With Eclipse, you could create Java projects, write Java programs, and run them with ease.
We hope this guide has been helpful in getting you started with Eclipse IDE.