Arduino is an open-source platform that many developers and students around the globe use to create interactive development projects.
From a piece of hardware like an Arduino UNO Board to a programming language, Arduino is many things.
Once everything is ready, do these things to roll out the IDE on your system.
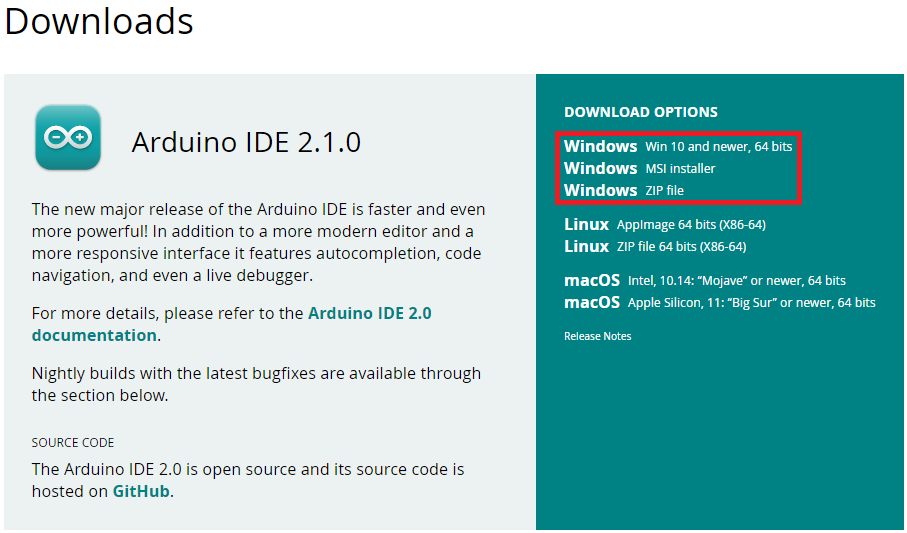
2.From theDownload optionssection, pick the Windows installer you want to download.
3.Click theJust Downloadbutton on the next page, and the installer will start downloading on your system.
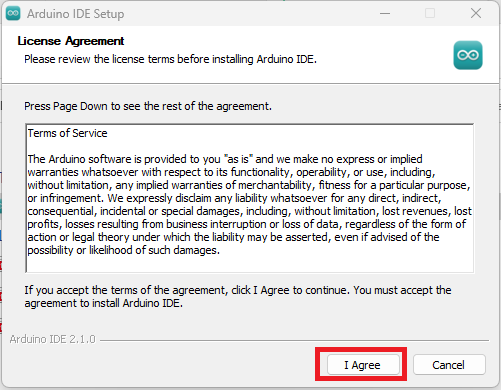
2.Click theI Agreebutton to accept the license agreement.

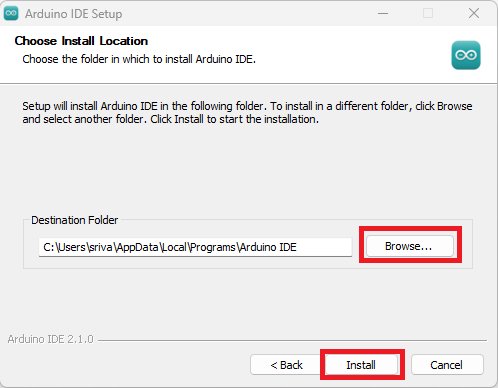
4.Use theBrowsebutton if you should probably change the installation location.
If not, click theInstallbutton to start the process.
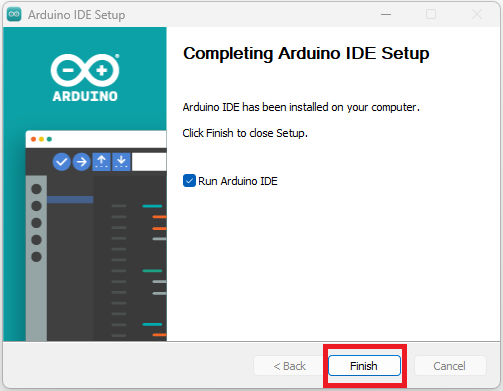
5.Once the installation completes, selectRun Arduino IDEand click theFinishbutton on the next screen.
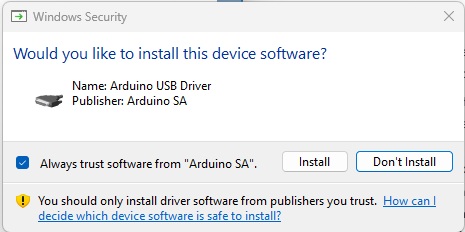
Once this process completes, connect your Arduino microcontroller to the computer.
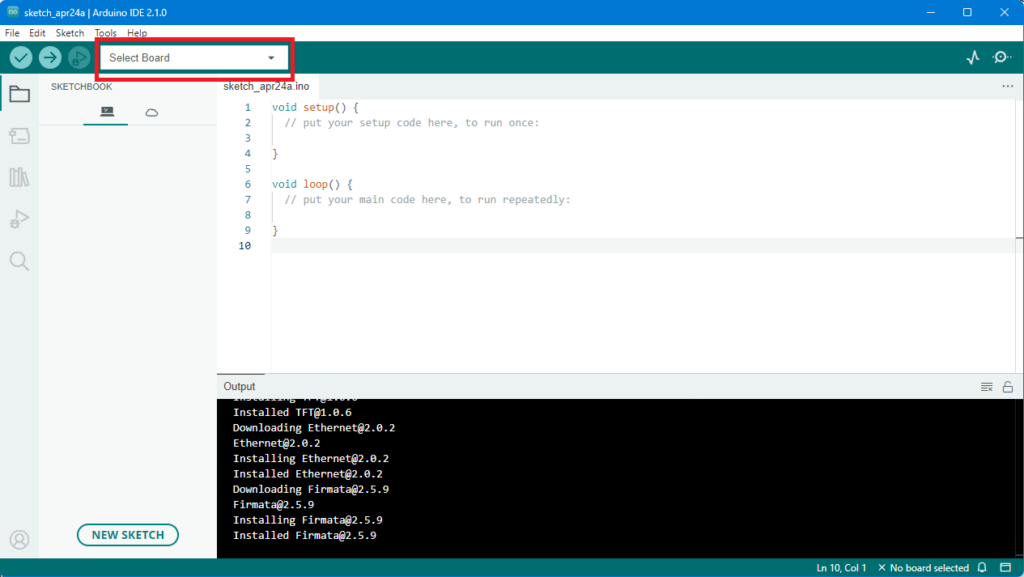
4.Once you know the port name, head back to the Arduino IDE, and clickSelect Board.
So, this is how youll need to configure the Arduino IDE every time you gotta use it.
Step 4: Using the Arduino IDE
Using Arduino IDE is an easy task.
1.pop crack open the Arduino IDE on your system.
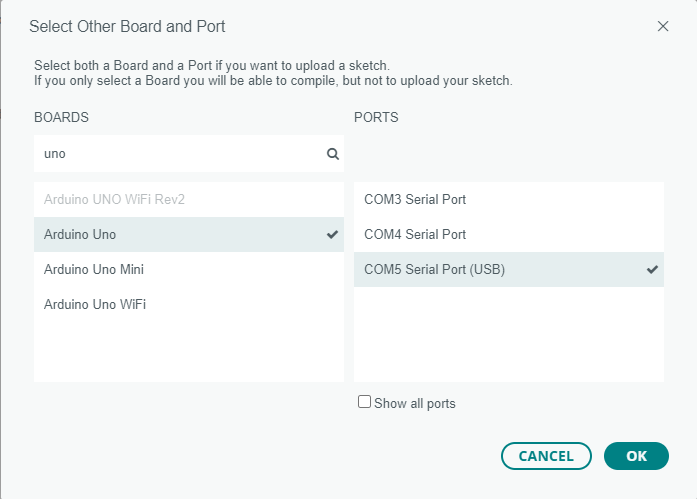
2.Connect your microcontroller, and specify the port location and Board jot down.
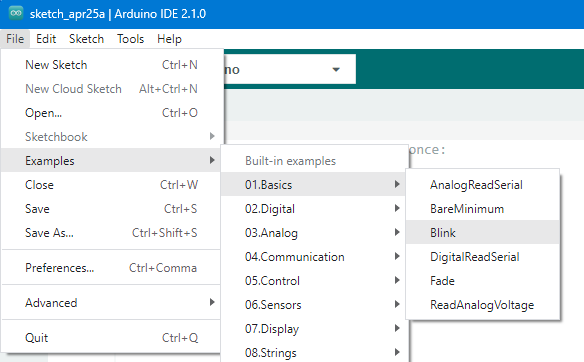
3.If you know how to code in Arduino, write the code.
4.Were going with theBlinkexample.
Once you see/write the code, verify it by clicking theTick markicon at the top left.
If your code has any errors, you’re able to see them in the terminal.
5.Once youve verified the code, click theRight Arrowicon to upload the code to the Board.
Once the upload completes, you’re free to see the functioning on your Board.
Moreover, before running another program on the Arduino board, dont forget to reset it.