Microsoft made some significant changes to the user interface with its newest Windows 11 platform on PCs and laptops.
One of the areas in which the Redmond giant changed a lot is the Start menu.
This is why many users have been trying to get the classic Start menu on their Windows 11 devices.
So, without further ado, check out the following sections for all the details!
You will also find easy-to-follow, step-by-step guides to execute the methods on your PC or laptop.
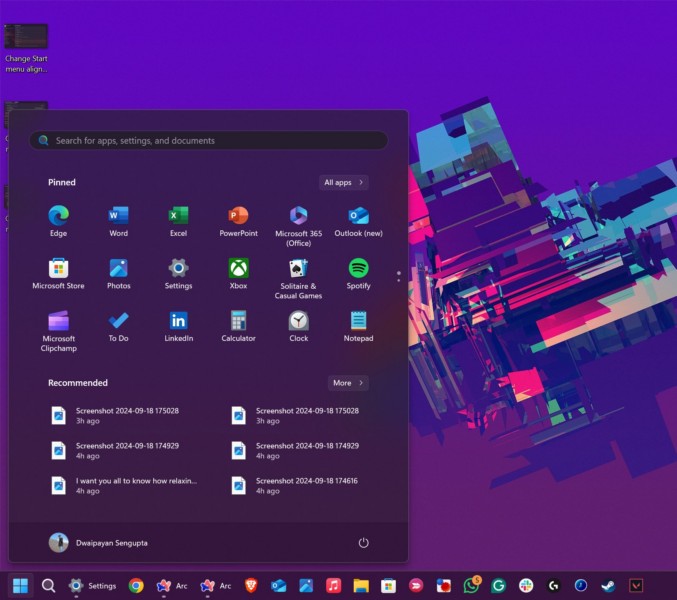
It is just the alignment of the Start menu button that will change from center to left.
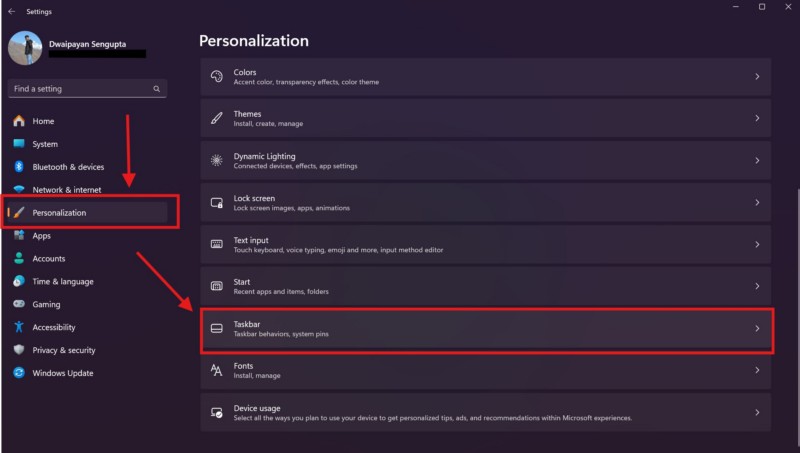
2.Under thePersonalization tabon the left navigation bar, nudge the Taskbar option.
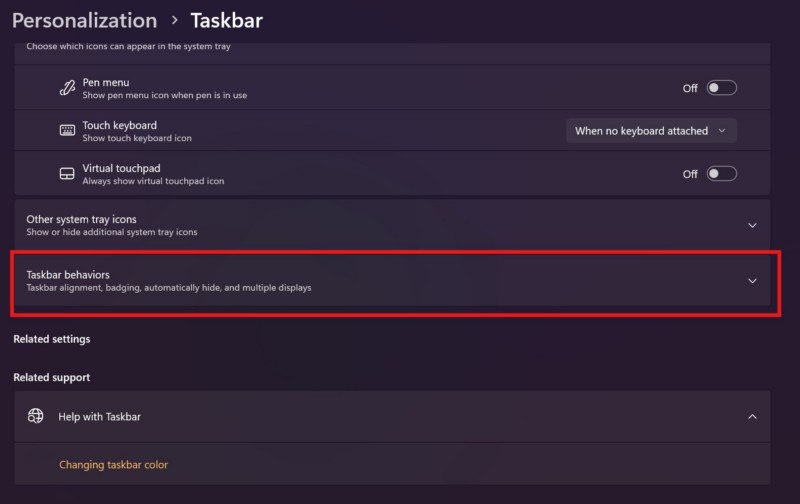
3.hit the arrow next toTaskbar behaviors optionto expand the section.
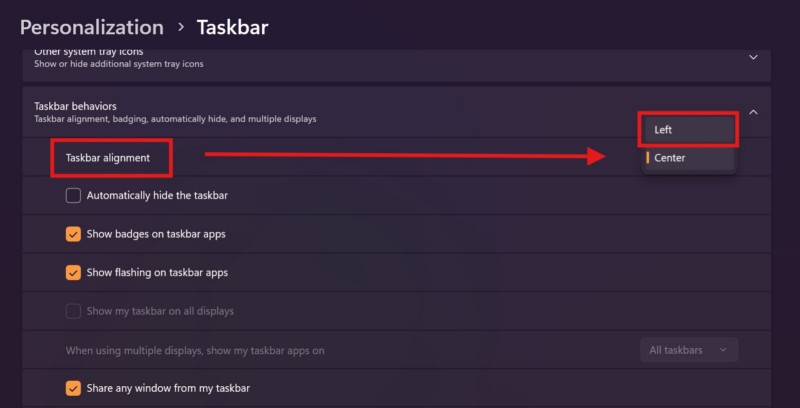
4.Now,smack the boxnext to theTaskbar alignment optionand select theLeft optionon the following menu.
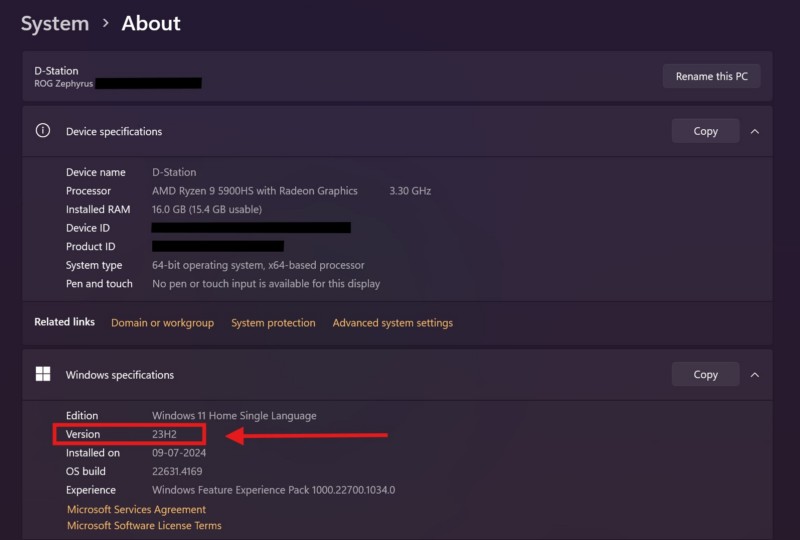
You cancheck which Windows 11 version your PC or laptop is currently runningvia theAbout sectionin theSettings app.
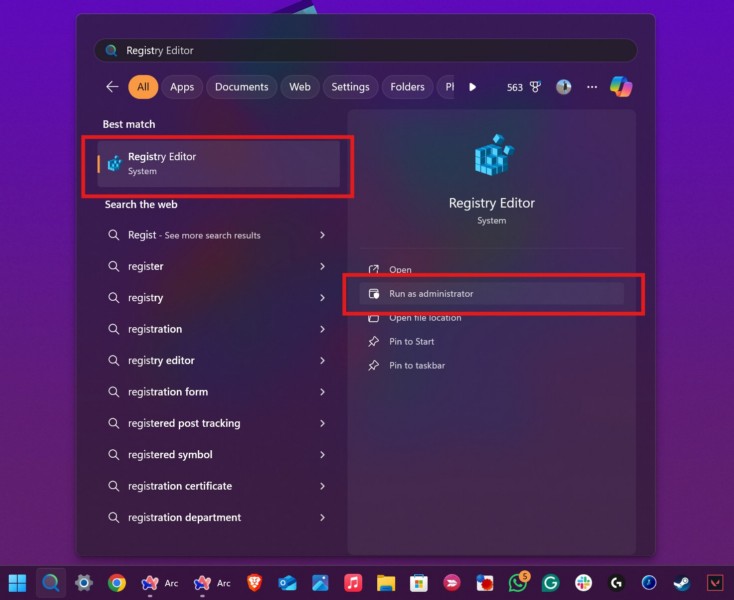
3.ClickYeson the followingUser Account Control (UAC)prompt.
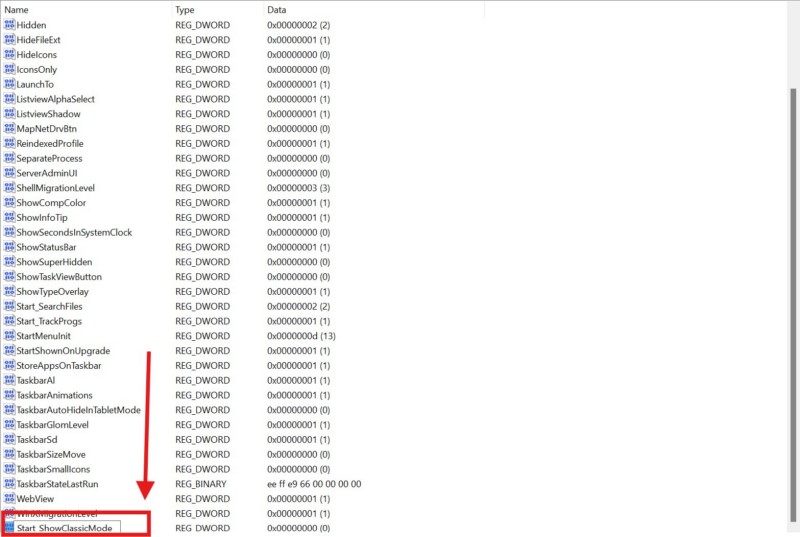
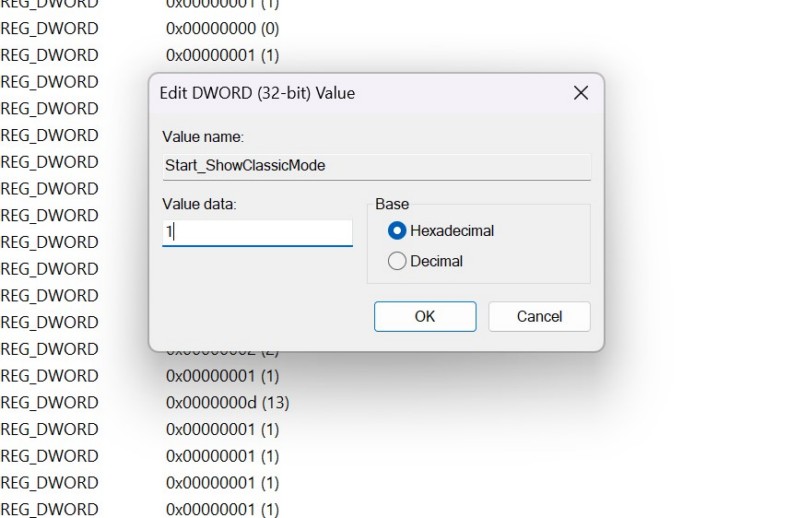
7.Now,double-pick the newly-created valueto open itsProperties windowand change theValue datafrom 0 to1.
Click theOK buttonto save the change.
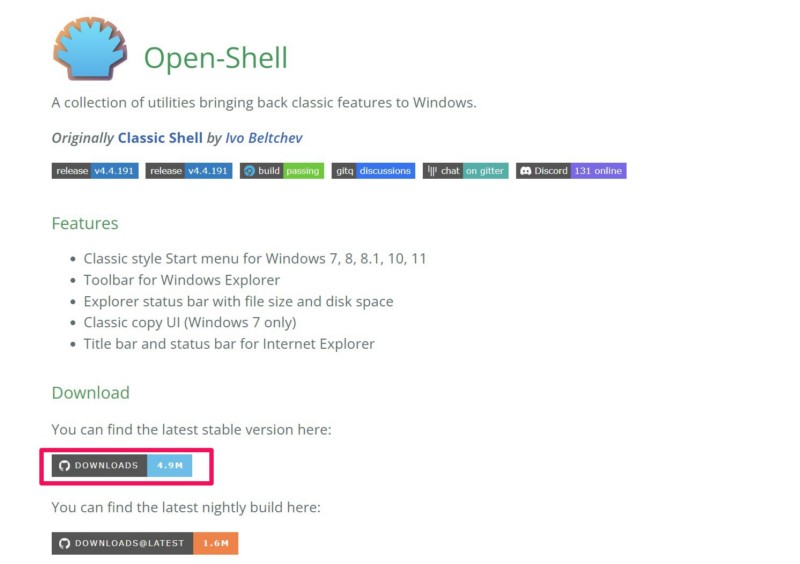
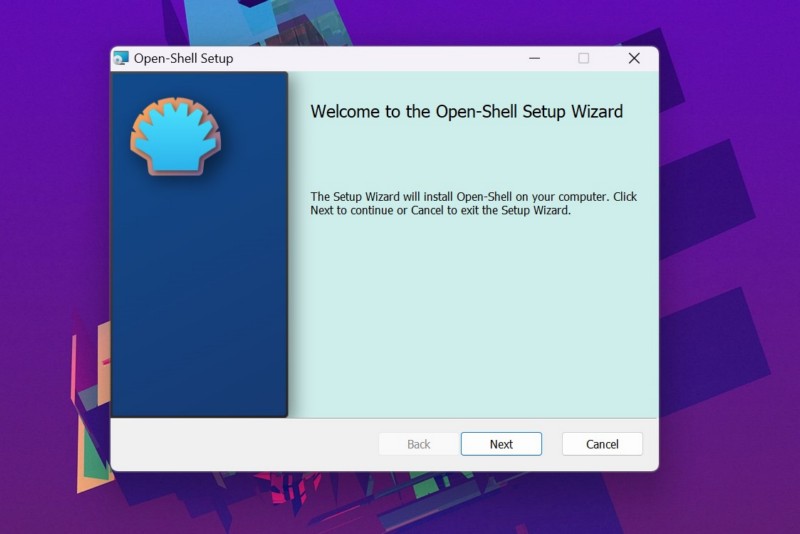
see to it todownload the stable version.
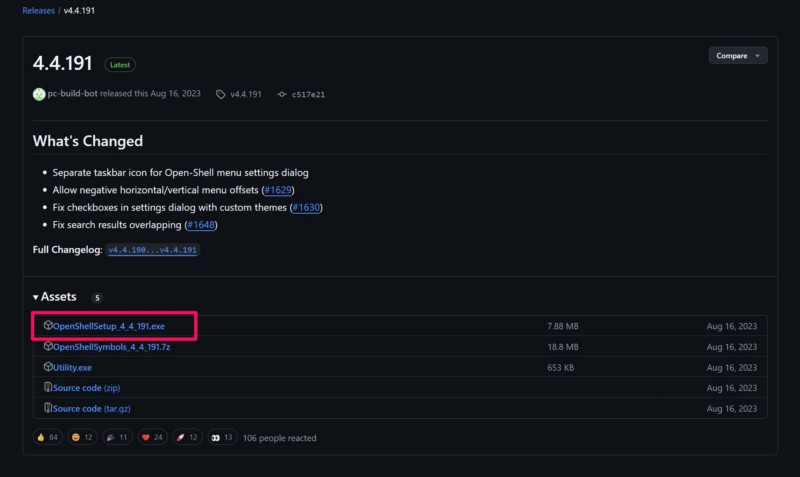
2.On the following page, click theOpenShellSetup_4_4_191.exefile to download it.
3.After the download is completed,locate the file on your Windows 11 PCor laptop anddouble-click to run it.
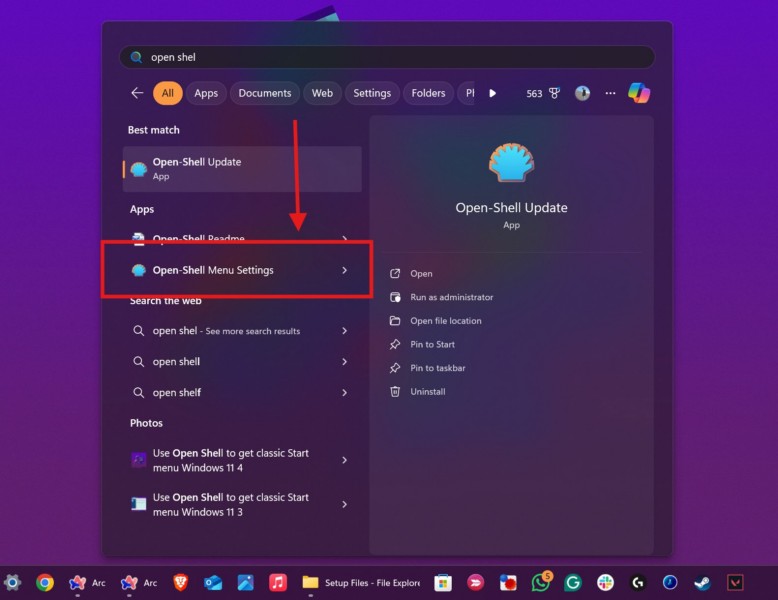
5.Once it is installed, use theWindows + Sto open Windows search andsearch for Open Shell.
6.Click theOpen-Shell menu settingsoption on the search results page.
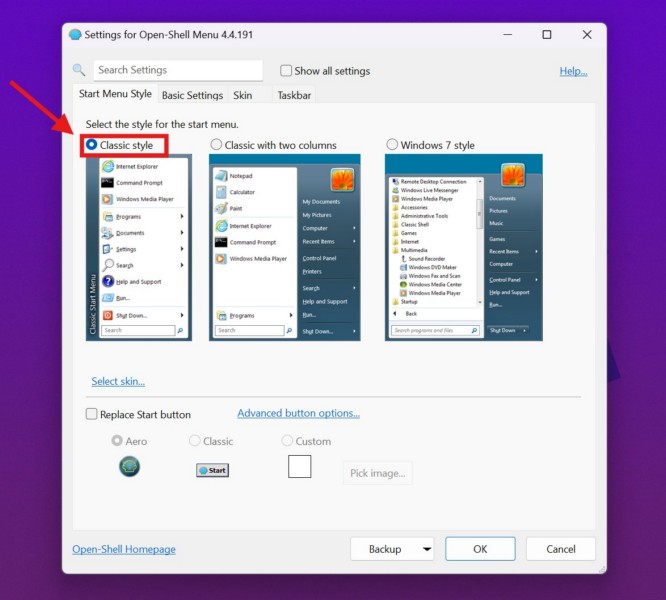
7.Now, in the following window, click theClassic Style optionfor the Start menu and click theOK button.
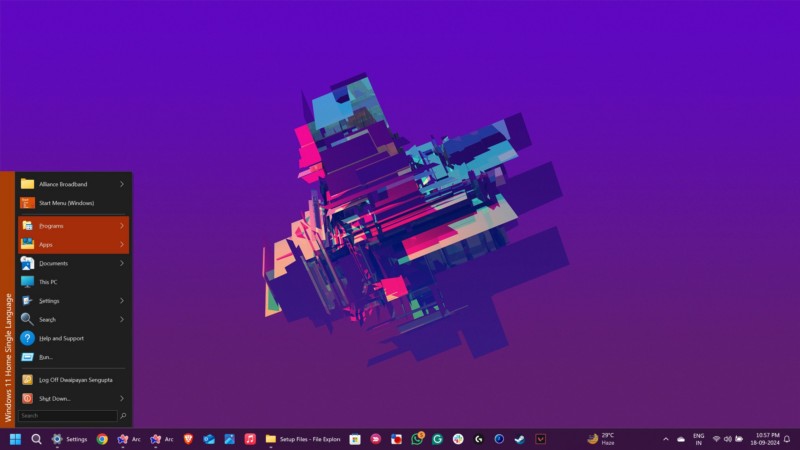
The design is the same as the classic Start menu UI.
So, start exploring it and try all the classic UI elements on your modern, Windows 11 equipment.

FAQs
Can I get the classic Start menu on Windows 11?
How can I get the classic Start menu on my Windows 11 PC?
Is it okay to use third-party tools to get the classic Start menu on Windows 11?