Undoubtedly, its a crucial Windows component, but its currently affecting many users system performance.
Why Is Windows Audio gear Graph Isolation Using So Much CPU Resources?
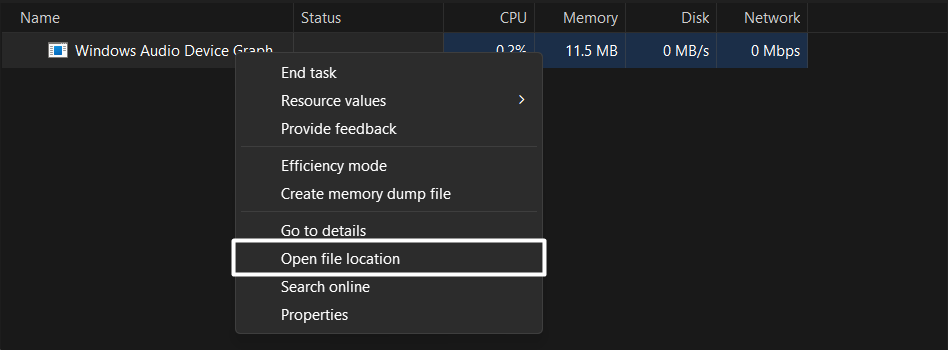
If it sends you to the C:\Windows\System32 path, then its a real process.
Otherwise, its not.
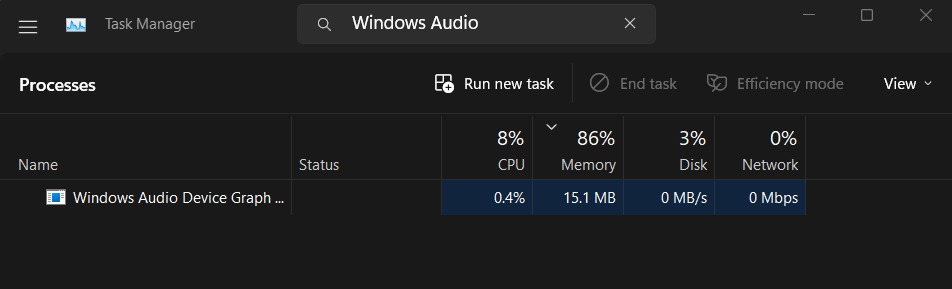
2.Search for theWindows Audio unit Graph Isolationprocess in theProcessessection.
3.Right-press the process and select theOpen file locationoption from the menu.
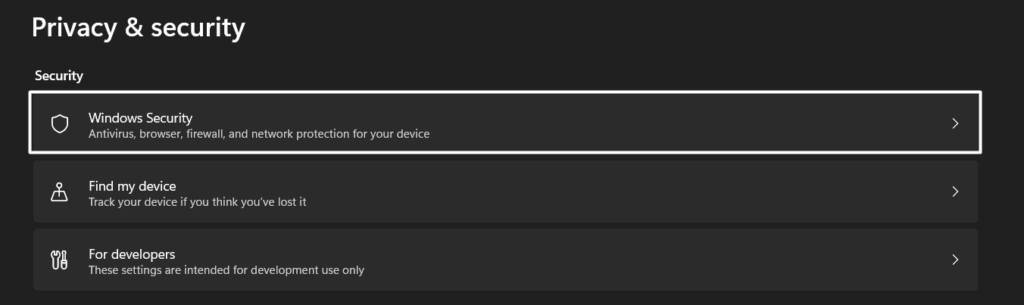
2.SelectPrivacy & securityfrom the left sidebar and click theWindows Securityoption.
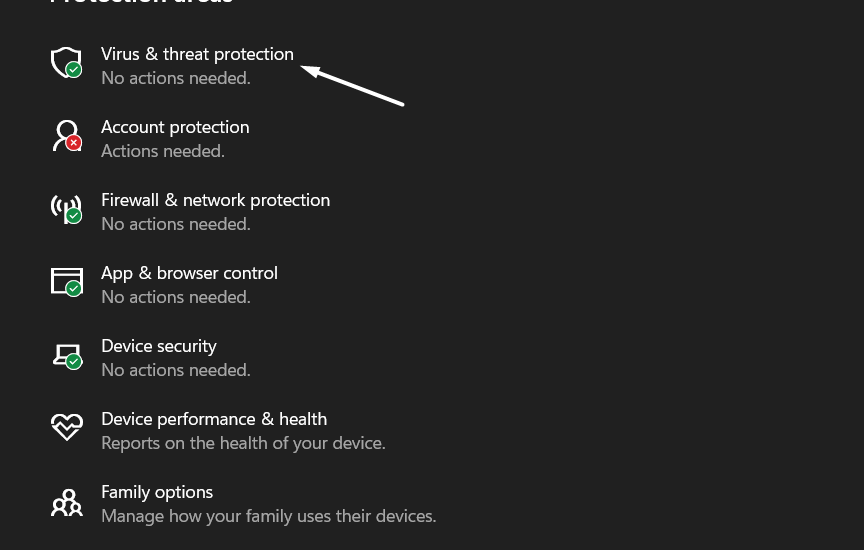
3.On the next window, hit theVirus & threat protectionoption and then click theQuick scanbutton.
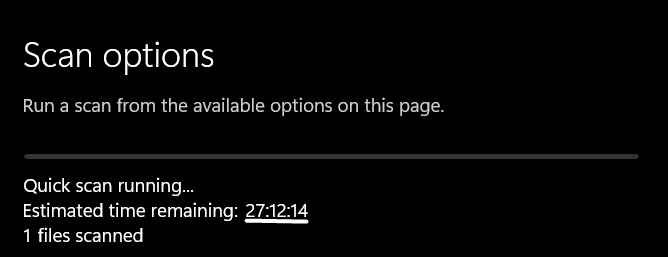
4.Now, wait for the estimated time mentioned on the screen for the virus scan to get finished.
Once the virus scan is completed, verify if it has found some viruses on your system.
If yes, follow the on-screen prompts to remove them from your Windows system.
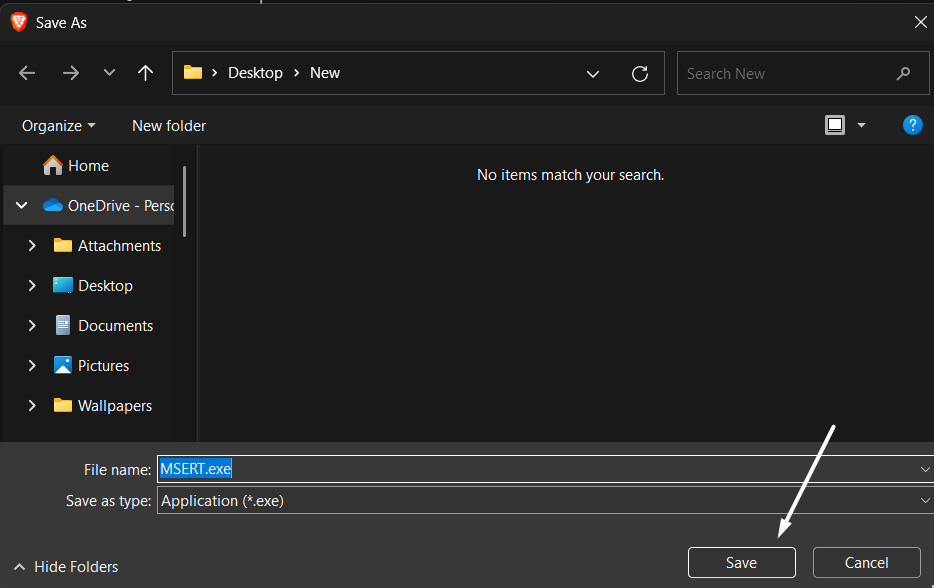
2.Click onSaveon theSave Asprompt to download Microsoft Safety Scanner on your system.

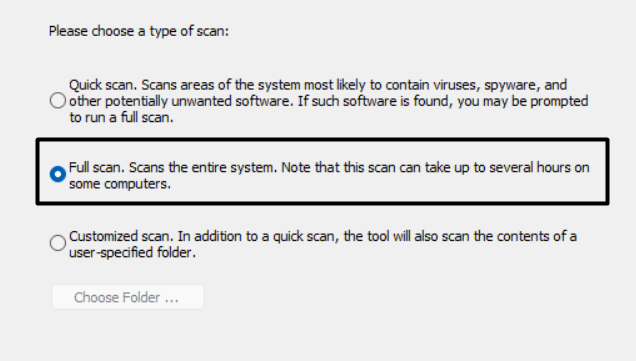
You must now wait for the estimated time for the virus scan to complete and show the results.
So, if youre also using similar programs, then theres a high possibility that theyre causing this issue.
To check this, we suggest youclose similar appsrunning in the backgroundand check whether it improves the situation.

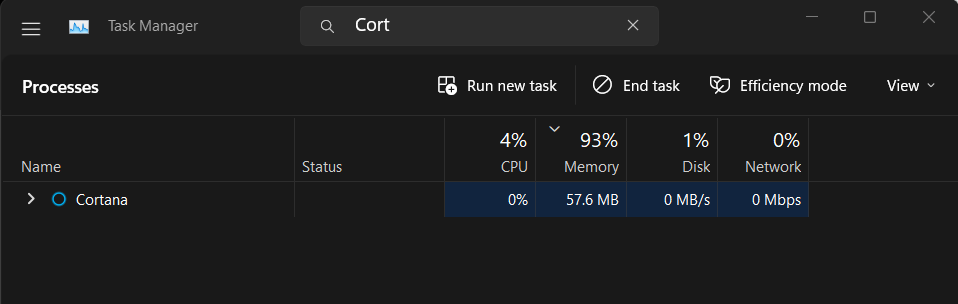
Considering this, we suggest youend the Cortana processand check the issues status.
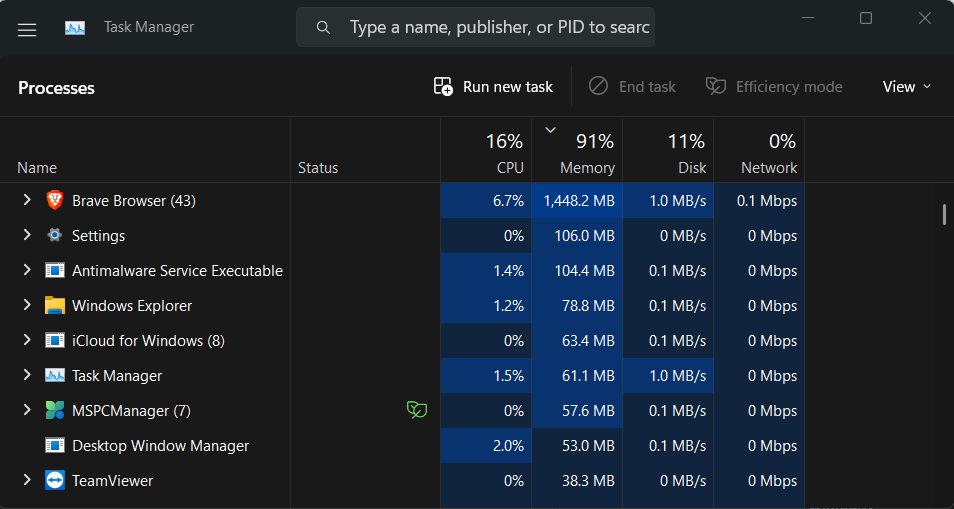
2.Search for theCortanaprocess in theTask Managerutility under theProcessessection.
3.Right-click overCortanaand select theEnd taskoption from the menu to stop it.
Uninstall Skype
Like Cortana, Skype is also an tool that constantly uses the systems audio components to work.
To check whether thats the same, we suggestuninstalling Skypefrom your system if youve it.
2.Search for theSkype appin theAppssection using the search function and click onthree dots (…)next to it.
3.Lastly, select theUninstalloption from the menu and then clickUninstallto delete it.
You would be amazed to know this minor tweak has worked for many users.
Thus, we suggest you do the same and check the issues status.
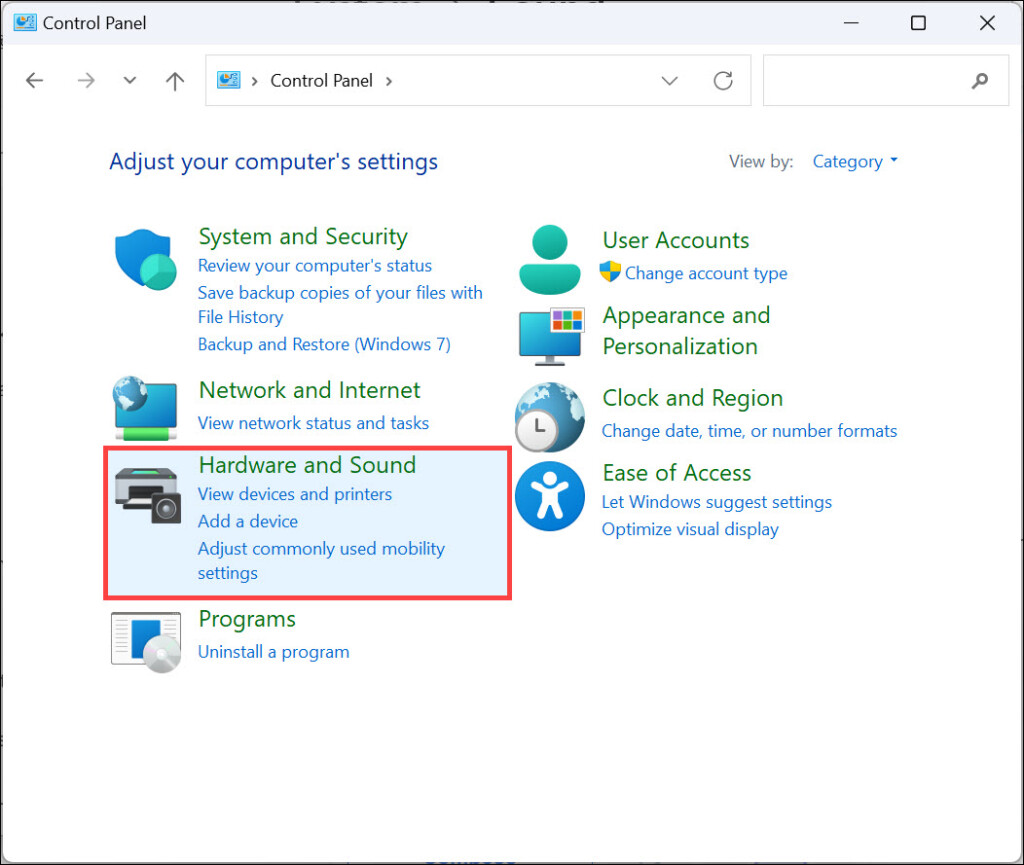
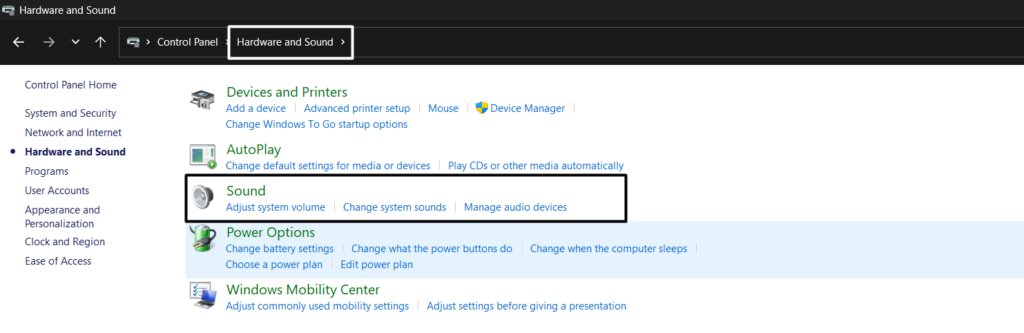
2.Proceed to theHardware and Soundsection and click onSoundto pop pop the systems sound tweaks.
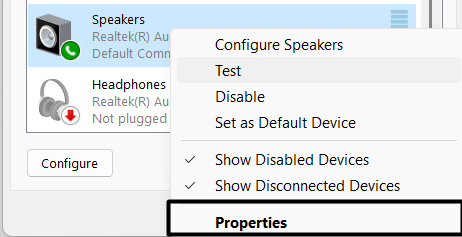
3.Right-choose your current speaker profile in thePlaybacktab and choosePropertiesfrom it.
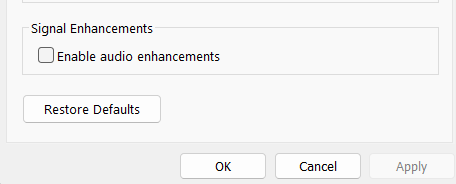
4.Jump toEnhancementsfrom the top navigation menu and untick theEnable audio enhancementscheckbox.
5.tap on theApplybutton and thenOKto save all the recent changes.
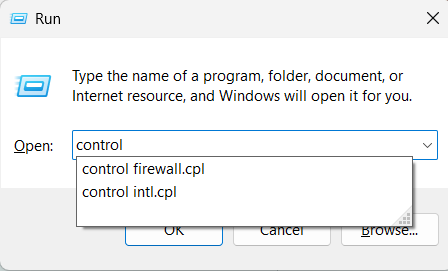
1.Right-click theStart buttonin your systems taskbar and selectRunfrom it to open theRunutility.
2.Typecontrolin the Runs search box, and pressEnterto kick off the Control Panel.
3.Head toHardware and Soundand then hit theSoundoption to move to theSoundsection.
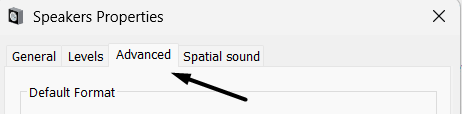
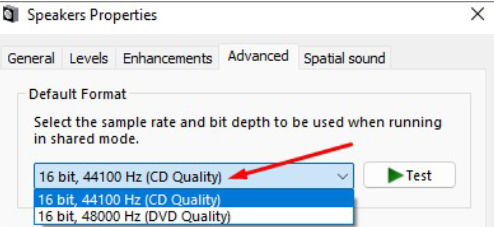
4.Double-press your audio playback rig and navigate to theAdvancedsection.
5.Finally, select theCD Qualityoption from theDefault Formatdropdown menu.
2.Proceed to theHardware and Soundsection and click onSoundto reach the sound prefs.
3.Right-tap on your current audio gear in thePlaybacktab and selectPropertiesfrom it.
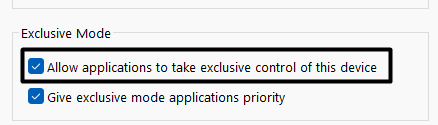
4.Finally, jump to theAdvancedtab and untickAllow applications to take exclusive control of this machine.
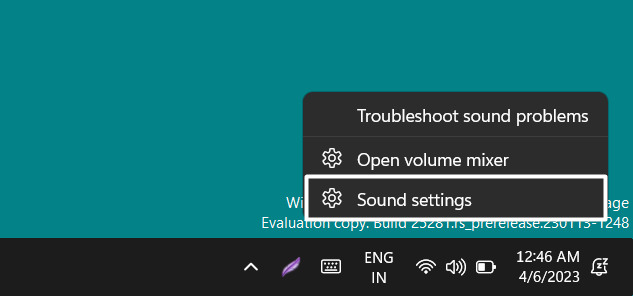
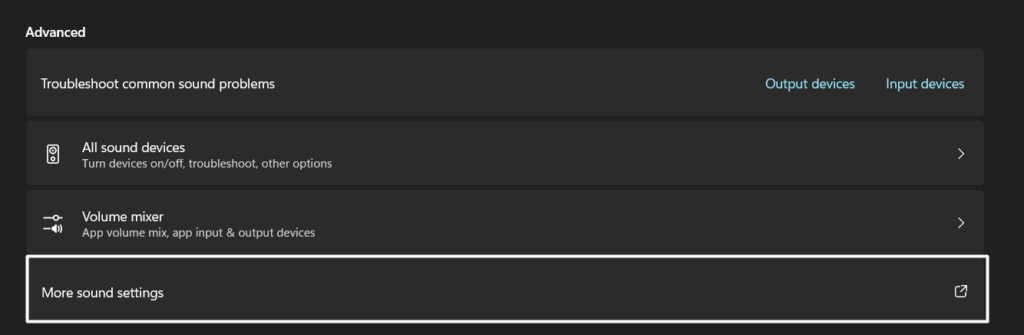
2.press theMore sound settingsoption in theAdvancedsection to open theSoundprompt.
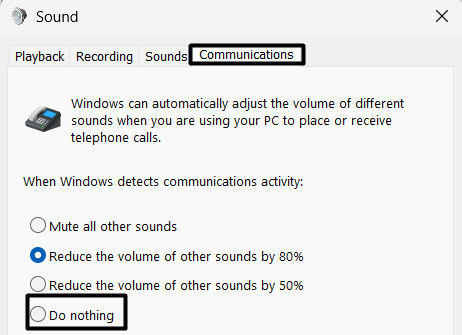
3.Jump to theCommunicationstab and choose theDo nothingradio button.
4.Click theApplyat the bottom and then punch theOKbutton to apply all the changes.
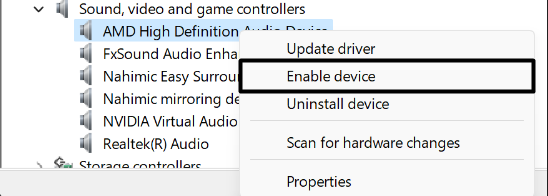
Keeping this in mind, we first recommend youre-enable your systems audio driversto refresh them.
3.Right-choose the disabled audio driver again to get the popup menu and chooseEnable devicefrom it.
3.Lastly, apply the same steps to all other audio drivers to see if it fixes the issue.
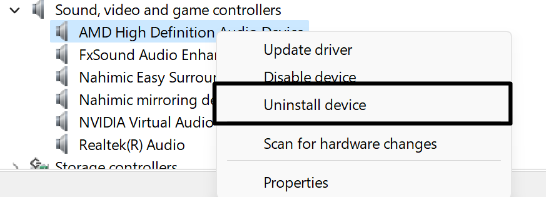
2.After uninstalling the driver,click onActionin the top menu and selectScan for hardware changes.
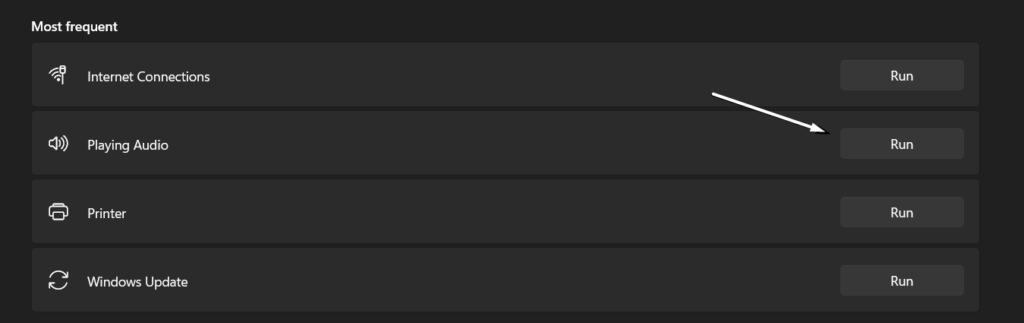
Use the Built-in Playing Audio Troubleshooter
1.Hit theWindows + Ishortcut to open theSettings appand move to theTroubleshootsection.
2.Proceed to theOther troubleshooters, search forPlaying Audio, and click theRunbutton next to it.

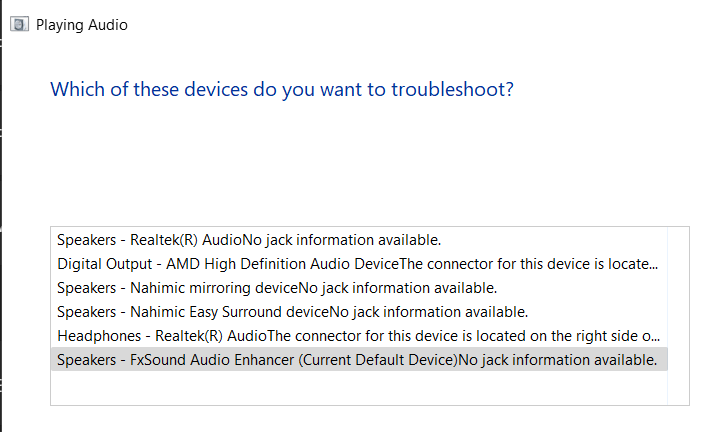
3.Select your current audio playback equipment on the next window and click theNextbutton.
In that case, we suggest youupdate your Windows 11 PCto the latest version to eliminate all these bugs.
2.select theCheck for updatesbutton at the top to search for available Windows updates.

3.Lastly, click theDownload and installallbutton next to all theavailable updates to install them.
Thus, this could be the same in your case if the problem is still there.
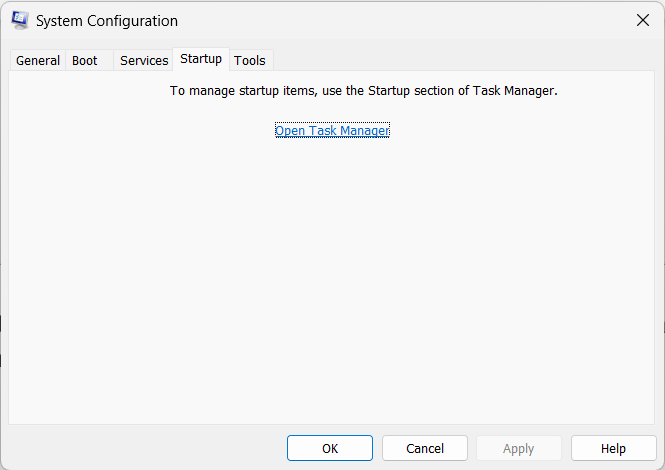
2.Select theSystem Configurationoption from theBest matchsection and proceed to theBoottab.

3.In theBoottab, check theSafe bootandNetworkcheckboxes under theBoot optionssection.
4.Once done,move to theServicestab, tick theHide all Microsoft servicescheckbox, and press theDisable allbutton.
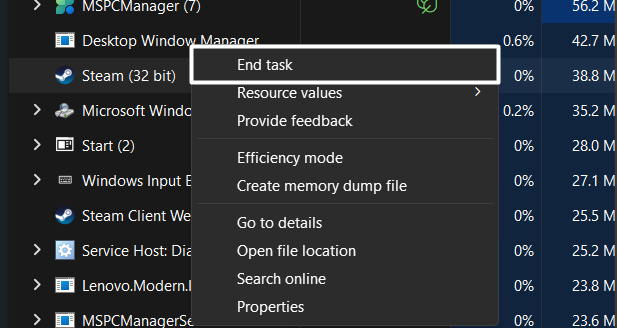
5.Proceed to theStartuptab and click theOpen Task Manageroption to initiate the Task Manager utility.

6.In the end, force close all the non-Microcroft processes in Task Manager and check the issues status.
Once done, kickstart your system and look to see if the issue is fixed.
If the issue is fixed, you now know the reason.
Doing so will uninstall all the updates that were installed after creating that particular restore point.
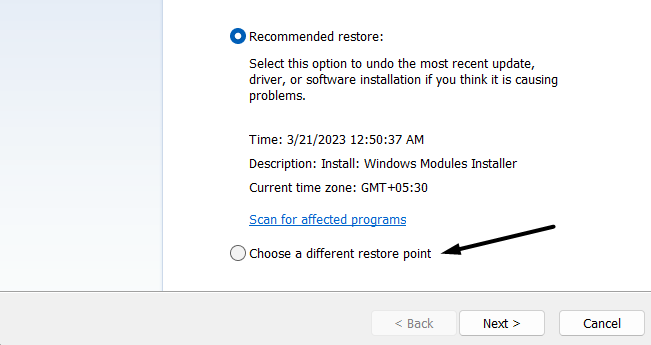
2.Click onSystem Restore…in theSystem Restoresection and select theChoose a different restore point radiobutton.
3.Select a restore point and tap on theNext >option at the bottom of the prompt.
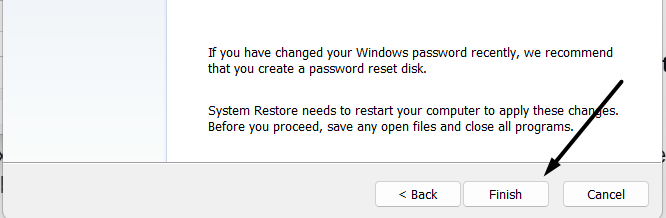
4.Lastly, click onFinishand and wait for the system to return to the selected system restore point.
FAQs
How Do I Fix High CPU Usage by Audio equipment Graph Isolation?
If that doesnt work, you could try turning off automatic volume adjustment and Exclusive Mode on your system.
Why Is Windows Audio Graph Taking So Much CPU?
Can I End Windows Audio unit Graph Isolation?
you’re able to end the Windows Audio machine Graph Isolation process.
But you shouldnt do so, as it can cause issues with your systems audio functionalities.
How Do I Turn Off Windows Audio?
3.In the end,selectDisablefrom the popup menu to block the selected playback gadget.

How Do I Permanently Disable Realtek Audio?
1.Hit theWindows key + Rkeys simultaneously to openRun, typedevmgmt.mscin it, and pressEnter.
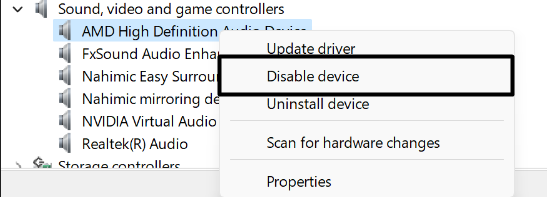
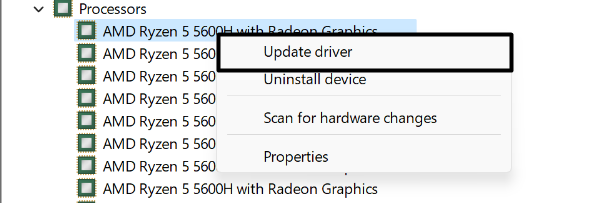
2.Expand theSound, video, and game controllerssection once the unit Manager is opened.

3.Right-punch theRealtek (R) Audiodriver in the same section and selectDisable devicefrom the menu to disable it.
Sadly, many users are facing performance issues due to the same reason.
Also, verify to share which of the mentioned workarounds helped you fix it.