Whats worse than doing something important on your Windows system and then experiencing a sudden system crash?
Sadly, many Windows 11 users are extremely annoyed because of the same.
According to them, their Windows 11 PC keeps crashing again and again after several minutes of startup.

Due to this, they arent able to do anything on their computers, as its nearly non-functional.
There could be several reasons behind this issue.
But the best part is this can be resolved with some simple troubleshooting.

Here in this in-depth guide, weve shared somepossible workaroundsto eliminate the Windows 11 keeps crashing issue.
So, take a sigh of relief and try all the troubleshooting methods mentioned in this in-depth guide.
Why Does My Windows 11 PC Keep Crashing & Freezing At Random Intervals?

These could be the reasons behind the sudden crash of your Windows 11 PC.
Lets try the first workaround.
Doing so will help you know whether a third-party app is leading to this problem.

2.Then,click theGet updatesbutton under theUpdates & downloadssection to check for additional updates.
If updating the program doesnt fix the issues with the program, we recommend reinstalling it on the system.
In case it doesnt address the issue, we recommend yourun the Microsoft Store Apps troubleshooter.

This troubleshooter will help you find and fix issues with your Windows systems built-in apps.
So, try the same and verify if your luck works.
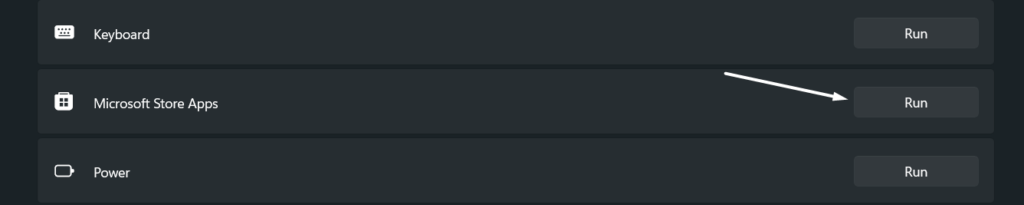
2.Next, jump to theOtherssection of theTroubleshootsection and search for theMicrosoft Store Apps troubleshooter.
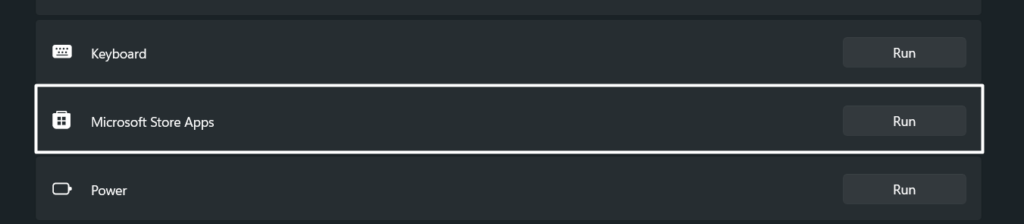
3.Now, click onRunnext toMicrosoft Store Appsto start the troubleshooting process.
It could be possible that your Windows machine is overheating, which is why its repeatedly crashing.
If youre using a laptop, you could easily feel the heat coming out from the air vents.
Whereas if youre using a desktop, you could feel your CPUs cabinet heating up and releasing heat.
If your system is overheating, we recommend youensure that the cooling fans are running properly.
This is why we always recommend usersrun a periodic virus scanto avoid these problems with their Windows system.
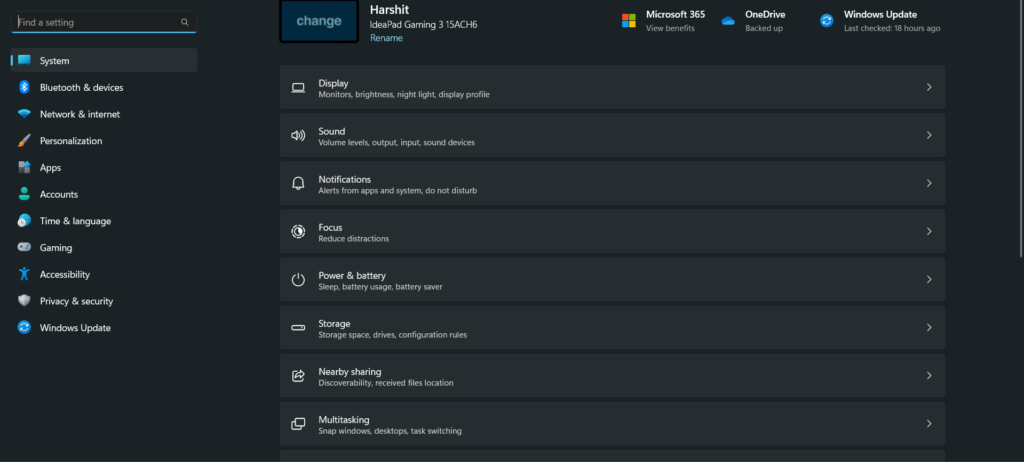
2.Once theSettings appis opened, searchvirus and threat protectionusing the search bar located below the profile.
3.Now, selectvirus and threat protectionfrom the results and then punch theQuick scanoption in theCurrent threatssection.
Once the virus scan is finished, delete the infected files from your Windows PC.

This could be the same with you.
Due to this, we recommend yourun the DISM scanto repair corrupted Windows image files in seconds.
After that, we suggest youinitiate the SFC scanto repair or replace the corrupted system files.

3.After running the DISM scan, copy-paste the below-mentioned commands in it to begin the SFC scan immediately.
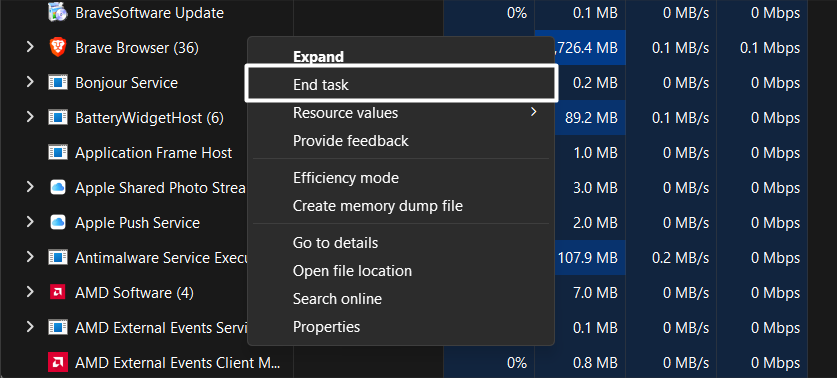
To do so, launch theTask Manager programusing theCtrl + Shift + Esckeyboard shortcut.
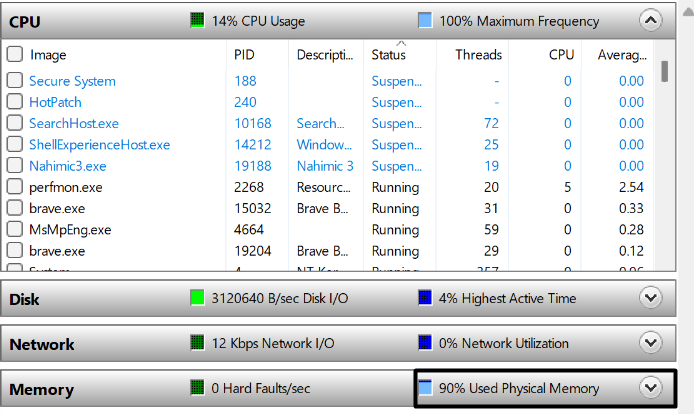
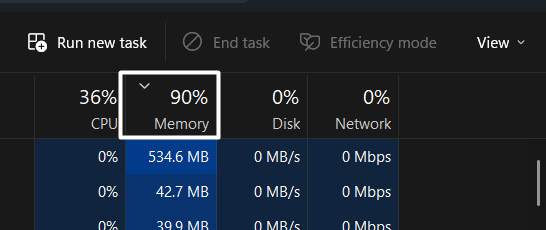
4.Once theTask Manager appis opened, press theMemoryoption to view tasks by high to low resources.

6.Lastly, do the same with other high resources consuming processes and then check the status of the issue.
They also mentioned that they fixed those issues using the Windows native Windows Memory Diagnostic tool.
2.Once the Memory Diagnostic tool is launched, select theRestart now and check for problems (recommended)option.
Your system will now reboot and start searching for memory problems on your system.
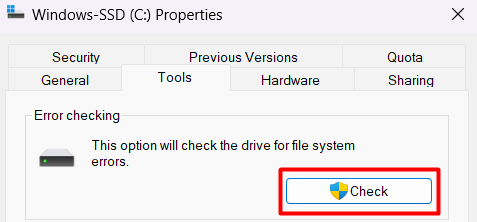
They also mentioned that they simply fixed the hard drive errors using Windows built-in Error Checking tool.
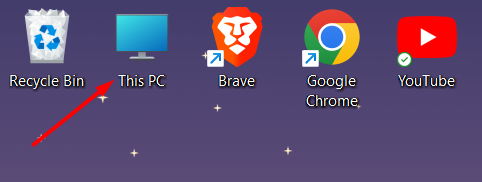
2.Subsequently, right-tap on your primary hard drive and select thePropertiesoption from the right-click menu.

3.Now, move to theToolstab of thePropertiessection and click theCheckbutton under theError checkingsection.
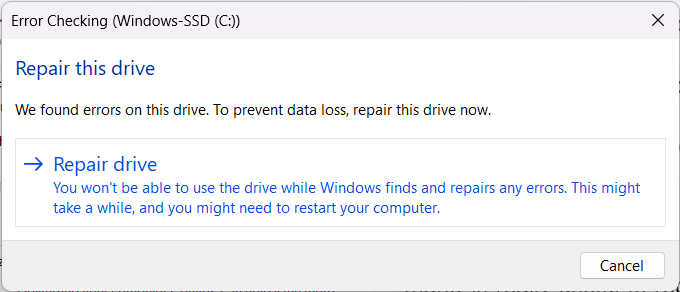
4.Finally, press theScan driveoption to start the hard drive repair process and wait for the results to complete.
Due to this, the programs arent functioning properly and making the system crash.
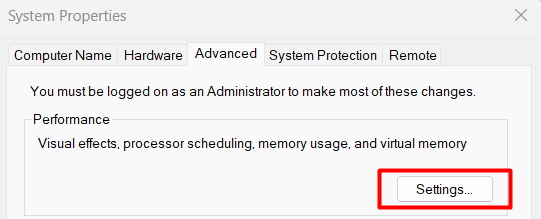
2.Now, chooseView advanced system settingsfrom theBest matchsection and move to theAdvancedsection.
3.Next, press theSettingsoption under thePerformancesection and then proceed to theAdvancedtab.
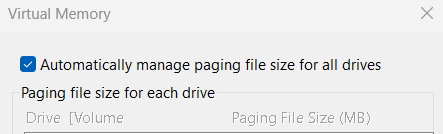
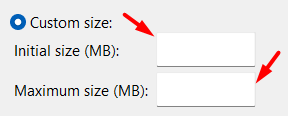
5.Finally, enable theCustomize sizeoption and enter12288 MBin theInitial sizetext box and24576MBin theMaximum sizetext box.
In that case, the best possible solution is to update themfrom theDevice Manager utility.
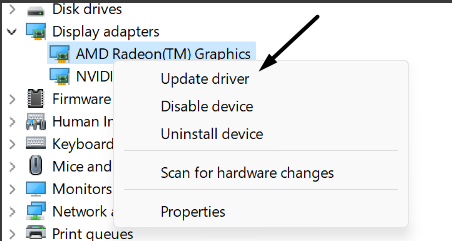
1.To start, open theRun programusing theWindows + Rshortcut, typeDevmgmt.mscin it, and pressEnter.
2.Now, expand theDisplay adapterssection, right-choose the graphic driver, and then select theUpdate driveroption from it.

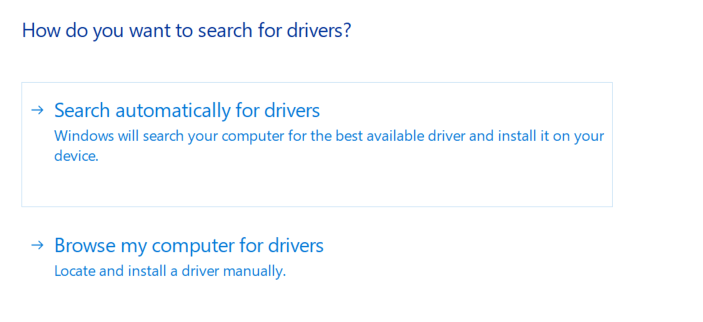
3.Once done, select theSearch automatically for driversoption and let it search for new updates for the graphic driver.
After updating the graphic driver, test whether the issue is fixed.
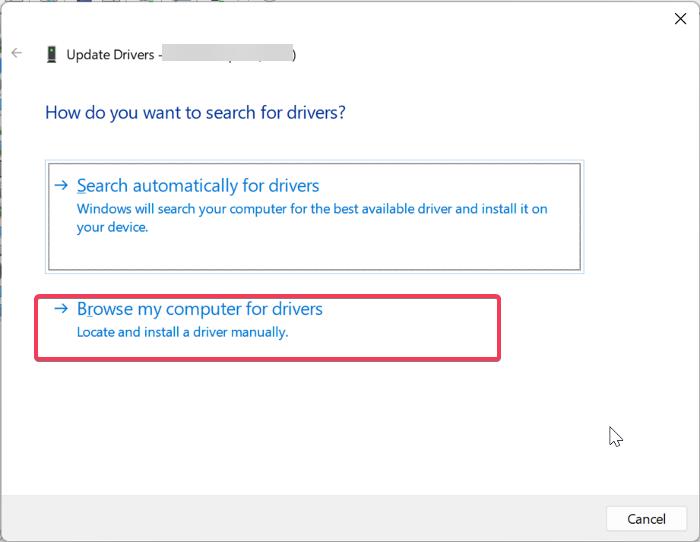
4.Then,select theBrowse my computer for driversoption ontheHow do you want to search for driversprompt.

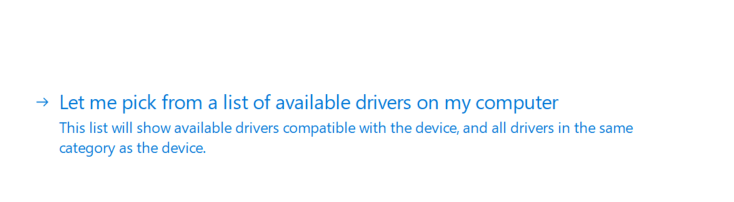
6.Finally, choose theNextoption to switch the systems graphic driver with Microsoft Basic Display Adapter.
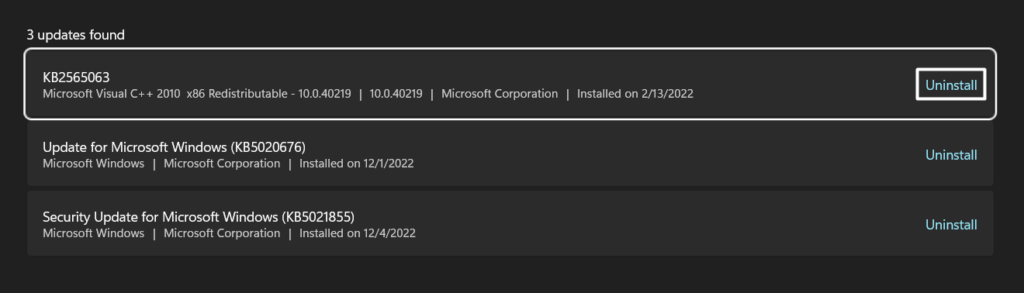
But for that, you must remember the Windows 11 update that started causing this issue.
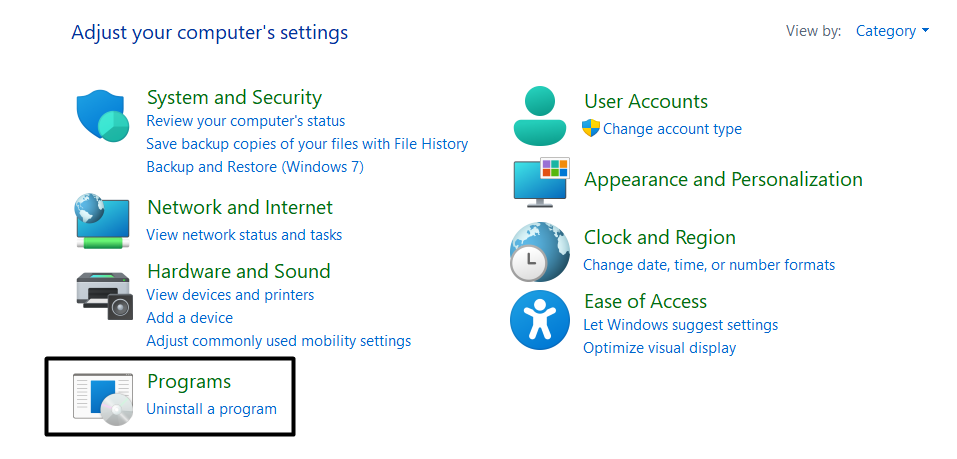
2.Subsequently, move to thePrograms & Featuressection and select theView installed updatesoption from the left menu.
3.Then, click theUninstallbutton next to the faulty Windows update you want to remove from your setup.
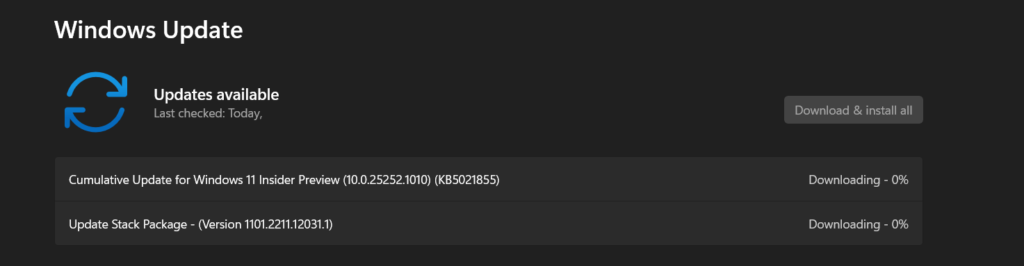
In that case, we suggest youcheck for new Windows updates and install themto fix the bugs and glitches.
To do so, move to theWindows Updatesection of theSettings appand click theCheck for updatebutton.

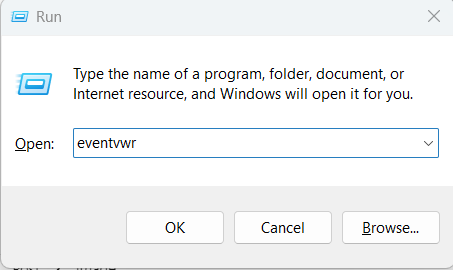
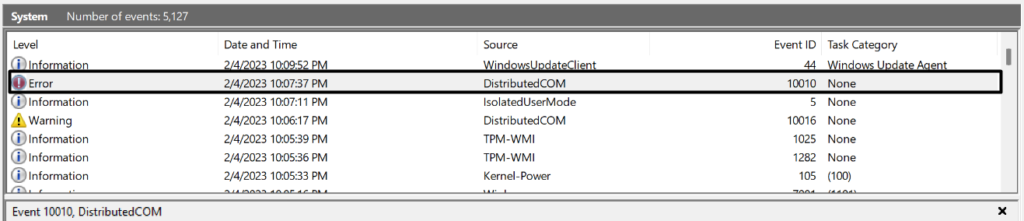
Windows automatically creates a detailed report whenever it crashes unexpectedly.
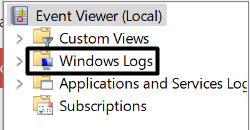
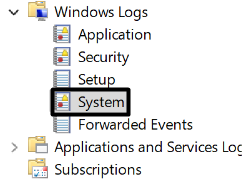
2.Once theEvent viewerapp is opened, expand theWindows Logssection in the left-side menu by double-clicking on it.
5.Once youve found that particular event, double-select it to know the details of the crash.
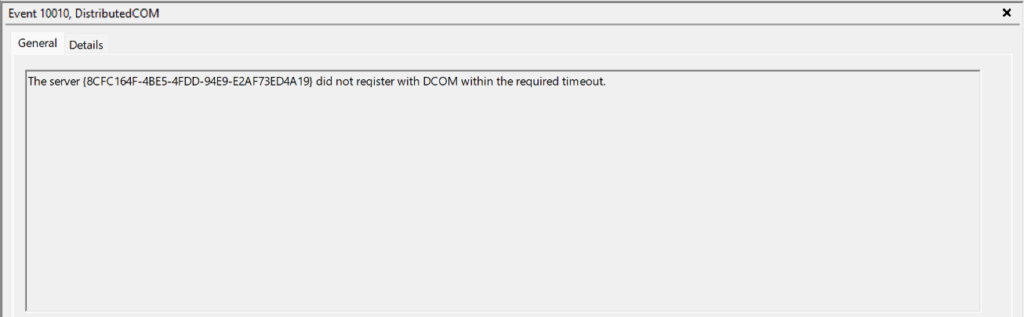
you’re free to now find the cause of the issue in theGeneralsection.
So, you’re free to also tryrestarting your PC into Safe modeto check the same.
So this way, you’re able to easily find out whether a program is causing this issue.
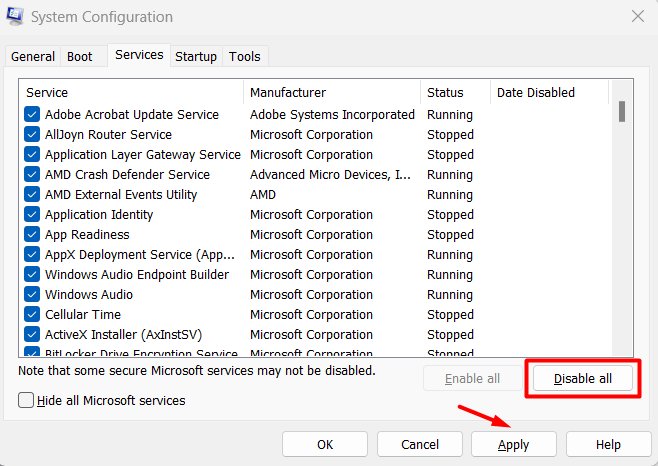
2.Next, proceed to theBootsection of the next window and check theSafe bootbox under theBoot optionssection.
3.Then, move to theServicestab of theSystem Configurationwindow, and enable theHide all Microsoft servicesoption at the bottom.
Once youve found the real culprit, avoid reinstalling the same app to avoid this issue.

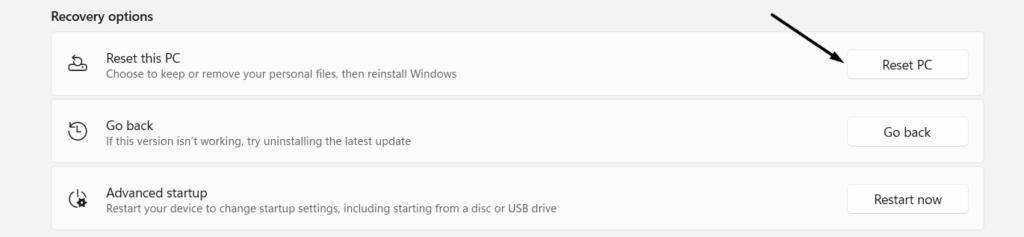
Doing so will revert all your systems controls to default and fix the issue.
Also, this will delete the systems existing data, which might not be suitable for some users.
Once done, follow the on-screen instructions to start resetting your PC.

FAQs
Is Windows 11 Stable Now?
Yes, Windows 11 is almost stable now.
Can You Revert From Windows 11 to 10?
But this can only be done within 10 days of installing Windows 11.
Will Switching to Windows 11 Delete Everything?
Youve to backup your existing content and reinstall Windows 10.
Do I Need To Buy Windows 11 Again?
Your Windows 10 license will transfer to Windows 11, which is the same as free.
Their Windows 11 PC keeps crashing again and again after several minutes of startup.
We hope the listed fixes help you fix the issue.