macOS is one of the best operating systems out there, right next to Windows.
Since Wi-Fi relies on both hardware and the software of your Mac, youll have issues sometimes.
If your Wi-Fi has crapped out on your Mac, there can be various reasons why it isnt working.
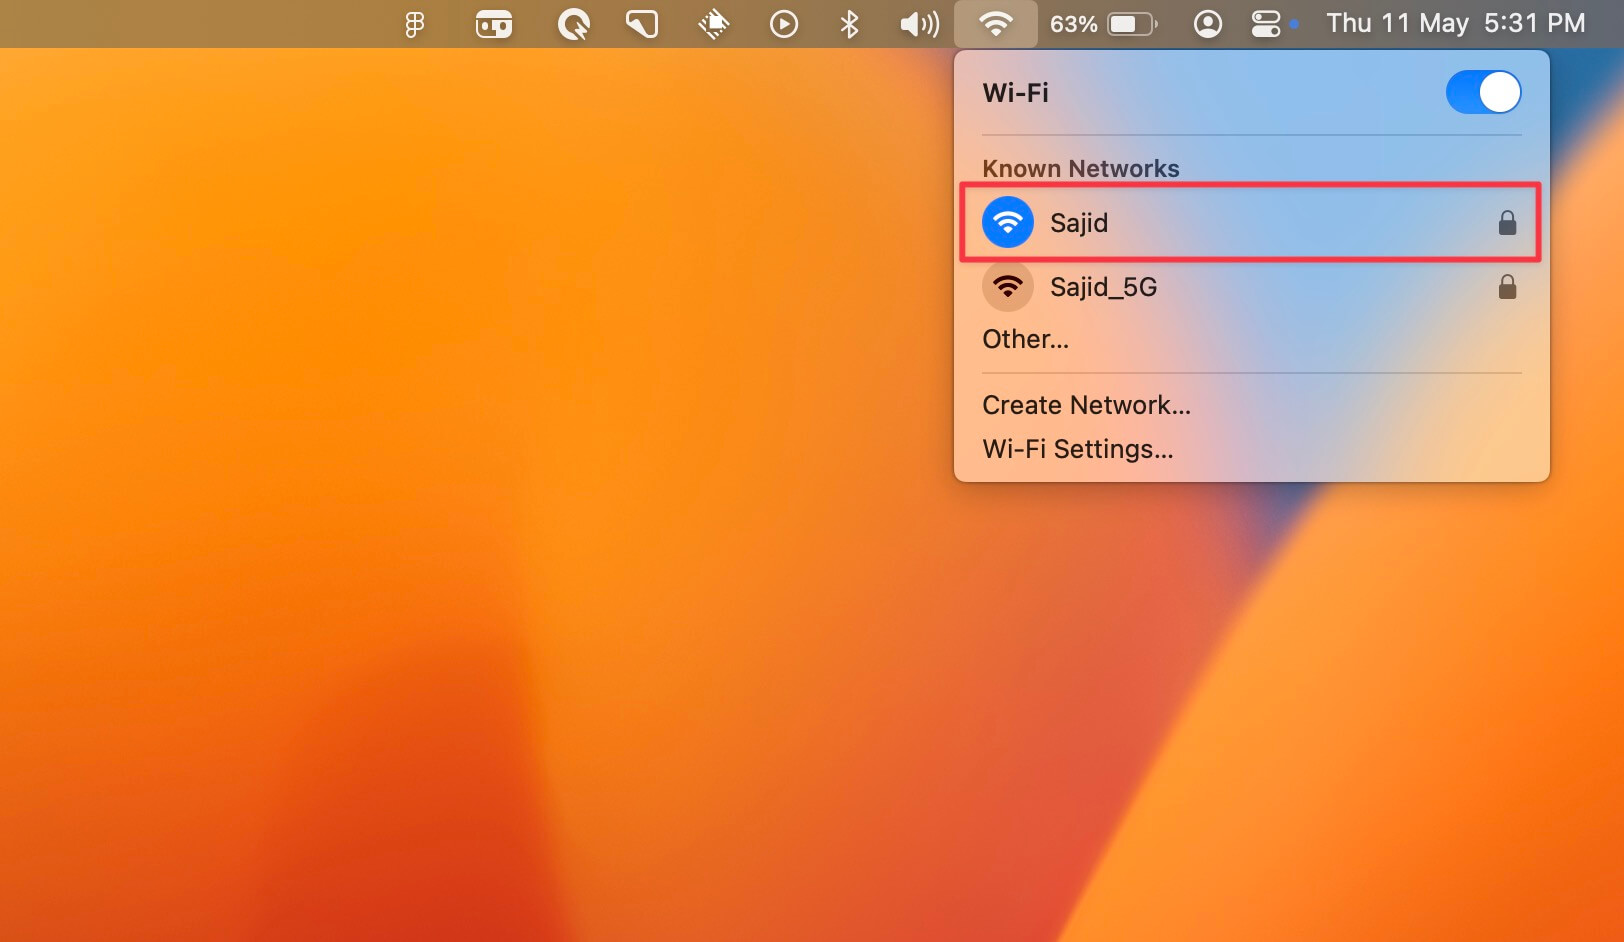
If not, connect to a different one and repeat the same.
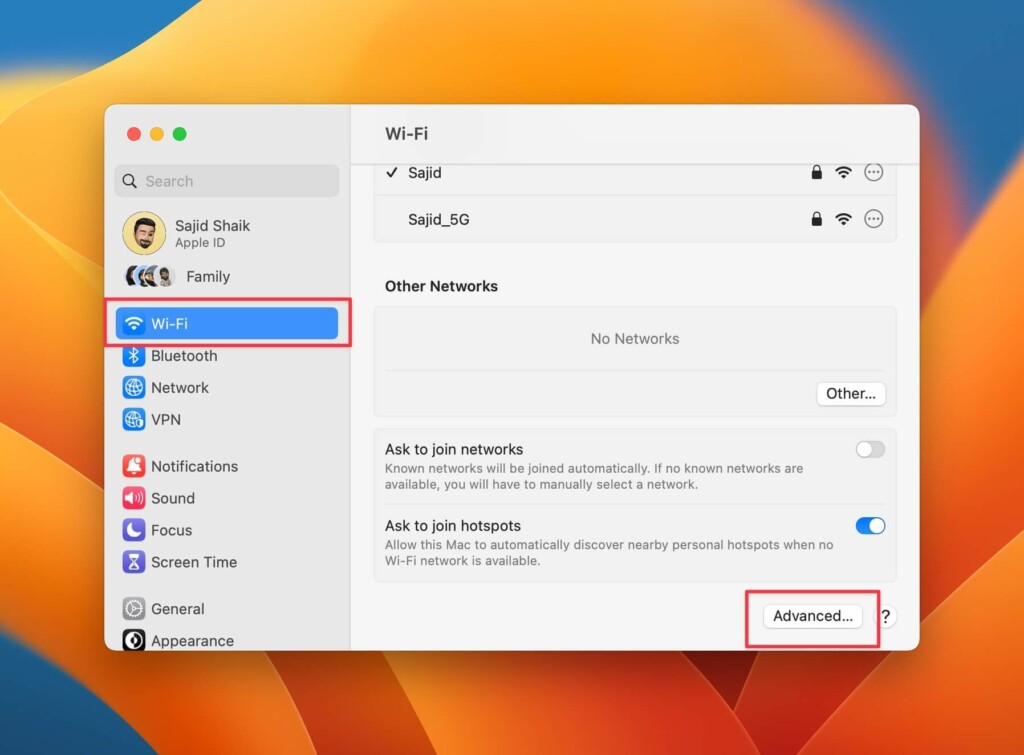
2.SelectWi-Fifrom the left sidebar.
3.Scroll down on the right side, and clickAdvanced.
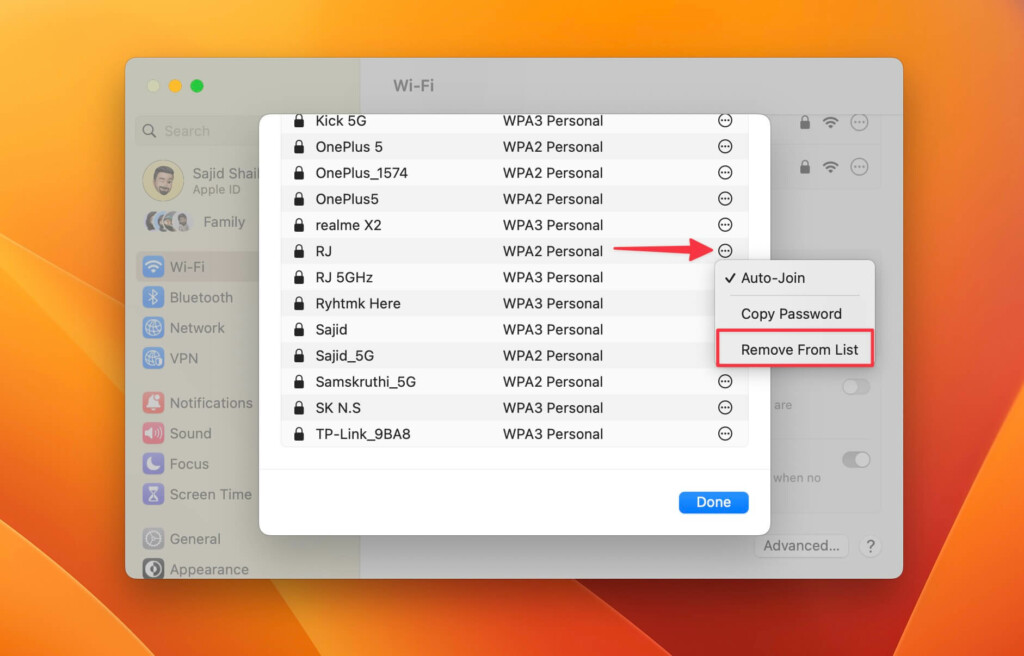
4.Select thethree-dot menuin the new dialog box to the right of the Wi-Fi internet you want to connect.
5.Click theRemove From Listoption from the dropdown menu.
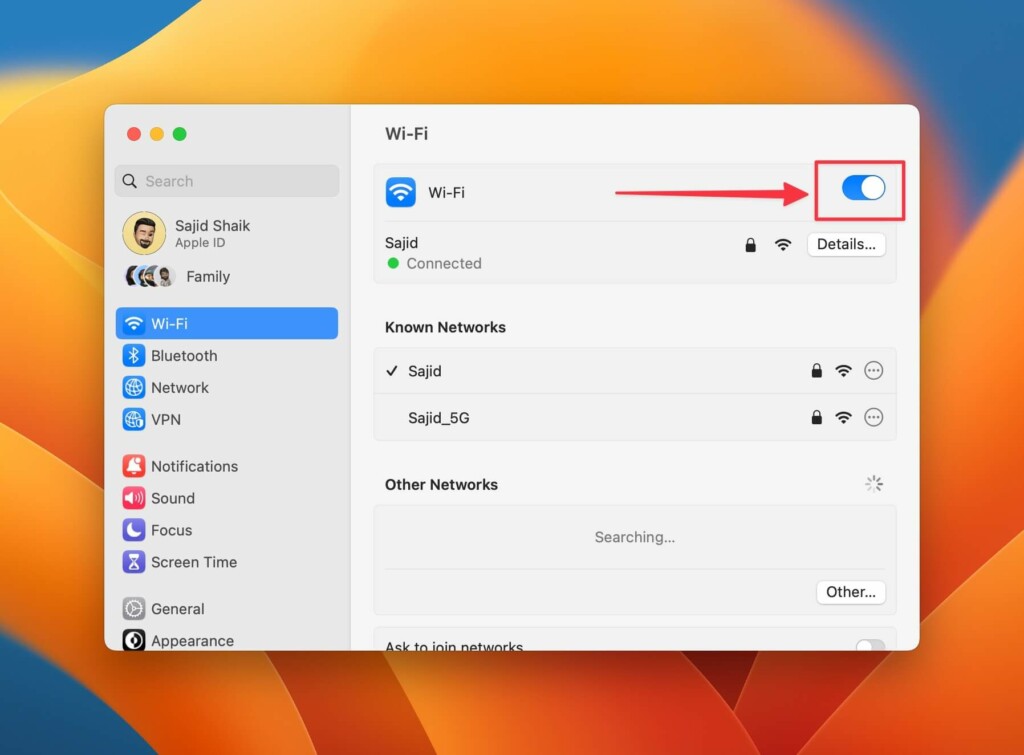
6.shut the dialog box and toggle off yourWi-Fi.
7.Wait a few minutes and turn on yourWi-Fiagain.
8.Select theJoinoption from the Other Networks section on the Wi-Fi you want to connect.
Enter the password if prompted and clickJoin.
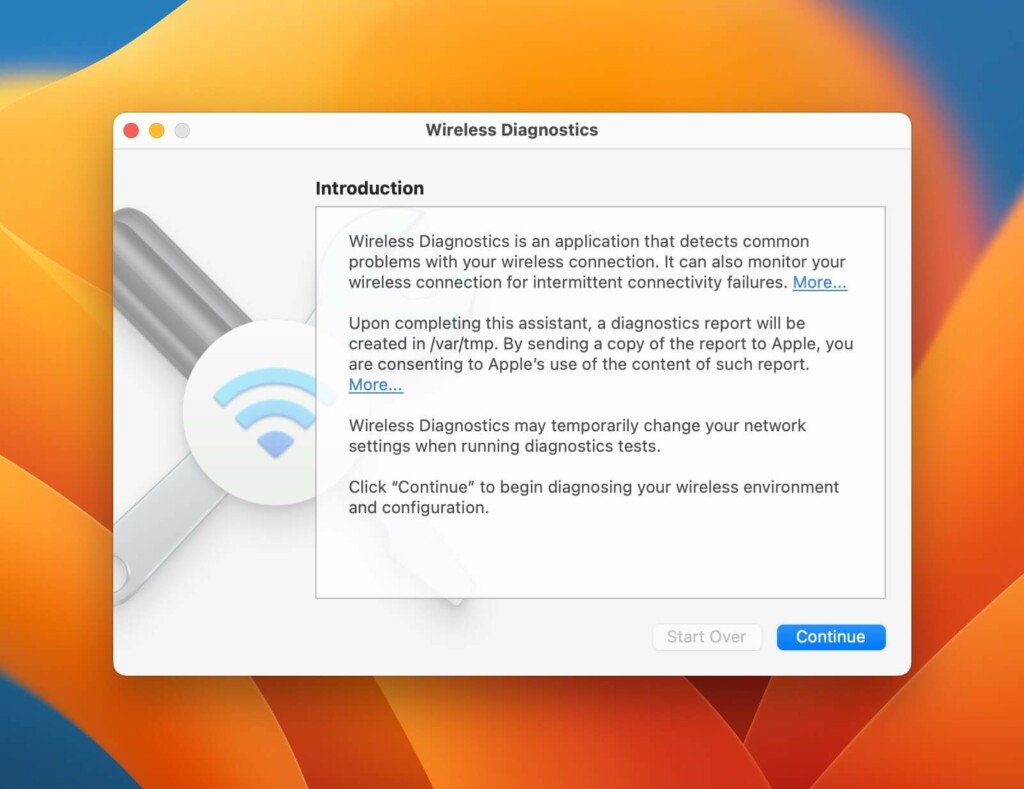
Its a tool developed by Apple to detect problems with your wireless connections.
If it finds any issues, itll guide you through the required troubleshooting methods to fix them.
As a result, you will get a good idea of the issue.
Its good to ensure that youre in your Wi-Fi networks range before you conclude anything further.
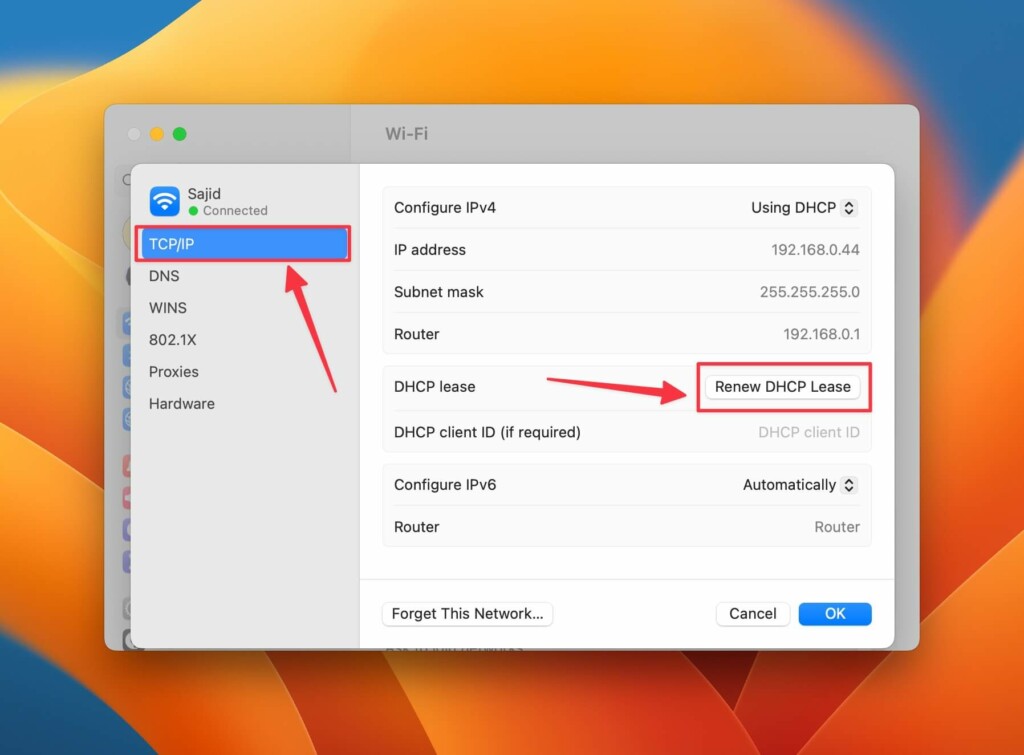
Renew DHCP Lease
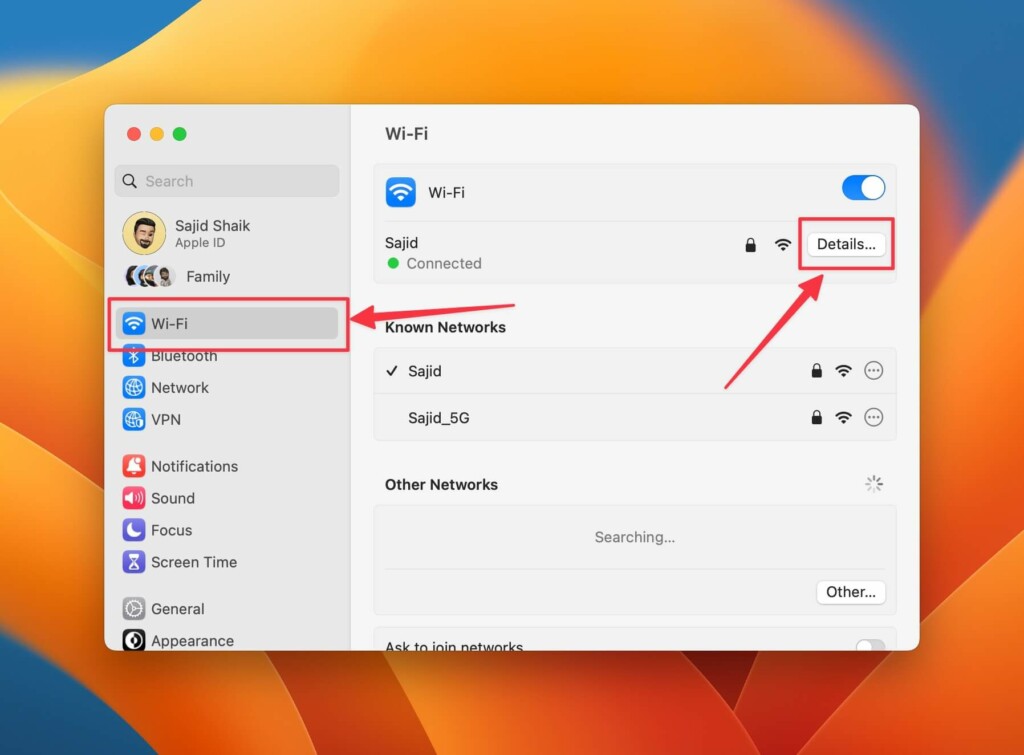
1.OpenSystem Settingsfrom theApple menu().
3.Click theDetailsoption next to your connected Wi-Fi internet.
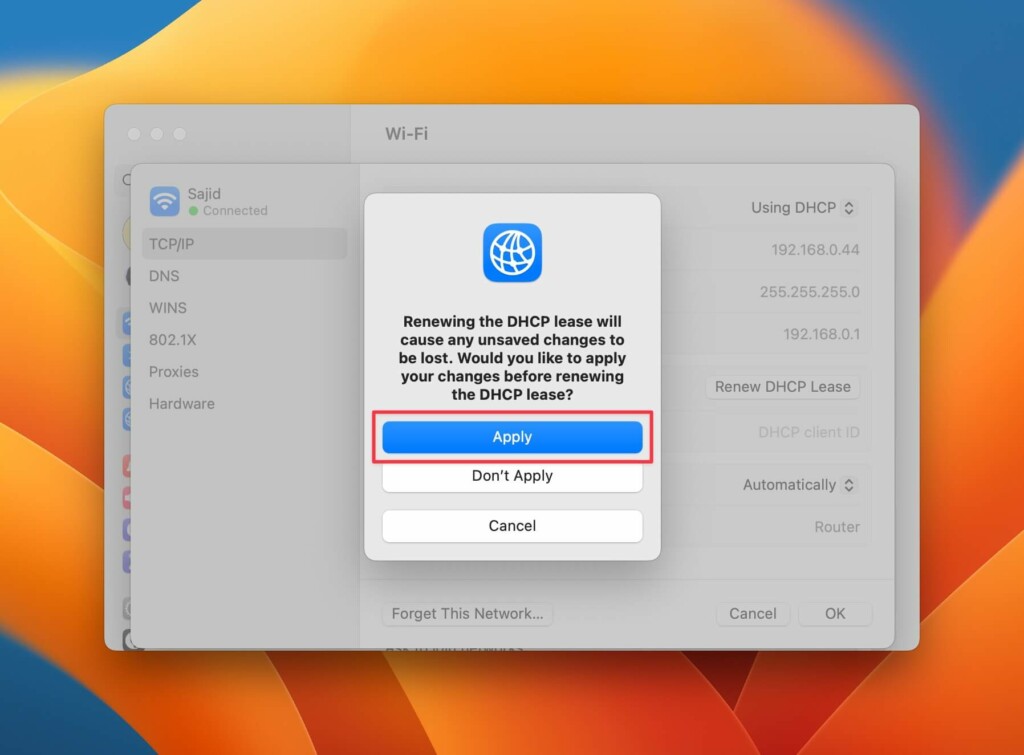
4.SelectTCP/IPfrom the new window and click theRenew DHCP Leaseoption.
5.Choose theApplyoption when you receive a confirmation prompt.
6.ClickOKat the bottom, and youre ready.
If not, move forward with the following troubleshooting methods.
Check DNS controls
1.Open theApple menu() and selectSystem controls.
2.ClickWi-Fifrom the sidebar and thenDetailsnext to your connected Wi-Fi data pipe.
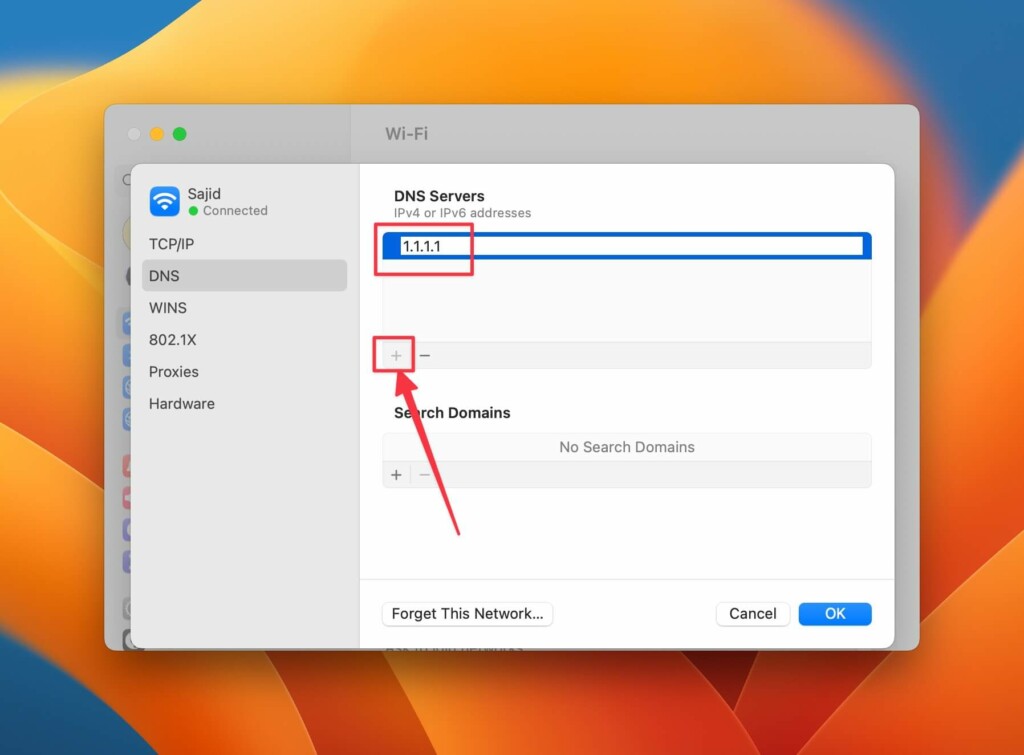
3.SelectDNSon the left side of the new window.
4.Click thePlus (+)button, type8.8.8.8or1.1.1.1, and press the Return key on your keyboard.
VPNs are good for masking your IP address.

To fix this, peek if a VPN is running in the background.
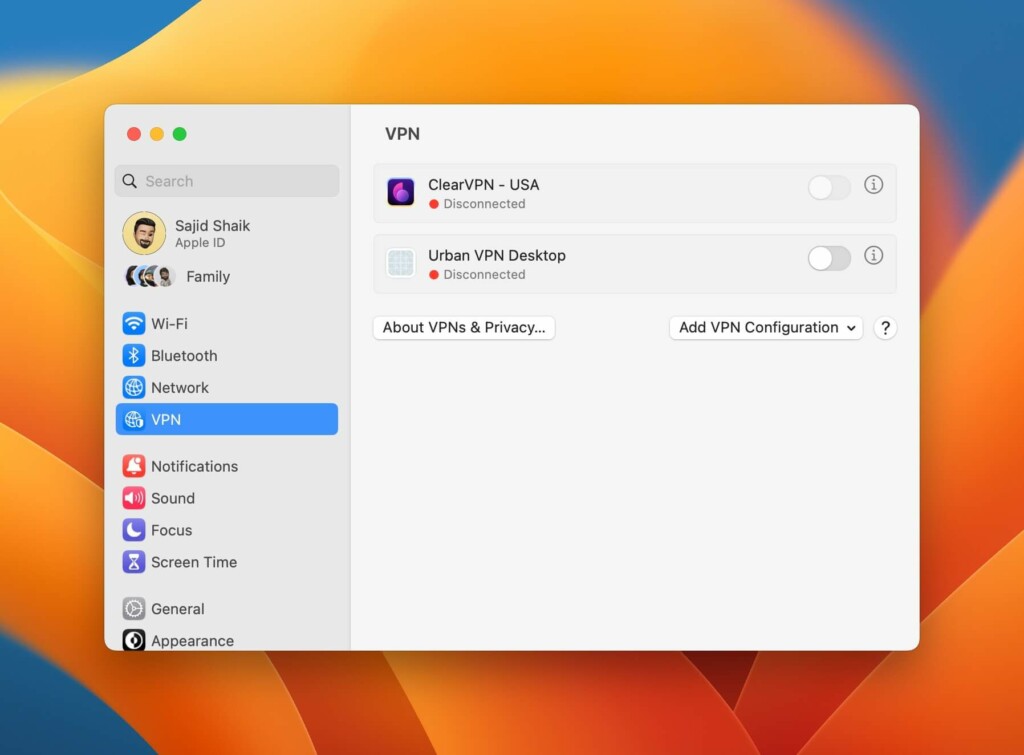
Go toSystem Settingsand selectVPNfrom the sidebar.
If you see any toggle turned on next to the listed VPN apps, turn it off.
Hence, installing the latest updates on your Mac is best, where Apple fixes most bugs.
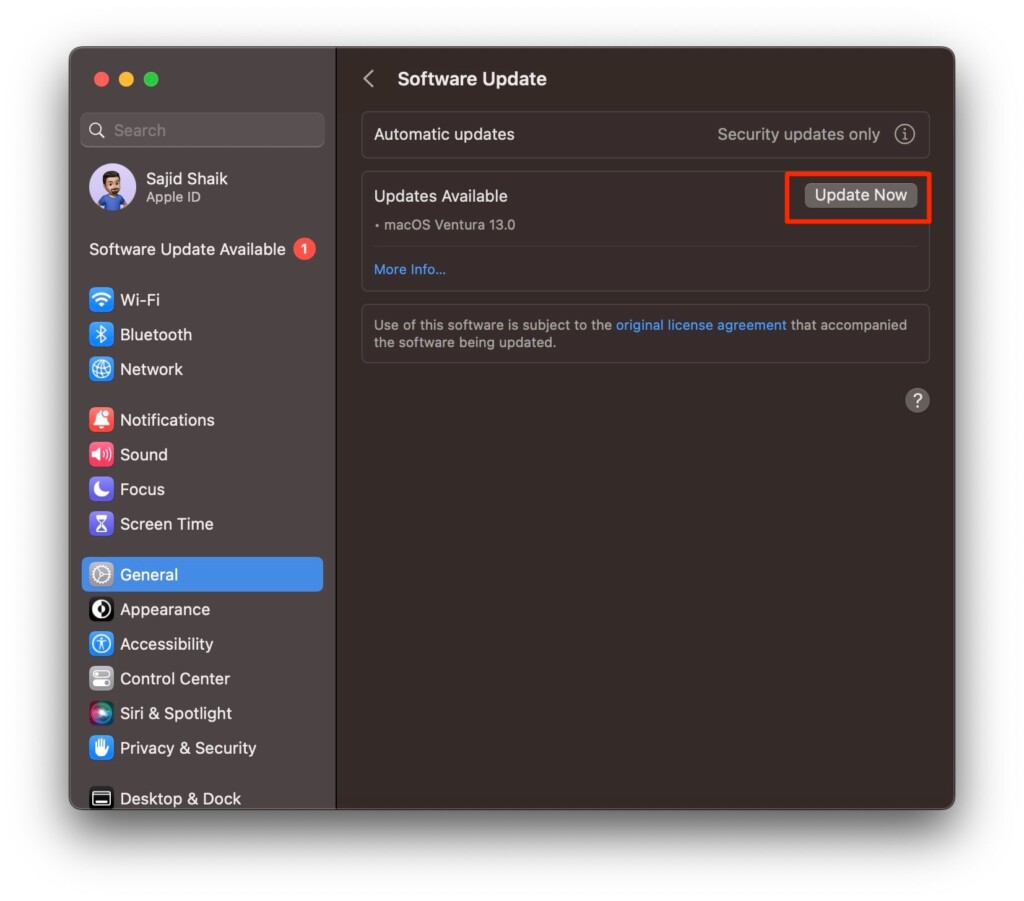
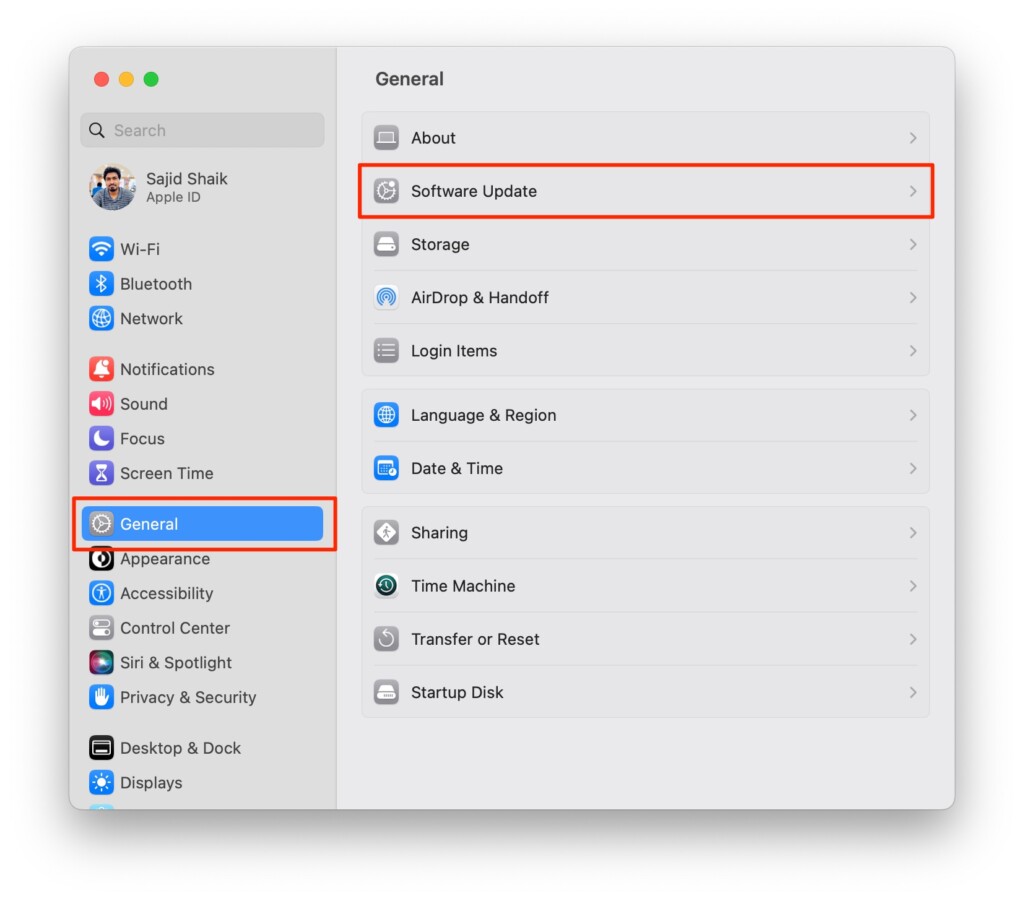
Heres how to check for the latest updates on macOS:
2.Go toGeneral, followed bySoftware Update.
3.Click theUpdate Nowafter you receive an update.
Your Mac will restart once the update finishes.
Once your Mac restarts, try connecting to your Wi-Fi again and verify if Wi-Fi is working or not.
If not, there arent many troubleshooting methods, so try the following last resorts.
There can be various reasons why the ISP cant provide you with the internet.
A maintenance break could happen or some problem with the cables that provide internet or something else.
Hence its best to contact them and discover the problem with your Wi-Fi web connection.