Many Windows 11/10 users are currently facing the BSOD error with the WDF_VIOLATION stop code.
The error code indicates that Kernel-Mode Driver Framework has detected issues with the Framework-Based Drivers.
Recently, one of our team members was also repeatedly experiencing the same problem.
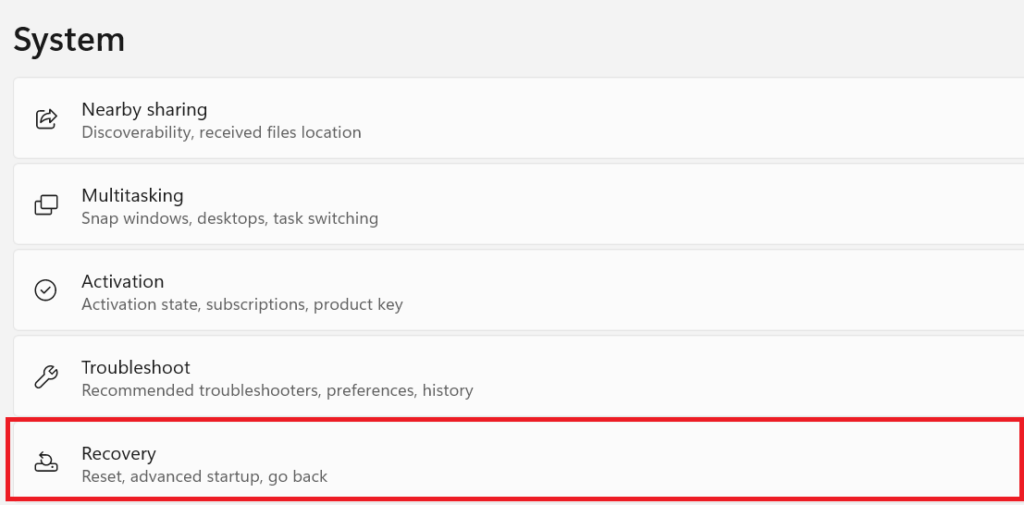
Recovery
After attempting different troubleshooting methods, they fixed this error from the roots.
What Causes WDF_VIOLATION Error in Windows 11/10?
Here are some sources that are likely to cause the BSOD WDF_Violation error.
They also added that this particular driver was installed on their HP laptop through Windows Cumulative Update.
Hence, this could be the same in your case if you are using an HP laptop.
One of the ways to fix this issue is renaming the driver.
you might follow along to rename the driver.
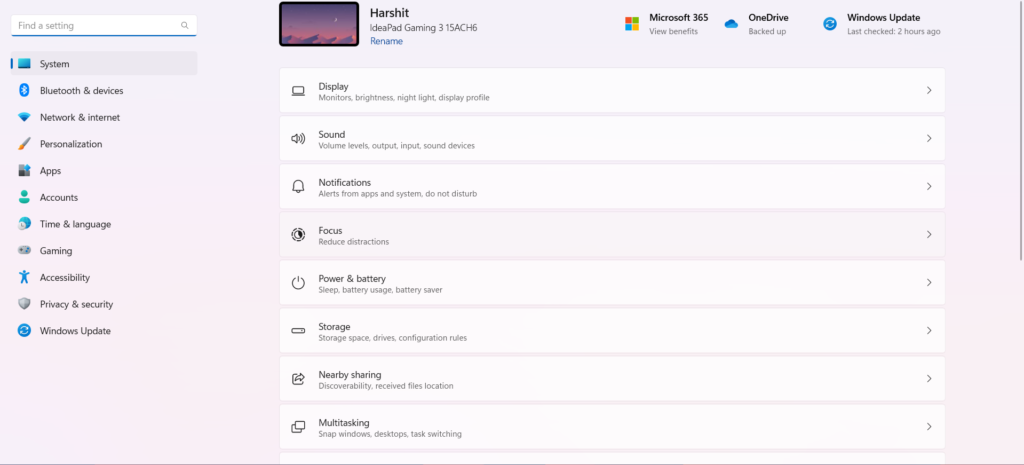
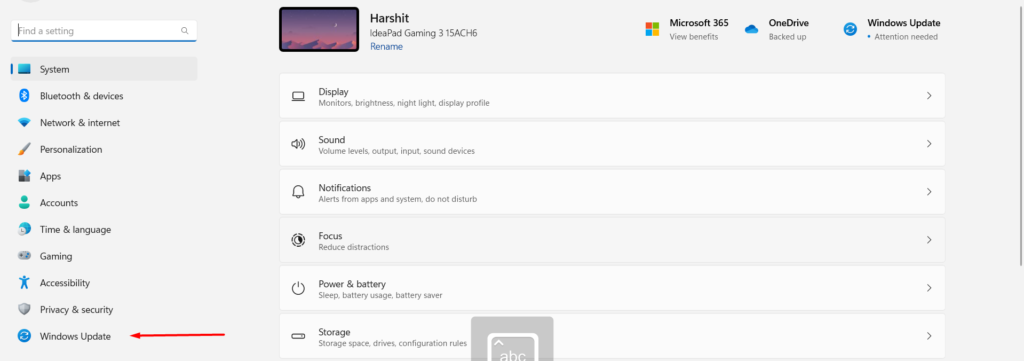
1.Open theSettingsappby pressingWin + I.
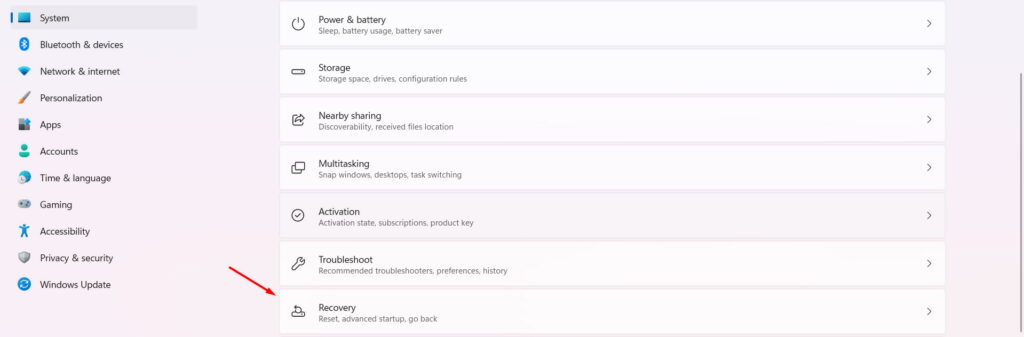
2.Search for theRecoverysectionandclickon it.
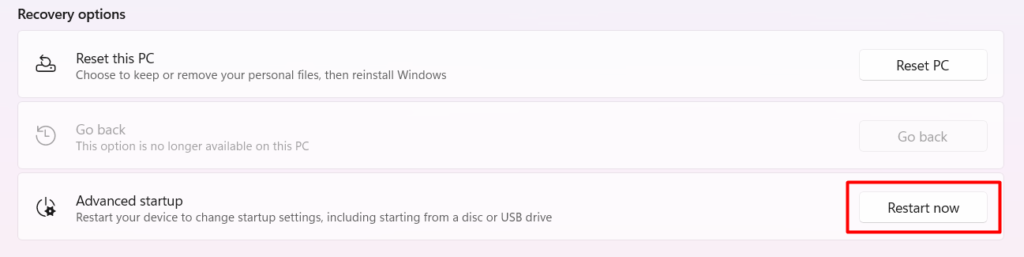
3.Click onRestart nowto get access to advanced startup options.
4.You will now see various options on theChoose an optionwindow.
Click onTroubleshootfrom the given options.
5.Now,click onAdvanced optionsin theTroubleshoot menu.
6.Click onCommand Promptonce you enter theAdvanced optionswindow.
7.Execute the below-mentioned commands in CMD to rename HpqKbFiltr.sys keyboard driver.
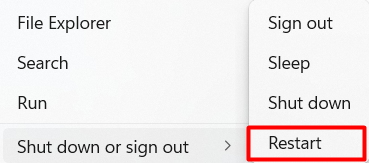
8.Rebootthe PC after executing the mentioned command.
Your PC should now start properly without theBSOD WDF_VIOLATION error.
Removing a malfunctioned driver doesnt affect your systems performance.

Your system will automatically roll out the missing driver when needed.
We have explained the process of removing the HpqKbFiltr.sys driver in the below-mentioned steps.
Note:Before implementing the below-mentioned steps, ensure that your PC is booted into Safe Mode.

If not, you’re free to check above steps to do so.
1.Boot your PC intoSafe Modeand openCommand Prompt.
2.Execute the mentioned command in CMD.
For 32-bit System:
For 64-bit System:
3.Thats it.
The faulty keyboard driver must be removed now.
Reboot your PC normally and check the status of the issue.
Try Disconnecting USB Peripherals
Faults in your systems hardware could also lead to issues like this.
We are referringHardwaretoUSB Peripheralsattached to the PC.
Many Windows 11/10 users encountered the error because of faulty USB peripherals or USB ports.
We suggest disconnecting all the USB peripherals one by one and rebooting the PC simultaneously.
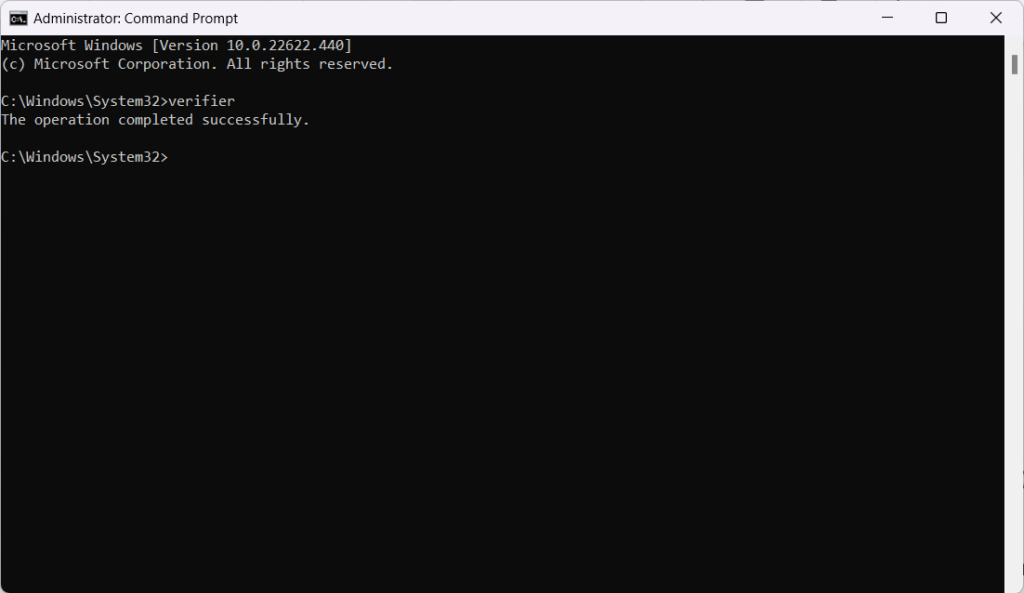
Use Windows Driver Verifier Tool
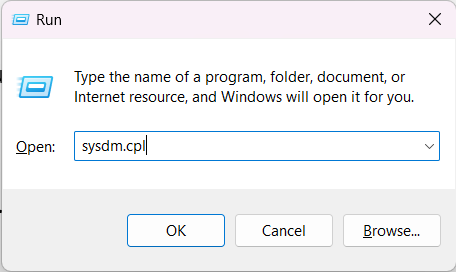
1.PressWin + Rto open theRun programand typesysdm.cpl.
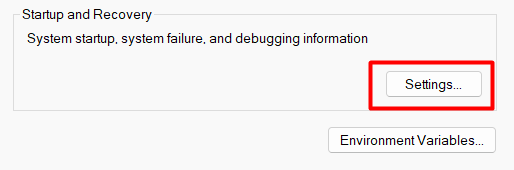
2.Head toAdvanced > Startup & Recovery > prefs.
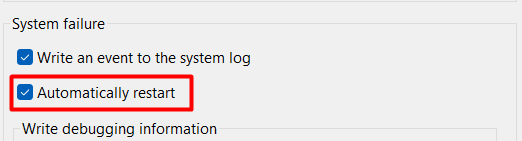
3.Uncheck theAutomatically Restart option.
4.SelecttheSmall memory dump (256 KB) optionfrom the drop-down list under theWrite debugging information section.
5.double-check to set theSmall dump directoryto%SystemRoot%\Minidump.

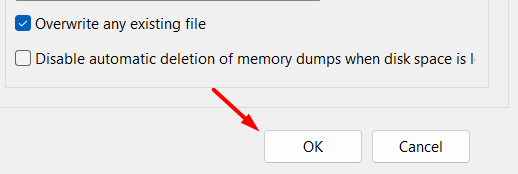
6.Click onOKto save the changes andrebootthe PC.
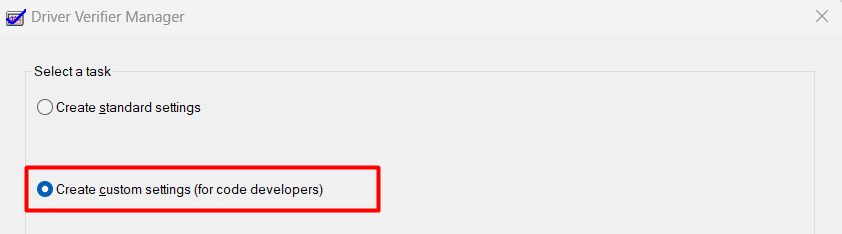
9.You will now see theDriver Verifier Managerwindow.
Choose theCreate custom tweaks (for code developers)option.
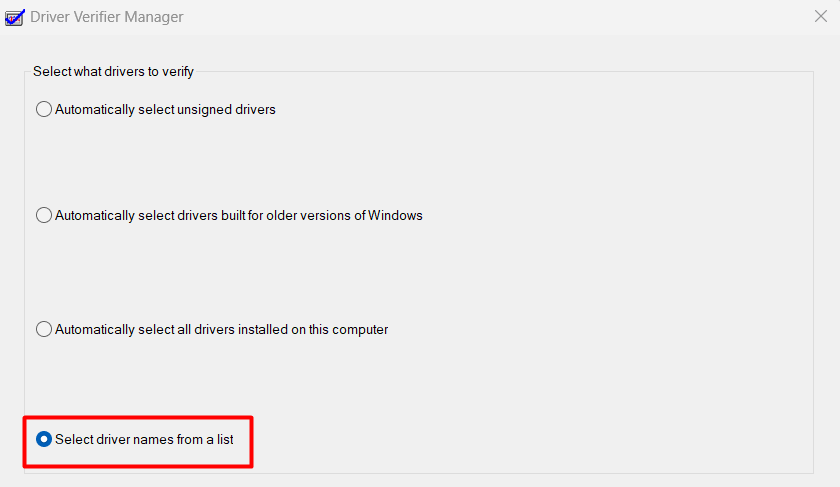
10.Check all the present in-the-box options, exceptRandomized low resources simulationandDDI compliance checking.
11.press theSelect driver names from a listoption.
12.Once done,select all the driversthat arent related to Microsoft Corporation.
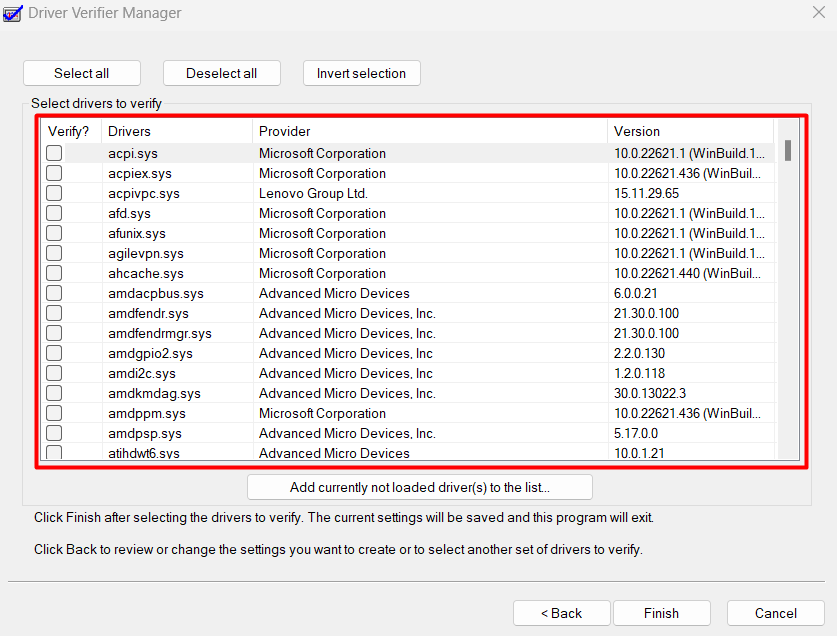
you could identify this by checking theProvidersname.
13.Lastly, press theFinishbutton to save the changes.
Now, wait for the next crash and the system to automatically create a DMP file.

you might simply read the DMP file using the BlueScreenView tool.
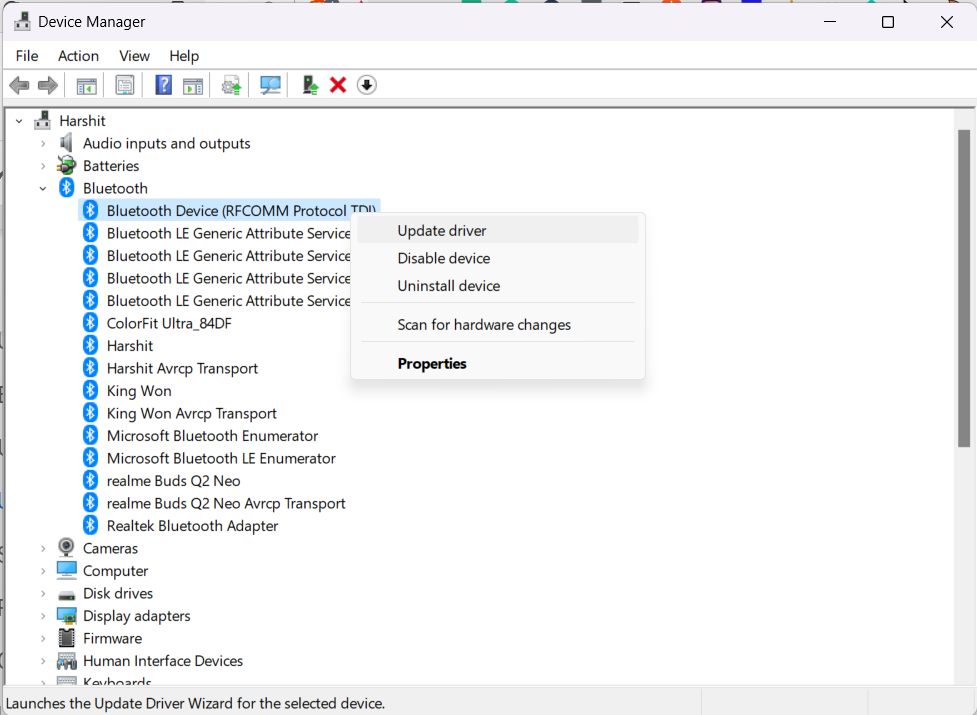
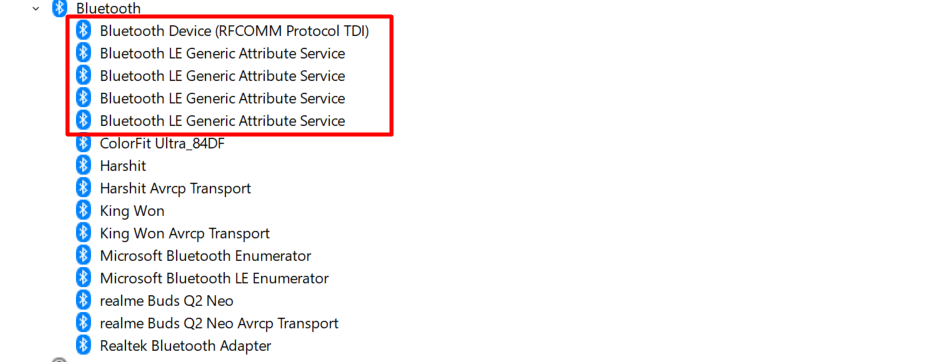
Update Bluetooth Drivers
1.PressWin + Rand typediskmgmt.mscin the search box.
2.Click onBluetoothto get a list of all Bluetooth drivers.
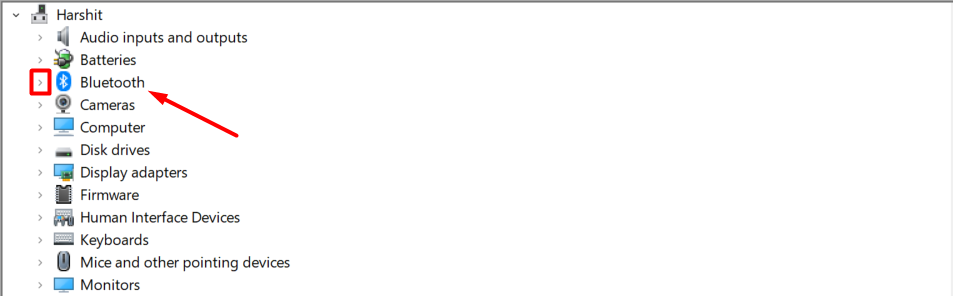
3.Right-hit theBluetooth driverand hit theUpdate driver.
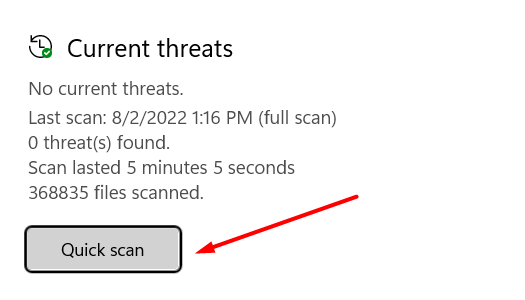
We suggest running a Quick and later Detailed Scan to ensure everything on your system is safe.
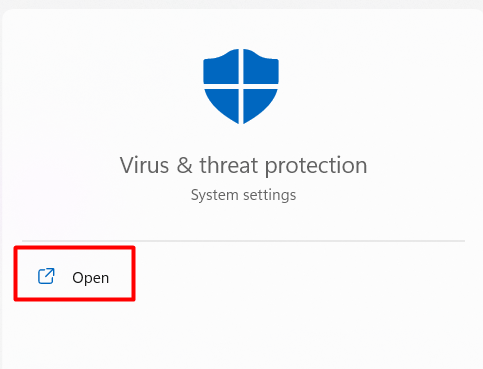
For this, you could use Windowss Microsoft Defender Antivirus tool.
2.TypeVirus & threat protectionandopen it.
4.Wait until the scan completes and see the results.
If the scanner finds something infected, you’re free to cross-check it and remove it.
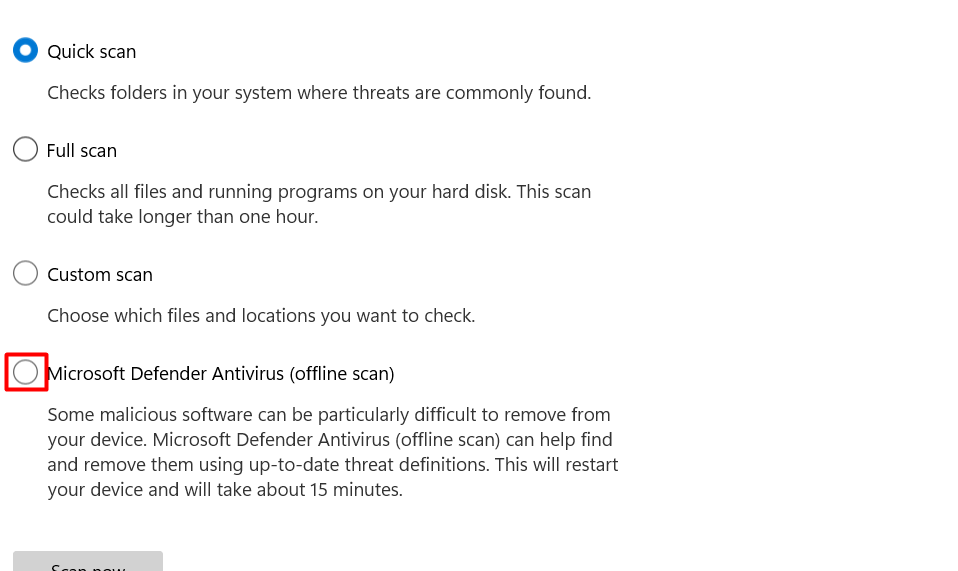
6.Select theMicrosoft Defender Antivirus (offline scan)option.
7.select theScan nowto run a detailed scan.
It could be possible that there are some issues with your hard drive.
This tool will help you find and fix all problems related to the applications and memory with ease.
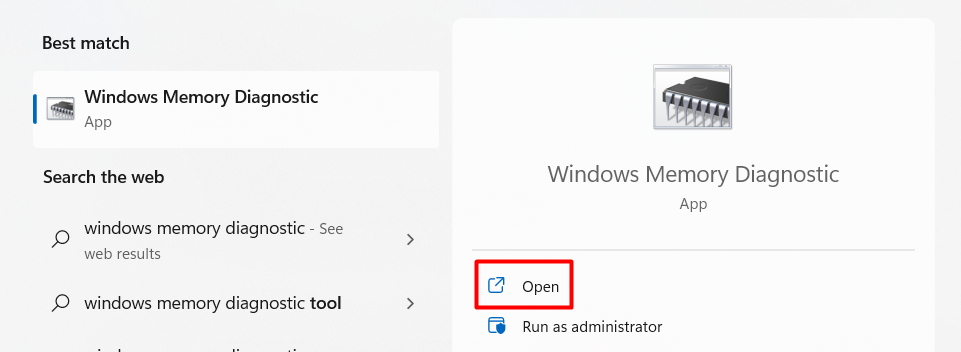
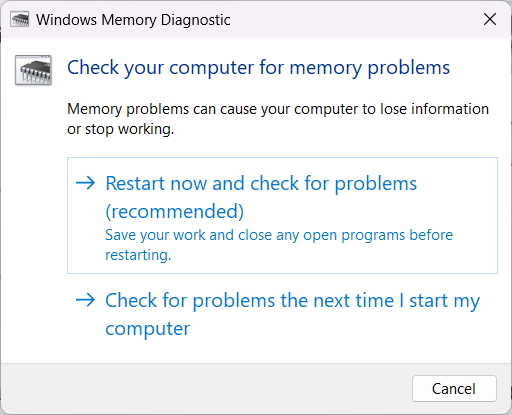
you might follow the mentioned steps to use the Memory Diagnostic.
1.Press theWindows keyand typeMemory Diagnosticin theSearch Box.
2.Click onWindows Memory Diagnostic.
3.SelectRestart now and check for problems.
4.Your system will nowreboot,and the tool will automatically start scanning for issues.
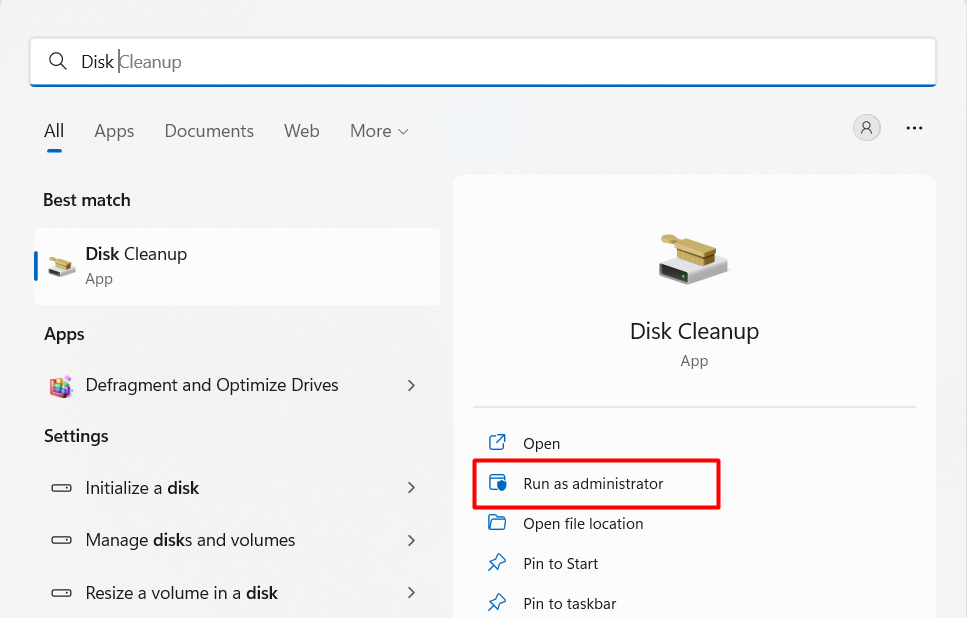
Use Disk Cleanup Tool
1.Press theWindows keyand searchDisk Cleanup.
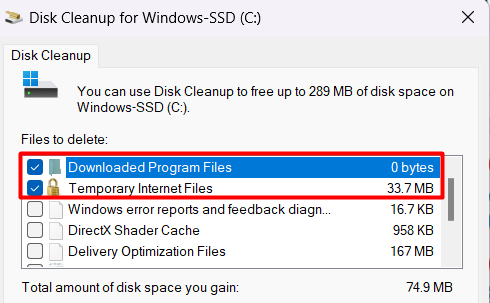
3.SelectDownloaded Program Files, Temporary Internet Files, Thumbnails,andTemporary Files.
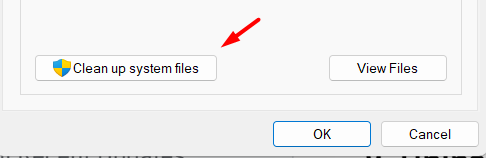
4.And finally, click onClean up system files.

you’re able to instantly fix the issue by uninstalling the update.
it’s possible for you to follow along to do so.
Note:It is necessary to enter into Boot Mode before uninstalling recent updates.
We recommend doing this to be on the safer side.
1.Open theSettings Appand move to theRecoverysettings.
3.On theChoose an optionwindow, click onTroubleshoot.

4.Then, click onAdvanced optionsand head toStartup options.
5.PressF5to enter intoSafe Mode with the Internet.
6.Your PC will now restart only with essential drivers and applications.
Press theWindows keyand searchWindows Update controls.
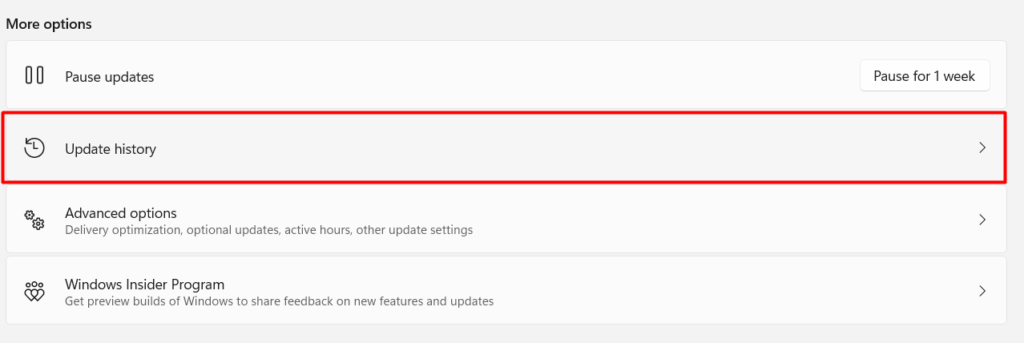
7.Head to theUpdate historysection in theWindows Updatesettings.
8.Scroll down and click onUninstall Updates.
9.Click onUninstallnext to the recently installed Windows update.
We have explained the same in the below-mentioned steps.
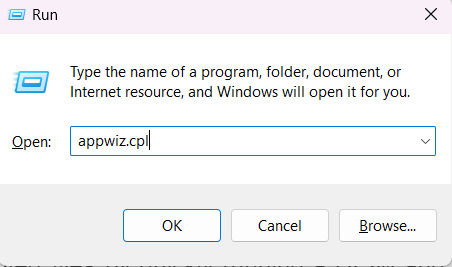
1.PressWin + R,typeappwiz.cpl,and hitEnter.
2.take a stab at remember the recently installed app/s and find them in the list of given applications.
3.Once found,right-clickon the app and selectUninstall.
Run DISM, SFCScan
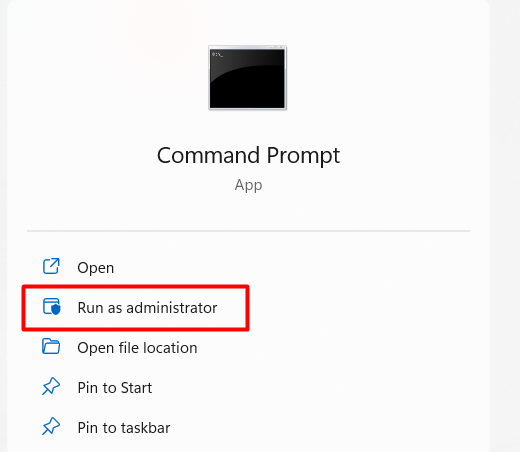
1.OpenCMD or Terminal as administrator.
1.Execute the mentioned command:SFC /scannow
2.Press theEnterkey.
3.Restart the PC
12.
1.RunCommand Prompt as administrator.
2.Copy and paste the mentioned command in theCMDand pressEnter key:chkdsk /f C:
3.
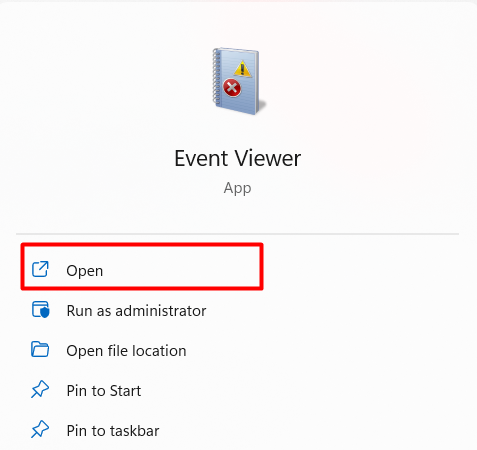
4.OpenEvent Viewerafter the PC restarts.
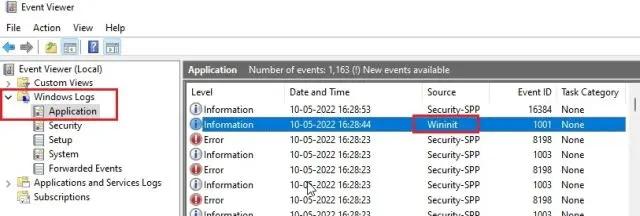
5.Expand theWindows Logssection and click onApplication.
Recovery
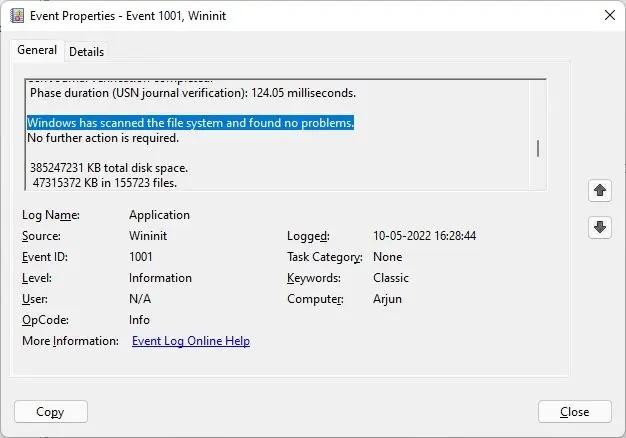
8.Search forWininitand double choose it to openEvent Propertieswindows.
10.On theEvent Propertieswindows, you will see the errors found during the scan.
Reset BIOS tweaks To Default
Putting BIOS tweaks to default could also fix the WDF_VIOLATION issue.
However, not many users tried and suggested it.
But, we found it useful because resetting the BIOS setting will make everything fresh.
Hence, there are chances that this issue might disappear after doing this.
Below are the steps to reset the BIOS options in Windows 11.
1.PressWin + Ito open theSettingswindow.
2.Open theRecoverysection and press theRestart nowbutton under theRecoveryoptions.

3.You will now be entered into the boot parameters.
Click onTroubleshooton theChoose an optionscreen.
5.SelectAdvanced Options and thenchooseUEFI Firmware prefs.
7.Click onRestartto open theBIOS mode configs.
9.Lastly, selectYesusing the keyboard arrow keys.
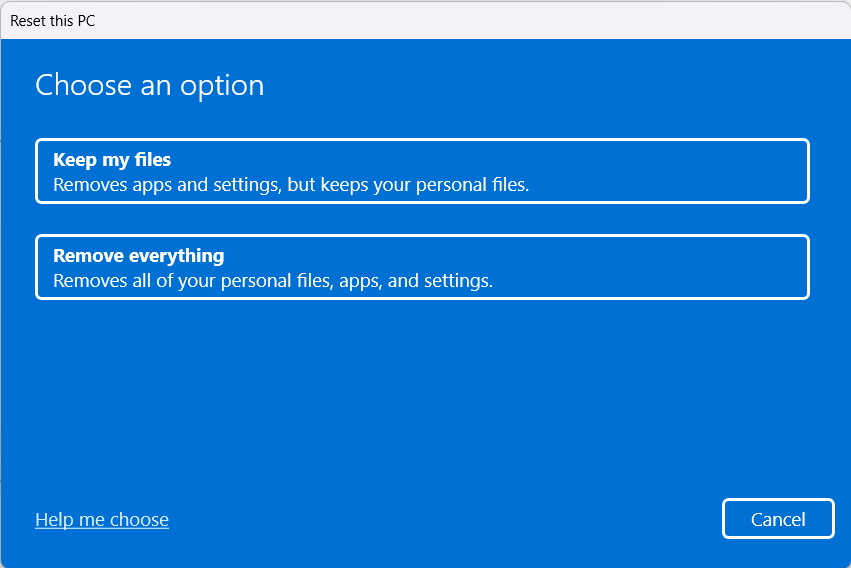
We have mentioned the entire process of resetting the Windows 11/10 PC below.

2.Head to theRecovery options.
4.Select theKeep my filesoption.
5.Your system will now return to the default state.

Frequently Asked Questions
How Do I Permanently Fix Blue Screen on Windows 10?
There are several ways to fix the blue screen error on Windows 10.
One of the best ways is by uninstalling the recently installed Windows updates.
How Do I Fix Blue Screen in Safe Mode?
you better first open your systemSettings appby pressingWin + I. you’re able to now try uninstalling recently installed third-party applications, recent updates, and Bluetooth drivers.
Can Not Fix Blue Screen of Death?
Blue Screen of Death mainly emerges due to hardware issues.
Your PC might be having some hardware issues.
Can RAM Cause Blue Screen?
Sometimes flaws in the RAM also lead to BSOD error.
you’ve got the option to fix this error by trying different hardware and software troubleshooting methods.
Does BSOD Damage your machine?

Blue Screen of Death (BSOD) doesnt damage your box.
It doesnt affect your system files, applications, and anything else.
Final Words
You are working or playing, and everything suddenly stops due to a system crash.
It ends up with a blue screen with an error code, WDF_VIOLATION.
Getting this error could be frustrating and ruin your entire mood and day.
We suggest trying the above-mentioned solutions to fix the WDF_VIOLATION Error in Windows 11/10.
