We all use VPN to watch the geo-restricted content available outside our region.
We mostly use our Windows PCs native VPN feature to add new VPN servers.
But sadly, for some Windows users, it hasstopped functioningafter upgrading the system to Windows 11.

As per them, they cant create new VPN servers on their Windows 11 PC.
They also added that even VPN tools have stopped working on their PC.
If you also find yourself in the same situation, thentry all the workaroundsweve mentioned in the troubleshooting guide.
Why Is VPN Not Working in Windows 11?
Lets check the first solution.
But in some cases, its found that Windows Defender Firewall was affecting the VPNs functioning.

If it fixes the issue for you, just like other users, then keep it off.
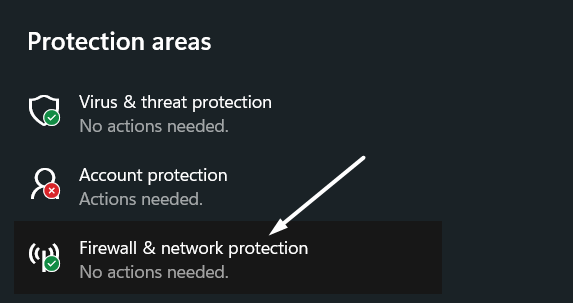
2.Now, click onWindows Securityin theSecuritysection and then select theFirewall & data pipe protectionoption.
4.Now, move back and do the same with thePublic networkoption.

Once done, check whether the VPN not working issue is resolved.
Therefore, we recommend you allow your VPN app through your systems Firewall.
This way, it wont stop any of the VPNs tasks and functions.

3.Now, choose theChange settingsoption at the top to allow the VPN app through your Windows systems Firewall.
Once done, test whether the issue got fixed or not.
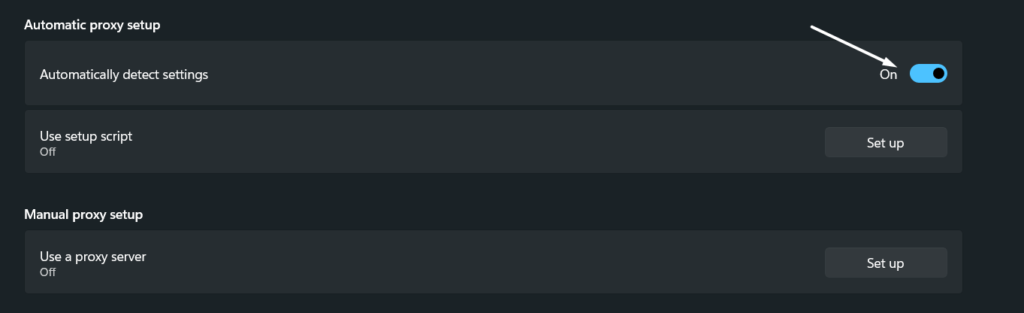
Turn Off Proxy prefs
Some users said that keeping proxies enabled can also cause this issue.

If disabling the proxies fixes the issue, then its better to keep them disabled.
2.Move to theProxysection from theNetwork & internetsection and disable theAutomatically detect settingsoption.
After disabling proxies on your Windows 11 PC, check whether the issue is fixed.

This is why we always recommend usersclear the systems DNS cacheperiodically, so it cant create any issue.
2.Once youve executed the above command, execute the below command to flush the systems DNS cache.
4.After executing the above commands one by one, copy-paste thenetsh winsock resetcommand and pressEnter.

Once done, reset your setup and check the issues status.
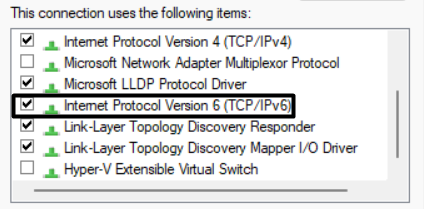
They mentioned that not all Windows PCs come with the latest IPV6 support.
Therefore, its better to keep it disabled.
We also suggest you disable IPV6 addresses on your Windows 11 PC and see if it fixes the issue.
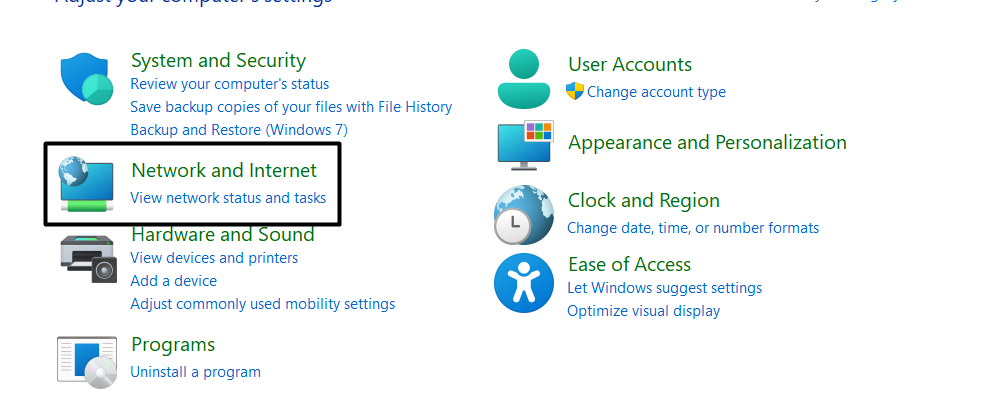
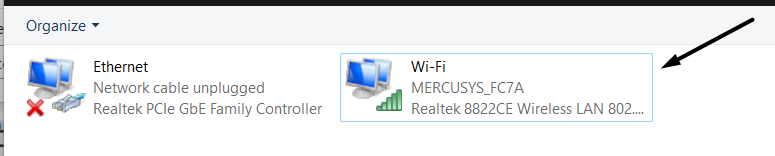
2.Subsequently, open theNetwork and Sharing Centresection and chooseChange adapter settingsfrom the left sidebar.
3.Then, double-choose the Wi-Fi option in theNetwork Connectionswindow to open theWi-Fi Statussection.
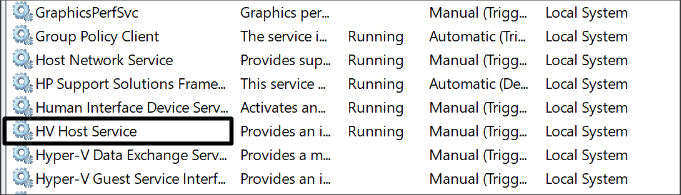
It could be possible that this service isnt working properly, which is why your systems VPN isnt working.
Due to this, we recommend yourestart the Host online grid Serviceto see to it its working properly.
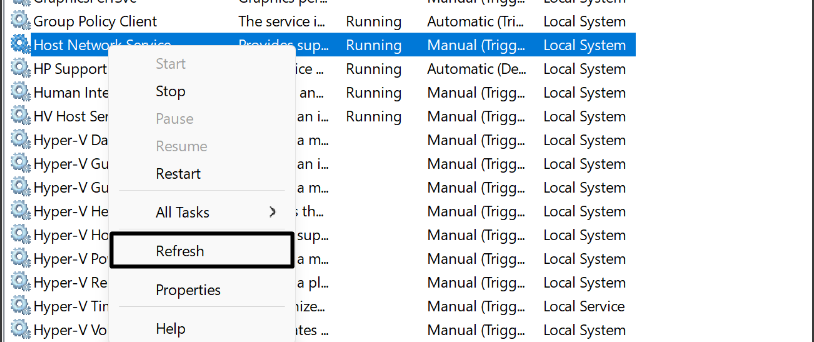
2.TypeServices.mscin the search box, and press theEnterkey.

3.Now, search for theHost online grid Servicein theServiceswindow and right-tap on it to fire up the dropdown menu.
Hopefully, the issue is fixed now, and VPN is working fine now.
They mentioned that it was conflicting with the Windows essential services, which was making the VPN feature ill.
If youre a Dell user, this could be the same in your case.
you’re able to disable it from the Services utility.
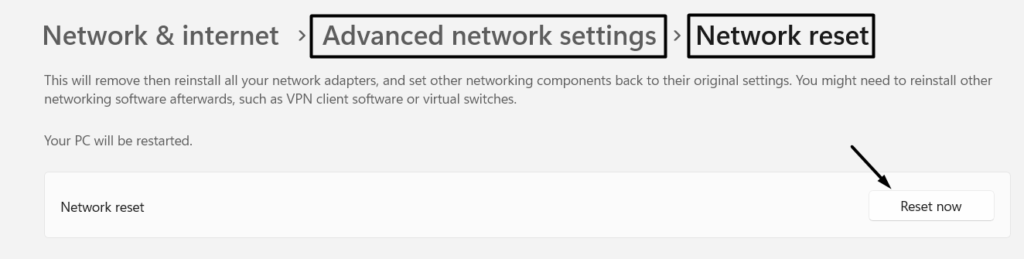
2.In theNetwork & internetsection, click onAdvanced web connection settingsand then select theNetwork resetoption.

3.Lastly, choose theReset nowoption next to theNetwork resetoption to factory reset the data pipe options.
After doing this, peek if VPN is working fine now or not.
2.Once found,click onRunnext to it to start the troubleshooting.
Create An Exception for UDP
1.First, openRunon your Windows PC.
4.Once youve reached the above path, search for thePolicyAgent keyin the left sidebar and right-select it.
5.Next, select theNewoption from the popup menu and then choose theDWORD (32-bit)Valueoption from the sub-menu.

6.After that, key in theAssumeUDPEncapsulationContextOnSendRulein theNamefield and press theEnterkey to save it.
7.Right-choose theAssumeUDPEncapsulationContextOnSendRulekey andselect theModifyoption from the dropdown menu.
8.Finally, enter2in theValue Datafield and hit theOKoption to save the recent changes.
Once done, peek if the issue is fixed.
Another possible reason could be that these adapters arent up to date, which is now causing compatibility issues.
The best way to fix the bugs and compatibility issues with the online grid adapters is tore-enableandupdatethem.
We first suggest you re-initiate the drivers.
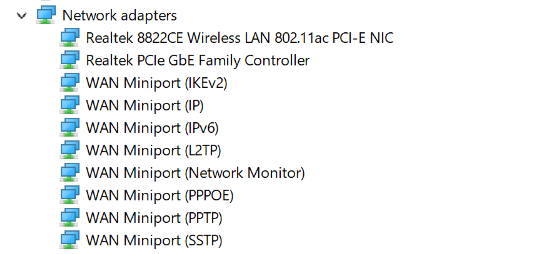
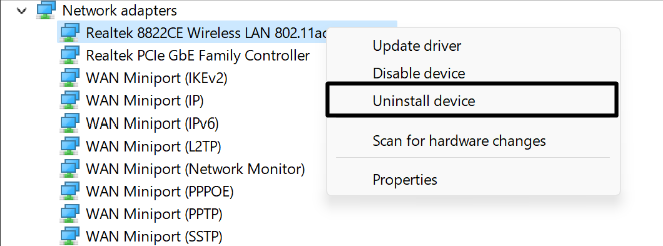
2.typeDevmgmt.msc,and press theEnterkey to open theDevice Managerutility on your PC.
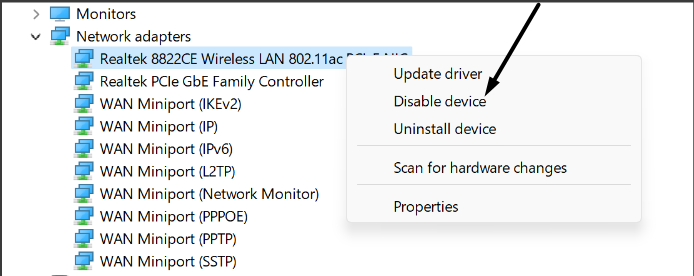
4.Next, right-choose the WAN Miniport web link adapter, and select theDisable deviceoption from the popup menu.

Now, do the same with other WAN Miniport web link adapters and check the issues status.
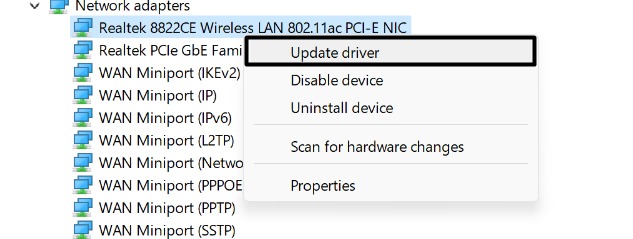
1.To do so, right-snag the WAN Miniport web link adapter and select theUpdate driveroption from the dropdown menu.
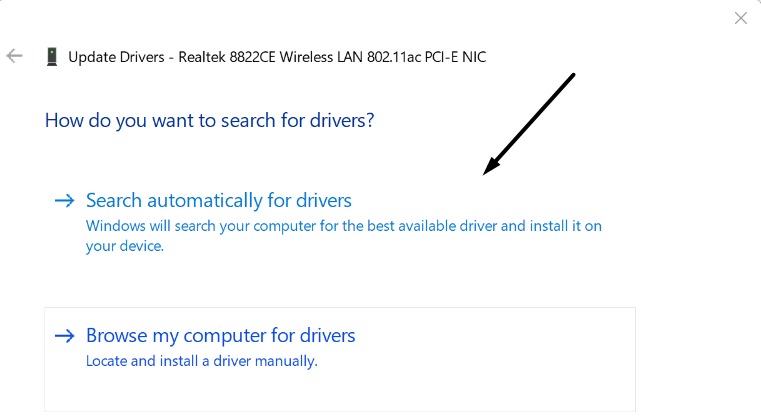
2.Next, select theSearch automatically for driversoption on theHow do you want to search for updates?window.
3.After that, follow the on-screen prompts to update the selected WAN Miniport web connection adapter.
Lastly, do the same with the same category of internet adapters and check whether the issue got fixed.
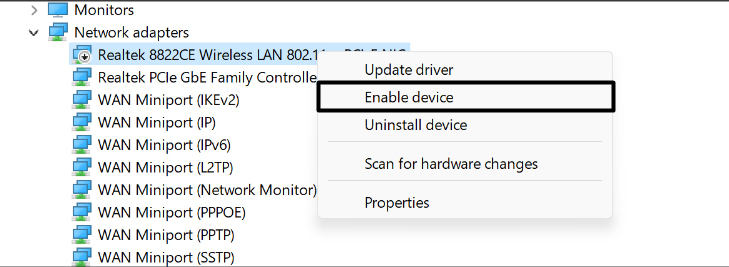
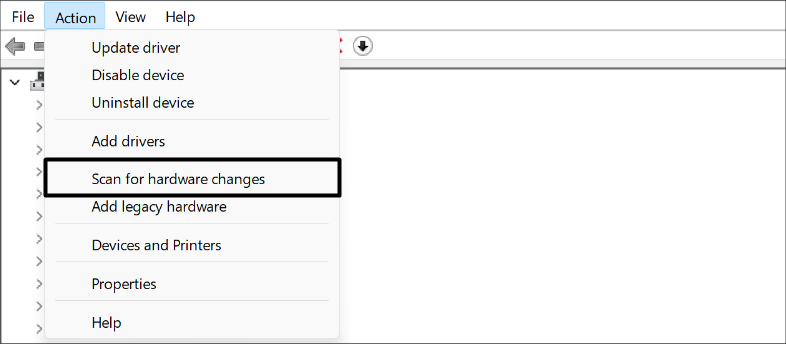
2.Once done, select theSearch for hardware changesoption from theActionmenu at the top to reinstall it on the gadget.

After doing this, check the issues status.
Doing so will definitely fix the issues with the VPN server and make it work again.
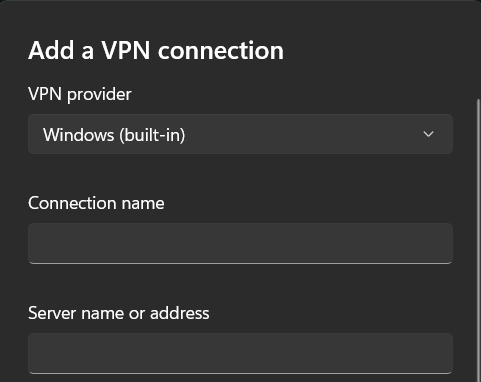
3.Once youve removed the VPN server, punch theAdd VPNoption at the top next to theVPN Connectionsoption.

The issue must be fixed now.
They figured this out bybooting the system into Safe mode.
you might try the same and see if a service is causing this inconvenience.

2.Typemsconfigin its search box, and pressEnter.
3.Now, move to theBootsection by selectingBootfrom the top menu.
Then, check theSafe bootoption from theBoot optionssection.
4.Once done, selectNetworkfrom theSafe bootmenu to boot your Windows 11 PC with networking capabilities.
After doing so, your PC will restart with essential Windows services and apps.
Once its restarted, peek if the VPN is working properly now.
If it shows some pending updates, simply install them and check the issues status.
But this will definitely fix the issues with the systems VPN.
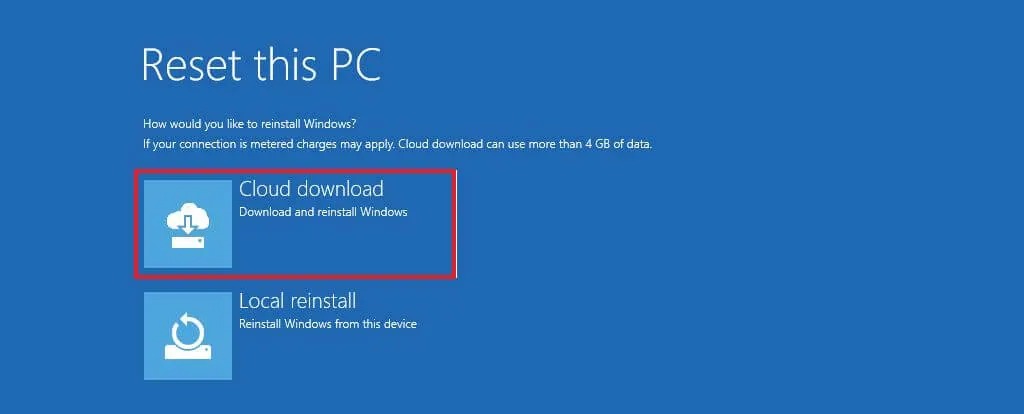
2.Now, choose theRemove Everythingoption on the new window, as we dont want to keep the data.
Frequently Asked Questions
Does Windows 11 Support VPN?
Yes, Windows 11 supports VPN.
How Do I Reset My VPN on Windows 11?
1.First, navigate to theNetwork & internetsection of theSettings appand chooseAdvanced web connection parameters.
2.In the end,select theNetwork resetoption on theAdvanced online grid settingstab and click onReset now.
Your PC will now restart and revert the PCs connection controls to default.
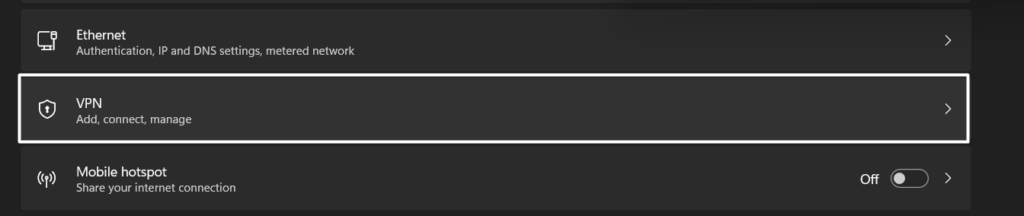
How Do I Enable VPN on Windows 11?
Below are the exact steps to enable VPN on Windows 11:
Thats it!
Why Is My Computer Blocking My VPN?
In that case, we recommend youallow your VPN app through yourPCs Microsoft Defender Firewall.
After doing this, the integrated Firewall wont stop the VPN app from accessing the web link.
But whats the point of having a feature that doesnt work when needed?
In this guide, we sharedsomeworking workaroundsto fix the issue.