It will show some useful methods.
Get the details fromMiniTool.
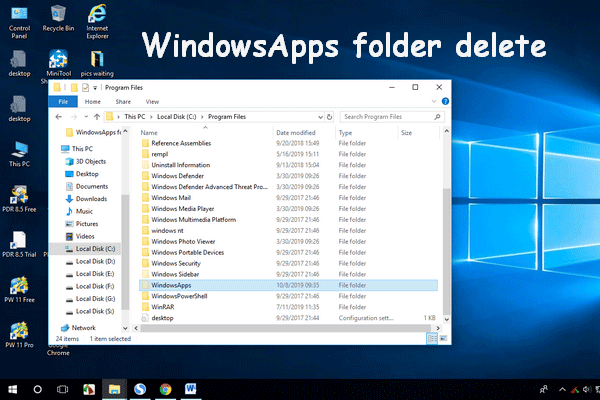
The WindowsApps folder in Windows 10 saves the data associated with the Microsoft Store applications.
You cannot make changes to the files because of permission issues.
Some users have reported similar problems in the Microsoft community.
If you also receive this issue notification, here are several feasible methods to help you fix this issue.
Some users may fail to delete the WindowsApps folder because of no permission to perform this action.
This post provides detailed solutions for you.
However, you could try the simple off-the-shelf approach first: usingTake Ownershipregistry hack.
Step 1: Download theTake Ownershipfile to your setup.
Step 2: Extract the ZIP file and pop swing open the extracted folder.
Step 3: Double-click theInstallTakeOwnership.regfile to run it.
Step 5: After installing, find theWindowsAppsfolder location inC:\ProgramFiles.
Right-click it and then choose theTake Ownershipoption from the context menu.
Step 6: When theUser Account Controlprompts for administrator access, clickYes.
Step 7: Wait for the PowerShell commands to be performed.
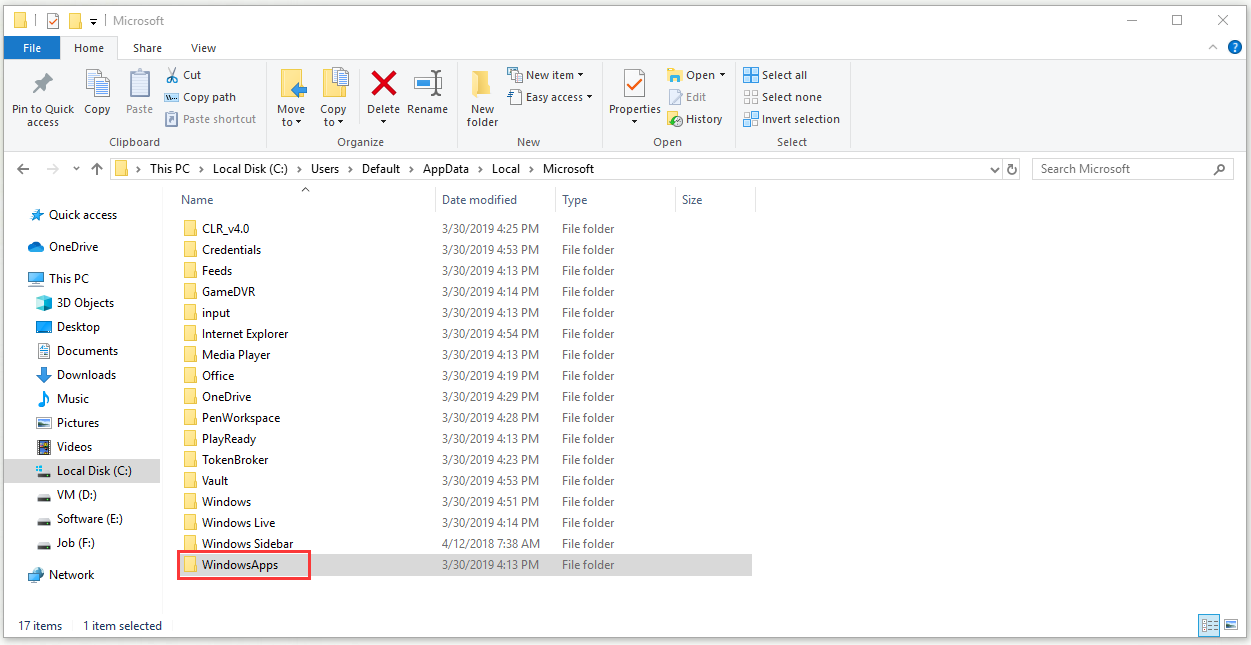
Step 1: Find theWindowsAppsfolder location inC:\ProgramFiles.
Right-click it and then choose thePropertiesoption from the context menu.
Step 2: Switch to theSecuritytab.
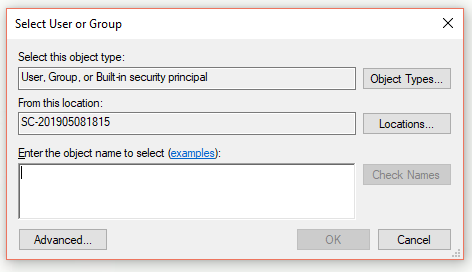
Click theAdvancedbutton and then click theChangelink next to theOwner:tag.
Step 4: CheckReplace owner on sub-container and objects, clickApplyto save the changes and clickOK.
Windows will now begin to change permissions for the WindowsApps folder.
This process will take some time, so you should wait until it is complete.
Step 1: OpenFile Explorerand locate the location:C:\ProgramFiles.
Step 2: Right-click theWindowsAppsfolder and chooseRename.
you’re able to rename this folder to whatever you want, but just keep it close.
Step 3: ClickYesif prompted to confirm the action.
In the upcoming Windows 10 May 2019 Update, Microsoft improves search experience in Windows 10 File Explorer.
Now, see this post to get the detail.
if you stumble on such an warning pop-up, try the methods above.
