But at times, it starts experiencing different issues and errors.
And sadly, many Windows 11 users are going through the same.
Some users are getting the Teamviewer Not Ready Check Your Connection error while using it.

Whereas for some users, the TeamViewer app isnt even opening on their Windows 11 PC.
If youre also experiencing similar issues with TeamViewer, thentry the workaroundsmentioned in this in-depth guide.
Weve shared some working solutions to fix the TeamViewer not working issueon Windows 11 with ease.

Why Is TeamViewer Not Working on Windows 11?
Notably, this can also fix the freeze and delay issues with TeamViewer.
So, if youre also having similar issues with TeamViewer, consider disabling UDP in your TeamViewer app.
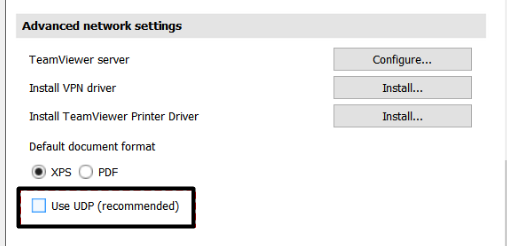
2.Once parameters is opened, selectAdvancedfrom the left-sidebar and then click onShow advanced options.
3.In theShow advanced optionsprompt, uncheck the box next to theUse UDP (recommended)checkbox.
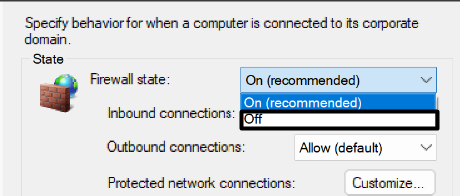
To check whether its the same in your case, we recommend youdisable your systems Firewallfor a while.
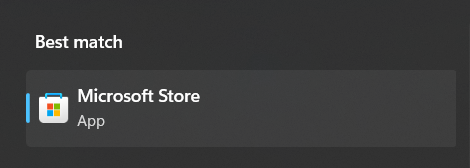
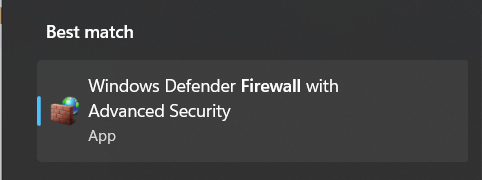
2.SelectWindows Defender Firewall with Advanced Securityfrom theBest matchsection.
3.choose thePropertiesoption in theActionstab and set theFirewall state:option toOff.
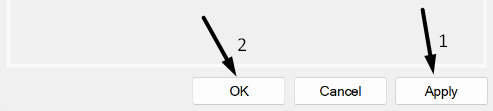
4.Lastly, click onApplyat the bottom, then click onOKto save changes and check the status of the issue.

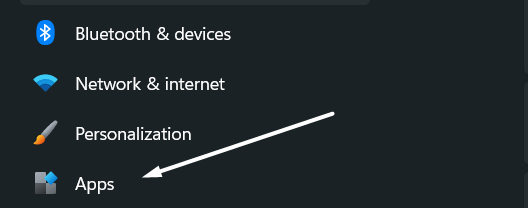
1.Open theSettings programon your Windows 11 PC and selectAppsfrom the left navigation pane.
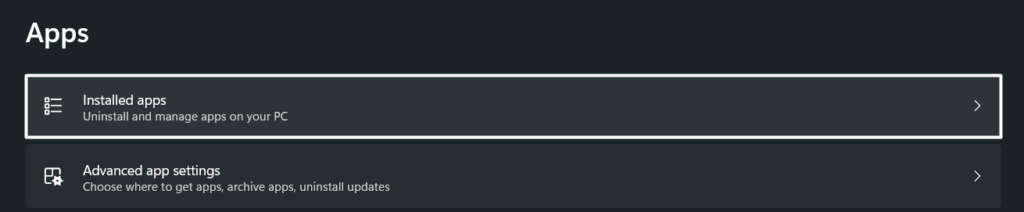
2.Expand theInstalled appssection andsearch for the antivirus program you want to remove from the system.
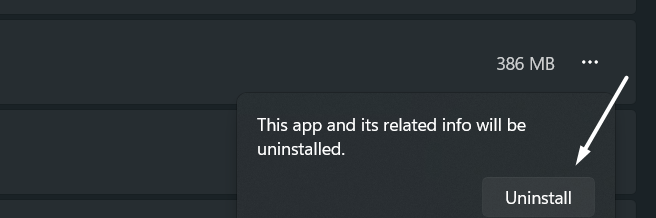
3.hit thethree dots (…)next to the antivirus program and select theUninstalloption from the menu.
4.select theUninstallbutton on the prompt to completely uninstall it from the Windows system.
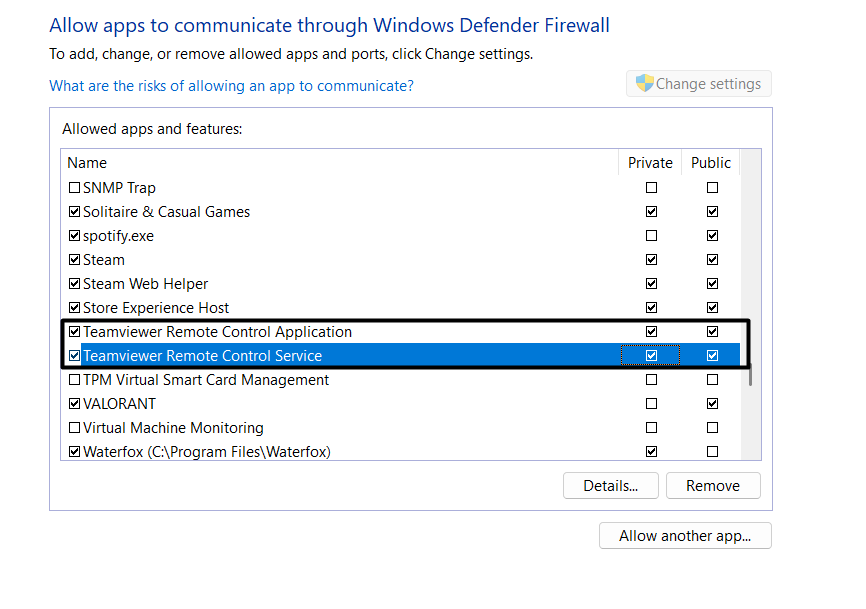
Due to this, we suggest you ensure that the systems built-in Firewall isnt interrupting TeamViewers functioning.
2.SelectAllow an app through Windows Firewallfrom theBest matchsection and click onChange prefs.
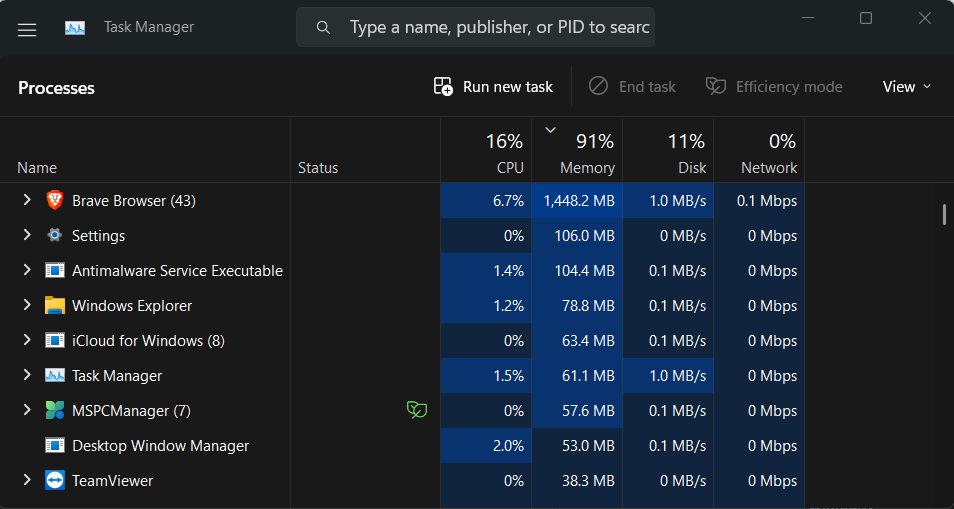
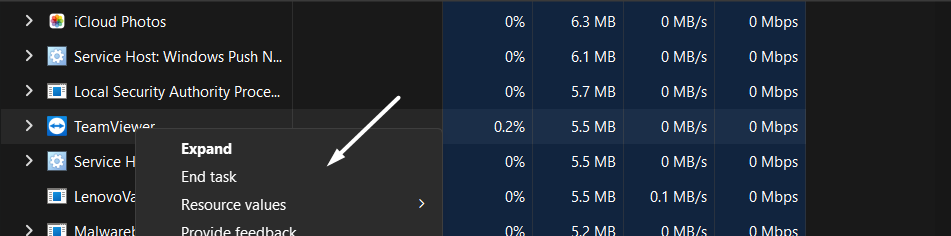
2.Search forTeamViewerinTask Manager, right-tap on it, and then select theEnd taskoption from it.
Considering this, we suggest youreset your systems Winsock settingsto peek if its the same in your case.
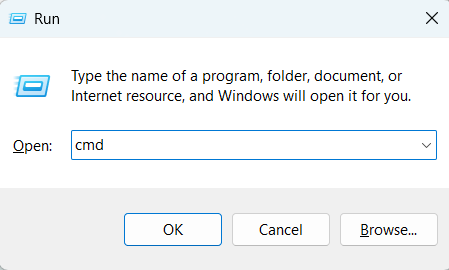
2.Once the Command Prompt is opened, copy-paste the below-mentioned command into it and pressEnter.
3.After executing the above-mentioned command, execute the following command in it to reset the data pipe configs.
Disable Proxies in TeamViewer
Another possible reason behind these issues with TeamViewer is the proxies in TeamViewer.
Due to this reason, we recommend youdisable proxies in TeamViewerto check whether its the real culprit.
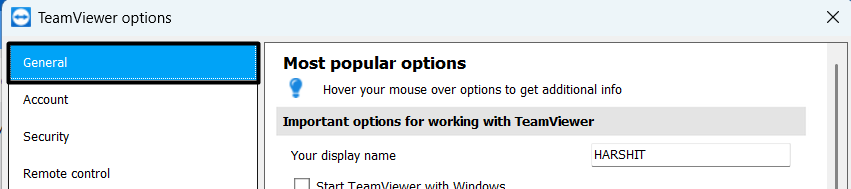
1.Launch theTeamViewer appon your Windows 11 PC and hit theSettingsoption at the top.
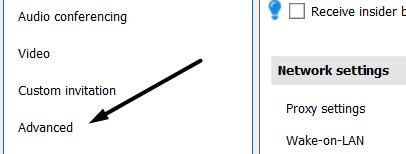
2.SelectAdvancedfrom the left navigation pane and navigate to theShow advanced optionssection.
3.Then, proceed to theGeneralsection and press theConfigurebutton next to theProxiesoption.

4.Select theNo Proxyradio button in theConfiguresection to block the proxies and fix the issue.
This solution could also work for you.
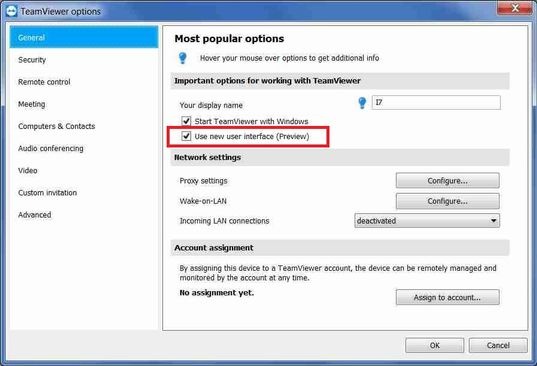
Thus, we also suggest youdisable the apps new user interfaceto peek if it fixes the issue.
2.Select theAdvancedoption from the left sidebar and then press theShow advanced optionsbutton.
3.Scroll down to theGeneral advanced settingssection and then uncheck the box next toUse New User Interface.
During the research, we found that using TeamViewer with Hardware Acceleration enabled can also cause these issues.

1.Launch theTeamViewer appon your Windows 11 PC and move to theAdvancedsection from the right sidebar.
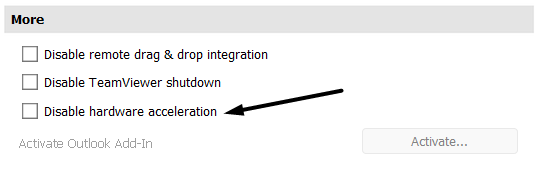
2.Click theShow advanced optionsbutton on the next window and proceed to theMoresection.
3.verify theDisable hardware accelerationcheckbox in theMoresection is checked.

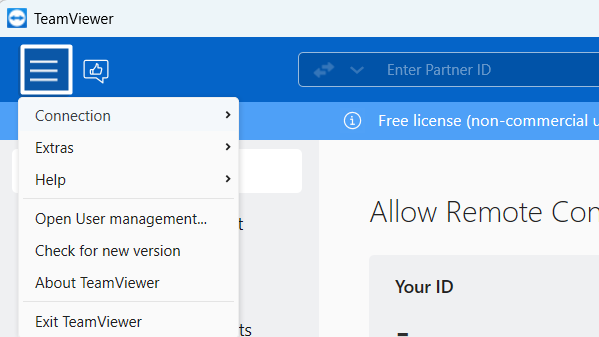
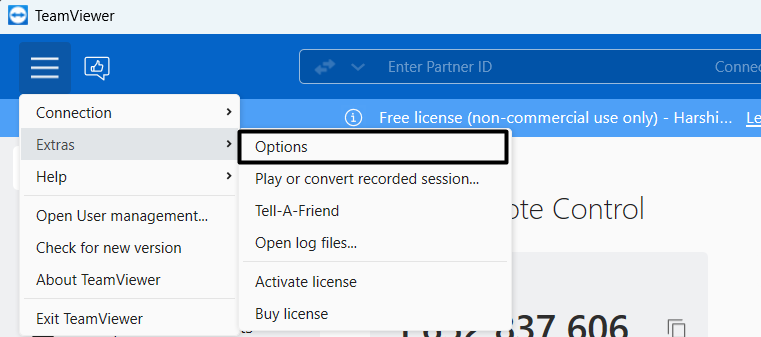
2.Hover your arrow on theExtrasoption and then select theOptionsfrom the dropdown menu.
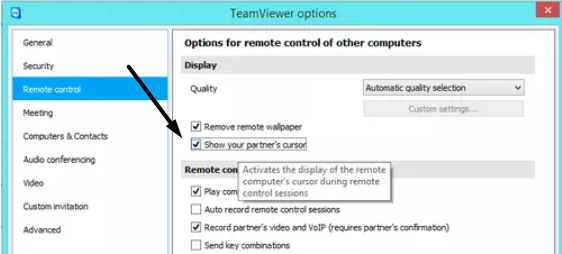
3.SelectRemote controlfrom the left navigation pane and enable theShow your partners cursoroption.
Due to this reason, we also suggest you do the same and check whether it fixes the issue.
you’re gonna wanna perform this solution on the local machine.
Once you do this, youll see a navigation menu at the top.
2.Now, uncheck the box against theDisable remote inputoption under theRemote Interactionsection.
2.Hover your cursor on theExtrasoption and then selectOptionsfrom the submenu.
3.SelectAdvancedfrom the left sidebar and then click onShow advanced optionsto dive into the advanced options.
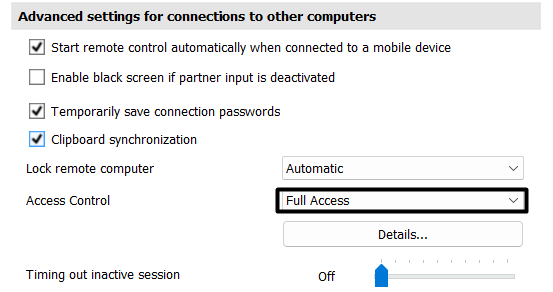
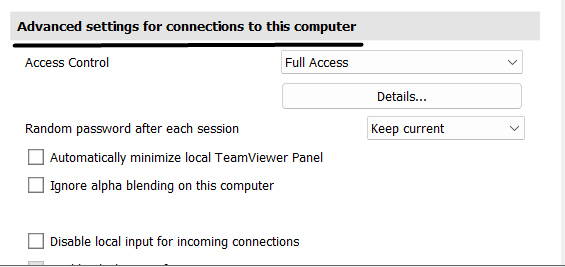
3.In theShow advanced optionsprompt, scroll to theAdvanced options for connections to this computersection.
4.check that to set theAccess Controldropdown menu toFull Accessto provide access to full parameters.
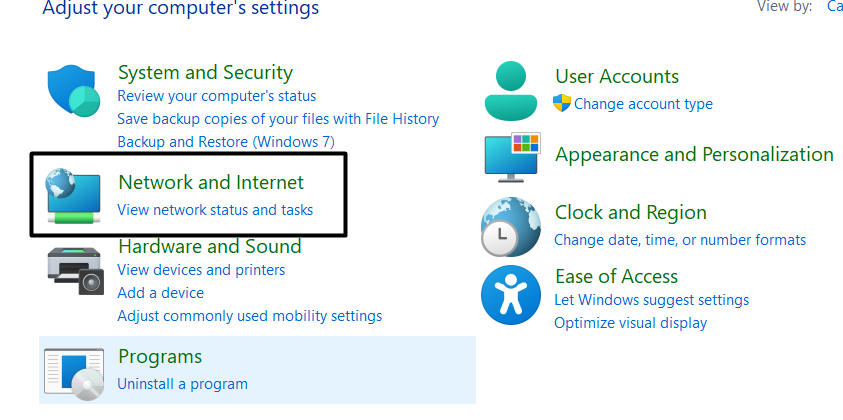
2.Select theControl Paneloption from theBest matchsection and select theNetwork & Internetoption.
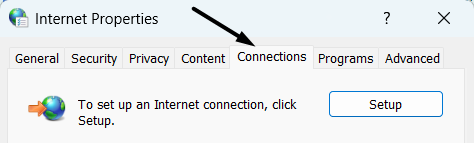
3.Then,click onInternet Optionsin theNetwork & Internetsection andnavigate to theConnectionssection.
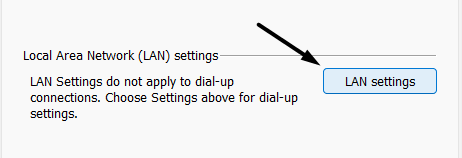
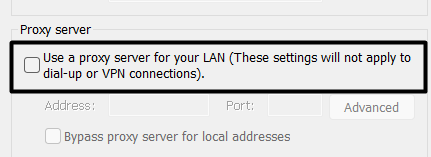
4.In theConnectionssection, hit theLAN Settingsoption in theLocal Area internet (LAN) settingssection.
5.Lastly, uncheck the checkbox next to theUse Proxy Server for your LANoption and hit theOKoption.
This is because not all Windows 11 PCs support IPv6 addresses, which is the successor of IPv4.
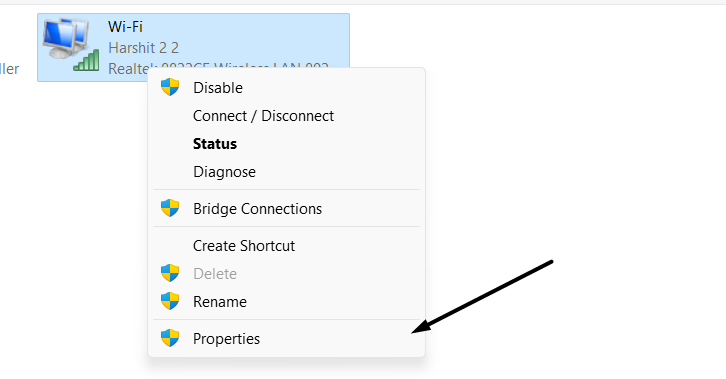
2.In theNetwork Connectionsprompt, right-hit the internet youre connected to and select thePropertiesoption.
3.Uncheck the box next toInternet Protocol Version 46 (TCP/IPv6)in theNetworkingsection and clickOK.
This will refresh the TeamViewer app and resolve all the issues with it in seconds.

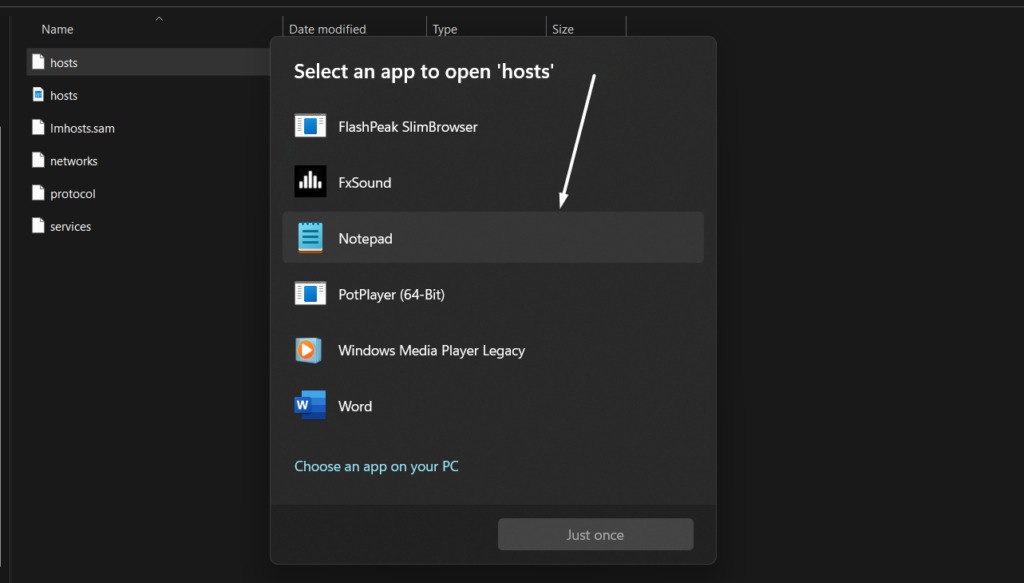
2.Double-hit thehostsfile in theEtcfolder and click onNotepadonHow do you want to open this file?prompt.
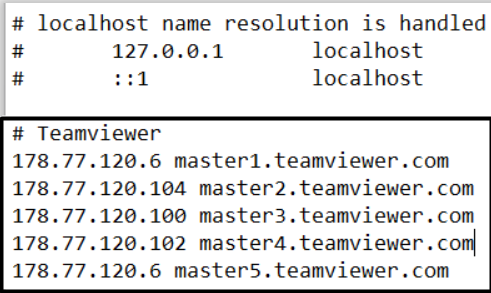
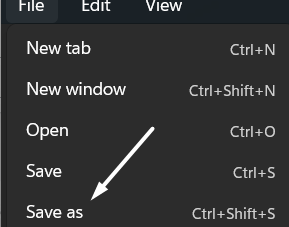
3.Proceed to the#TeamViewerentries in thehostsfile and delete all the entries mentioned below it.
4.Once done, hit theFileoption in the top menu bar and then hit theSave asoption to save the file.
In case this doesnt do anything, it’s possible for you to considerreinstalling the app.
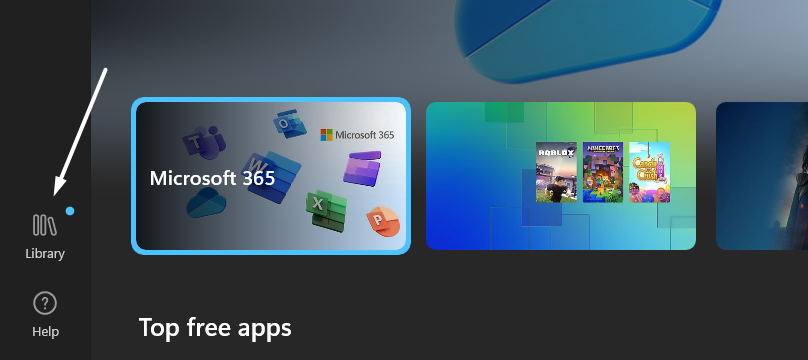
2.select theLibraryicon at the bottom right corner and search forTeamViewerin theUpdates & downloadssection.
3.Click theUpdatebutton next to TeamViewer to update it and eliminate the bugs and glitches from it.
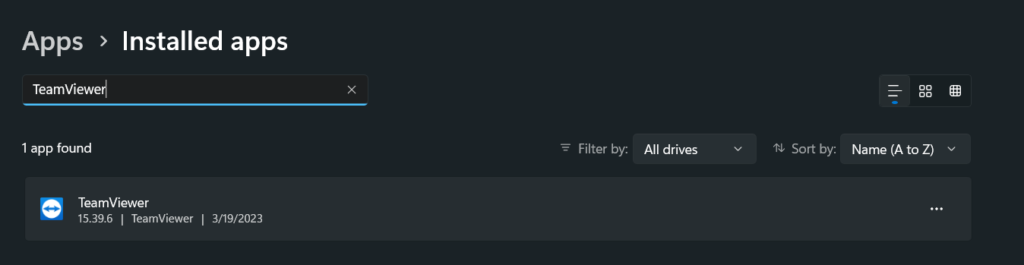
2.press theInstalled appsoption and then search for theTeamViewer appusing the search box at the top.
3.Click onthree dots (…)next to it, select theUninstalloption, and then click theUninstallbutton.
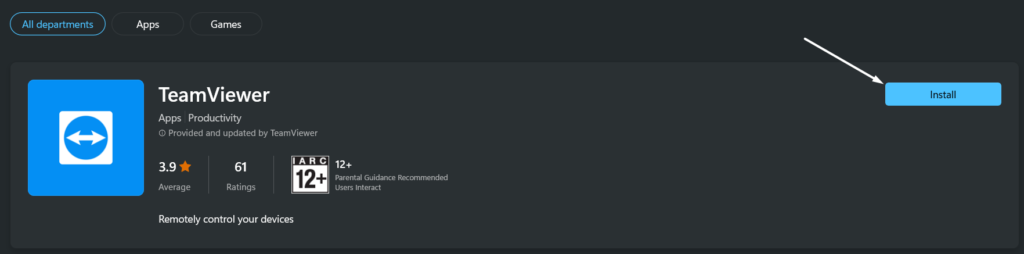
4.Open theMicrosoft Storeapp, search for theTeamViewer app, and click theInstallbutton next to it.
you might also reinstall the TeamViewer app from theirofficial site.
Thus, the best way to overcome it is torestart the web connection.
If youreconnected to WiFi, then restart the WiFi router.
Whereas, if youre using mobile data, we suggest re-enabling theAirplane mode.
Hopefully, the Teamviewer Not Ready Check Your Connection issue is fixed now.
FAQs
Is TeamViewer Compatible With Windows 11?
Yes, according to its developers, TeamViewer is compatible with Windows 11 and even all editions of Windows.
How Do I Connect to TeamViewer 11?
The steps to connect the new version of TeamViewer with the old TeamViewer 11 are similar.
You simply need to share the Your ID Code and password with the computer you want to give access.
Does Windows 11 Allow Remote Desktop?
Is My Firewall Blocking TeamViewer?

How Do I Get TeamViewer to Work Again?
In that case, we suggest you give it full access to your Windows system.
you’re free to give it full access from theAdvancedsection of the TeamViewer app.
But sometimes, it stops working or starts showing different error messages likeTeamviewer Not Ready Check Your Connection.