This function comes into use when it becomes impossible to resolve an issue.
However, for some users, it has stopped working.
They say that System Restore doesnt work for them and shows theSystem Restore did not complete successfully.
select drive and click on configure
Your computers system files and controls were not changedmessage when using it.
Luckily, this issue is fixable, and this troubleshooting guide explains the same.
Read ahead and learn to fix System Restore not working in Windows 11.
Why Is System Restore Not Working in Windows 11?
Several reasons can make your Windows 11 PCs System Restore ill.
But as we know, not all the methods work all the time.
So follow them and fix the System Restore did not complete successfully error:
1.
Your computers system files and options were not changed oops message at the start of your Windows 11 PC.
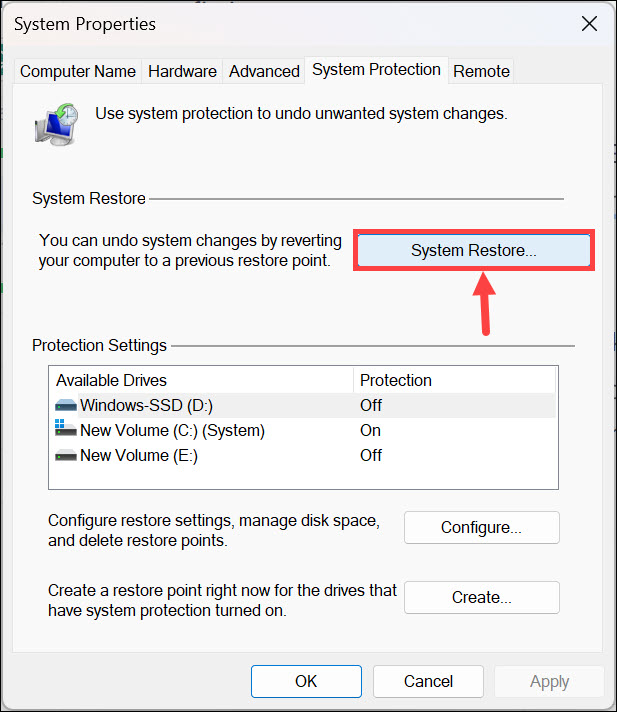
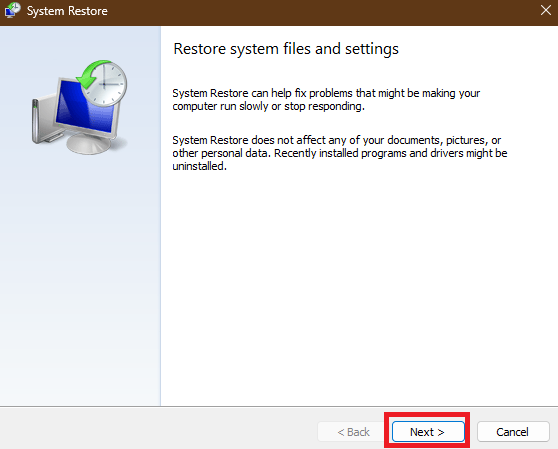
2.In theSystem Propertieswindow, click theSystem Restore…button underSystem Restore.
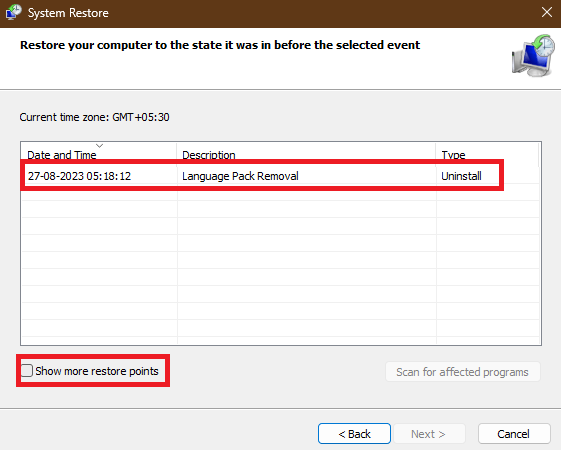
3.Click theNext >button to go to the next screen and tick theShow more restore pointscheckbox.
4.Choose a different restore point from the listed restore points and click theNext >button.
5.On the next screen, click theFinishbutton to start system restoration.
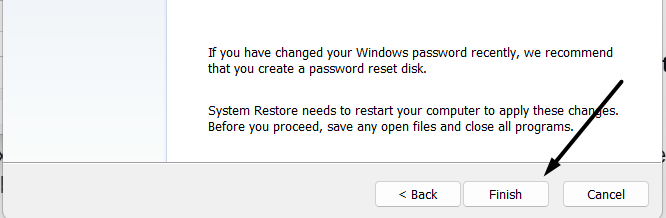
After clicking theFinishbutton, your Windows 11 PC will restart and verify if the warning pop-up still appears.
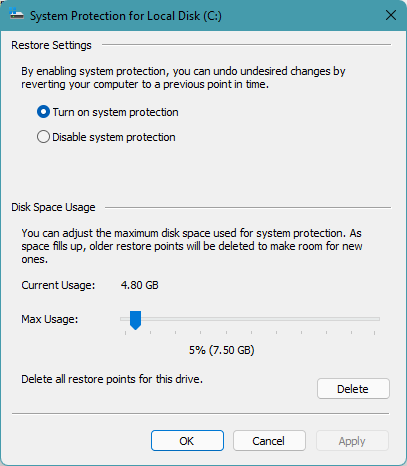
2.Go to theSystem Protectiontab and click theConfigurebutton to check whether its enabled.
3.On the next screen, check that theTurn on system protectionradio button is selected.
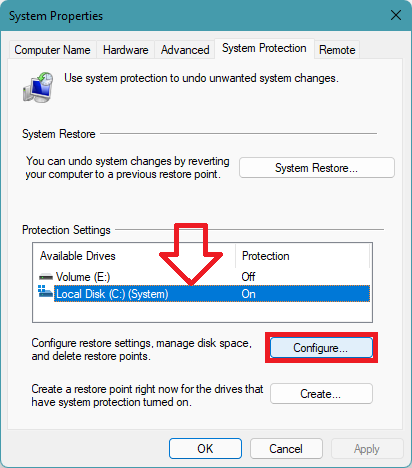
select drive and click on configure
4.Lastly, choose theApplybutton to save any changes you made and check the issues status.
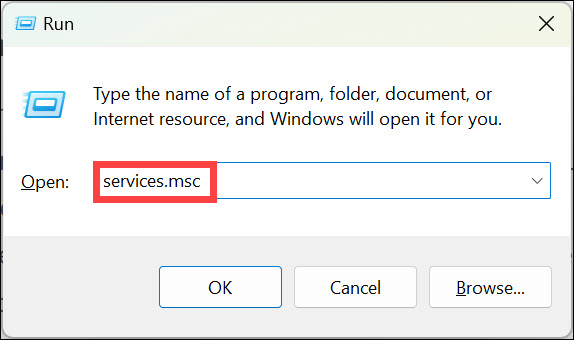
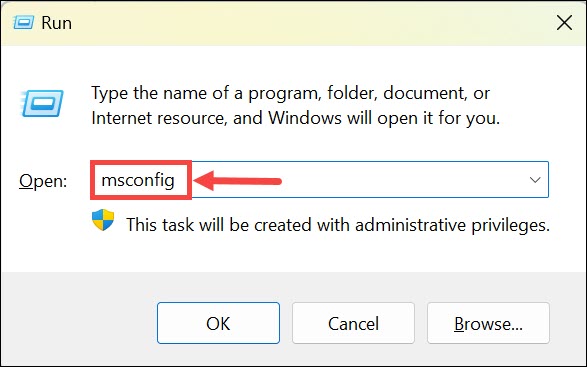
1.Use theWindows + Rkeyboard shortcut to open theRun boxand typegpedit.mscin it.
4.Search theTurn off System Restoresettingpolicy and double-click it to get a new window.
5.In the next window, make sureNot configuredorDisabledis selected and then clickOK.
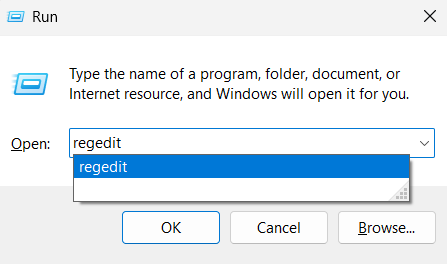
1.Open theRun command dialogon your Windows 11 PC, typeregeditin it, and pressEnter.
3.On the left, choose theSystemRestorekey, and then double-clickDisableConfigon the right.

5.Lastly,do the same with theDisableSRvalue on the right side and check the issues status.
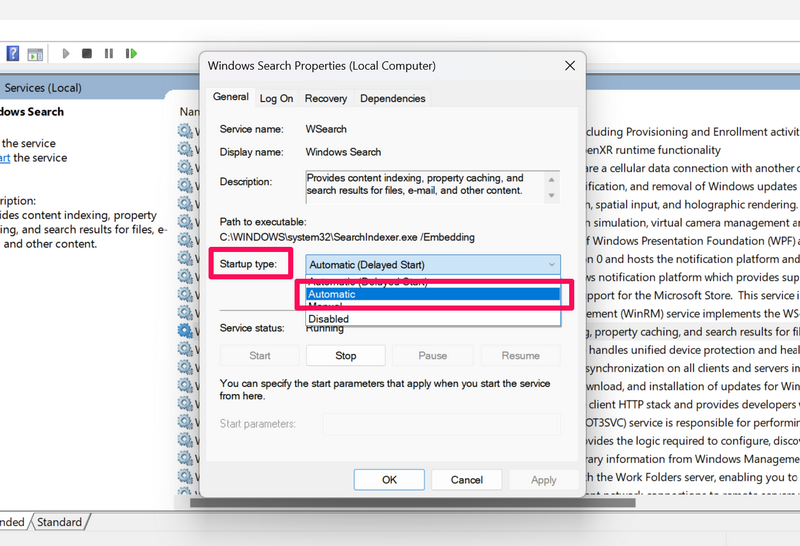
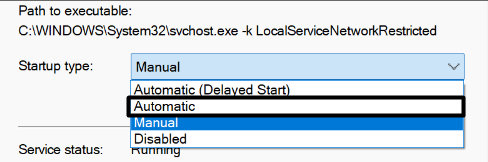
4.Once done,search theVolume Shadow Copyservice in theServices appand open it.
5.Lastly, set theStartup bang out:option toAutomatic, and hit theApplybutton to save the changes.

Once done, try restoring your Windows 11 PC or laptop again and peek if it completes properly.
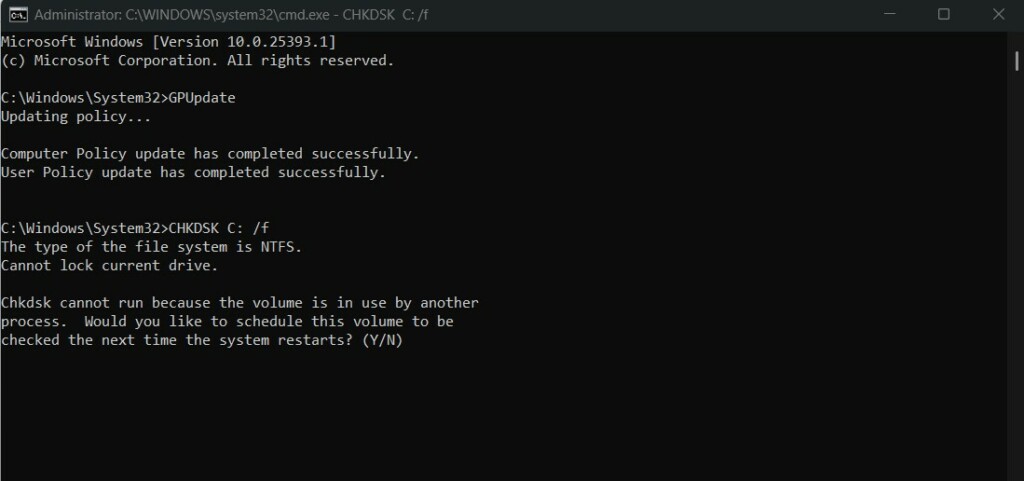
To test whether its the main reason, you might considerrunning the Disk Check utilityon your Windows computer.
This will fix all the errors with your PCs disk and, hopefully, fix this issue.
3.Once done, reboot your Windows 11 PC or laptop to launch the Disk Check scan on your PC.
4.After running the Disk Check tool, youll see the scan results on your Windows 11 PCs screen.
Your computers system files and parameters were not changed oops message is appearing when using it.
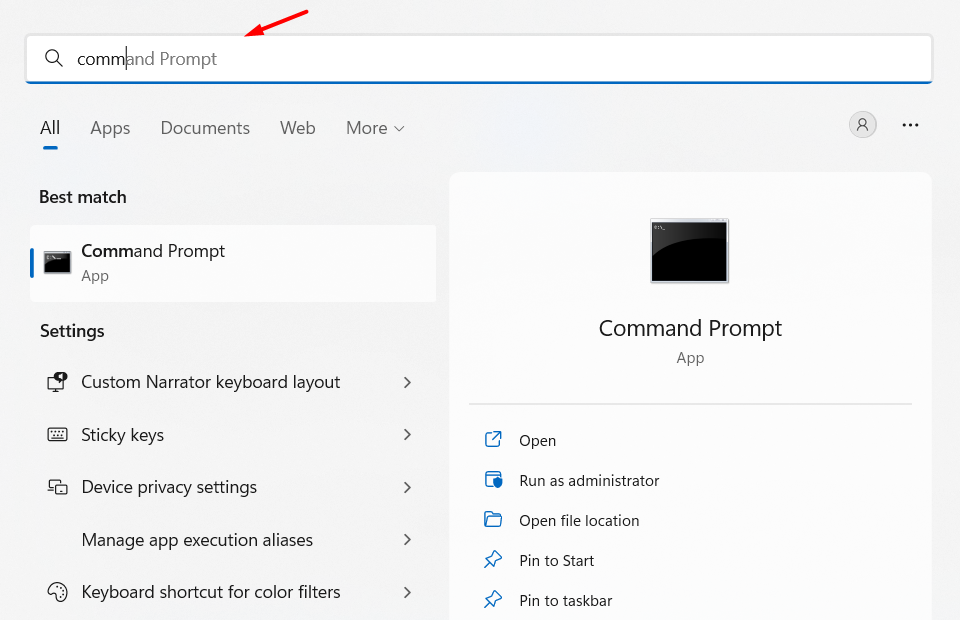
2.Choose theRun as administratoroption from the search results to open it with admin rights.
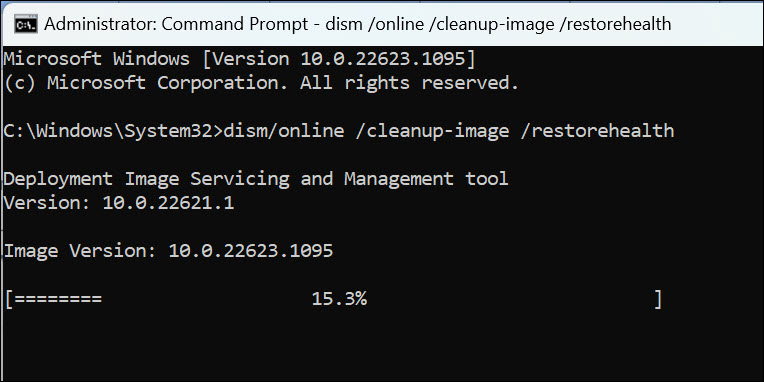
Keeping this reason in mind, you’re able to considerrunning an SFC scanon your system.
2.Select theRun as administratoroption from the results to open it with administrative rights.
Due to this reason,uninstall itfrom your system.
2.Choose theInstalled appsoption and then look for the antivirus app from the list of apps.
3.Next to the antivirus app, clickthree dots (…), and choose theUninstalloption from the menu.
4.Click theUninstallbutton in the new prompt to remove the app from your Windows PC.
5.After uninstalling the antivirus app, restart the PC and look to see if System Restore is working.
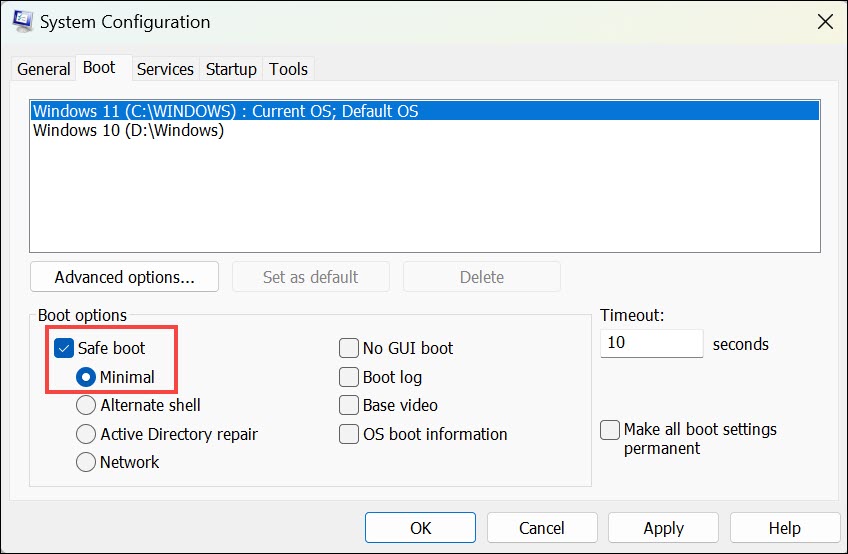
To check the same,boot your Windows 11 PC into Safe mode.
2.Go to theBoottab of the window and turn onSafe bootunderBoot optionsto enable it.
3.Jump to theServicestab and tick theHide all Microsoft servicescheckbox at the bottom.
4.ClickDisable allto force end all the non-Microsoft services and head to theStartuptab.
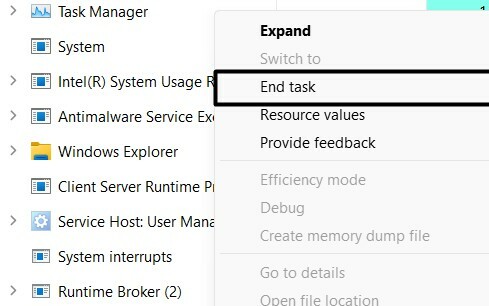
5.In theStartuptab, clickOpen Task Managerto launch the Task Manager utility on your PC.
6.Then, turn off all non-Microsoft services in theProcessessection in the Task Manager utility.
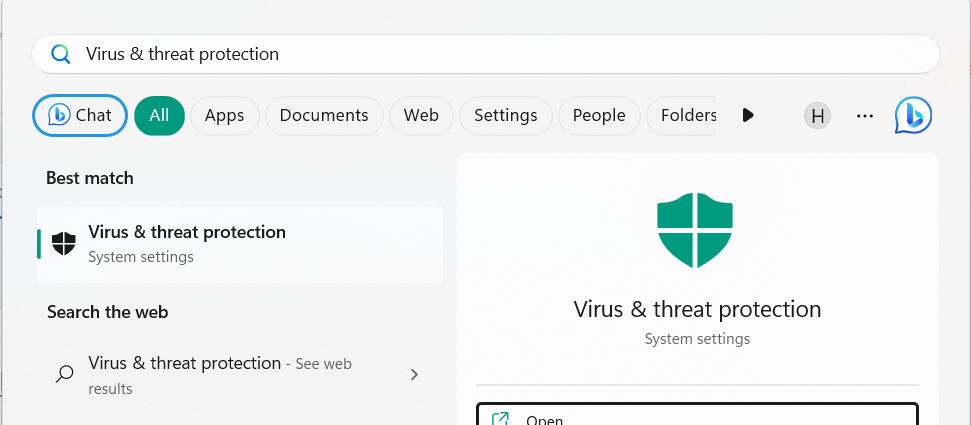
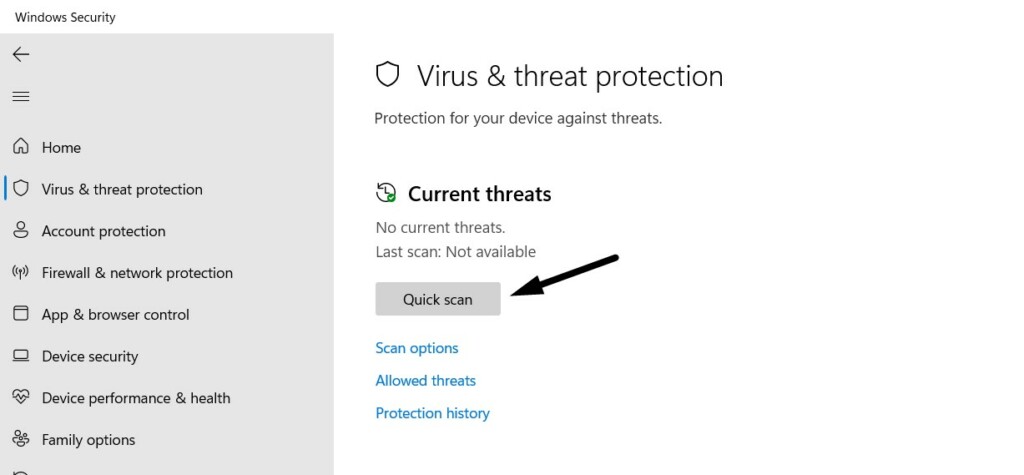
Keeping this reason in mind, we suggest yourun a quick antivirus scanon your Windows PC.

2.In theVirus & threat protectionwindow, click theQuick scanbutton to start the virus scan.
3.Once the virus scan is started, wait for it to complete and show the scan results.
If it finds malicious files on your PC, considerremoving themby following the on-screen steps.
Your computers system files and controls were not changed warning pop-up is appearing while using it.
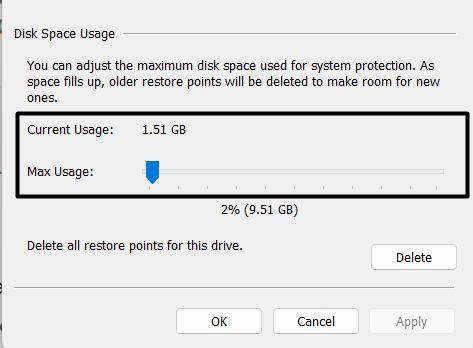
Thus, we suggest youexpand the allotted storageand check the issues status.
2.UnderProtection parameters, choose theConfigurebutton to alter the system restore parameters.

Simply adjust the space as per your needs.
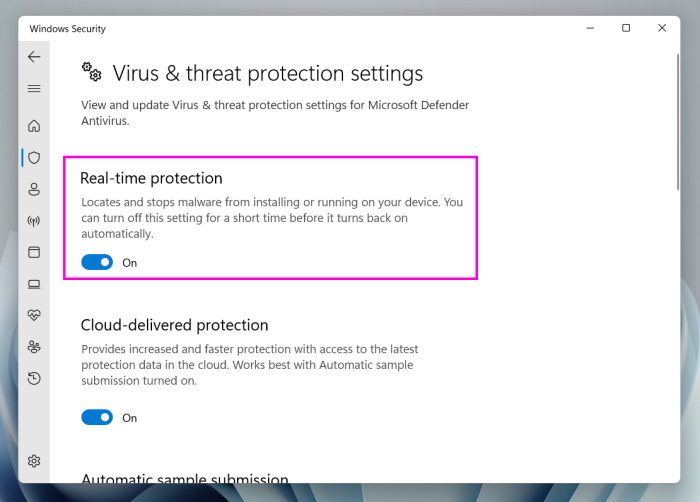
Turn Off Microsoft Defender Antivirus
Sometimes, the Windows Microsoft Defender Antivirus prevents some functions from working properly.
So, this could be the same in this case.

Considering this reason, we suggest youdisable the Microsoft Defender Antivirus functionalityon your Windows 11 PC.
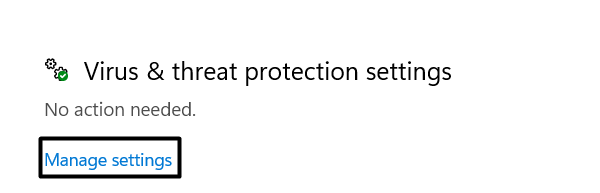
2.On the next screen,chooseVirus & threat protectionand click theManage settingsoption.
3.turn off the switch underReal-time protectionto turn off the Microsoft Defender Antivirus.

4.Once done, reboot your Windows 11 PC or laptop and check whether the current issue is fixed.
Disable OneDrive
For some users,disabling OneDrivefixed the System Restore not working issue on their Windows 11 PC.
We also suggest you do the same and check whether it resolves the issue.

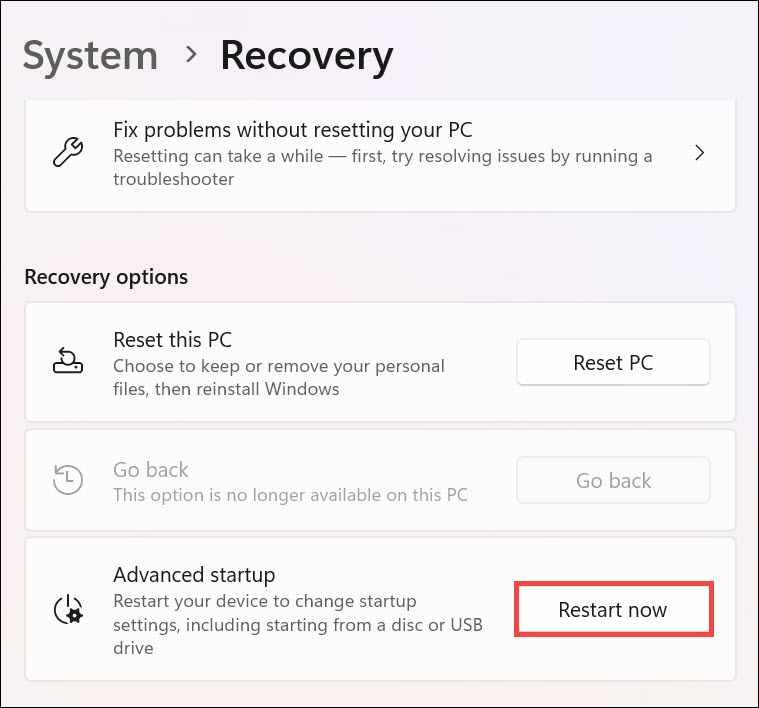
The PCs BIOS section also includes a System Restore option to restore the system to an existing restore point.
2.On the next screen, in theRecovery optionssection, click theRestart nowbutton to go ahead.
3.Your Windows 11 PC or laptop will now enter theWindows Recovery Environment in a while.

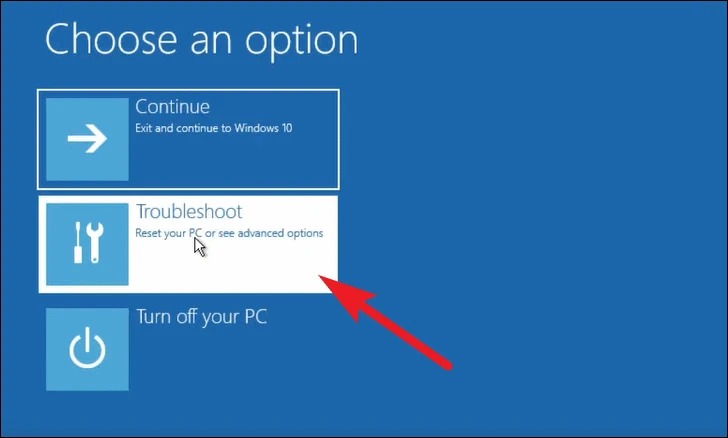
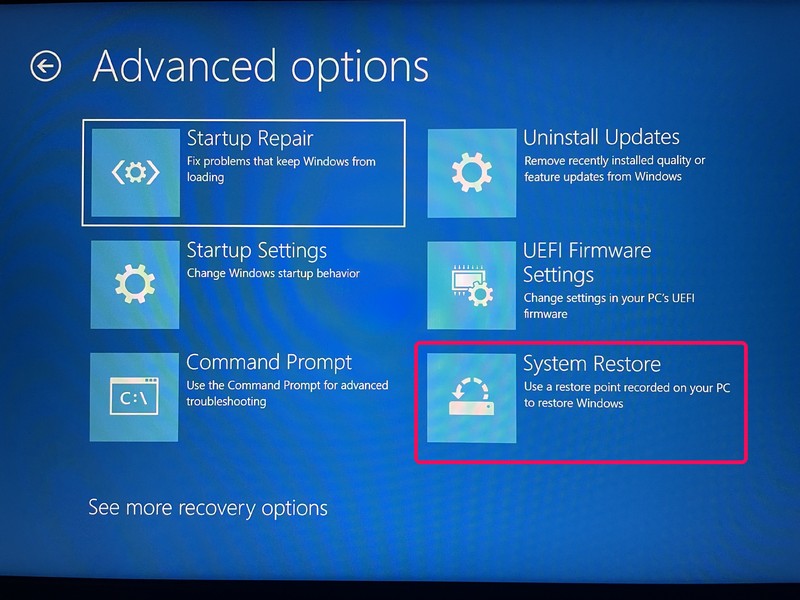
4.On theChoose an optionscreen, select theTroubleshootoption andAdvanced options.
5.On theAdvanced optionsscreen, select theSystem Restoreoption to go to the next screen.
6.Lastly, follow the on-screen instructions to restore your Windows 11 PC to a restore point.
FAQs
How Do I Fix System Restore in Windows 11?
What to Do if System Restore ain’t running?
you’re able to consider restarting your Windows 11 PC if the System Restore function isnt working.
If this doesnt work, consider disabling the third-party antivirus installed on your PC.
Does System Restore Work in Windows 11?
The System Restore will fail if your Windows systems essential files are corrupted or missing.

How Do I Force a System Restore?
Final Words
Non-functioning the System Restore function in Windows 11 can cause a lot of inconvenience.
Luckily, there are some solutions that can make it work again.

Here in this guide, we shared all thepossible workaroundsto fix System Restore not working in Windows 11.
If this guide helped you, do let us know which solution helped you get rid of it.