Audio problems can be one of the most frustrating issues on a computer.
In this article, we will show you how to fix the Realtek audio not working in Windows 11.
We will also provide some tips to avoid audio problems on Windows 11.
Why Is Realtek Audio Not Working in Windows 11?
Here are various fixes that you might apply.
confirm that you have connected your equipment to the right port and that it is adequately secured.
Also, ensure that you are using the correct audio source.
To fix this issue, you’re gonna wanna modernize your Realtek audio driver.
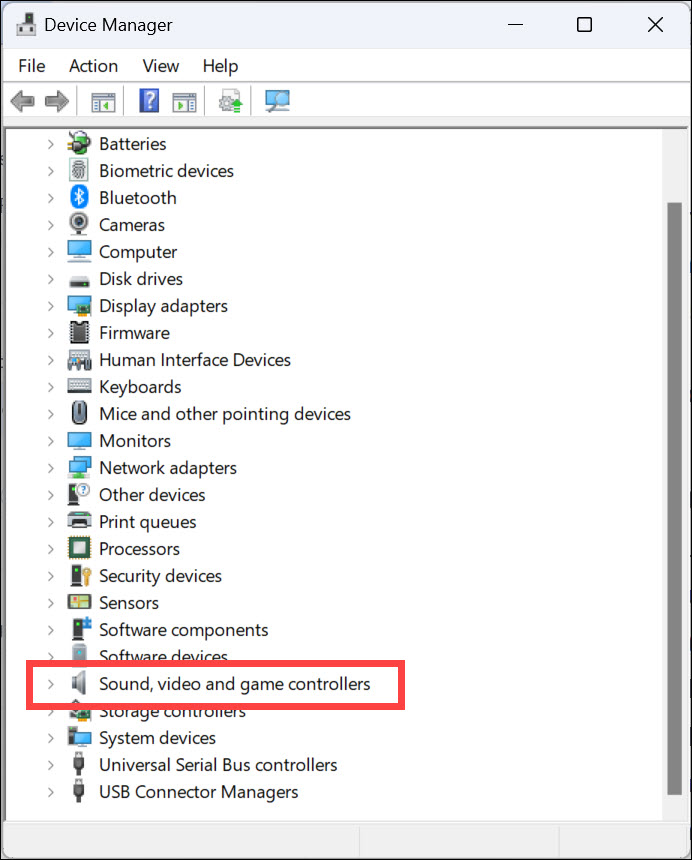
2.Expand theSound, video, and game controllersoption by clicking on it.

3.Right-click onRealtek(R) audioand selectUpdate driver.
4.Choose Search Automatically for Updated Driver Software from the options available and wait for Windows to finish the process.
Re-Install Realtek Audio Drivers
If updating the audio drivers doesnt help, you may need to re-install them.
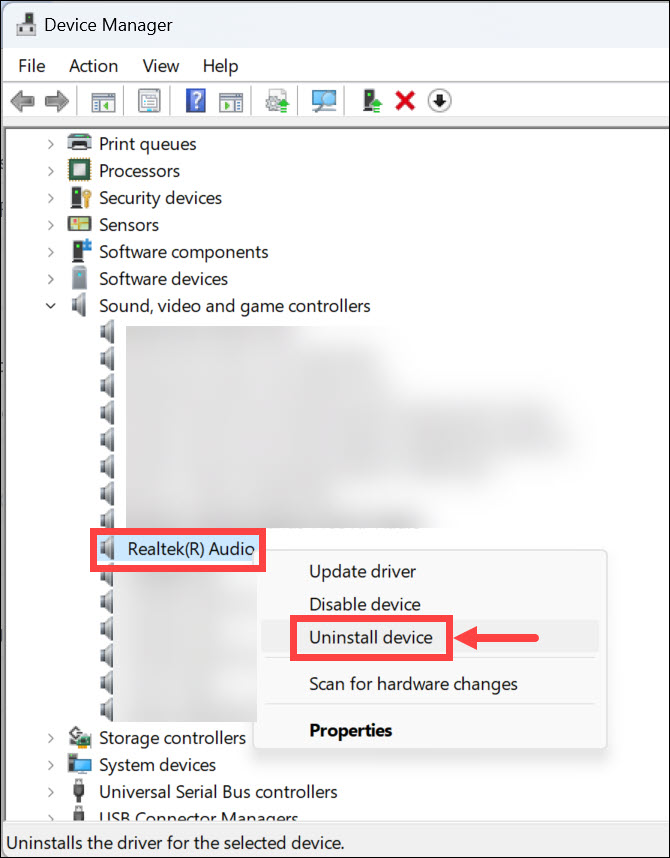
3.Right-click onRealtek(R) audioand selectUninstall gear.
4.kickstart your gear, and Windows will automatically roll out the latest Realtek driver.
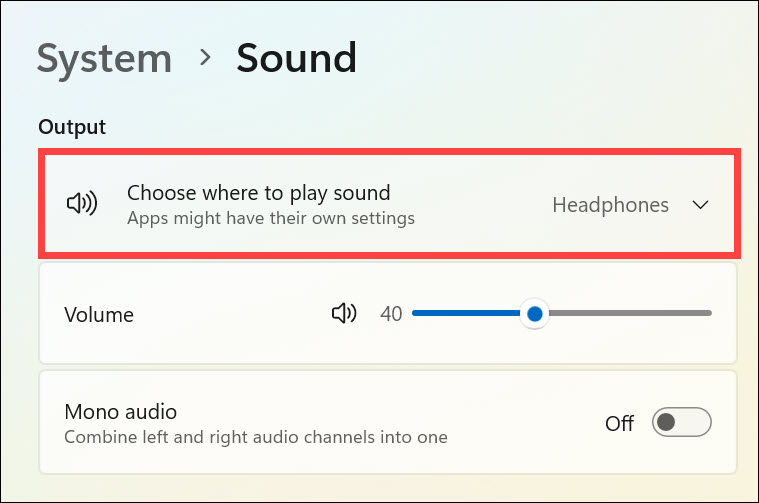
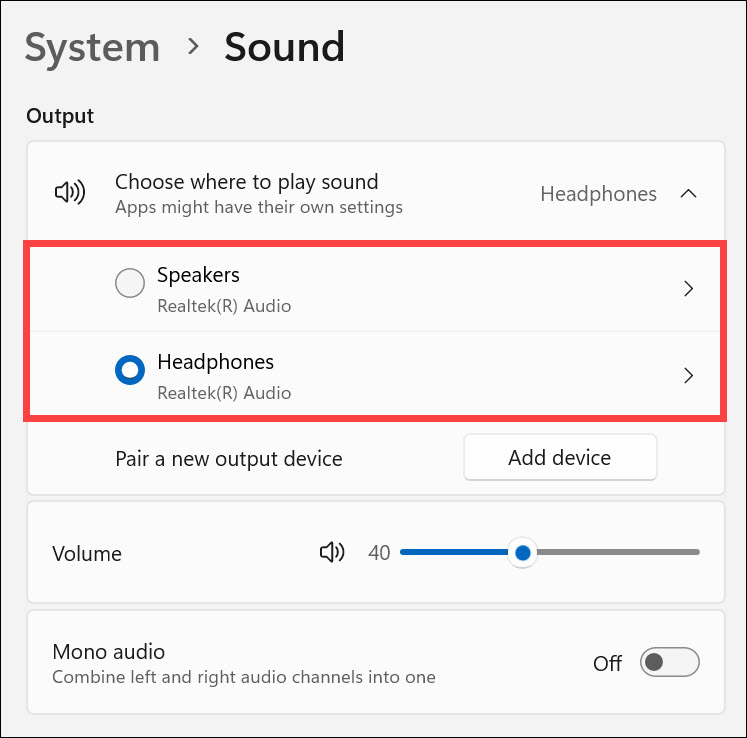
2.Under the Output heading, clickChoose where to play sound.

3.opt for correct audio source from the list.
Also, adjust the volume as per your preference.
It can help you resolve any conflicts or incorrect parameters causing the Realtek audio not working problem.
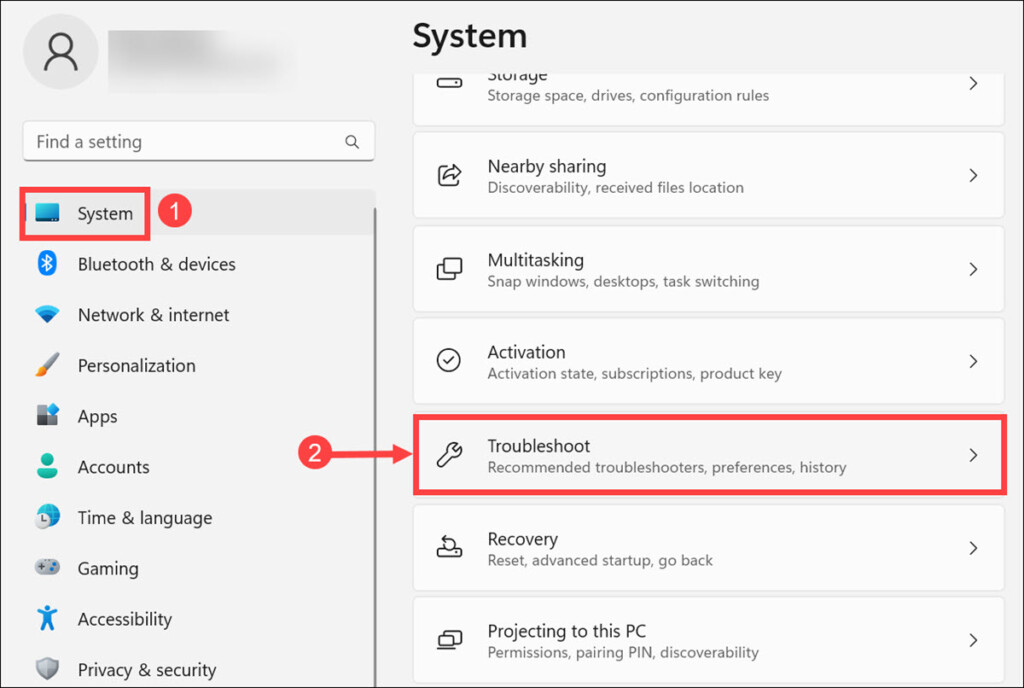
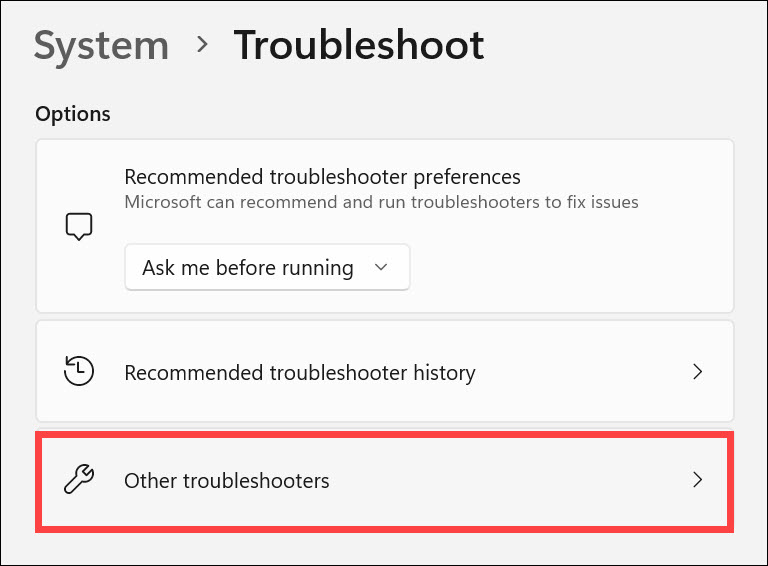
2.On the left pane, remain on theSystemtab and selectTroubleshooton the right.
3.Under the Troubleshoot options, selectOther troubleshooters.
4.Click theRunbutton next to Playing Audio to begin troubleshooting.
Restart Realtek Audio Service
Realtek audio service is responsible for running the audio on your gear.
If it has stopped working, it can cause the audio to not work.
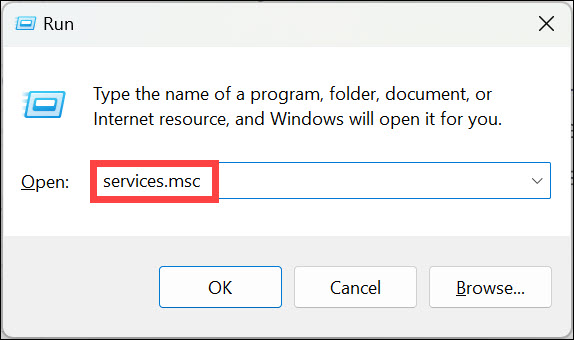
To fix this issue, you oughta restart Realtek audio service.
PressEnterto launch the Services window.
2.LocateRealtek Audio Universal ServiceorRtkAudioServicein the list, right-select it, and selectStart.
3.Wait for Windows to finish the process and verify that your Realtek audio is now working correctly.
To fix this issue, it’s crucial that you disable all audio enhancements.
2.Now switch to thePlaybacktab, select yourSpeaker, and clickPropertiesat the bottom.
3.Under the Speaker Properties window, switch to theAdvancedtab and uncheckEnable audio enhancements.
Now peek if the Realtek audio is working correctly on your gear.
If it still doesnt work, try the next solution.
Here are the steps to spin up the system restore:
1.PressWindows + Rto launch the Windows Run Command.

2.key in this command to launch the System Restore Window:rstrui
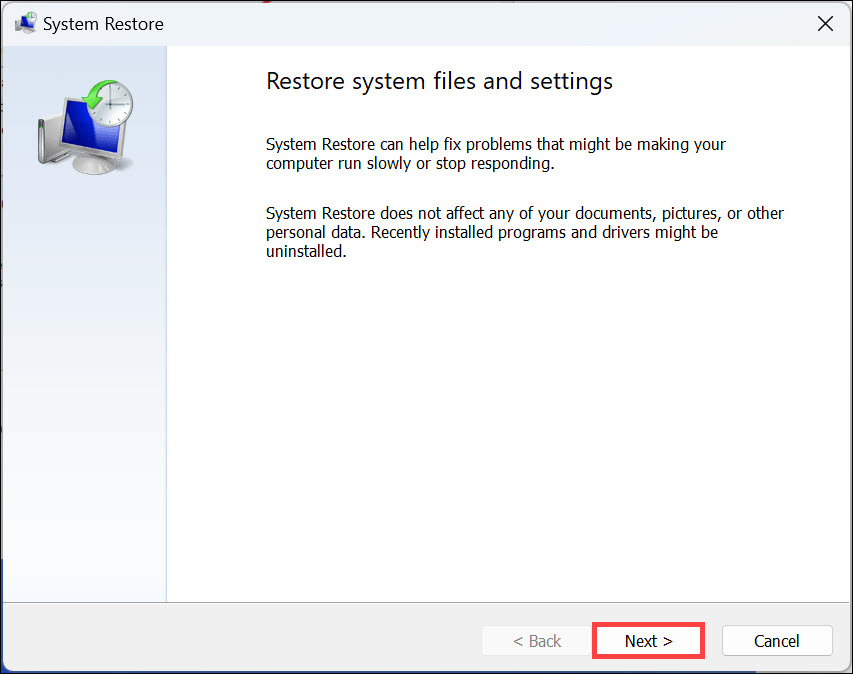
3.Under the System Restore window, clickNext.
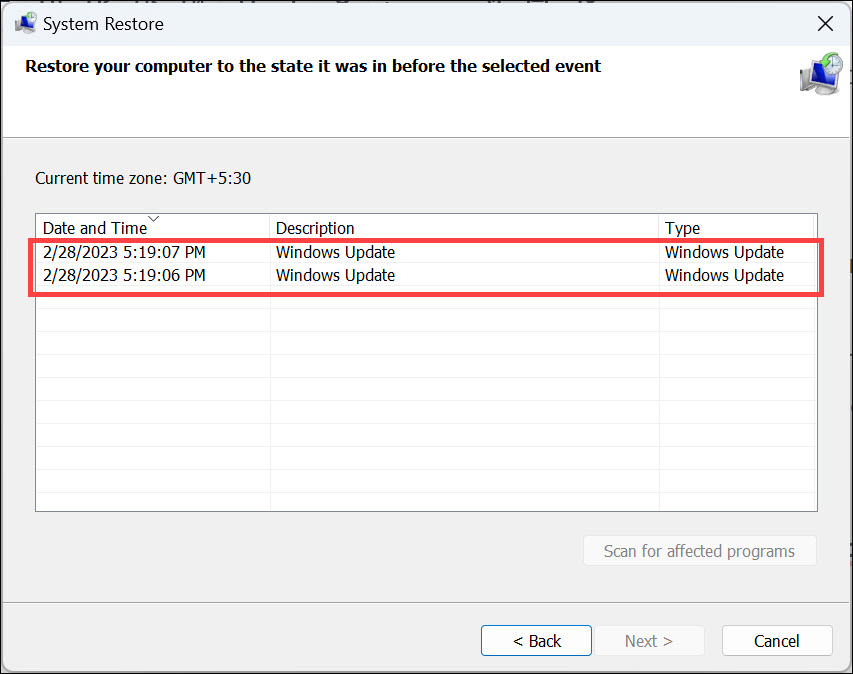
4.Select an appropriate system restore point from the list where Realtek audio was working fine and clickNext.
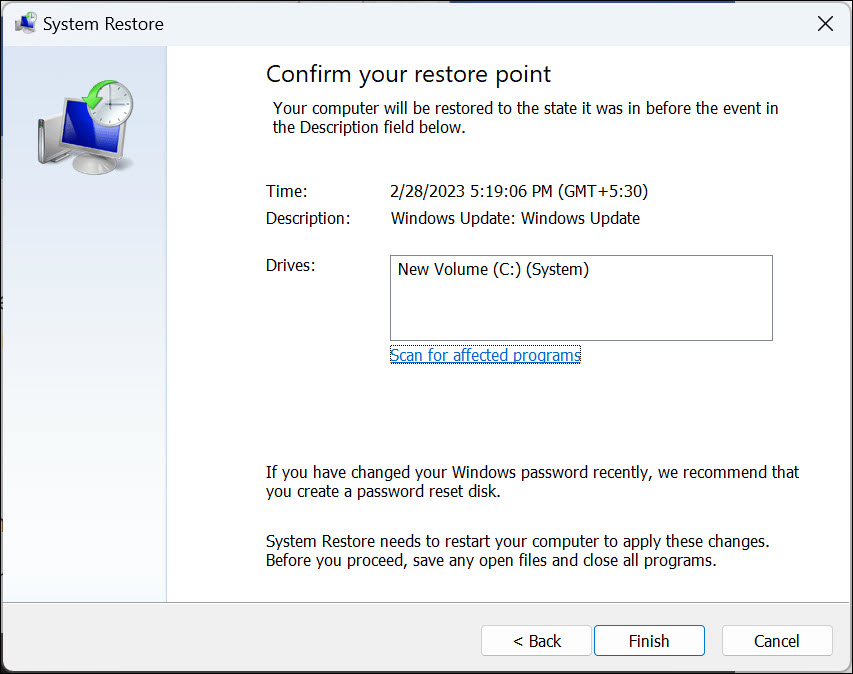
5.Finally, clickFinishto restore the system to its previous state.
It might be possible that the Realtek audio driver is incompatible with the current version of Windows.
Updating Windows 11 to the latest version can help fix most of the sound-related issues on your machine.
it’s possible for you to check for any available updates and install them using Windows controls.

Here is how to do that:
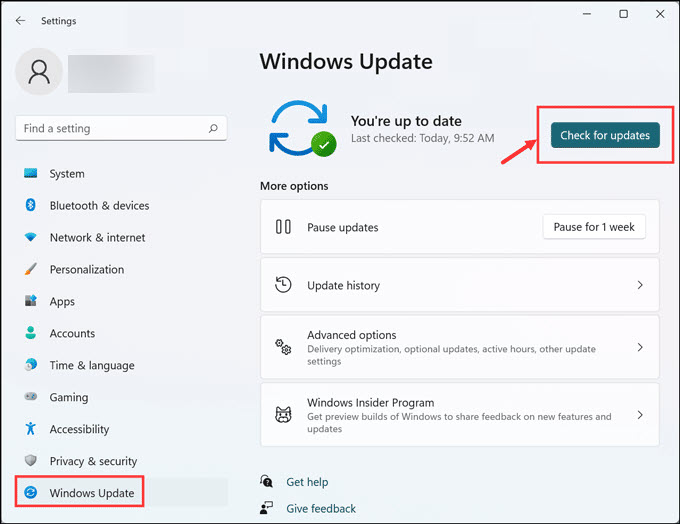
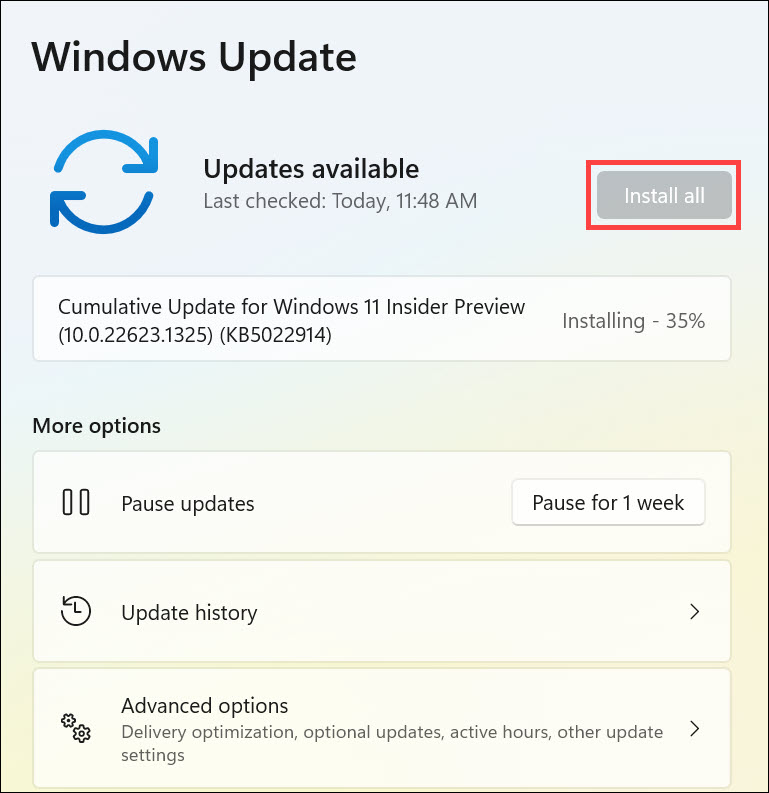
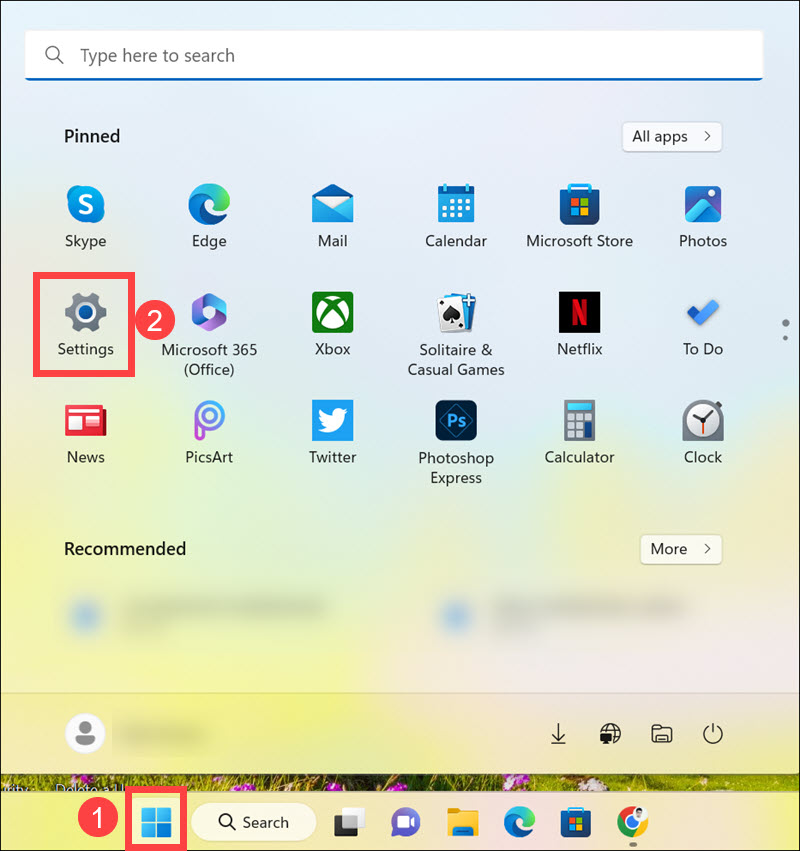
1.poke the Start button and launchSettingsfrom the Start menu.
2.Switch to theWindows Updatetab on the left, and on the right, click onCheck for Updates.
3.Windows will now check for available updates and download them.

4.Finally, punch theInstall allbutton to install all the available updates.
Restart the system and look to see if the problem is solved.