It is a fast and easy-to-use feature that many Android and Windows users use on a daily basis.
However, if youre still facing them, then you better find the culprit unit first.
So, without wasting more time, lets dive into the steps and troubleshoot the problem.
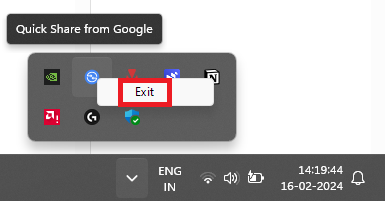
1.Head to the taskbar on your main desktop.
2.Click theShow Hidden Appsicon.
3.Right-tap on the Google Nearby Share icon and use theExitbutton.
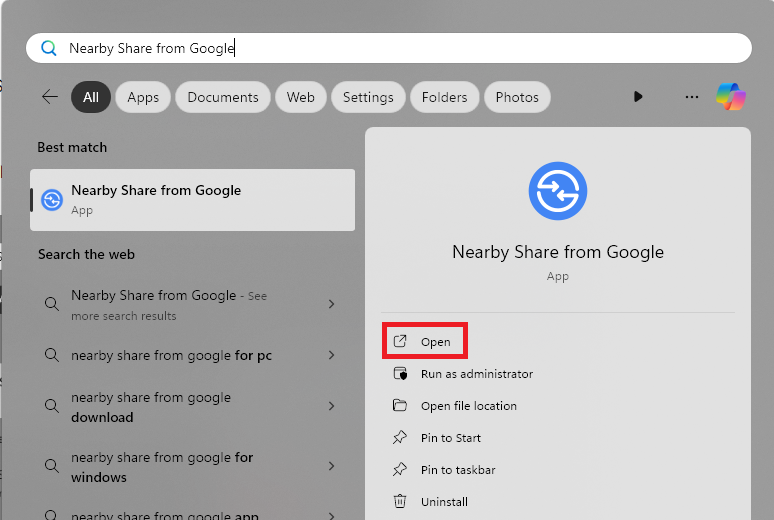
4.bring up the Start Menu on your PC.
you’re able to do it by pressing theWinkey on the keyboard.
5.Search for Nearby Share from Google and click theOpenoption.
Restarting devices will be helpful in cases when any other app is causing conflicts with the Quick Share app.
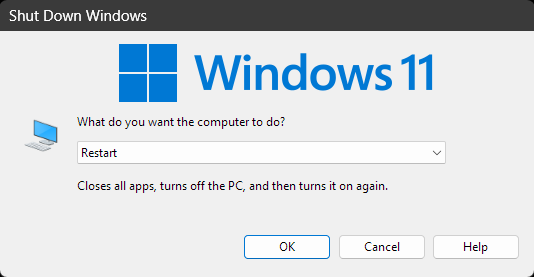
Before doing a restart, save all your work so any unsaved progress wont get lost.
2.Press theAlt+F4shortcut key on your keyboard to bring up the Shut Down menu.
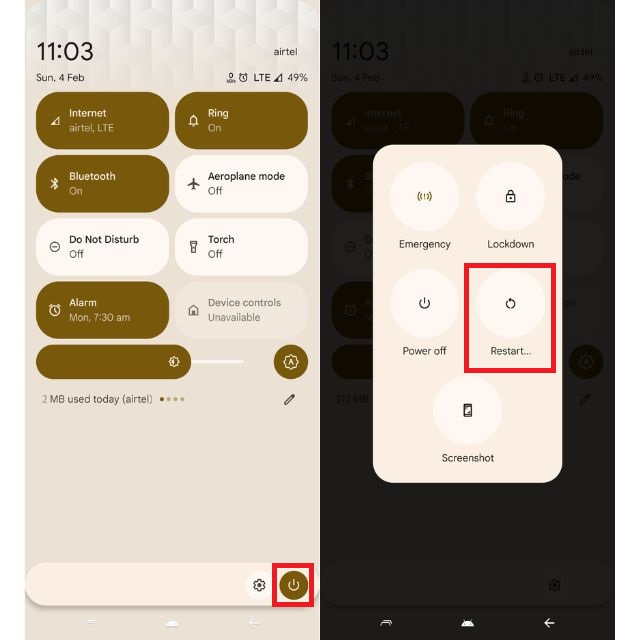
2.Tap thePowericon in the bottom left to launch the Power Menu and use theReebotoption to restart the phone.
you could do it by pressing theWin+Ikey from the keyboard.
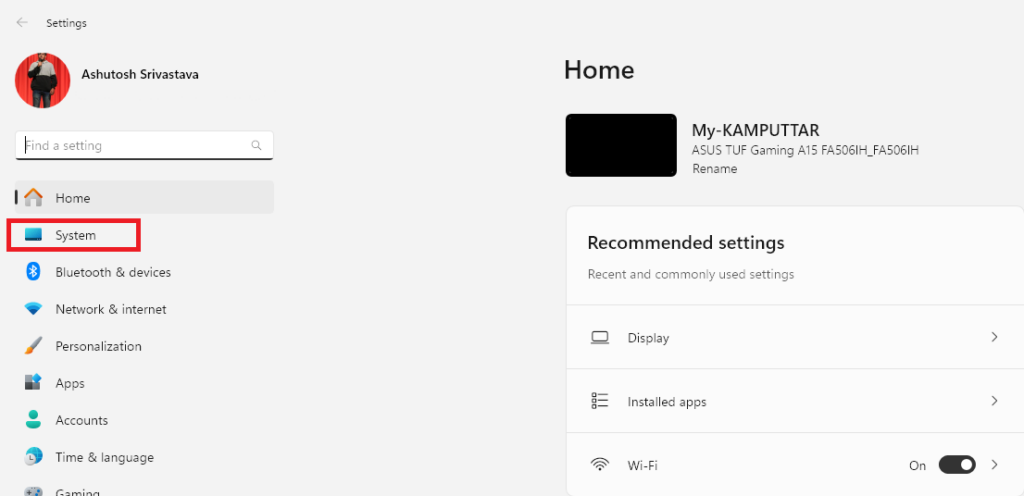
2.Click onSystemfrom the left panel to open System parameters.
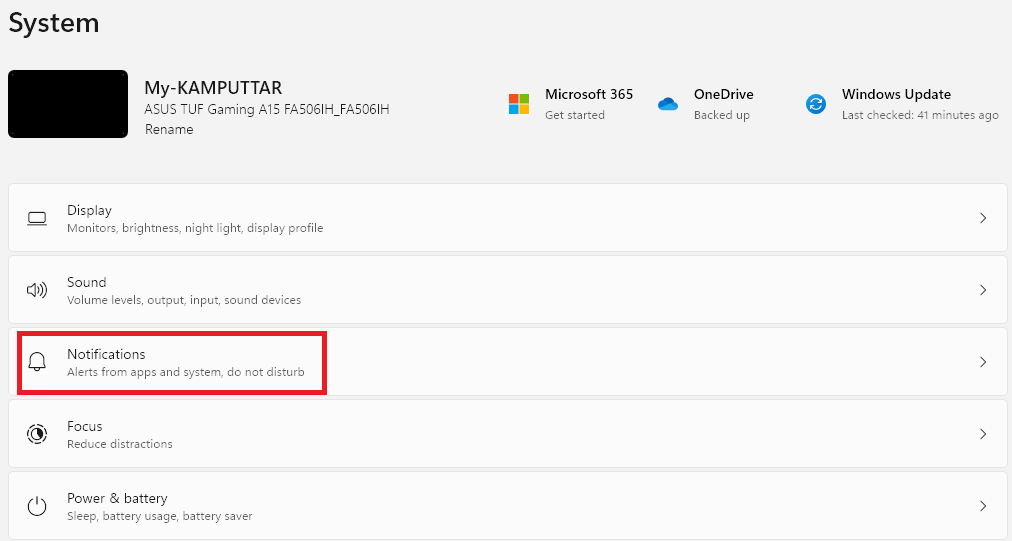
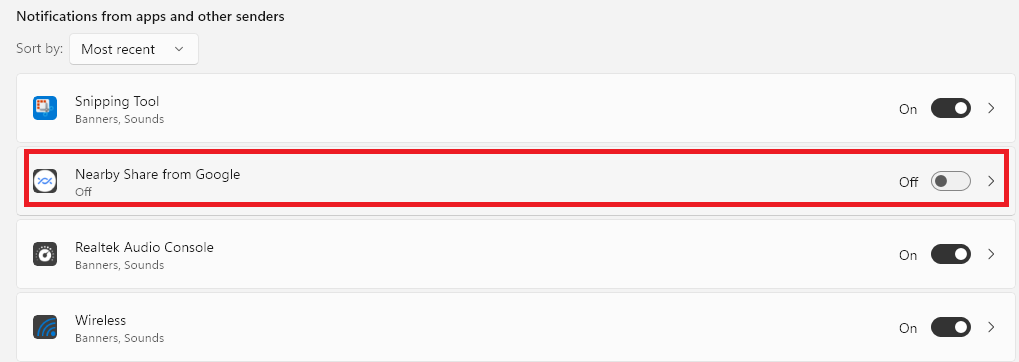
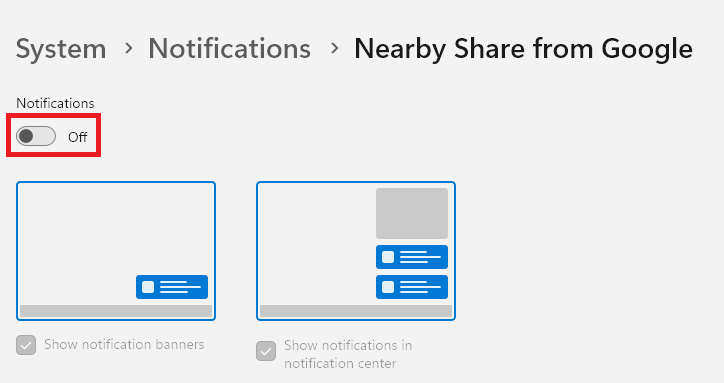
4.Scroll down toNotifications from apps and other senderssection and click theNearby Share from Googleapp.
4.switch on the toggle for notifications.
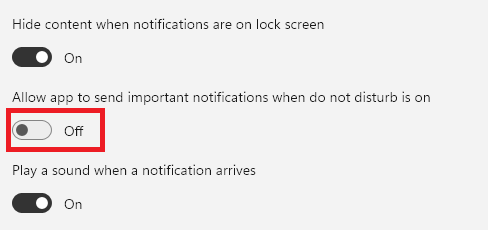
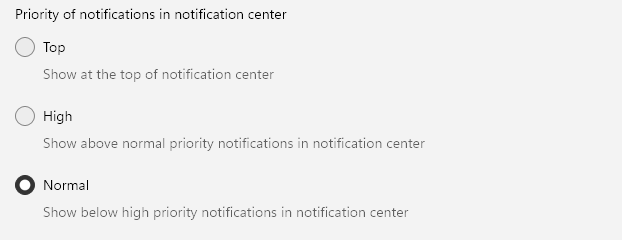
6.Lastly, if you use the app quite frequently, then you could also change its notification priority toToporHigh.
After enabling notifications, go back to the Quick Share from Google app and verify if the issue persists.
If yes, turn off DND and Focus mode on your box and check again.
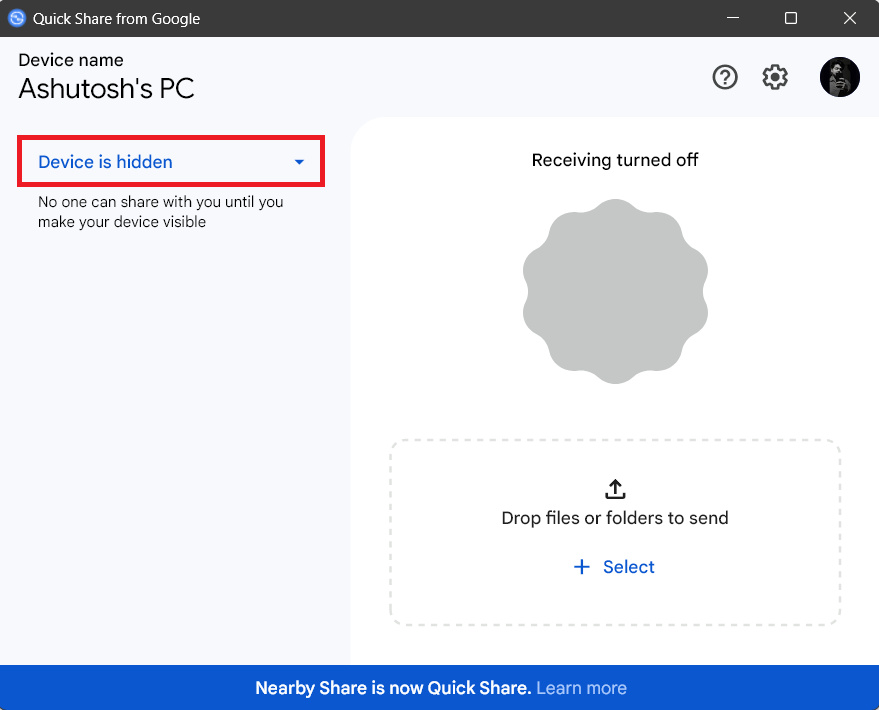
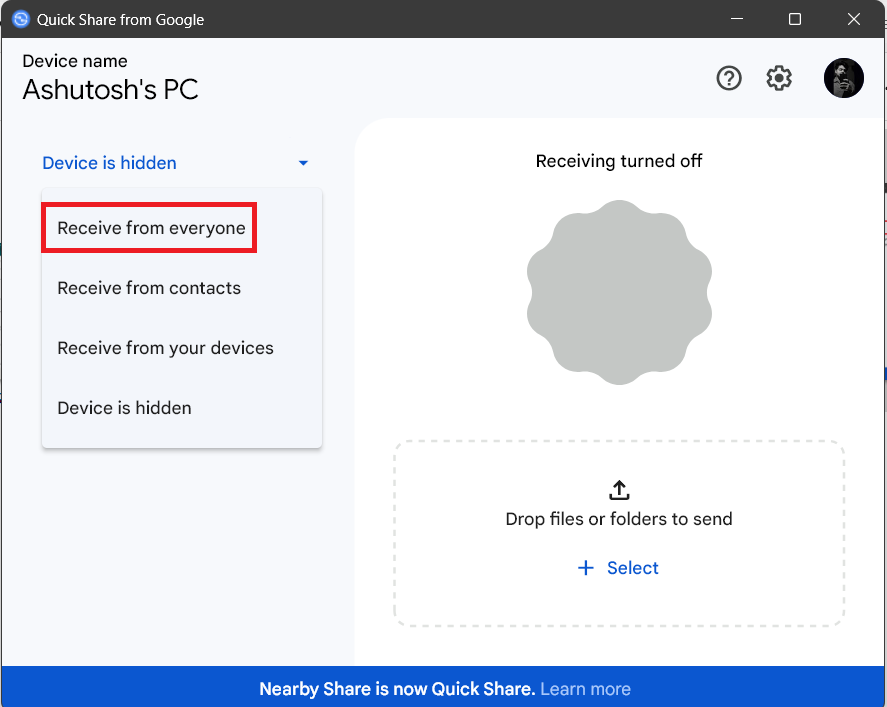
Therefore, to avoid all these issues, we recommend you use theEveryonemode on both devices.
2.TypeNearby Share from Googleand press theEnterkey on your keyboard to open it.
Similarly, change the visibility prefs on your Android phone too, if youre facing the same issue.
Heres how you’ve got the option to do it:
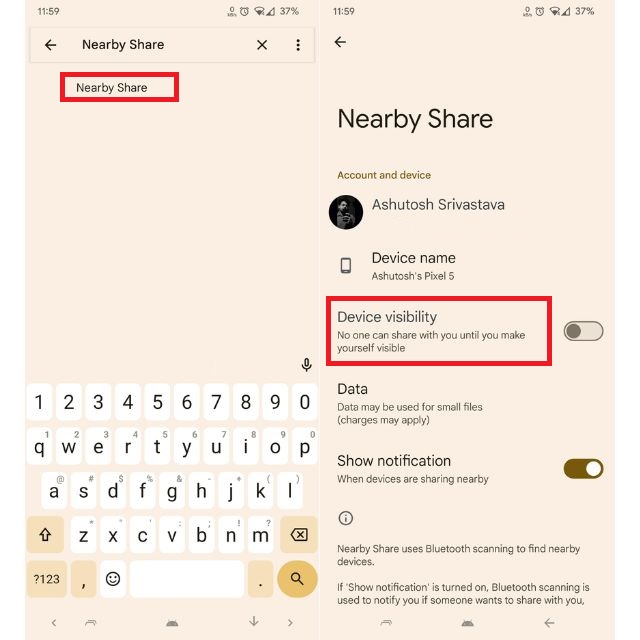
1.Open theSettingsapp on your phone.
2.Search forNearby Shareand tap on the first search result.
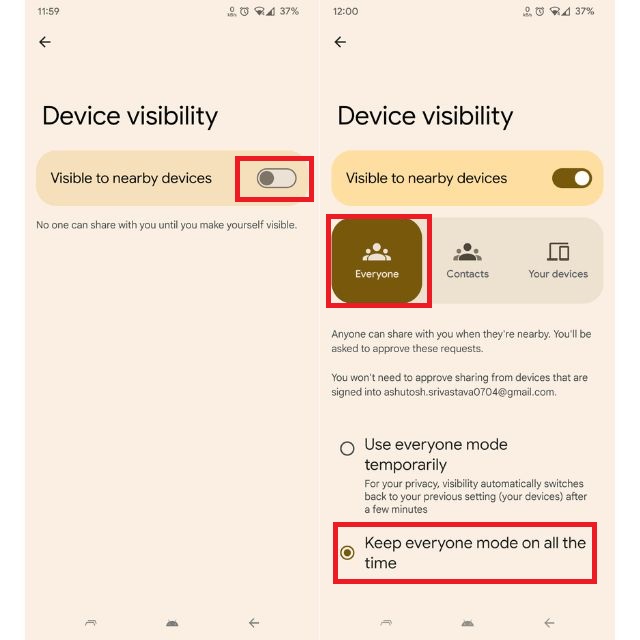
4.switch on the toggle forVisible to nearby devices.
5.Change the equipment visibility toEveryone.
Also, choose theKeep everyone mode on all the timeoption.
TheKeep Everyone Mode on all the timeoption will keep your unit visible to others all the time.
Thats why we have included this one in our guide.
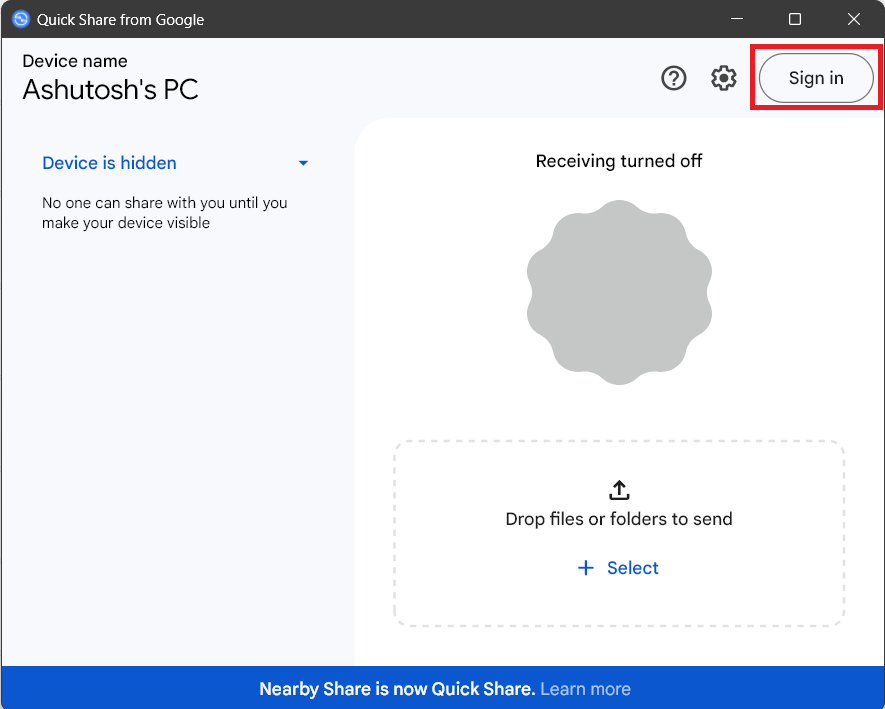
1.fire up the GooglesQuick Shareapp.
2.Click theSign inbutton from the top right corner.
3.It will open your default net online gate for the sign-in process.
Choose the Google account using which you want to sign in.
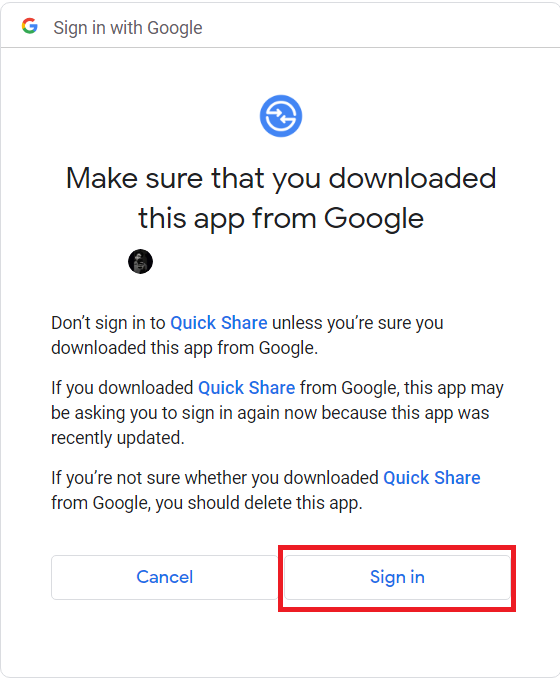
4.Read the info on the next screen and click theSign inoption.
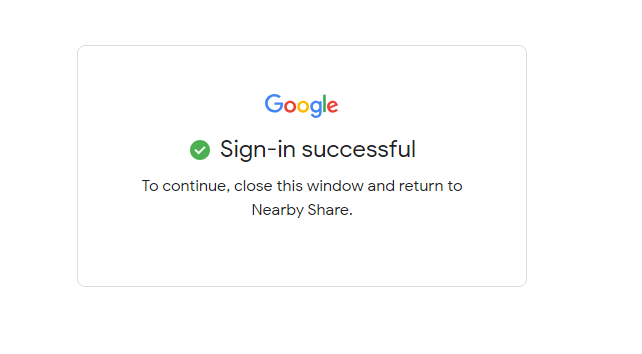
5.It will give a confirmation pop-up.
When you see that, return to the Quick Share from Google app.
Heres how you’ve got the option to start Bluetooth Services in Windows 11:
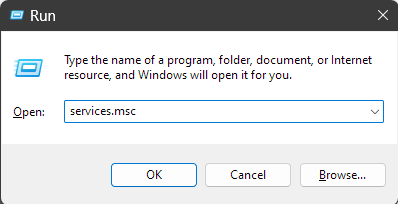
1.Open theRunDialogbox.
you could do it by pressingWin+R.
2.punch in the following and click theOpenbutton.
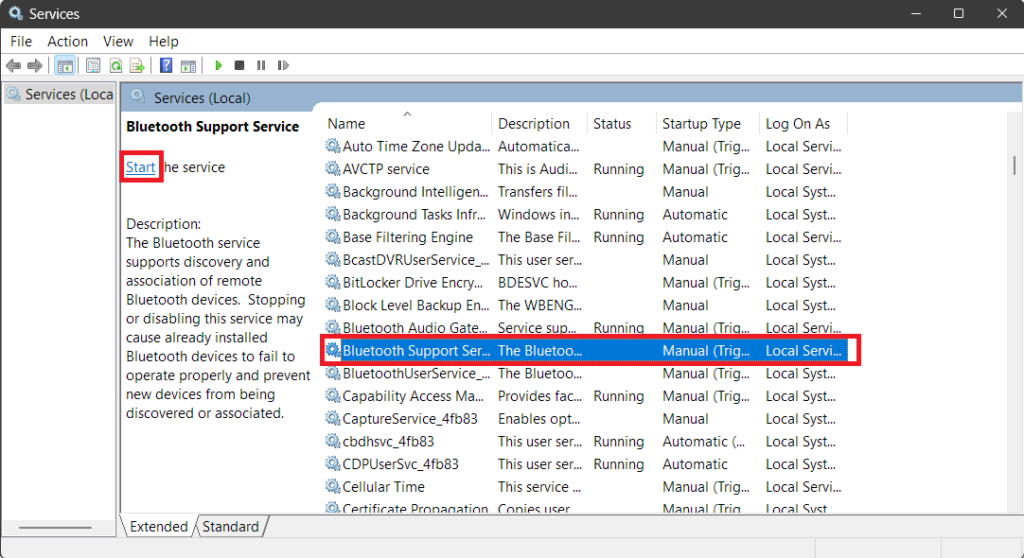
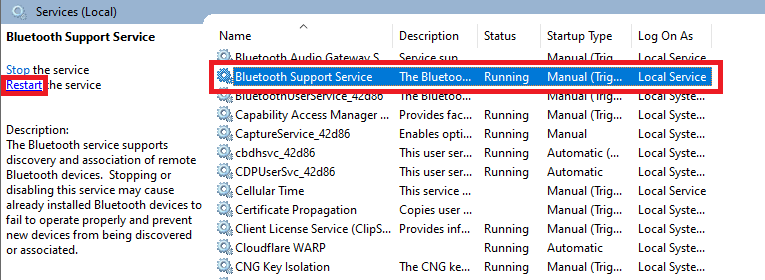
3.Scroll down and search forBluetooth Support Service.
4.grab the service and click theStartoption from the left side.
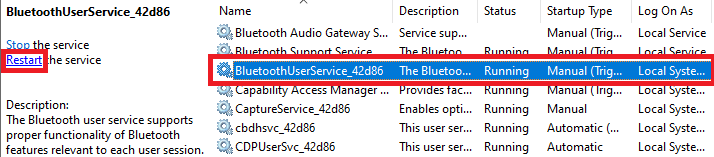
5.Do the same withBluetoothUserServiceand find out if the app starts working.
Restart Bluetooth Services
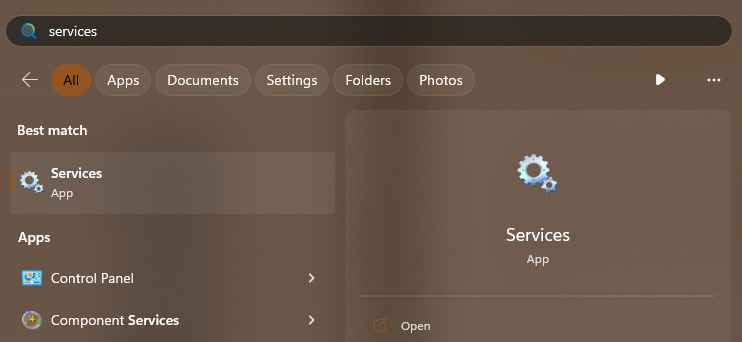
1.Press theWinkey to kick off the Start Menu.
TypeServicesand press theEnterkey from your keyboard.
2.Click onBluetooth Support Serviceand select theRestartoption.
3.Do the same withBluetoothUserService.
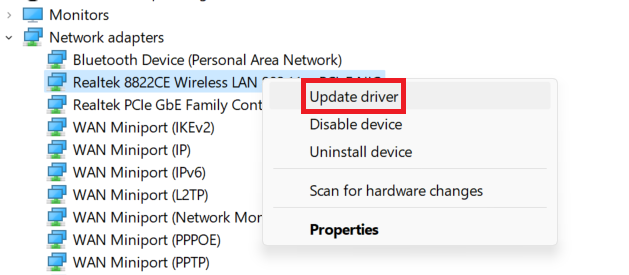
Troubleshoot Wi-Fi and Bluetooth Drivers
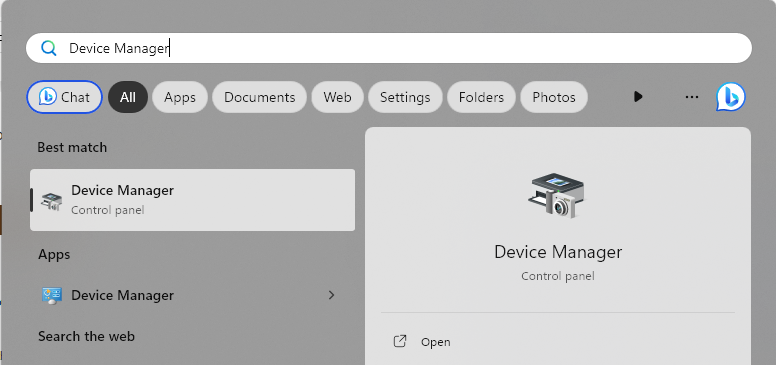
1.bring up the Start Menu.

TypeDevice Managerand press theEnterkey from your keyboard.
2.Expand theBluetoothsection, right-press your Bluetooth adapter, and click theUpdate driveroption.
3.After updating the Bluetooth driver, expand the list ofNetwork adapters.
Then right-press the Wi-Fi adapter that youre using and click theUpdate driveroption.
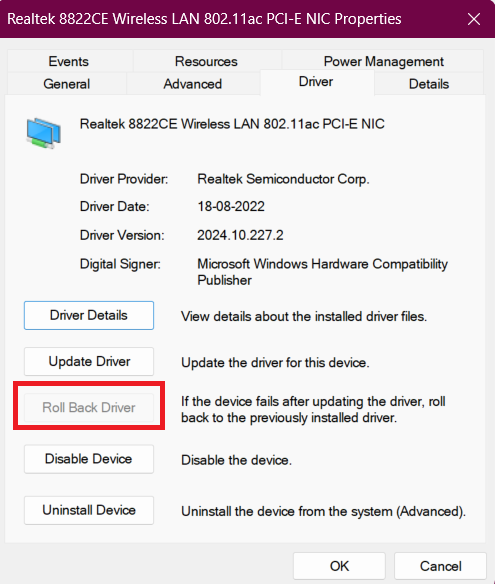
4.If updating didnt fix the issue, initiate the properties of the drivers and use theRoll Back Driveroption.
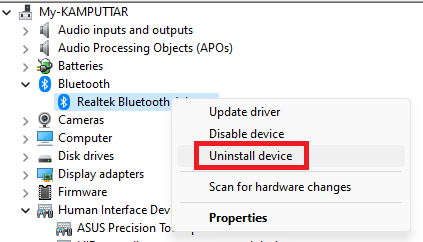
5.If nothing works, uninstall the driver and kickstart your system.
Turn Off Windows Defender Firewall
The Windows Defender Firewall is like a security guard but for your system.
Like a guard, it also protects your system by monitoring and controlling the web link traffic.
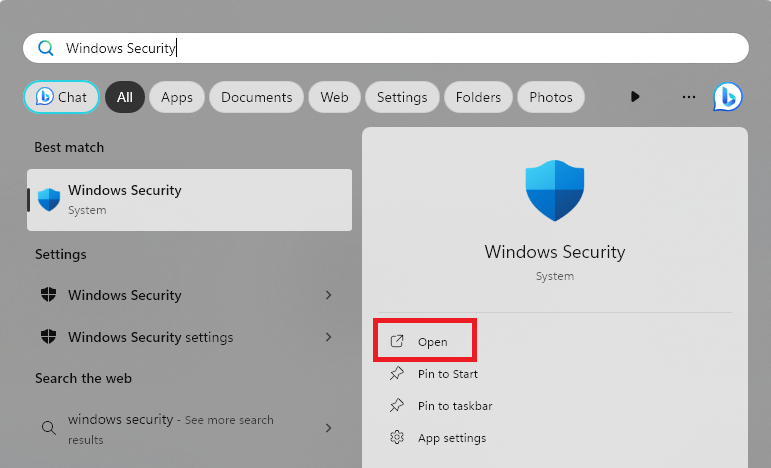
TypeWindows Security, and click theOpenoption.
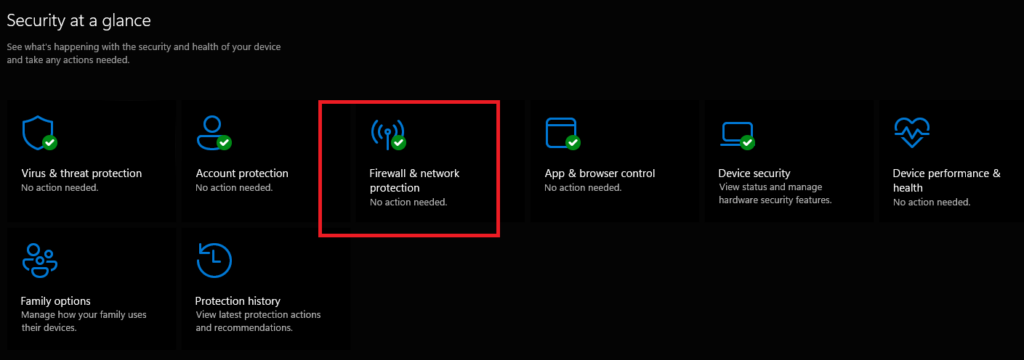
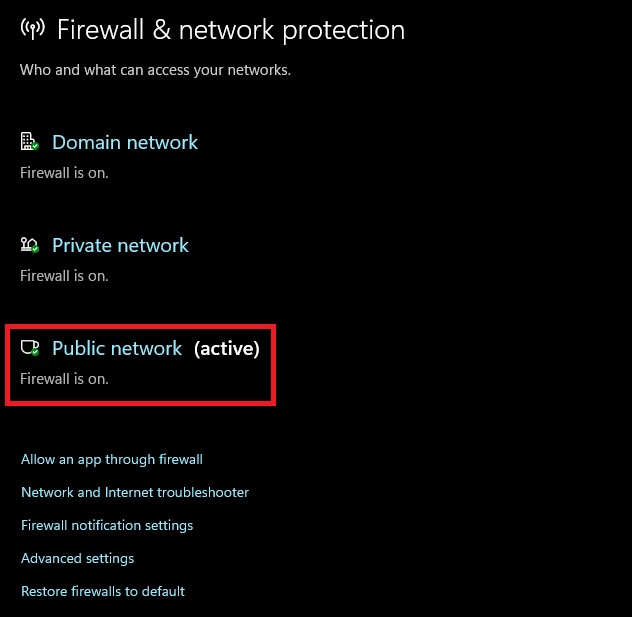
2.SelectFirewall & online grid protection.
3.Choose the data pipe that youre currently using.
4.Turn off the toggle forMicrosft Defender Firewall.
After turning off the Windows Defender Firewall, try using the Quick Share from Google app.
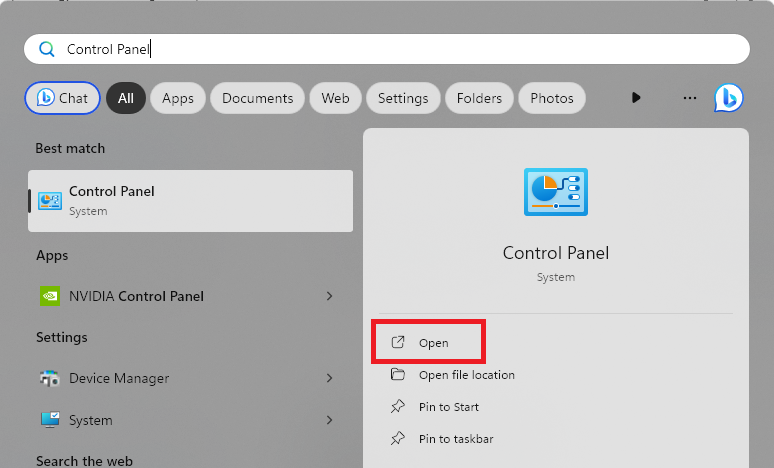
1.Open theStart Menu, typeControl Panel, and click theOpenoption.
2.Click onSystem and Security.
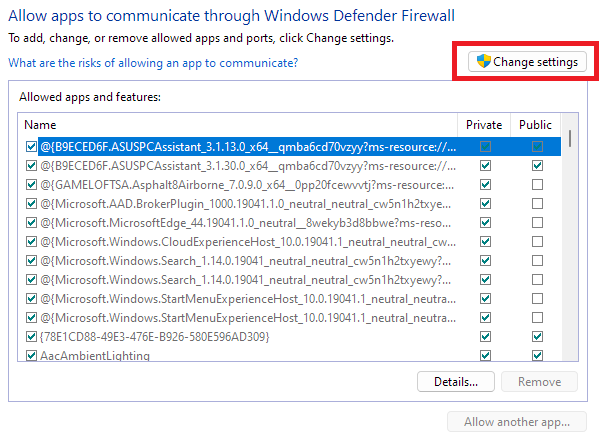
3.Click theAllow an app through Windows Firewall, under the Microsoft Defender Firewall option.
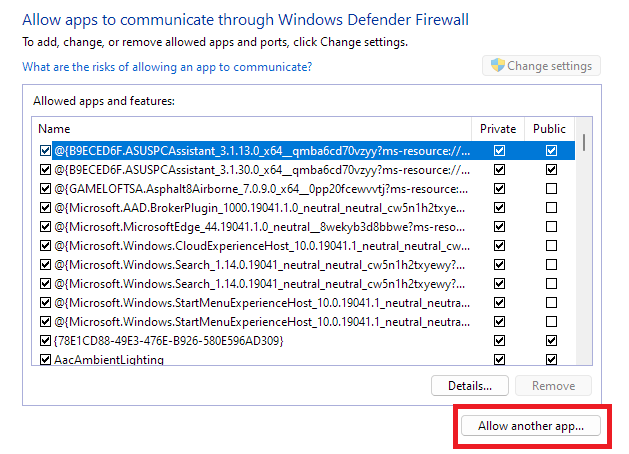
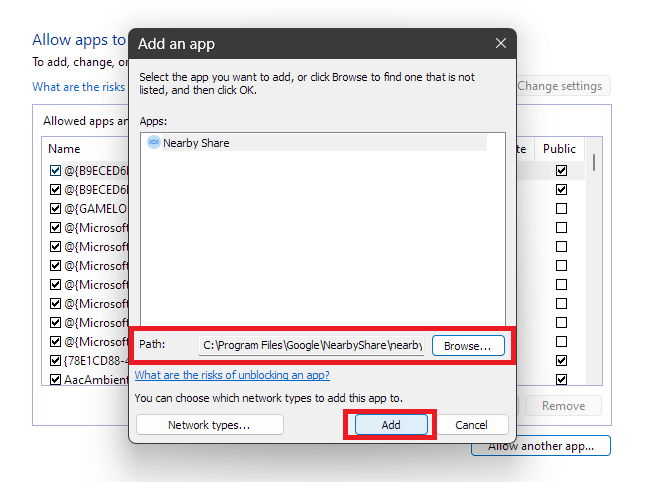
5.Now, choose theAllow another appoption.
6.Paste the install location of theQuick Share from Googleapp and click theAddbutton.
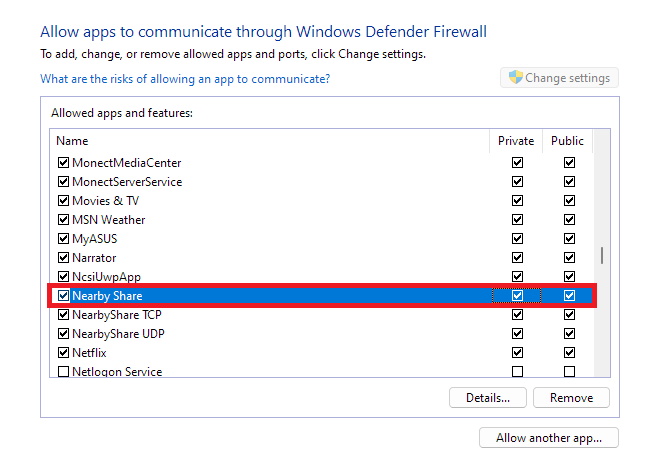
7.Check the boxes forPrivateandPublicnetwork forNearby Shareand click theOKbutton to save changes.
Heres how you’ve got the option to do it:
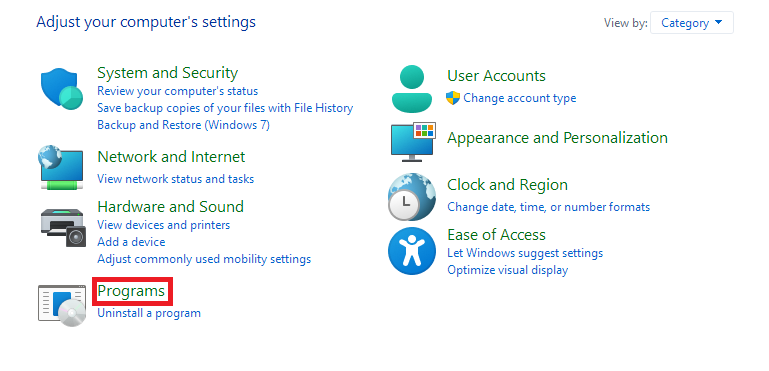
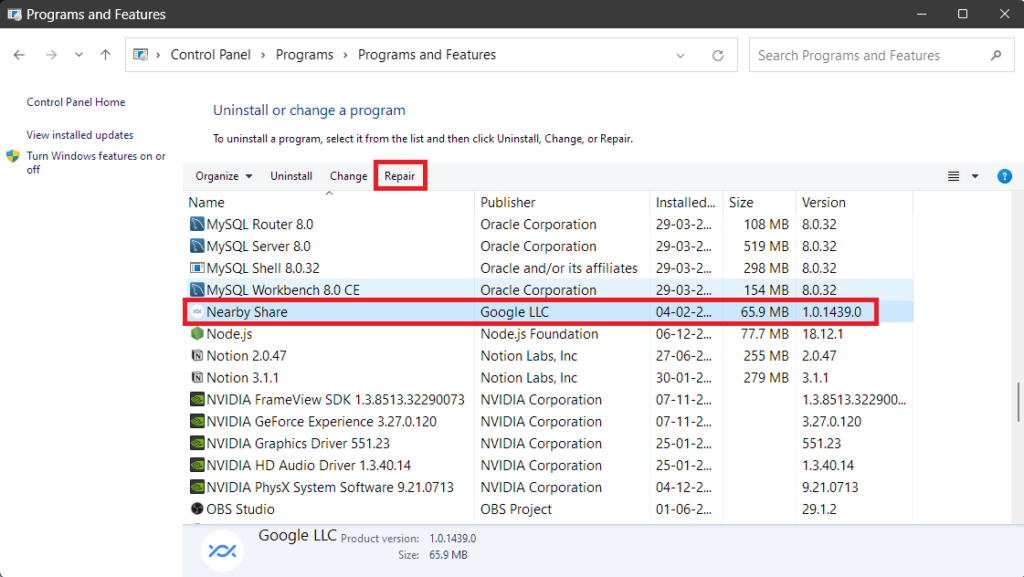
1.Open theControl Panelon your PC.
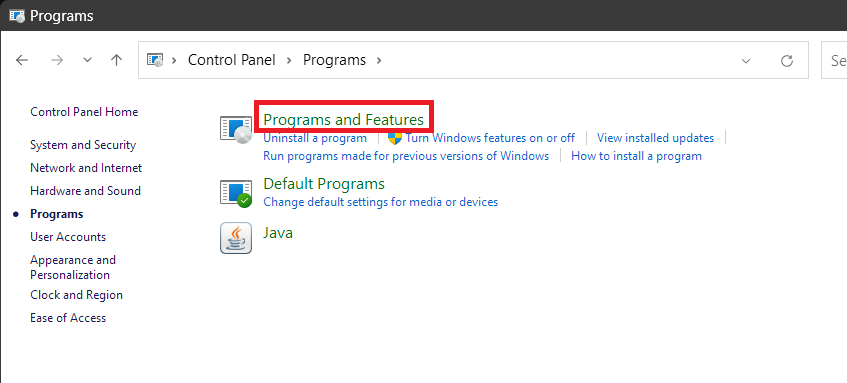
3.Now, open thePrograms and Featuressection.
4.Scroll down and selectNearby Share.
5.Click theRepairbutton to start the process.
Once you hit the Repair button, your PC will automatically repair the Nearby Share app.
Reinstall the Quick Share from Google App
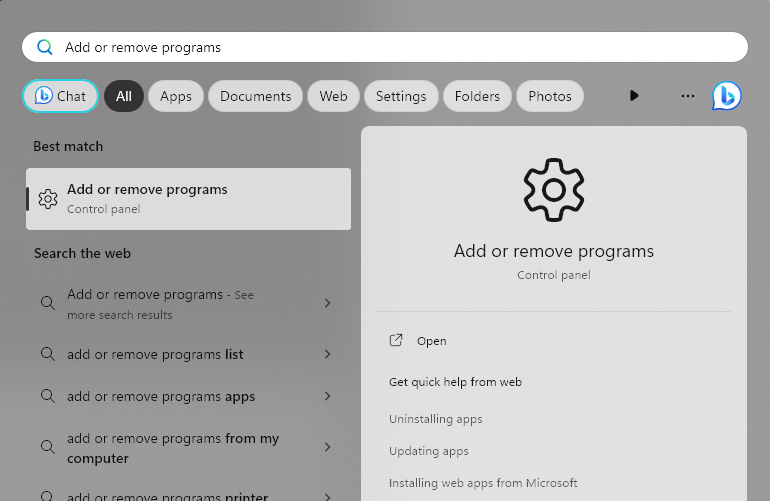
2.TypeAdd or remove programsand press theEnterkey from your keyboard.
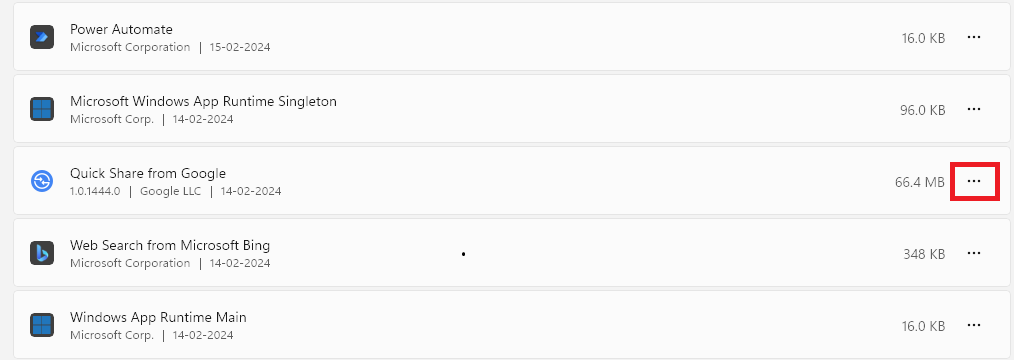
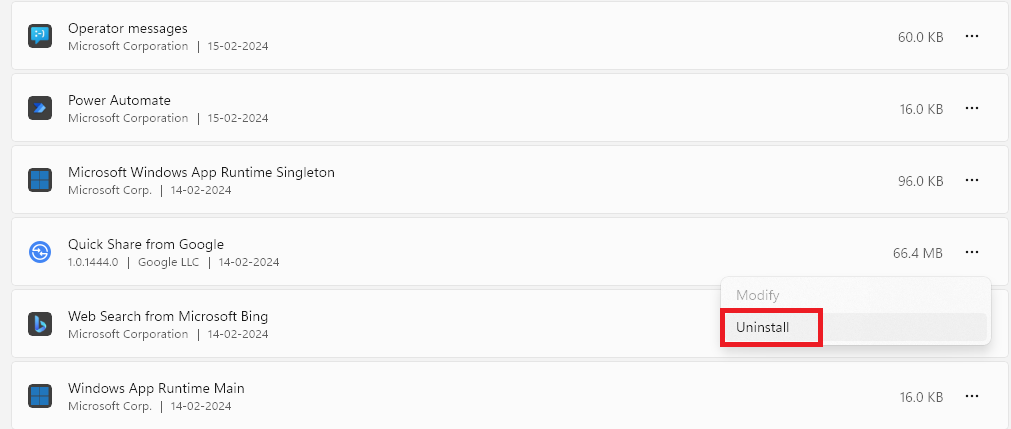
3.Search forQuick Share from Googleand smack the meatballs menu next to it.
4.Click theUninstallbutton to remove the app from your system.

5.reboot your system so that it can remove all the leftover files for the Quick Share from Google app.
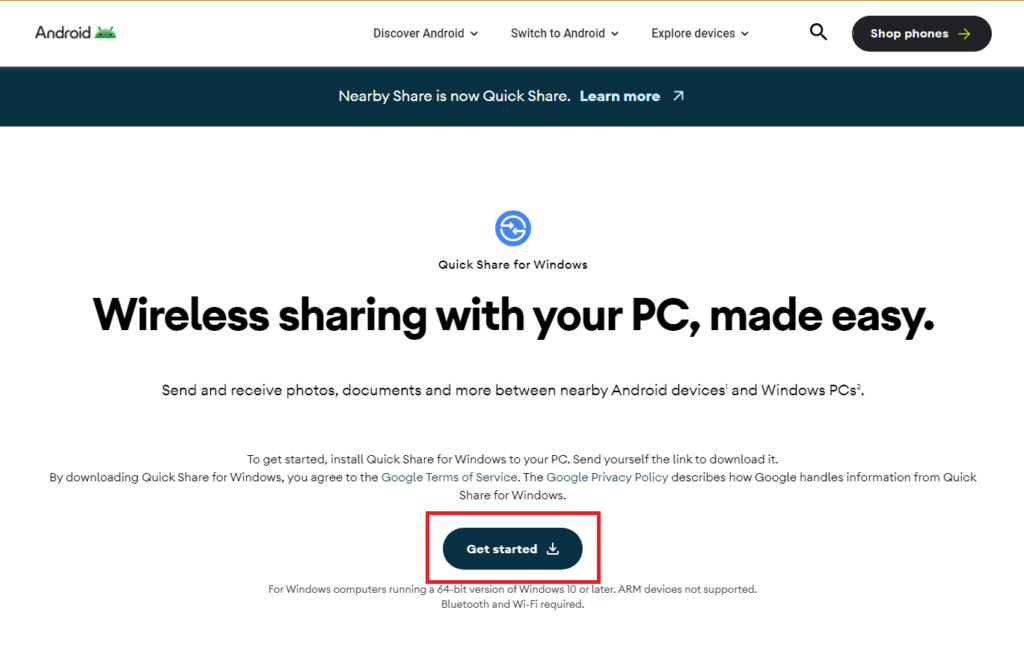
6.Click hereto initiate the download page for Quick Share from Google.
7.punch theGet Startedbutton to download the setup file.
8.initiate the setup file, and it will automatically install Googles Quick Share on your system.