However, the primary motive of Quick options is to make things more convenient.
But its currently causing inconvenience to many users.
According to users, theyre unable to open Quick configs on their Windows 11 PC.
Why Is Windows 11s Quick controls Not Working or Opening?
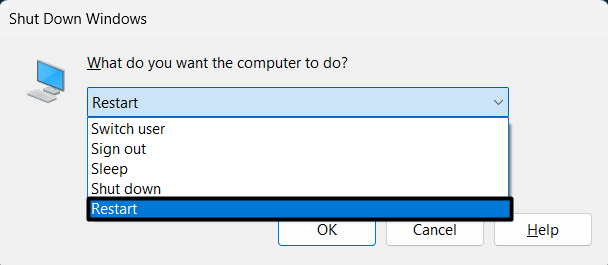
So, press theAlt + F4to get theShut Down Windowsprompt and selectRestartfrom the dropdown.
Once your Windows system is rebooted, try opening Quick controls to see if its working.
Due to this, we suggestexecuting an SFC scanon your PC.
The SFC scan will scan your entire system for corrupted files and repair them.
After this,trigger the DISM scanto repair your Windows systems image.

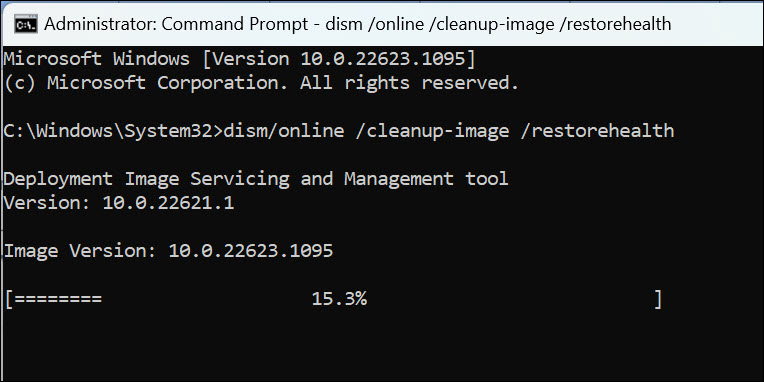
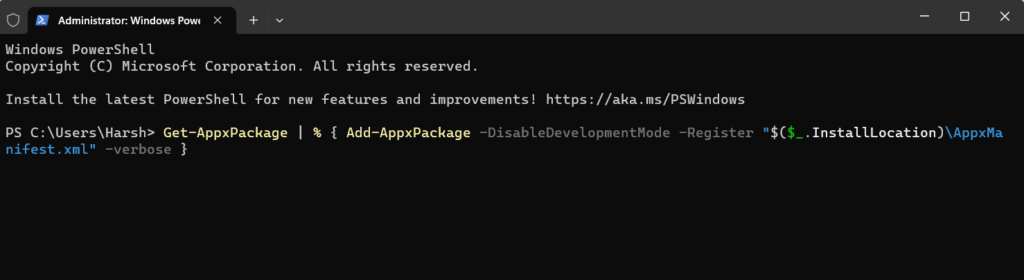
2.punch in thesfc /scannowcommand in theTerminal utilityand press theEnter keyto execute it.
3.you should probably wait for the SFC scan to complete and repair all the corrupted files on your PC.
4.Once the SFC scan is completed, execute the below commands one-by-one to spin up the DISM scan.

5.After executing both SFC and DISM scans, reset your PC and peek if Quick prefs is working.
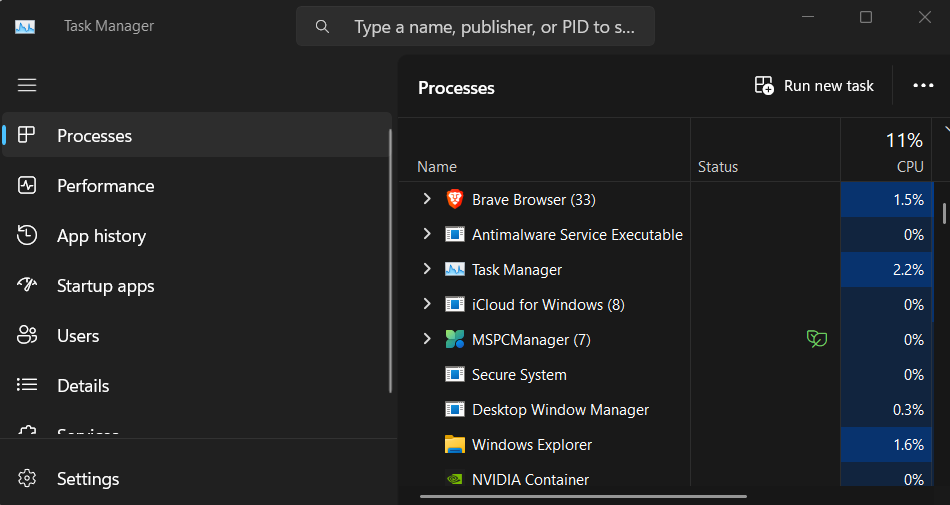
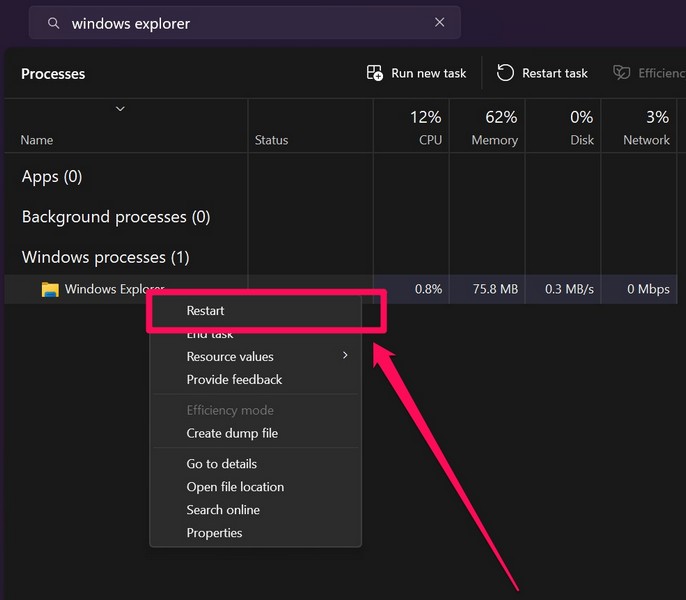
Its possible that Windows Explorer isnt working correctly, which is causing the Quick tweaks not working issue.
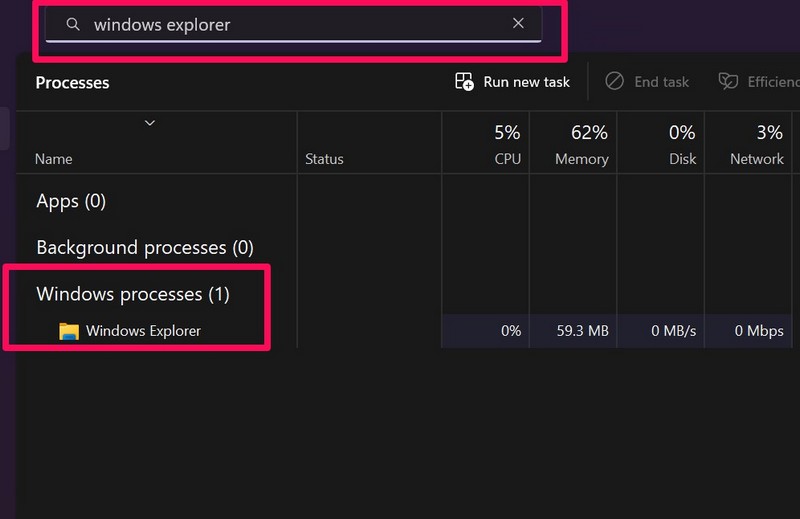
2.Look for theWindows Explorerutility inTask Managerusing the search box at the top.
3.Right-choose theWindows Explorerutility and selectRestartfrom the popup.
4.After restarting the Windows Explorer process, start your PC and check the issues status.
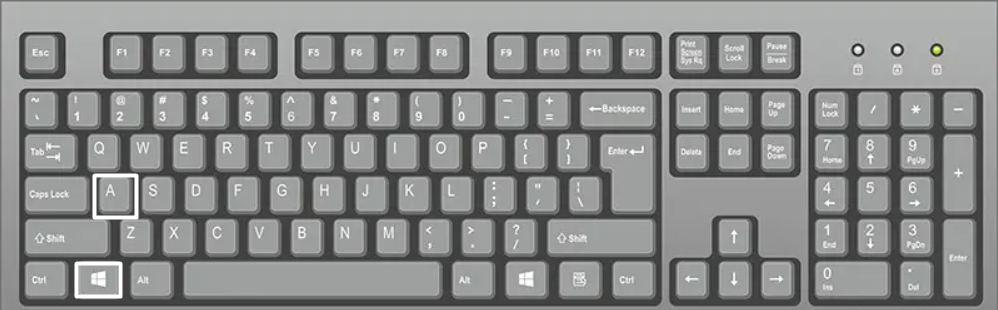
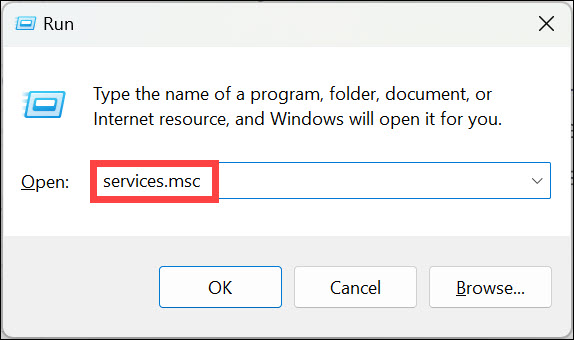
2.Press theEnter keyon your keyboard to open theRun utilityon your Windows 11 PC.
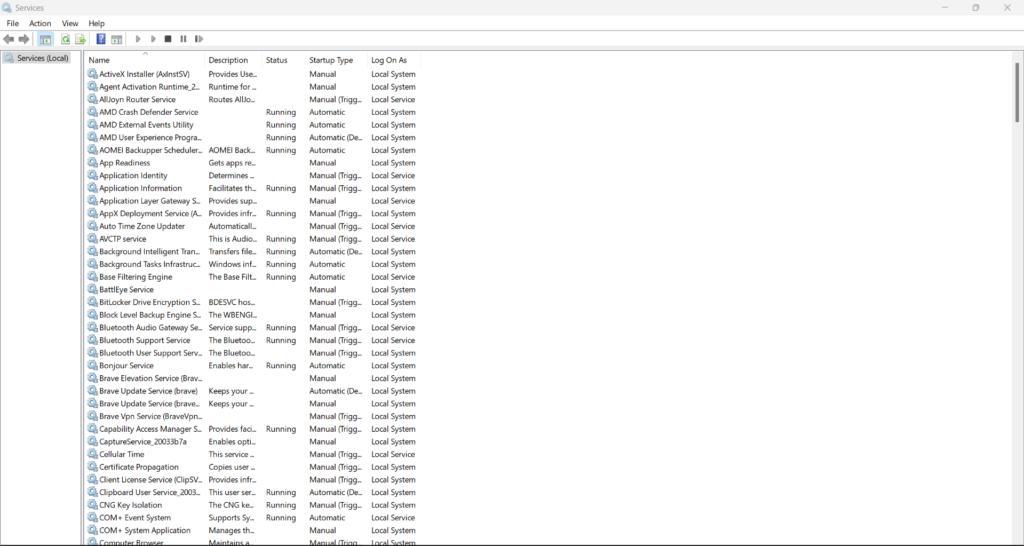
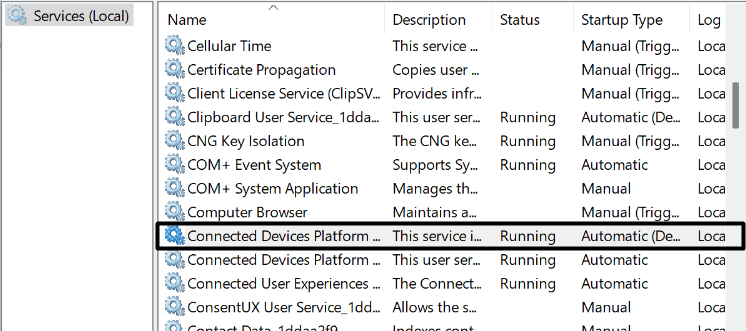
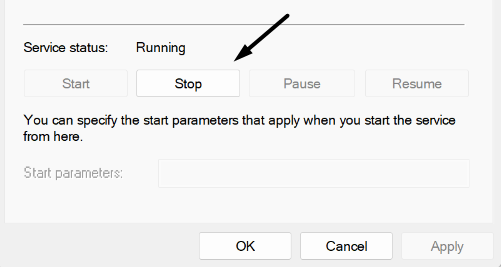
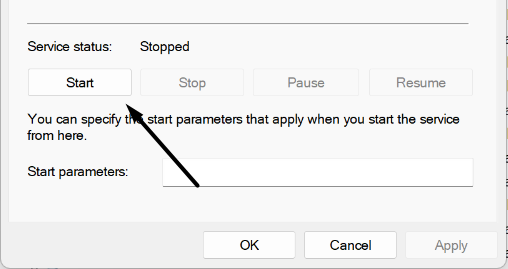
3.Search forConnected Devices Platform Servicein theServicessection and right-choose it.
Hopefully, the Windows 11 Quick options not opening issue is resolved now.
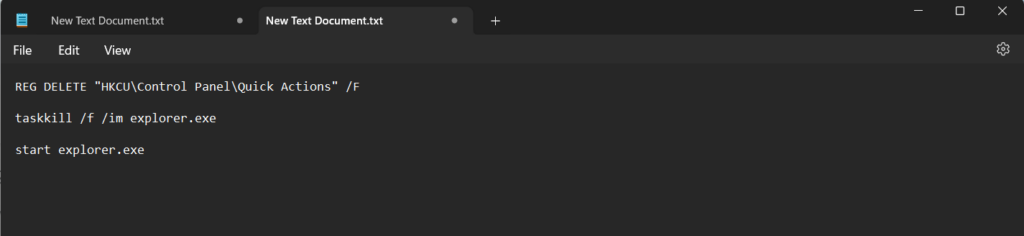
Doing so will completely stop Quick configs, remove all its data from the system and restart it.
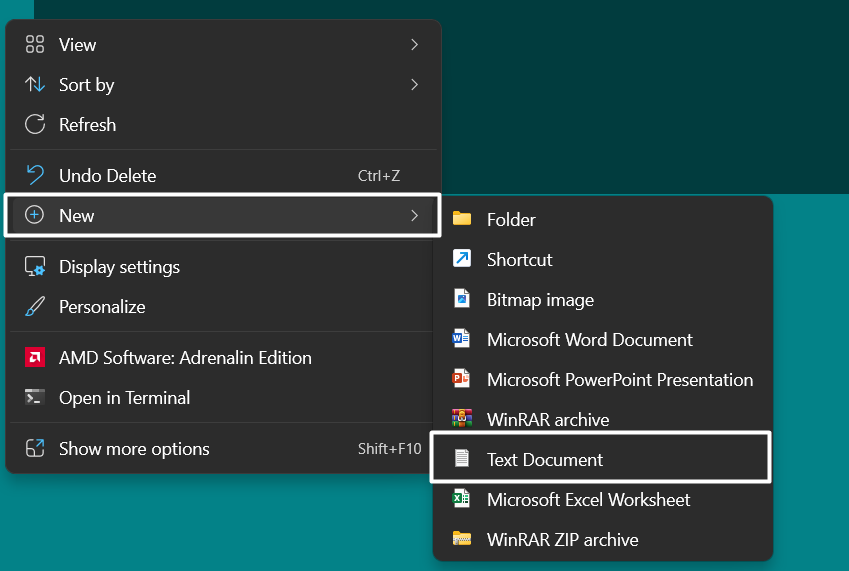
2.Copy-paste the mentioned code in the text document and then choose theFileoptionin the top menu.
3.SelectSave asfrom the menu and name the documentResetQuickSettings.cmdand click onSave.
4.Double-click onResetQuickSettings.cmdfile, and click onYeson the UAC prompt to reset Quick controls.
2.Click onYeson the UAC prompt to fire up the Terminal utility with admin rights on your PC.
3.Copy and paste the below command into the console and pressEnter.
4.After executing the above command, end the console and restart the PC to fix the issue.
Yes, this might take some extra effort.
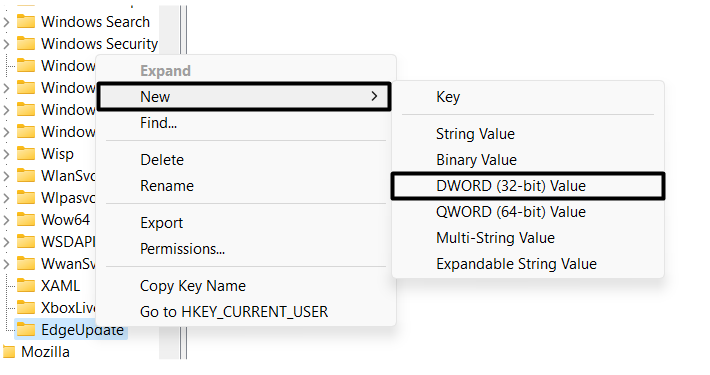
4.Hover the arrow onNewin the menu and selectDWORD (32-bit)Valuefrom the submenu.
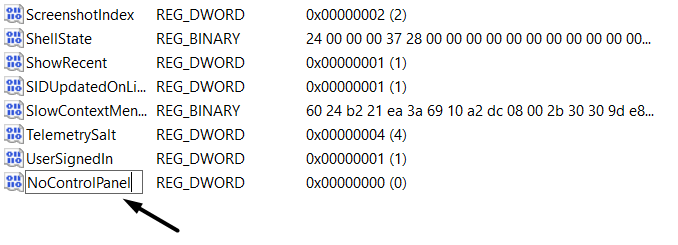
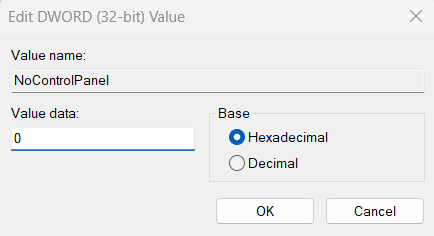
5.TypeNoControlPanelin theValue name:text field in theDWORD (32-bit) Valuewindow.
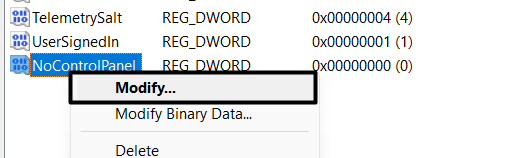
6.Right-go for the newly created folder and select theModify…option from the popup menu.
7.Enter0in theValue data:field, set theBaseoptiontoHexadecimal,and clickOKto save the changes.
8.Lastly, cycle your gear.
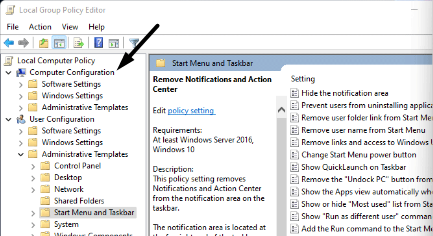
2.Expand theUser Configurationsection on the left and double-click onAdministrative Template.
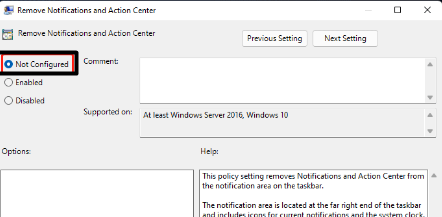
3.Double-click onRemove Notifications and Action Centerand select theNot Configuredradio button.
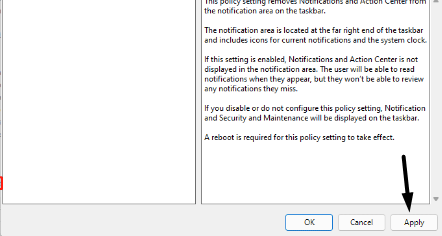
4.Click onApplyon theRemove Notifications and Action Centerprompt to apply the changes.
So tryupdating your PCand find out if it fixes the issue.
Below are the steps to do so:
1.Open theSettings appusing theWindows + Ishortcut and go to theWindows Updatesection.
2.choose theCheck for updatesbutton at the top to scan for available Windows updates.
3.If it finds new updates to install, press theDownload and Install allbutton to install them.
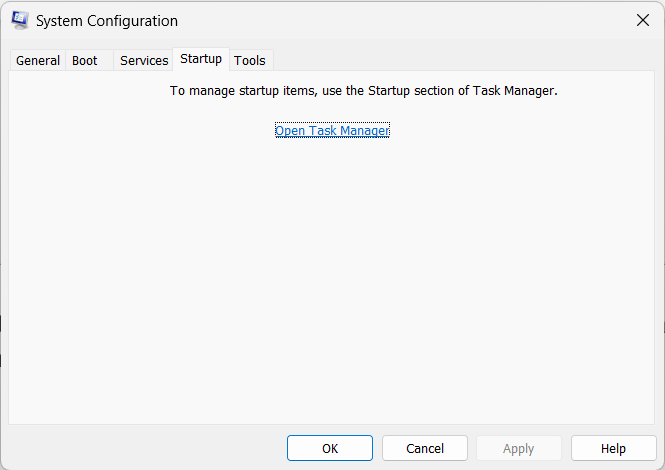
2.Go to theBoottab and tick theSafe bootoption in theBoot optionssection to turn on the Safe mode.
3.Head to theServicestab, check theHide all Microsoft servicesbox and click onDisable all.
4.Go to theStartuptab and click onOpen Task Managerto launch the Task Manager utility.
5.Lastly, disable all third-party services one by one in theProcessestab and kickstart your PC.
To check whether thats the same, we suggest youcreate a newuser profile on your system.
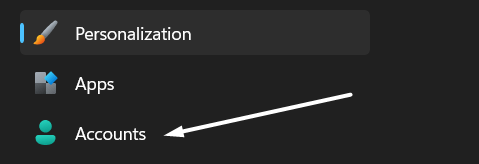
2.Open theOther userssection in theAccountssection and punch theAdd accountbutton.
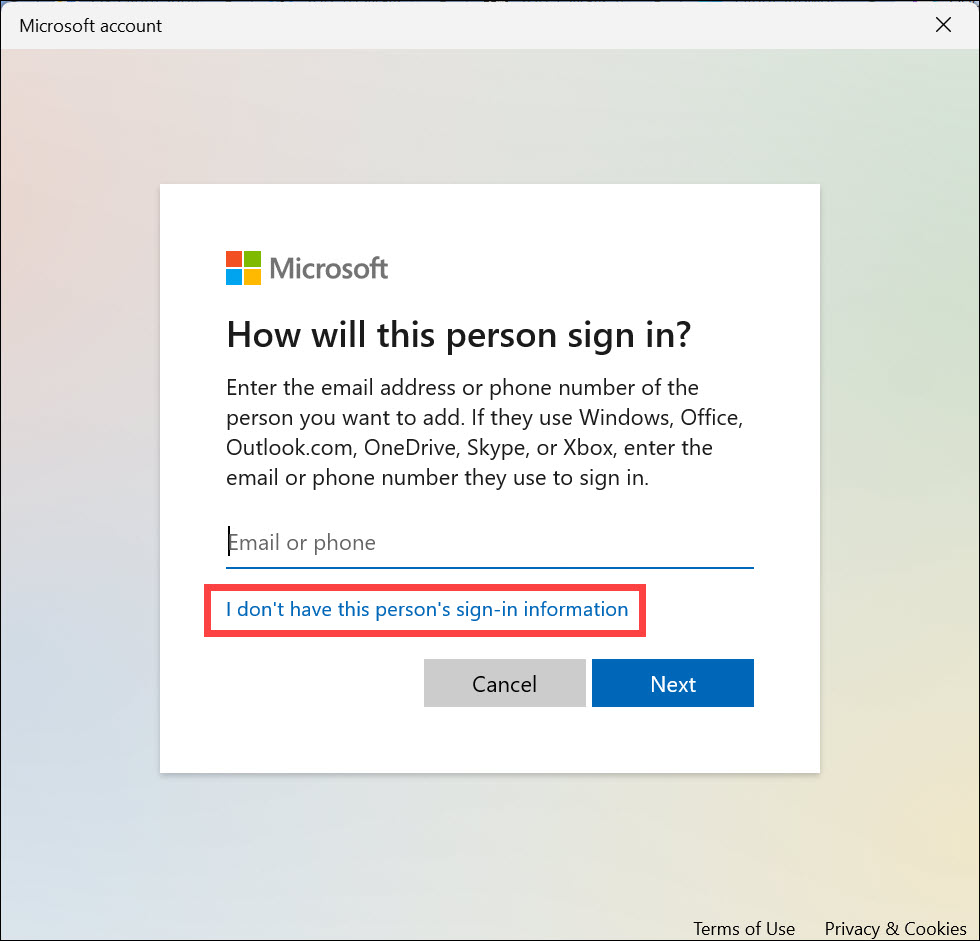
3.On the next window, punch theI dont have this persons sign-in informationoption.
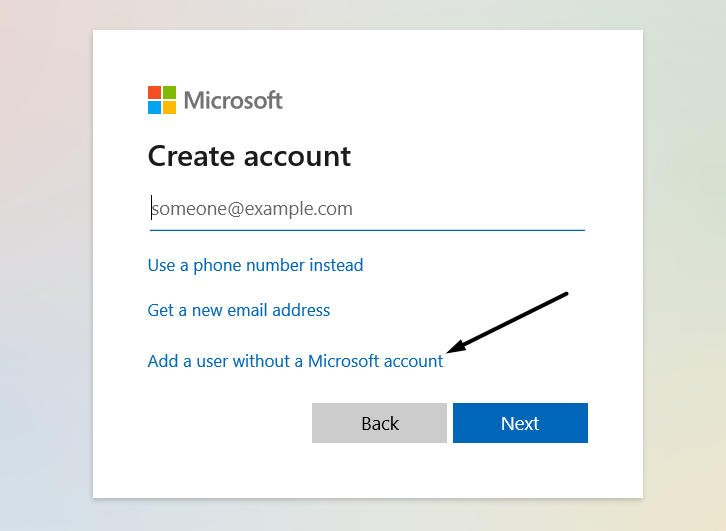
4.choose theAdd a user without a Microsoft accounttext and enter the necessary information.

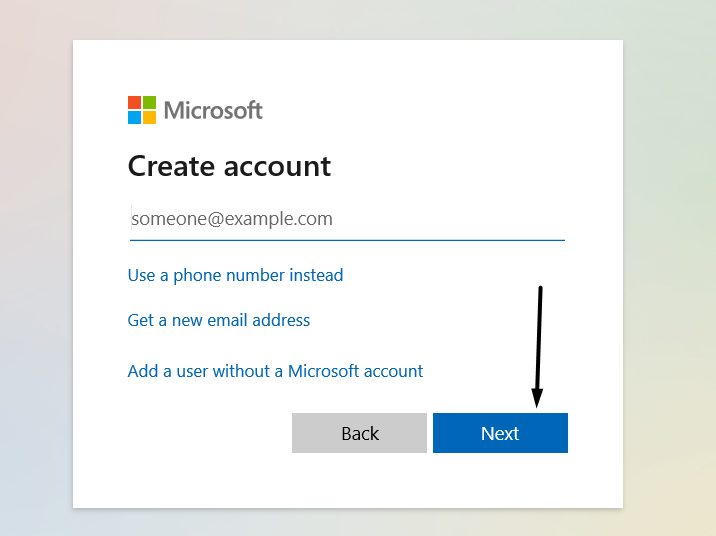
5.Once done, punch theNextbutton in the lower right corner of the prompt to create a new user account.
6.start your Windows 11 PC with the new account and look to see if the Quick options is working.
Yes, we know this doesnt sound good, as you oughta remove everything from your PC.

But this can fix the Quick controls not working issue with ease.
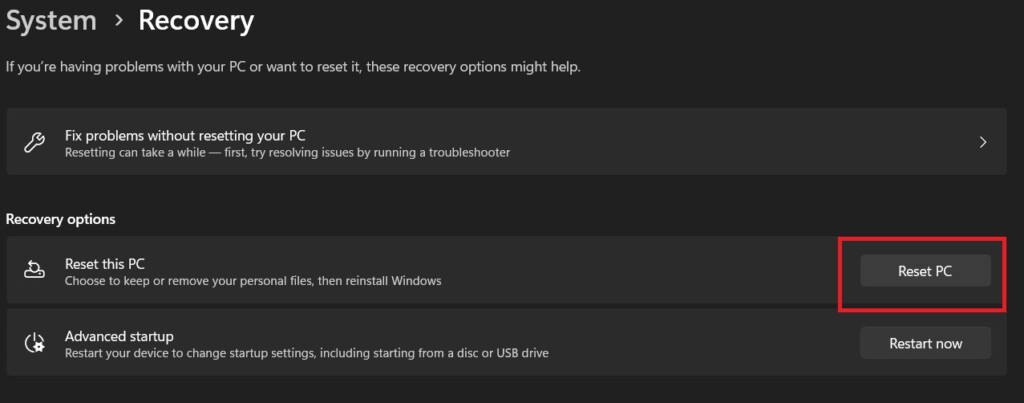
2.Click onReset PCunder theRecovery optionssection and then click onRemove everything.
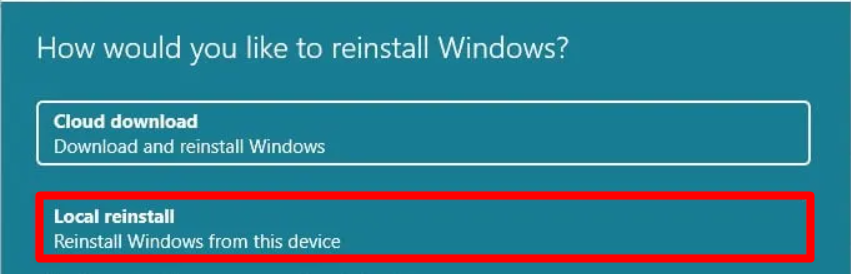
3.Click onLocal reinstallon the next window and then follow the on-screen prompts to reset it.
Theres a possibility that the issue will get resolved after reporting it to the developers.
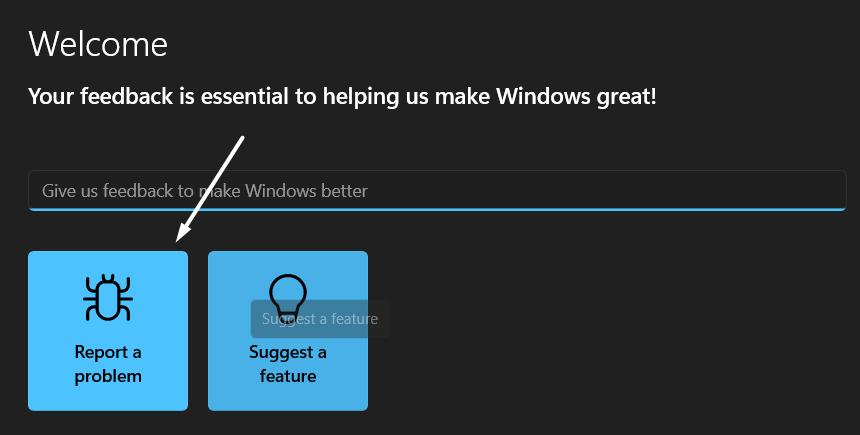
2.SelectFeedback Hubfrom theBest matchsection and click onReport a problem.
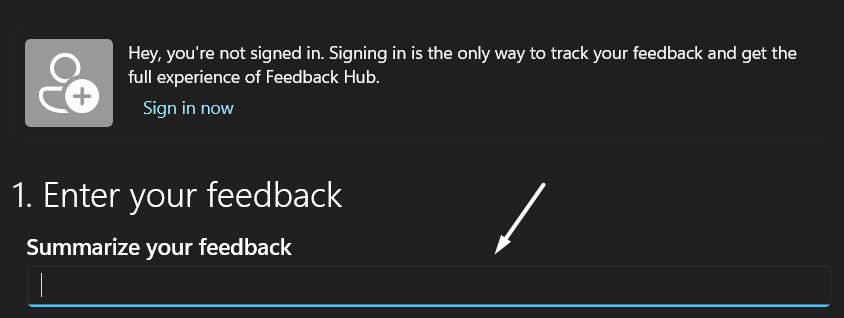
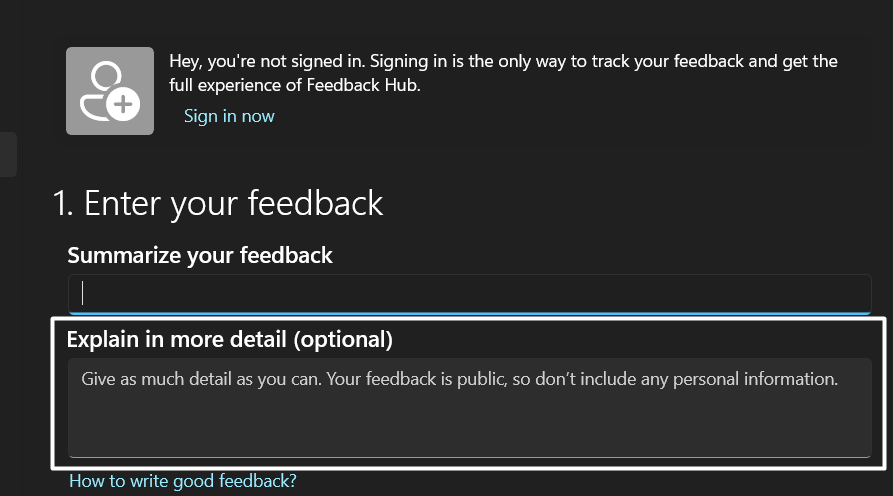
3.Now summarize your issue in theSummarize your feedbackbox to move ahead.

4.Explain your issue in detail in theExplore in more detailtext field and then click onNext.
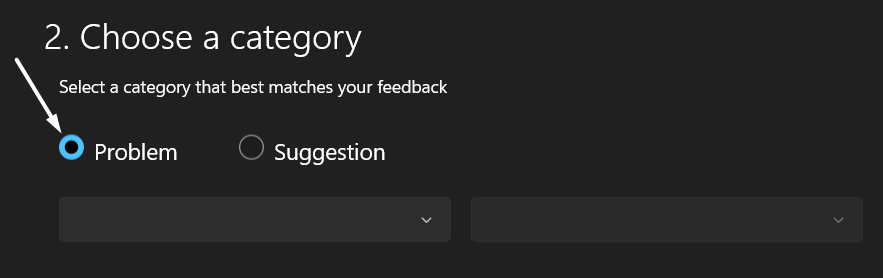
5.Select theProblemradio button underSelect a category that best matches your feedback.
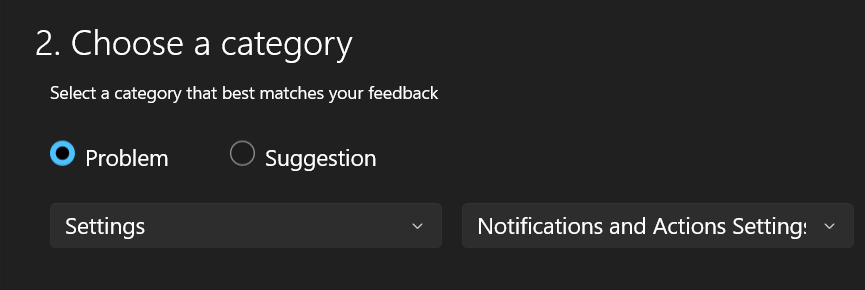
6.SelectSettingsfrom the first dropdown and thenNotifications and Actions settingsfrom the second one.
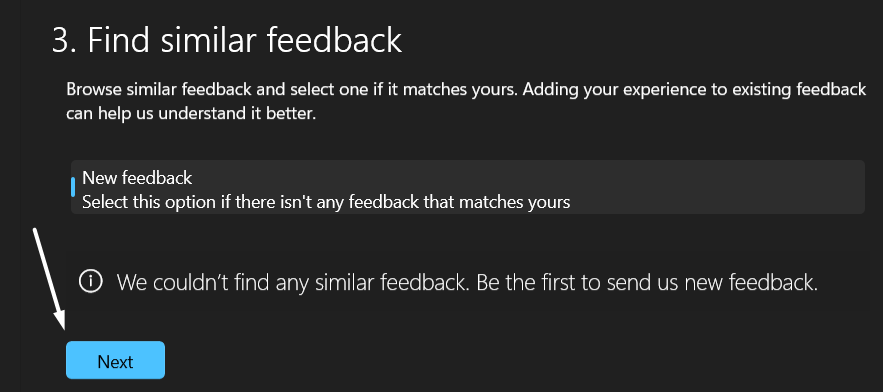
7.Click onNextand then again click onNextunder theFind similar feedbacksection.
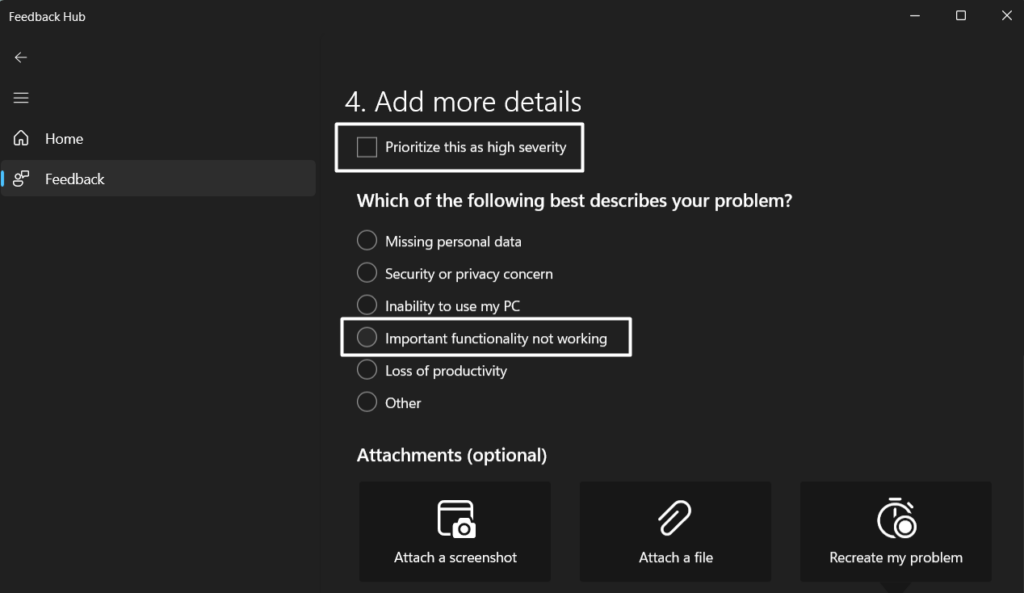
8.In theAdd more detailssection, check thePrioritize this as high severitycheckbox.
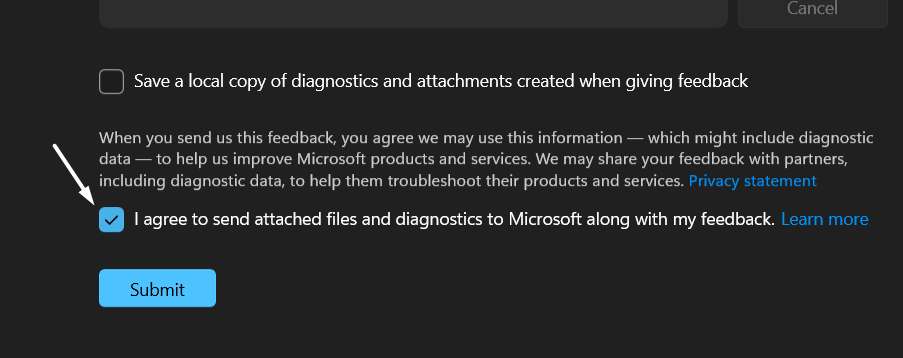
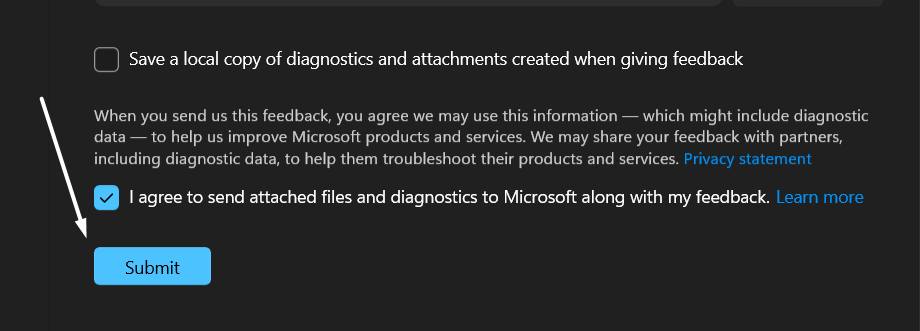
10.Lastly, press theSubmitbutton to send the issue report to the developers and get it fixed.
FAQs
Why Is Quick Access Not Working on Windows 11?
There could be several reasons for the non-functioning of Quick Access Center in Windows 11.
But one of the most common reasons iscorrupted system files and user profile.
How Do I Enable Quick parameters in Windows 11?
Quick controls comes pre-enabled in Windows 11. you’re free to open it using theWindows and Ikey combination.
How Do I Restore Quick options in Windows 11?
How Do I Fix Quick Access Not Working?
If this doesnt fix the issue, trycreating a new user account.
Why Cant I Open tweaks on Windows 11?
It could be possible that your systems firmware has some glitches which are causing this issue.
But at times, it starts behaving weirdly.
For instance, it refuses to open, or its options become unresponsive.