But sometimes, releasing new updates doesnt make the system stable.
It even makes it glitchier and buggier, which ruins the entire user experience in seconds.
Some users mentioned that they cant print anything using the printer.

At the same time, some users said they cant connect their printers to their system.
Why Is the Printer Not Working in Windows 11?
There could be several reasons for the printer not working in Windows 11.
Lets try the first workaround.
But if you havent done the same, we suggest you do so.
This is because it could be possible that your printer has some technical glitches which are causing this inconvenience.
Due to this, we suggest you confirm that yourprinter is connected properly to your system.
Suppose youve connected it to the system through WiFi or Bluetooth, and its still not working properly.
Once done, reconnect the printer to the system and check whether it works properly.

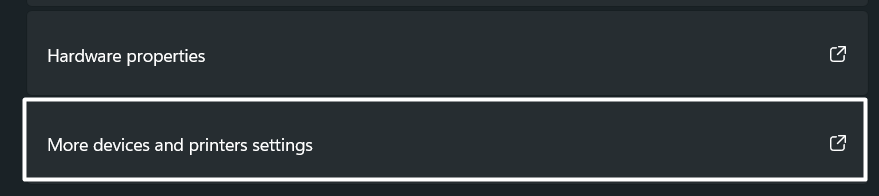
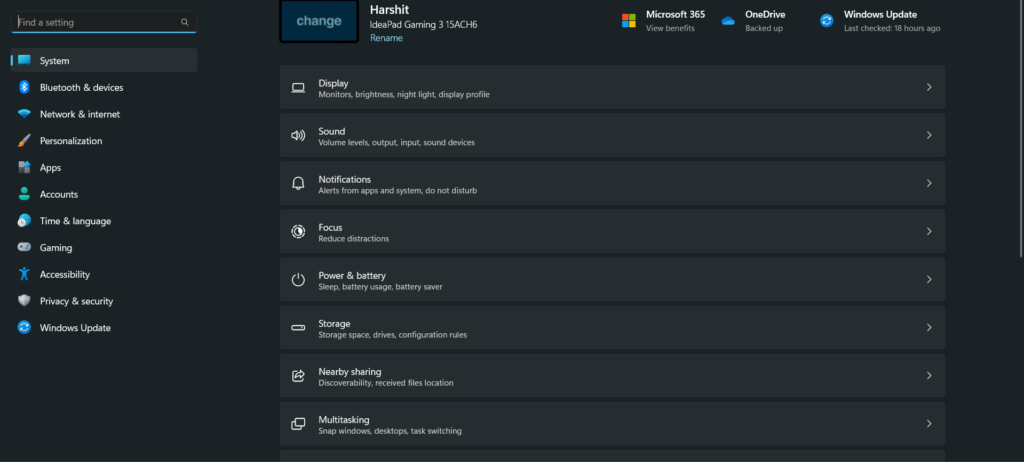
2.In theHardware and Soundsection, click onDevices and Printerand then head to thePrinter & scannerssection.
4.Now, right-punch your printer again and then select theSet as default printeroption from the menu.
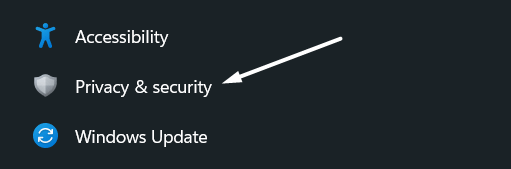
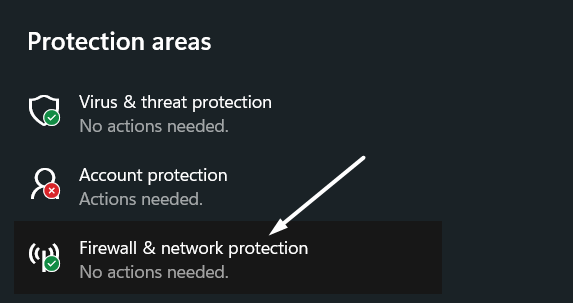
2.In thePrivacy & securitysection, click onWindows Securityand then punch theFirewall & web connection protectionoption to open advanced parameters.
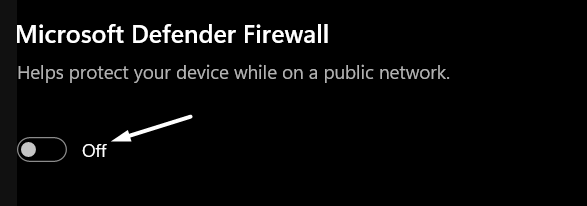
3.Then, clickPrivate networkin theFirewall & web link protectionand disable theMicrosoft Defender Firewalltoggle.
4.Once done, hit thePublic networkoption in the same section and switch off theMicrosoft Defender Firewalltoggle.
So, it could be the same in your case.
3.After running the above command, youll see that the SFC scan has started.
you’ve got the option to also see the progress of the scan in the console.
Generally, it takes 2-3 three minutes to find the critical corrupted system files and fix them.
4.Once the scan gets completed, youll see the completion message.
Doing so will refresh the printer and resolve all kinds of issues with it.
Luckily, this has resolved the issues for many users.
2.Click onDevices and Printerin theHardware and Soundsection and move toPrinter & scanners.
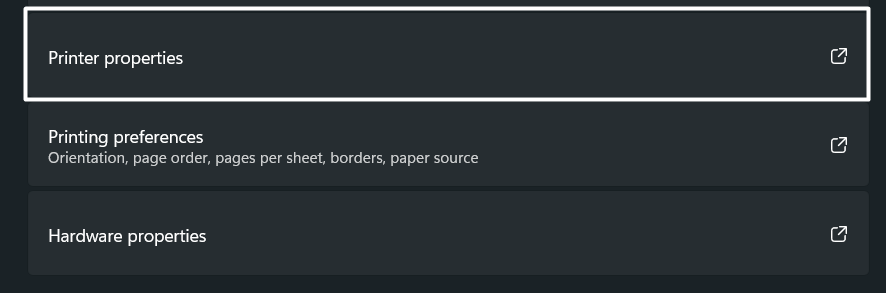
3.Now, select your current printer, proceed to thePrinter Propertiessection, and then move to theSharingtab.
4.Then, uncheck theShare this printeroption in theSharingsection and click theApplybutton to save the changes.
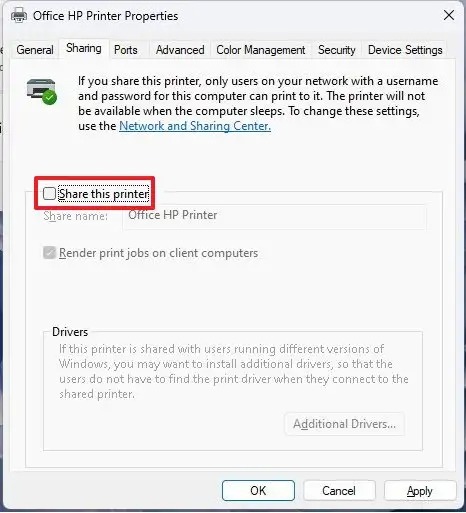
5.Once youve done this, recheck theShare this printeroption and click theOKbuttonto reshare the printer.
If thats the same case with you, then we recommend youcheck your current printers status.
If your printer is offline, you wont be able to use your printer.
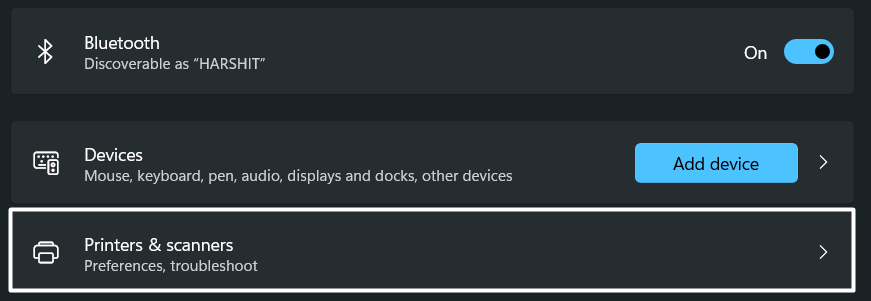
2.Then, move to theBluetooth & devicessection and hit thePrinter & scannersoption to view all the connected printers.
3.Next,select your current printer, and check its current status nextPrinter statusunderneath the printer name.
If this service faces any issues in working, then your printer can also face issues while working.

Sadly, this could be possible in your case.
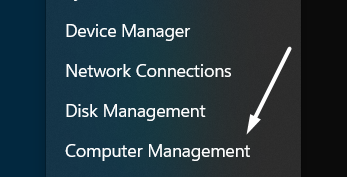
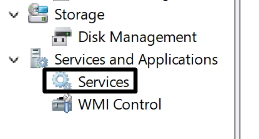
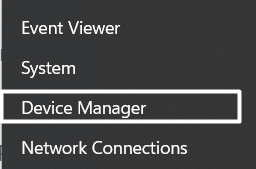
2.Then, expand theServices and Applicationssection in the left-sidebar and double-press theServicesoption.
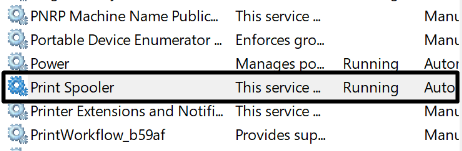
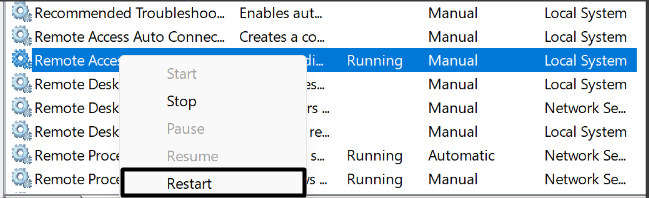
3.Once theServicessection is opened, search for thePrinter Spoolerservice and right-select it to launch the menu.
4.Next, selectPropertiesfrom the popup menu and click theStopbutton under theService statussection.
5.At last, punch theRestartoption in theService statussection to start the Print Spooler service again on the system.
Once done, check the issues status.
If the issue still exists, continue to implement other possible workarounds.
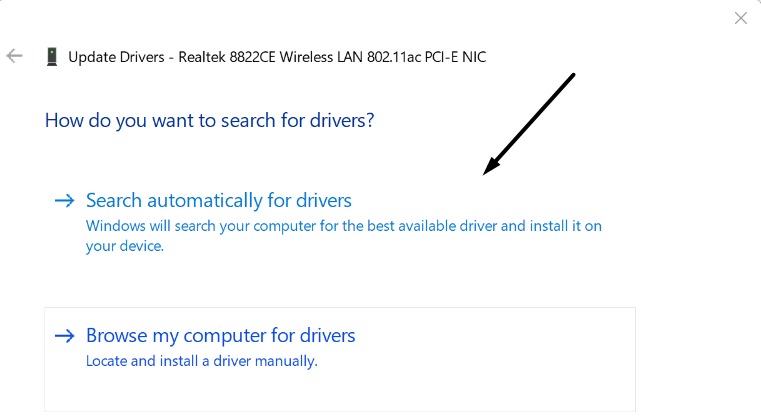
In that case, we suggest youupdate your systems printer driversto the latest version.
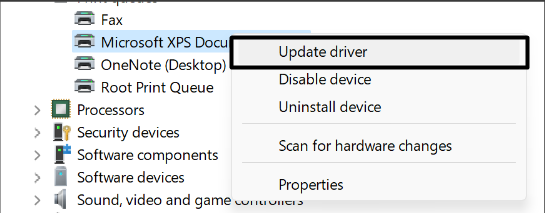
In the gadget manager, expand thePrint Queuessection and right-tap on theMicrosoft Print to PDFdriver.
Now implement the same steps on other printer drivers as well.
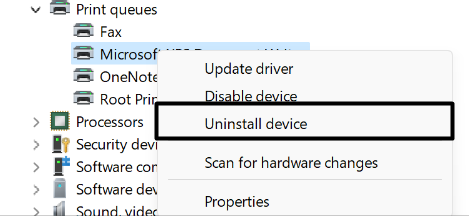
you gotta first remove the driver from your gear and then need to reinstall it.
2.In theDevice managerutility, expand thePrint Queuessection and right-hit theMicrosoft Print to PDFdriver.

3.Then, selectUninstall devicefrom the popup and then again selectUninstallto remove it from the machine.
you better do the same with all printer drivers and then check the issues status.
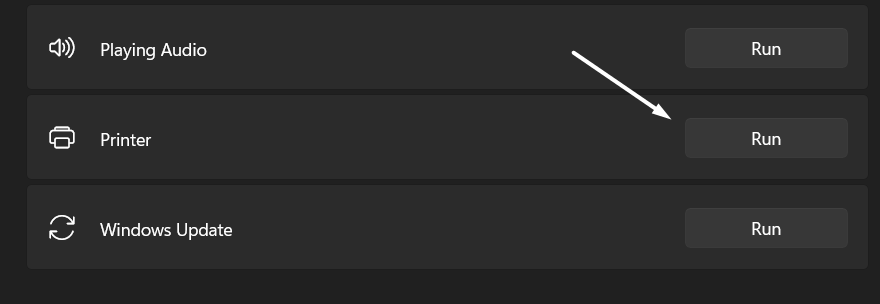
Also, running the Printer troubleshooterhas fixed the printer not working issue for many users.
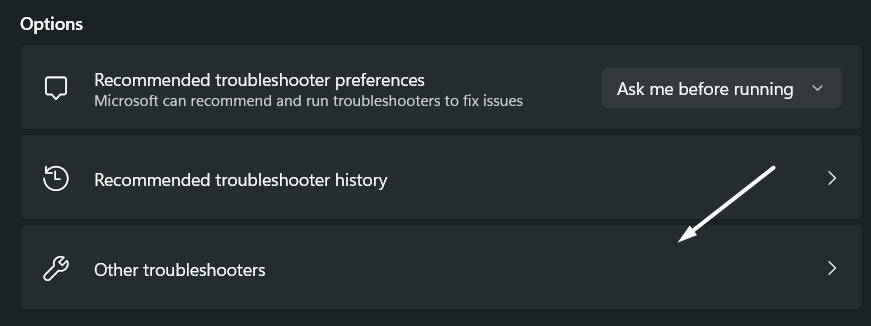
2.Then, move to theOther troubleshooterssection, and search forPrinterunder theMost frequentsection.
3.Now, click theRunbutton next to thePrinterto start the troubleshooter.
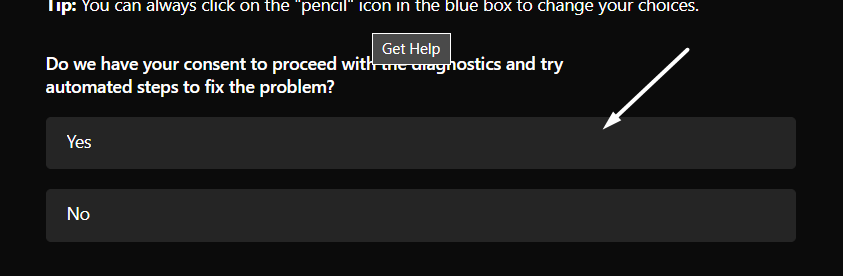
4.Next, selectYeson theGet Helpwindow to initiate the diagnostics and try automated steps to fix the problem.

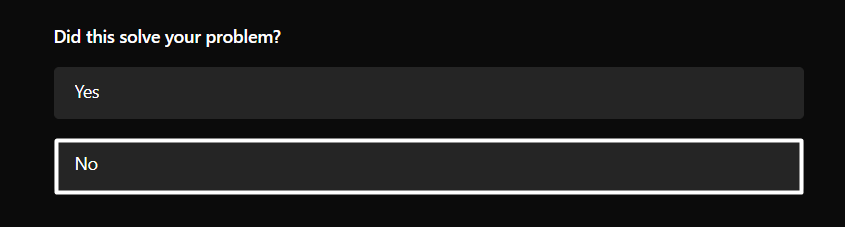
5.After that, again select theNoanswer toDid this solve your problem?question to spin up the quick check.
6.Lastly, select your printer under theSelect the printer that isnt working correctly.
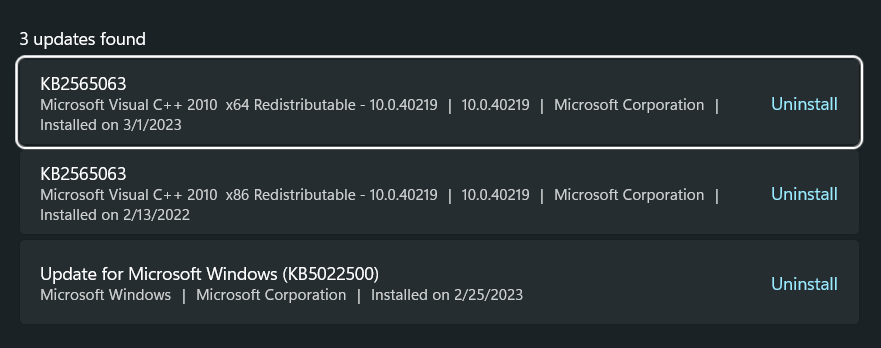
If thats the same case with you, then we recommend youuninstall these faulty security updatesfrom your Windows system.

Doing so will remove all the bugs and glitches from your system that were causing this issue.
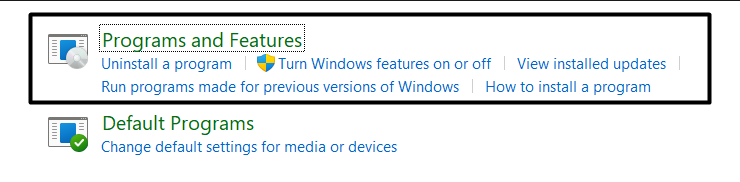
2.Then, proceed to thePrograms & Featuressection and choose theView installed updatesoption from the left menu.
In that case, doing so will eliminate those bugs and glitches and make the printer work.
If thats the same with you, then we recommend youreconnect the printerto your Windows system.
Doing so will refresh the connection between the system and the printer and resolve all the issues with it.
Weve mentioned the instructions below to connect a printer manually and automatically to the system.
If you have a wireless printer, try connecting it automatically first.
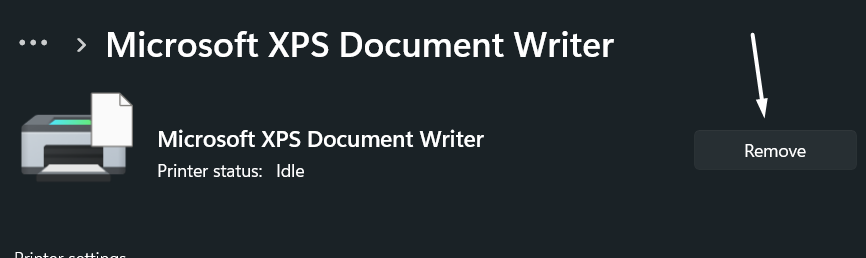
2.In theBluetooth & devicessection, hit thePrinters & scannersoption and then select your printer gadget.
3.Then, choose theRemovebutton next to your printer name to remove it from your Windows 11 system instantly.
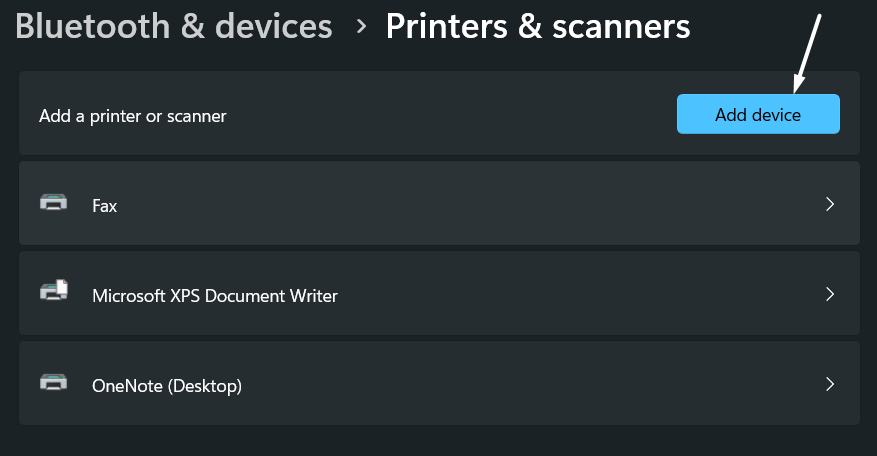
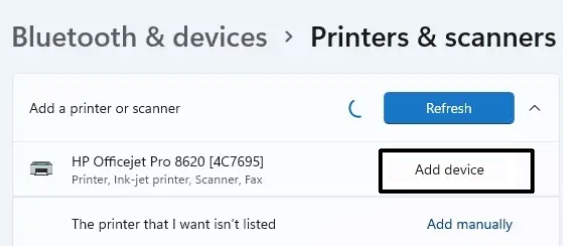
5.Lastly, click onAdd devicenext to your printer unit belowAdd a printer or scannerto pair your system with it.
1.To connect your printer manually, see to it its connected to the system via a USB cable.
If not, then do so.
2.Then, again, move to thePrinters & scannerssection of theSettings appand select theAdd devicebutton.
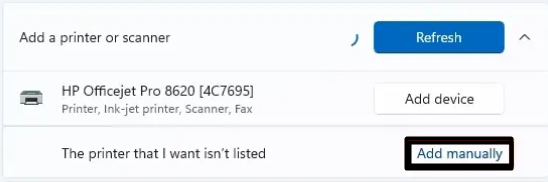
3.You have to now wait until it shows theAdd manuallyoption on the screen.
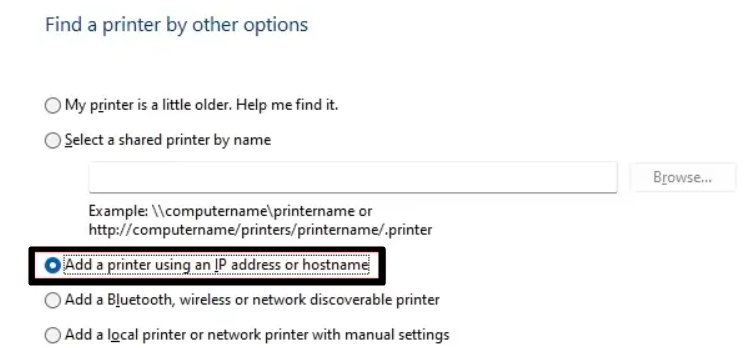
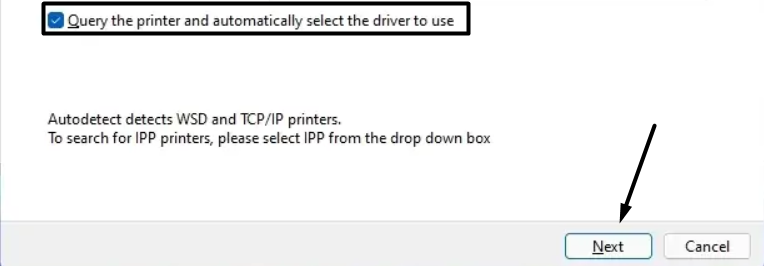
4.Next, select theAdd a printer using a TCP/IP address or hostnameoption on theAdd Printerprompt.

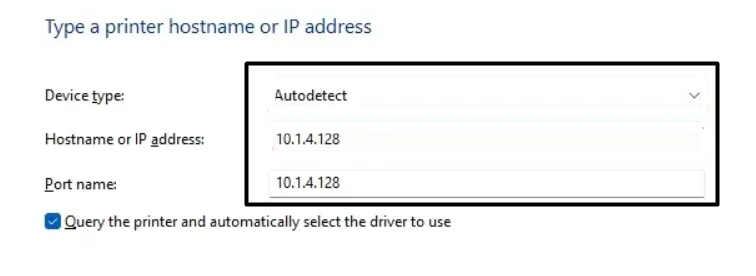
5.Then, punch theNextbutton and select theAutodetectoption from theDevice key in:drop-down menu.
7.At last, select theNextbutton to add the wireless printer and enable theDo not share this printeroption.
Whereas for some users, the inconvenience appeared right after upgrading the system to Windows 11.
To get rid of these issues, you canroll back your Windows 11 PC to the previous version.
But only do this if youre sure that the previous version didnt have the same issues.
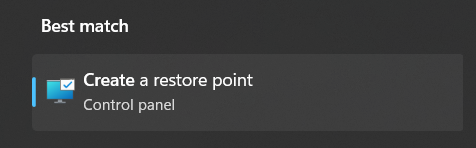
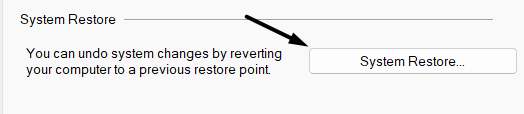
2.Once theSystem Propertiestab is opened, click onSystem Restore…under theSystem Restoresection.
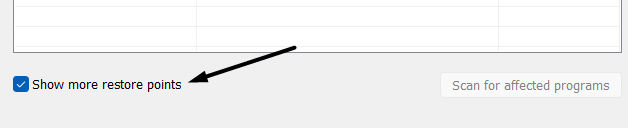
4.Then,snag the restore point withWindows Updatewritten in itsDescriptionbox and click theNextbutton.
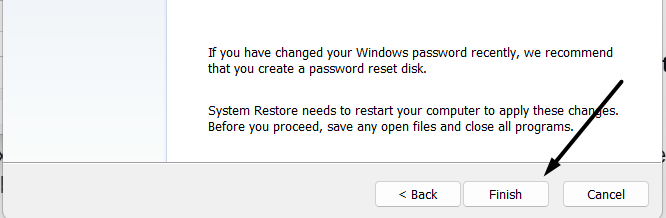
5.Lastly, press theFinish >button on theConfirm your restore pointwindow to start the restoration process.
Youll now see that the restoration process has been started.
It may take several minutes to make the changes.
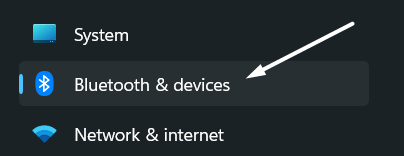
2.Next, selectBluetooth & devicesfrom the left navigation menu and then head toPrinters & scanners.
How Do I Fix Printer Drivers in Windows 11?
If doing the same doesnt eliminate the issues with the systems printer drivers, you then can tryreinstalling them.
What Is 0 * 0000011B Printer Error?
How To Fix Windows Printer Error 0x0000011B on Windows 11?
Does Windows 11 Cause Printer Problems?
The new Windows 11 can cause problems with the printer, as it did for several users.
They also added thatuninstalling the faulty security updatesfrom the system fixed the issue.
But for some users, their printer has stopped working on their Windows 11 PC.
If this guide helped you patch up the issue, let us know which solution it was.