Blue Screen Of Death (BSOD) is a prevalent error in Windows PC.
It appears with different stop codes.
One of those stop codes is PAGE_FAULT_IN_NONPAGED_AREA.
When software or hardware inappropriately tries to use the system memory, the PAGE_FAULT_IN_NONPAGED_AREA BSOD error appears.
Most of the time, the error resolves automatically after a few seconds.
But, it becomes unbearable when it starts occurring more frequently.
What Causes PAGE_FAULT_IN_NONPAGED_AREA Error?
The PAGE_FAULT_IN_NONPAGED_AREA error usually happens when an app or hardware component utilizes the system allocated memory.
Another case is when Windows becomes incompetent to access a particular page needed to complete a process.

It also reports the root cause of all the errors and crashes and makes.
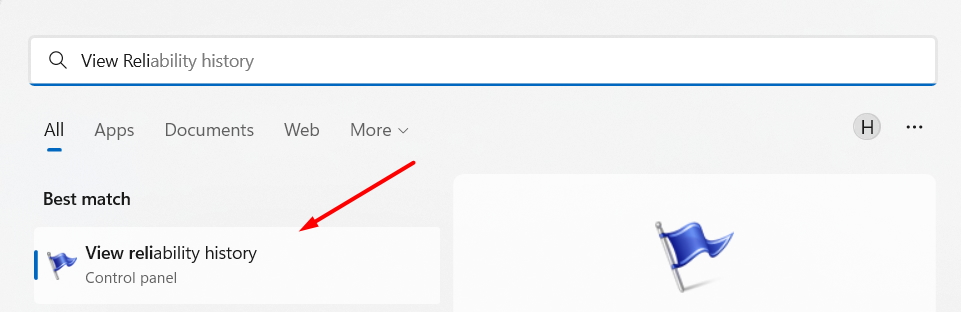
you’re able to use the Reliability Monitor tool to find the main reason behind the error.
Start the process by implementing the below-mentioned steps on your Windows PC.

2.TypeView Reliability Historyin theSearch Barand open theView reliability historytool.
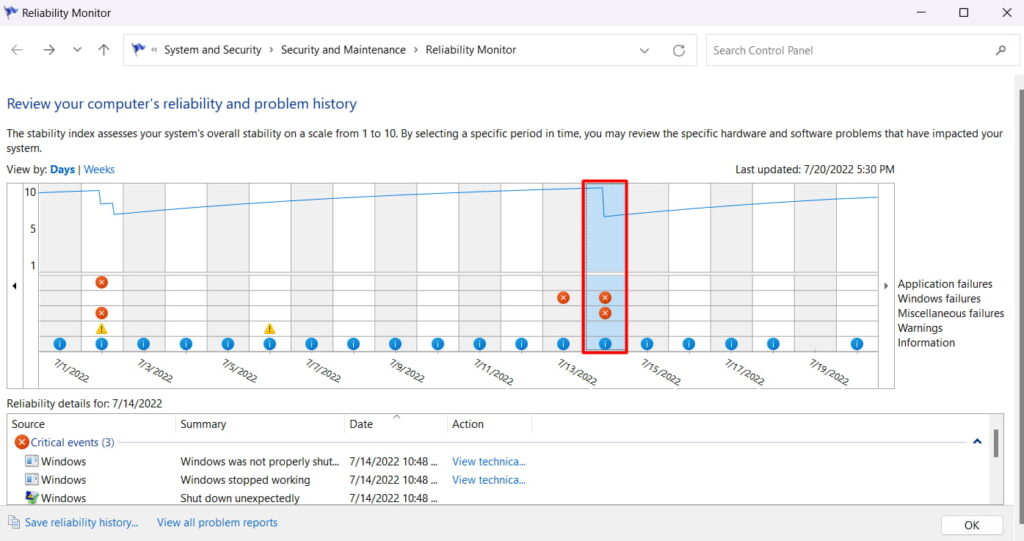
3.select theDatematching your crash date mentioned on the graph.
For instance, if the BSOD error appeared on7/14/2022.
Click on7/14/2022appearing on the x-axis of the graph.
4.Look forCritical Eventsin theSources section.
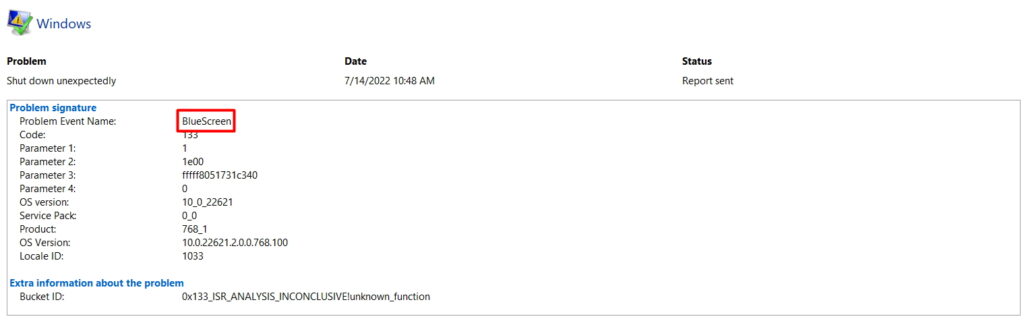
5.you could now see that particular crash along with thedate and time.Double press the crash or clickView technical details.
Check For RAM Sticks
The PAGE_FAULT_IN_NONPAGED_AREA error code is associated with the systems memory.
There is a high possibility that your RAM sticks are defective, eventually causing the issue.
We will suggest you to clean and inspect your RAM sticks to verify they are in perfect condition.
you’re free to follow the mentioned process to clean your RAM sticks easily.
1.Start the process by shutting down your PC.
2.Remove the power cable attached to your PC.
3.Once this is done, you’ve got the option to start opening your CPU cabinet.
4.Remove the RAM sticks from the slots carefully.
5.Put them on a clean surface and avoid dust around them.

6.First, clean the contact of the RAM sticks with a dry cloth.
7.Then, clean them with a little damp cloth to remove all dust particles.
8.Insert the RAM sticks again to their respective slots.

9.Once this is done, attach the power cord and restart the PC.
So, try updating your Windows 11/10 PC in the manner mentioned below.
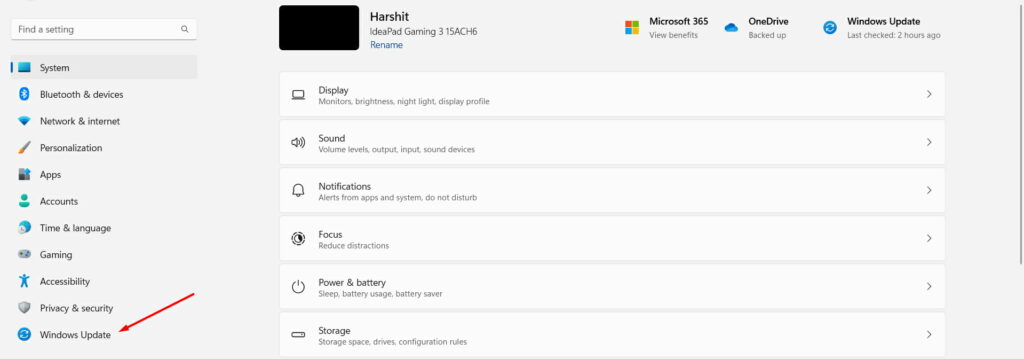
1.PressWin + Ito openSettings.
2.Head to theWindows Updatesection from the left panel.
3.select theCheck for updatesbutton to check for new updates.
4.If you see new updates on the screen, download and install them.

1.OpenSettingson Windows 10 by pressingWin + I.
3.Then, head to theWindows Updatesection.
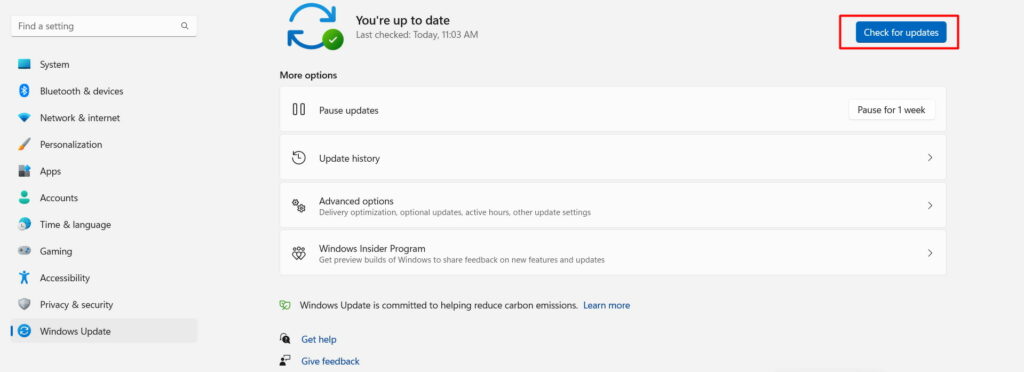
4.ClickCheck for updatesto let the system scan for new and pending updates.

5.If you see some new and pending updates after the scan, hit theDownloadbutton.
6.Once the updates are downloaded, choose theRestartbutton next to the update.
Yet, sometimes the antivirus software interferes with the system processes and results in crashes.
There is a possibility that the new update has some bugs and caused this error.
Sometimes the error appears after installing the new updates.
While sometimes, it occurs during the installation process.
The timing of the error can vary in your case.
Fortunately, the error brought on by the Windows Updates can be fixed using the Windows Update Troubleshooter tool.
Below are the steps to use the Windows Update Troubleshooter tool.
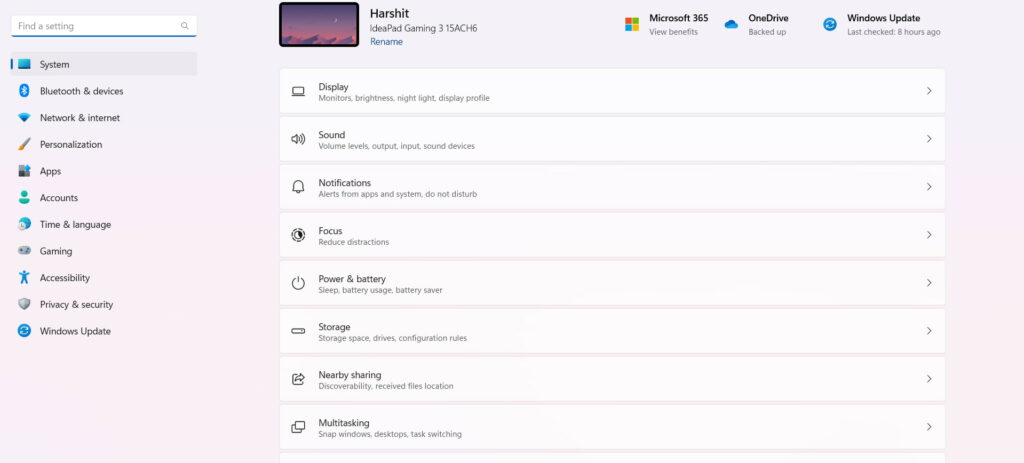
1.Open theWindows Settingsby pressingWin + I.
2.Scroll down and selectTroubleshoot.
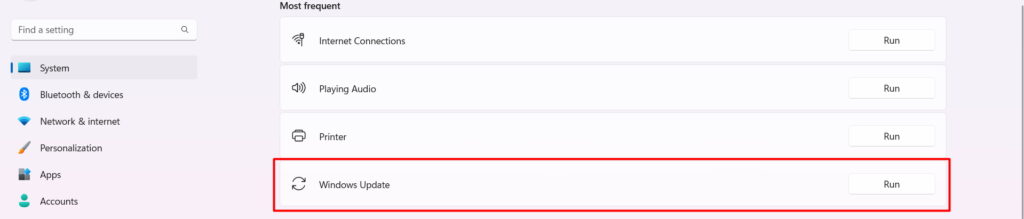
4.Look forWindows Updatein theMost frequentsection.
5.tap on theRunbuttonnext to theWindows Update Troubleshooter.
2.punch theSettingsicon to open theSettings window.
3.SelectUpdate & Securityandmove to theWindows Updatesection.
4.tap on theRun the troubleshooterbutton.
Run Windows Hardware Troubleshooter
Many users reported that sometimes the error appears because of a faulty hardware equipment.
It could be possible that there is a problem with hardware components attached to your PC.
you might look for hardware issues using the Windows Hardware Troubleshooter.
The below-mentioned steps show the same.
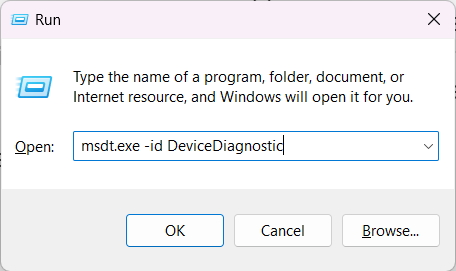
1.PressWin + Rto open theRunwindow.
2.Typemsdt.exe -id DeviceDiagnosticto open theHardware and Devices troubleshooter.
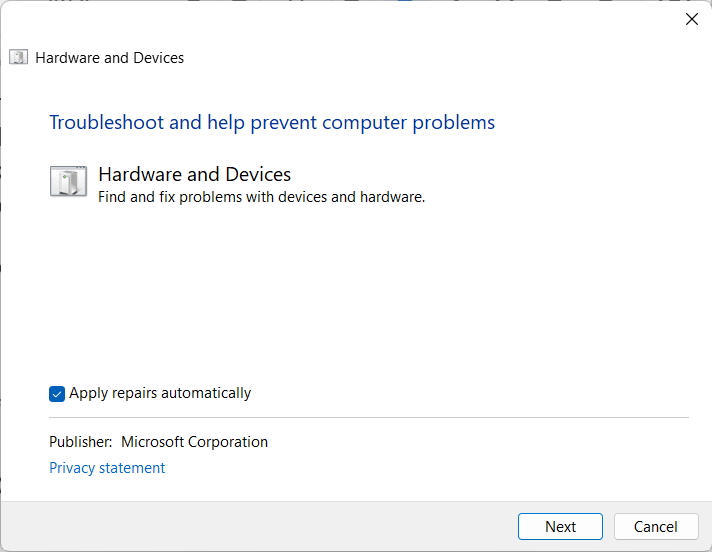
3.ClickAdvancedandcheck theApply repair automaticallycheckbox.
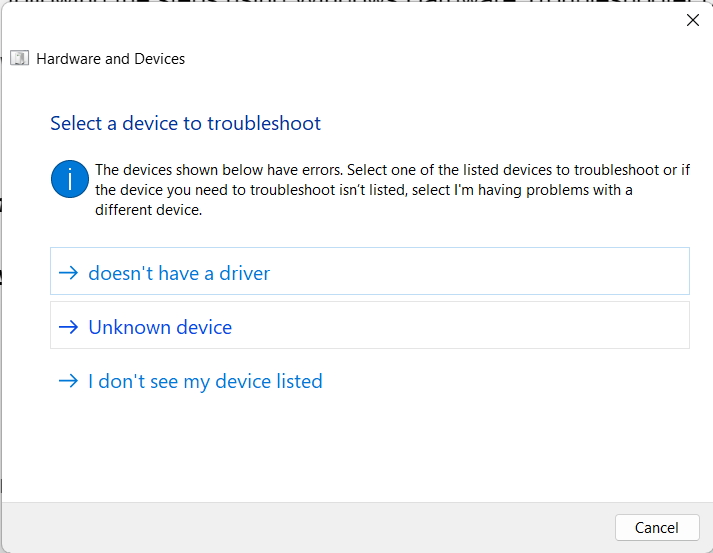
4.OnSelect a equipment to troubleshootwindow, selectUnknown equipment.
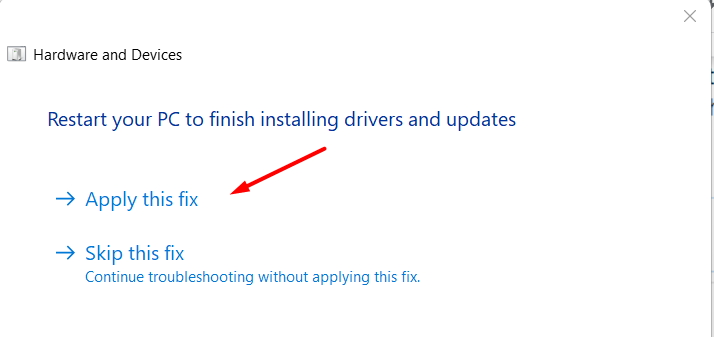
5.Wait until the scan completes and the system reports all the errors on the screen in a dialogue box.
6.Lastly, selectApply this fix.
Disable Automatic Management of Paging File Size
1.get in to your Windows PC using an administrative account.
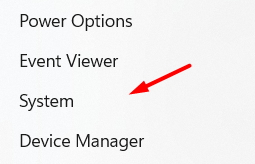
2.Right-select theStartbutton and selectSystemfrom the pop-up.
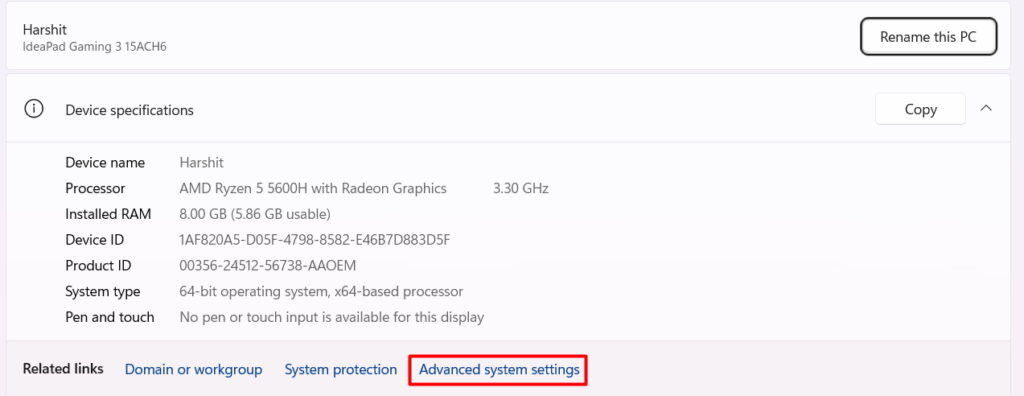
3.Then, clickAdvanced system options.
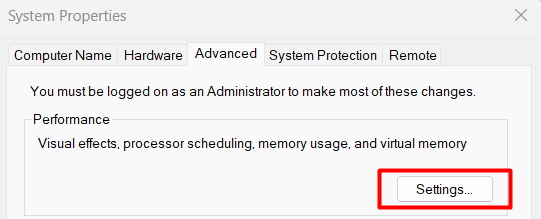
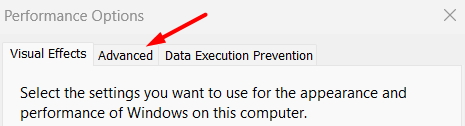
5.select theSettingsoption in thePerformancesection.
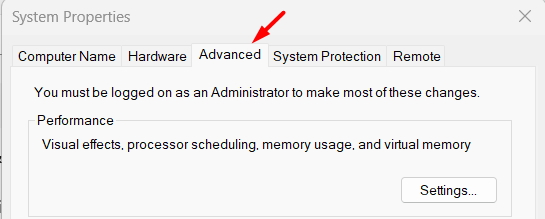
6.Once thePerformance Options boxopens, move to theAdvancedtab.
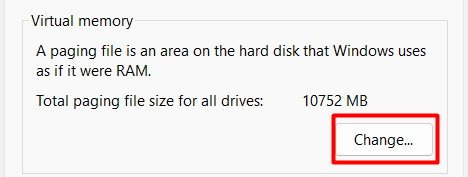
7.press theChangebutton in theVirtual memorysection.
8.Now, uncheck theAutomatically manage paging file size for all drivescheckbox.
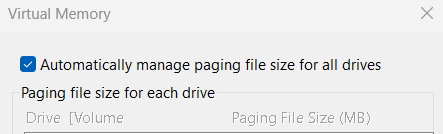
9.press theOKbutton to save the controls.
10.At last,Restartyour Windows PC and start using it.
It may be possible that there is something wrong with your system memory.
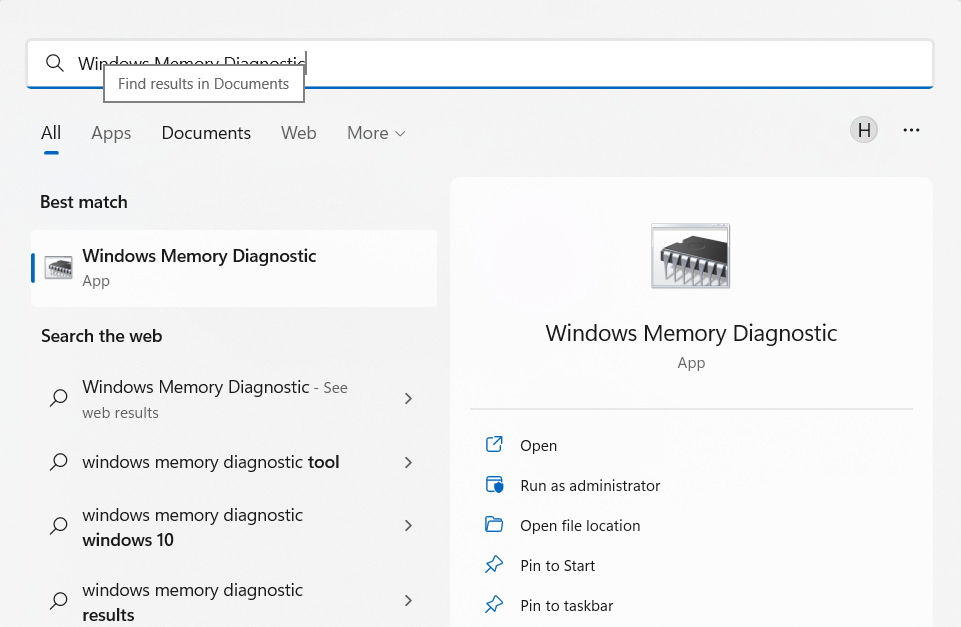
you could quickly scan and fix all the memory-related errors using the Windows Memory Diagnostic tool.
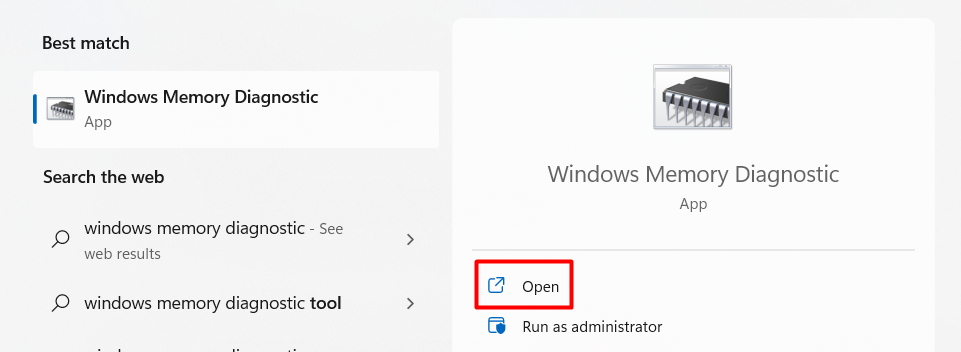
2.TypeWindowsMemory Diagnosticin theSearch Bar.
3.Open theWindowsMemory Diagnostic tool.
4.Click onRestart now and check for problems (recommended)option.
5.Your PC will now reboot and enter into detective mode and start looking for errors.
6.It will take a few minutes to scan for errors.
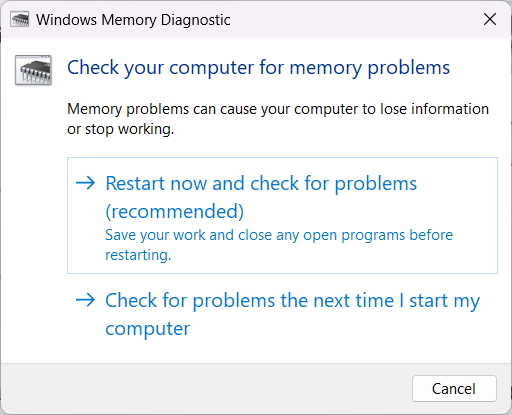
So, wait till the process completes, and your system reboots.
7.Once the system restarts, you will see the scan results.
Use DISM and SFC to Repair Corrupt System Files
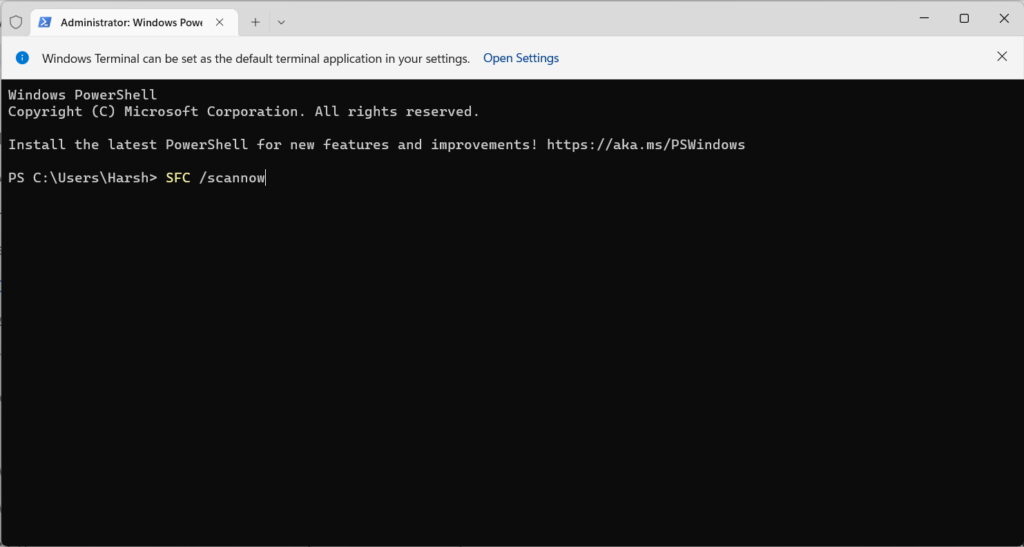
1.PressWindows + X.
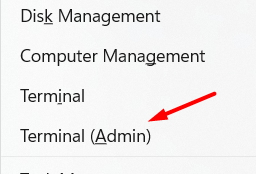
2.SelectTerminal (Admin)from the given options.
3.Copy and paste the mentioned commandDISM.exe /Online /Cleanup-image /Restorehealthand press theEnterkey.
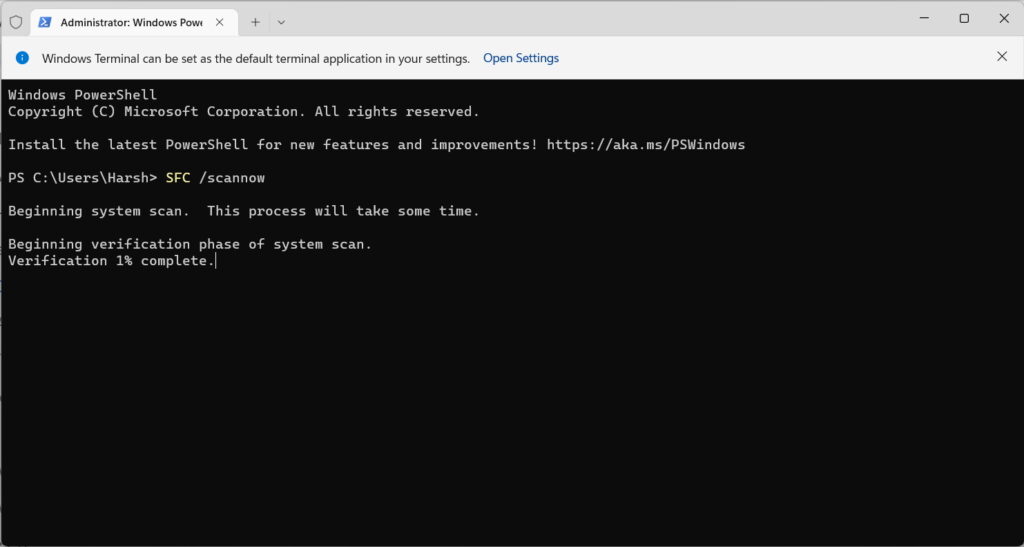
4.Wait a few minutes to let the scan complete.
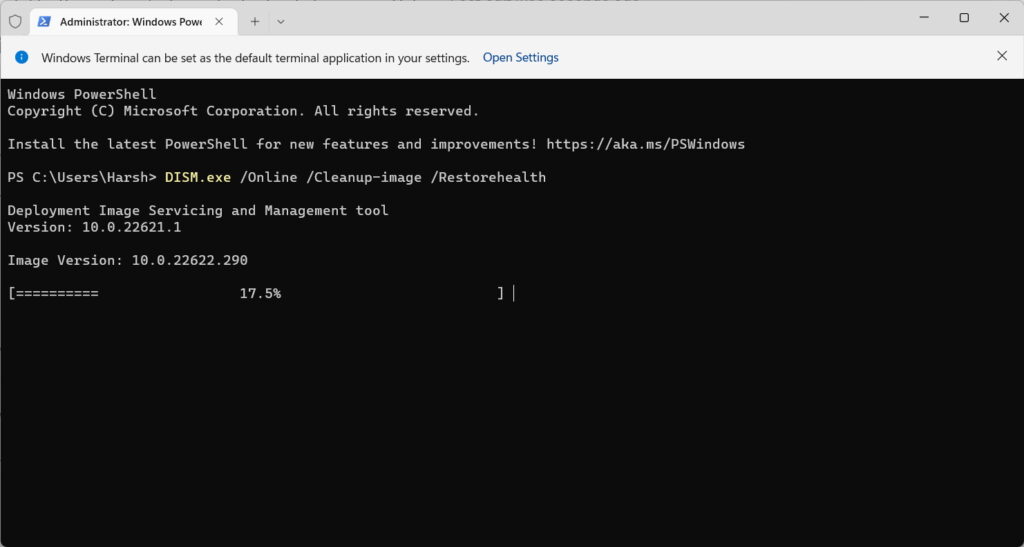
5.end the Terminal once you see the process completion message.
6.At the end,Rebootthe PC.
3.Once the scan completes,restartthe PC.
Fix Drive Problems
Hard Drive Errors are one of the reasons for the PAGE_FAULT_IN_NONPAGED_AREA BSOD error.
It could be possible that your hard drives malfunctioned and resulted in this error.
you’re able to repair your hard drive by executing a quick CHKDSK repair command.
Its quite simple and you could follow the below-mentioned steps to do the same.
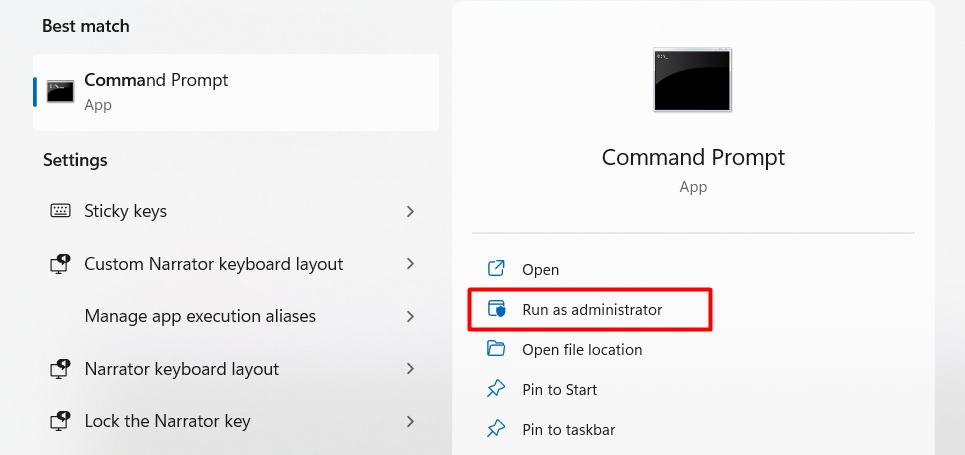
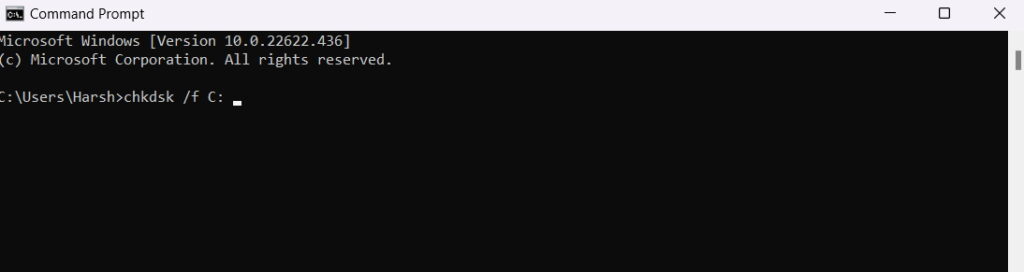
1.RunCommand Prompt as administrator.
2.Typechkdsk /f C:in the CMD and pressEnter key.
Reboot the PCto let the system scan for hard drive errors.
4.Once the process is finished, you will automatically jump in to your Windows PC.
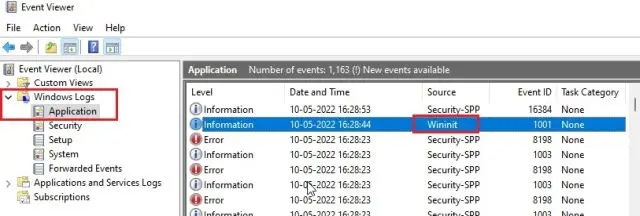
6.Now, open theEvent Viewerapp.
7.Double hit theWindows Logstab to expand it and hit theApplication option.
8.Scroll down and search forWininitand double tap on it.
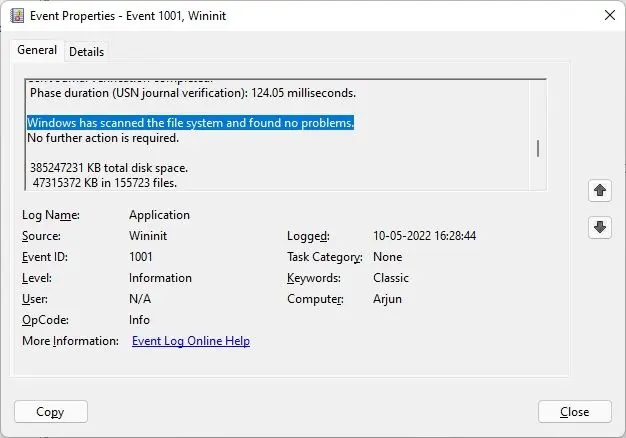
10.you might now check the CHKDSK scan results.
11.If the scan finds errors, you will see all the errors listed on the screen.
Fortunately, Windows lets you manage all your drivers in one place and update them.
Sometimes the error occurs right after updating the display adapters.

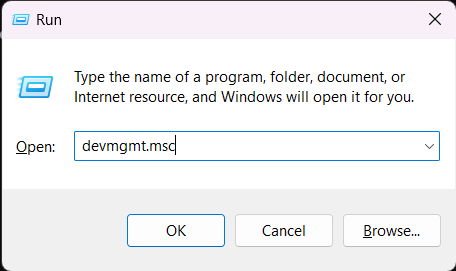
1.PressWindow + R.
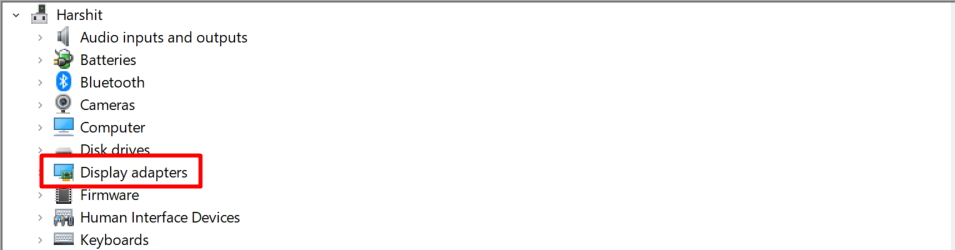
2.Typedevmgmt.mscto open theDevice Managerwindow.
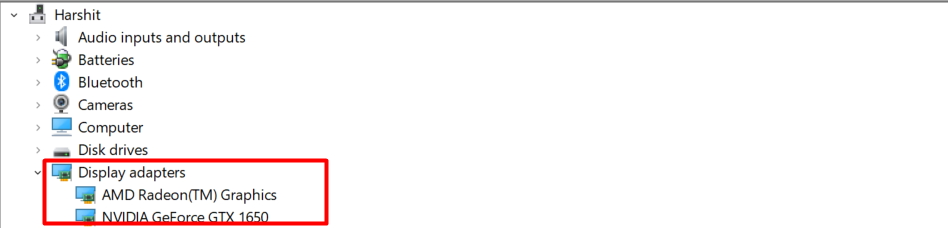
4.Double press theDisplay adaptersto get the list of all display adapters.
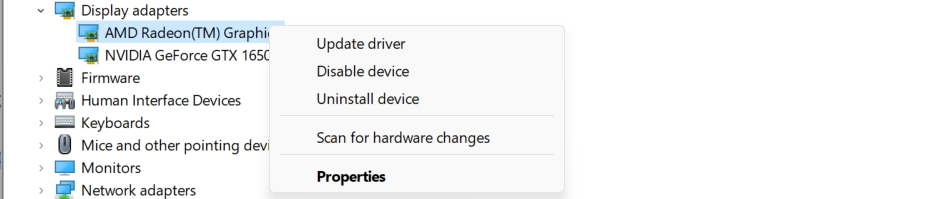
5.Right-tap on the display driver and select theUpdate driver.
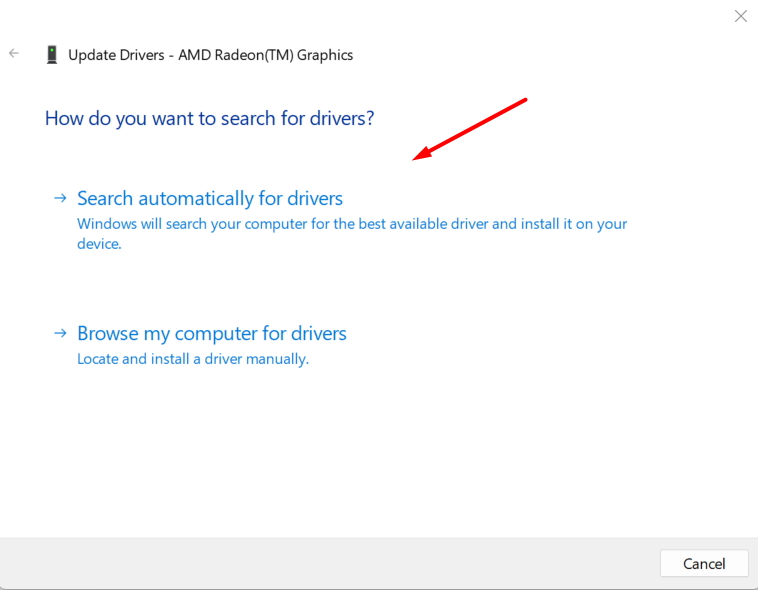
6.Then, selectSearch automatically for driversoption.
7.Wait a few seconds to let the system scan for new updates for the selected driver.
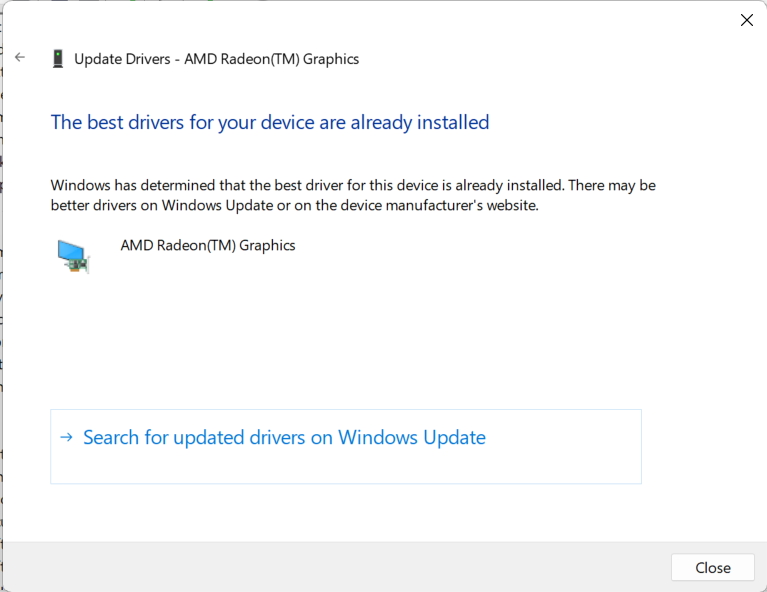
Continue following the on-screen instructions and shut the window when you see the messageThe best drivers are already installed.
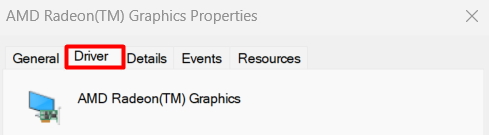
2.Then, right-punch the display adapter.
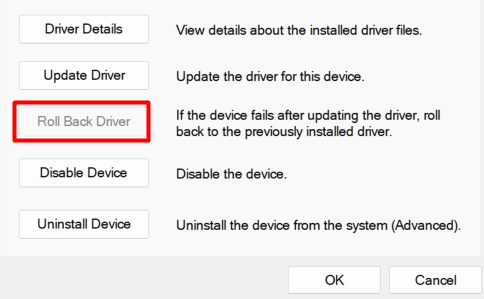
4.Head to theDriver tab.
5.select theRoll Back Driverbutton to roll back the selected driver to the previously installed driver.
6.Implement the same steps on other display adapters.
Disable Third-Party Software
Sometimes third-party software interferes with the system and causes the PAGE_FAULT_IN_NONPAGED_AREA BSOD error.
In fact, it is one of the most common causes of the error you are facing.
Its pretty simple, and you could do it by following the mentioned steps.
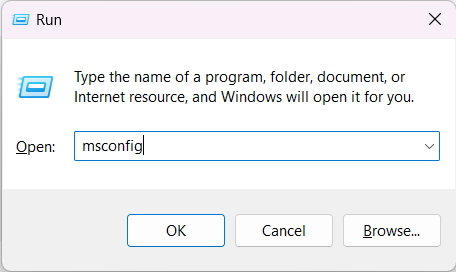
1.PressWindows + Rto open theRunwindow.
2.Typemsconfigand pressEnterkey to open theSystem Configurationwindow.
3.Head to theServicetab and check theHide all Microsoft servicescheckbox.
4.After that, punch theDisable alloption to deactivate the third-party programs and click Apply.
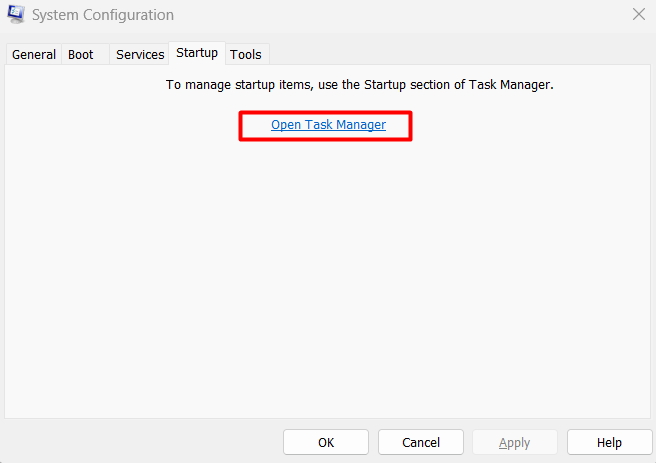
5.SelectOKto close theSystem Configurationwindow.
6.Move to theStartup Taband Click onOpen Task Manager.
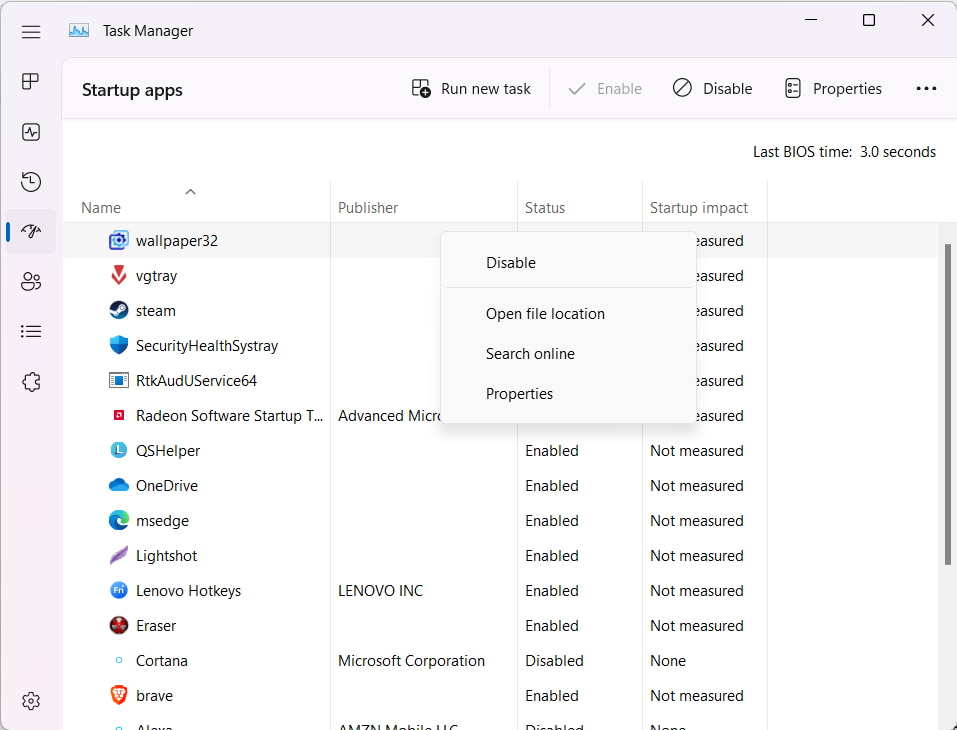
7.Once the Task Manager is opened,Disableall the running programs.
8.Restartyour PC and see if the error is fixed.
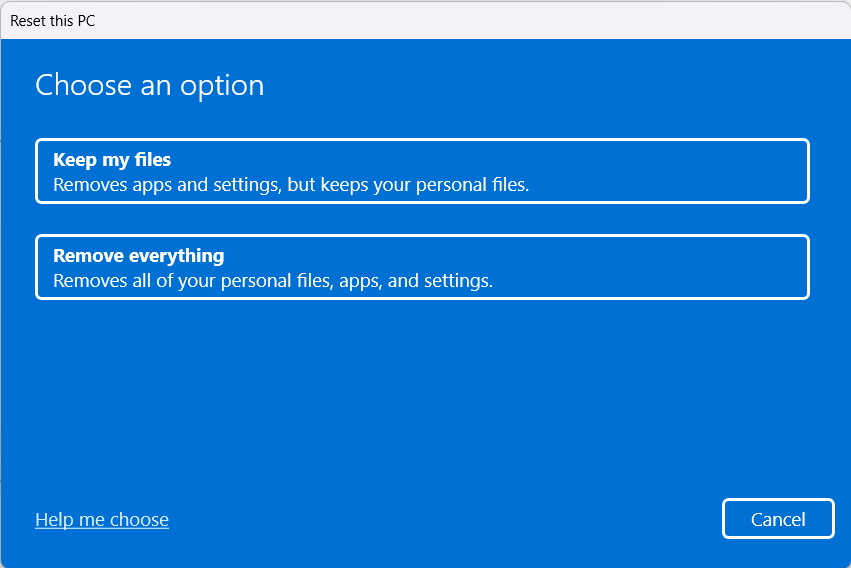
Reset Your gadget
If nothing works out and you continue facing the same annoying BSOD error.
Resetting the PC will only reset the Windows prefs and system files.
Your files and documents will remain intact.
Its simple to reset your Windows PC and can be done by following the given steps.
1.PressWindows + Ito open theWindows prefs.
3.nudge the Reset PC button.
5.Wait until the process completes and follow the on-screen instructions.
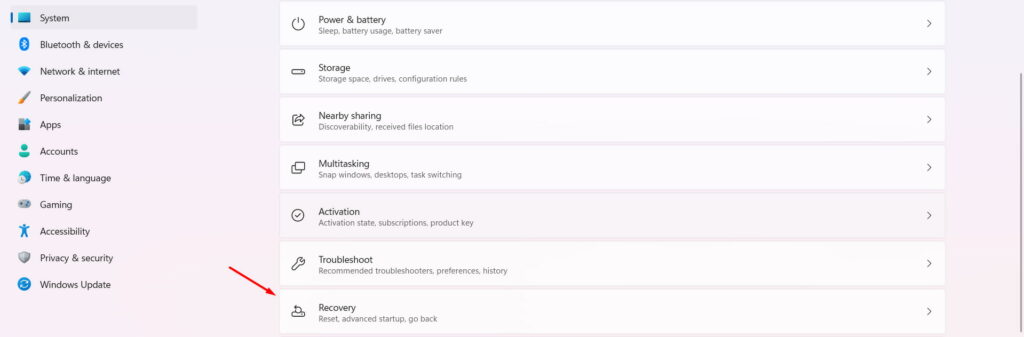
2.Head to theRecoverysection from the left navigation.
3.punch theGet Startedoption under theReset this PCsection.
Frequently Asked Questions
How Do I Fix Nonpaged Area in Windows 11?
Yet, in most cases, disabling the Automatic Paging File Size Management resolves the Nonpaged Area BSOD error.
What Are Possible Causes of BSOD Error?
BSOD error mostly occurs because of faulty hardware or software.
What Causes BSOD Page Fault in Nonpaged Area?
One of the most common causes of the error is the incorrect usage of system reserved memory.

There are some other reasons too that you’ve got the option to find above in the article.
How Do I Get Rid of the Blue Screen on Windows 10?
How Do I Put Windows 10 Into Safe Mode?

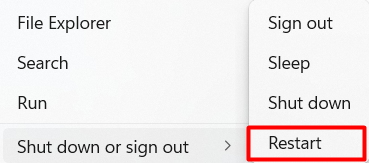
choose thePowericon, and selectRestartwhile holding theShiftkey.
Your PC will now restart.
On the nextChoose an optionwindow, selectTroubleshoot.
Then, selectAdvanced options.
InAdvanced options parameters, select theStartup settingsoption.
Now, press theRestartbutton.
Lastly, press the 5 key on your keyboard to boot into Safe Mode with Internet access.
You have now entered your Windows 10 PC into Safe Mode.
Final Words
Needless to say, it is very irritating to get the PAGE_FAULT_IN_NONPAGED_AREA BSOD error.
As it is one of the common error, the fixes are also pretty common and easy to implement.
Try the listed fixes to sort out the error and get out of this deteriorating situation.