And this has happened to many users who upgraded their PCs and laptops to Microsofts latest Windows 11 OS.
Check them out listed right below!
So, be sure to try them out on your gadget one by one to see which one works.
Now, lets move on to the fixes, shall we?
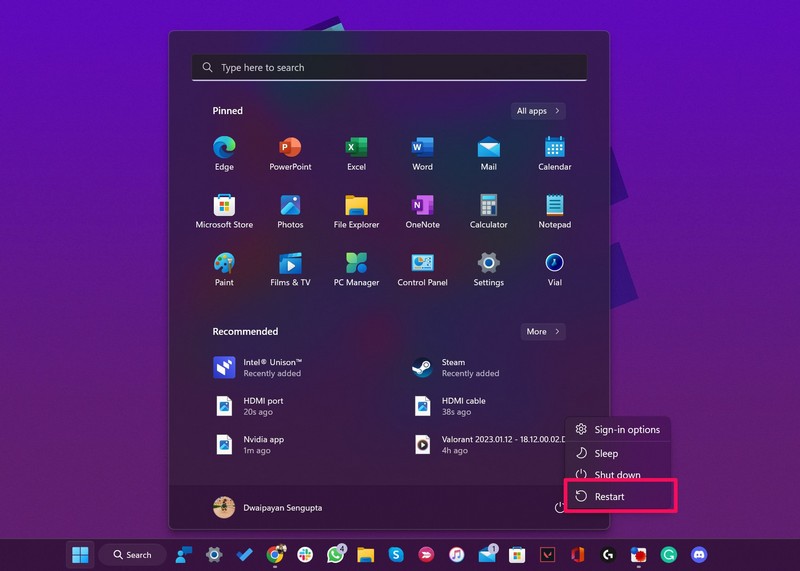
A restart essentially force-closes every running utility and background process and even clears the RAM of your system.
2.Under theSystem tabon the left nav bar, go to theDisplayoption.
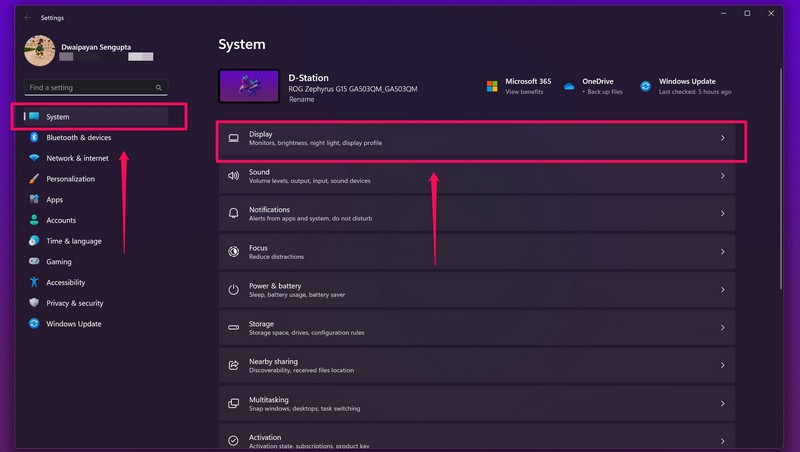
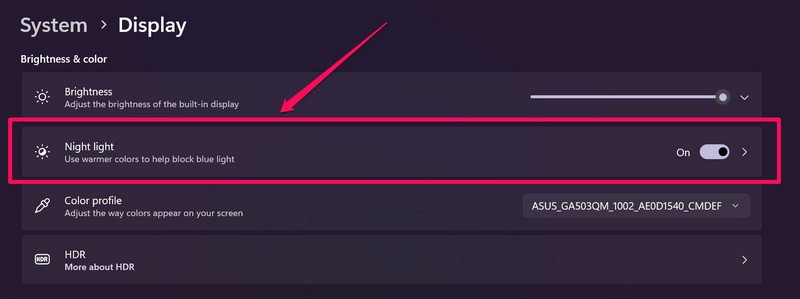
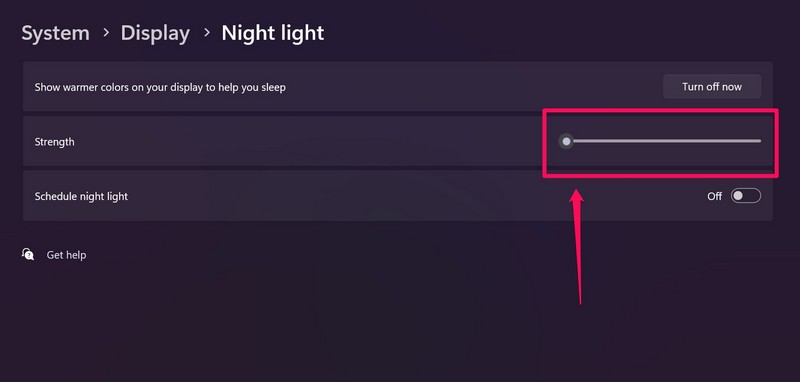
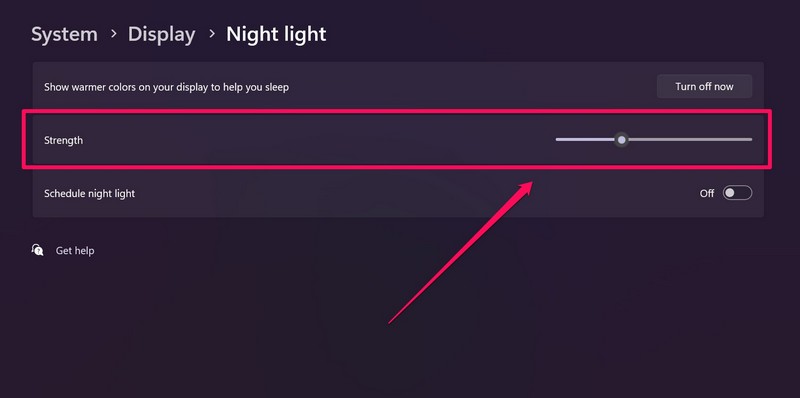
3.Next, press theNight light option(not the toggle) to open its options.
4.On this page, you’ve got the option to check the set strength of the feature.
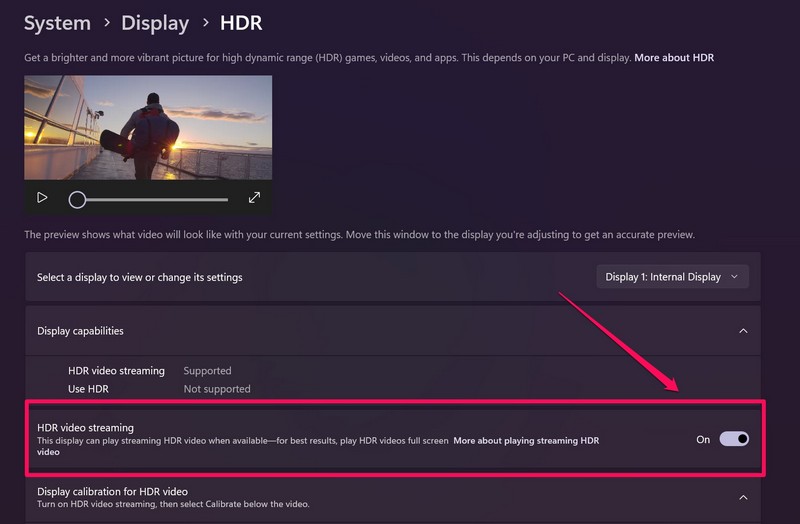
1.UseWindows + Ito open theSettings appin Windows 11.
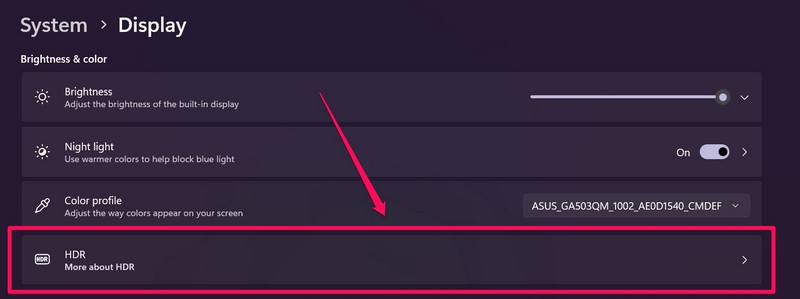
2.Under theSystem tabon the left nav bar, select theDisplayoption.
3.Click theHDRoption on the following page to open its prefs.
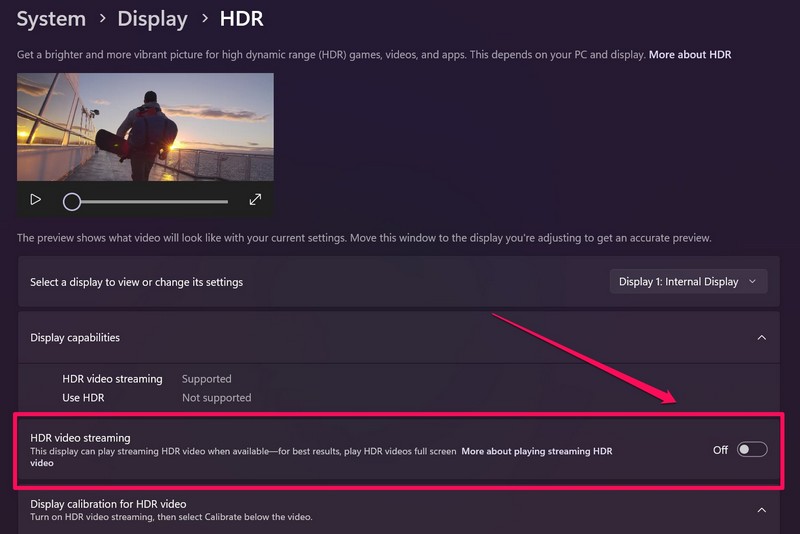
4.Now,poke the togglefor theHDR video streamingoption once to disable it.
5.After disabling it,re-switch on the HDR feature.
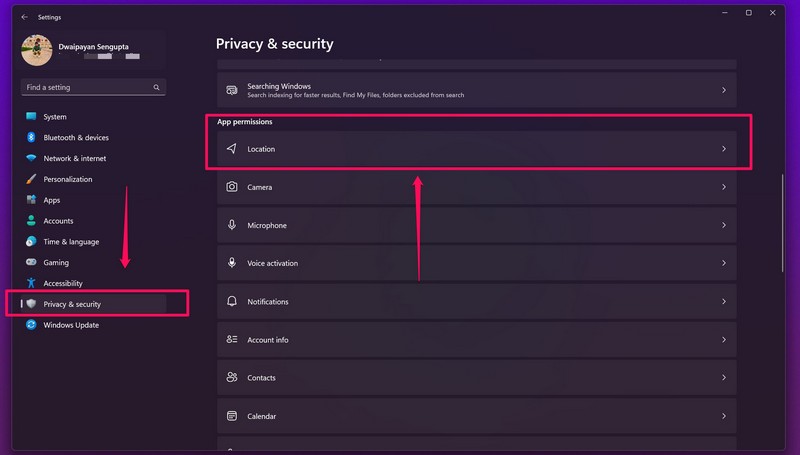
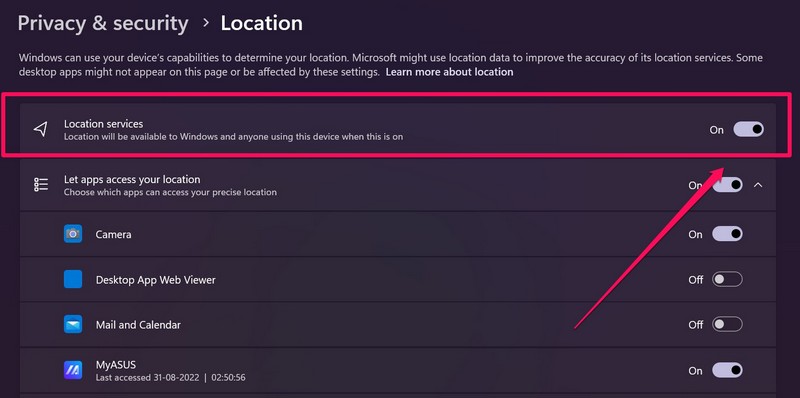
If the Location services feature is disabled on your equipment, the Night light icon might appear grayed out.
2.Go to thePrivacy & securitytab on the left navigation panel, and click theLocationoption under the App permissions section.
3.hit the toggle for theLocation servicesoption to enable it.
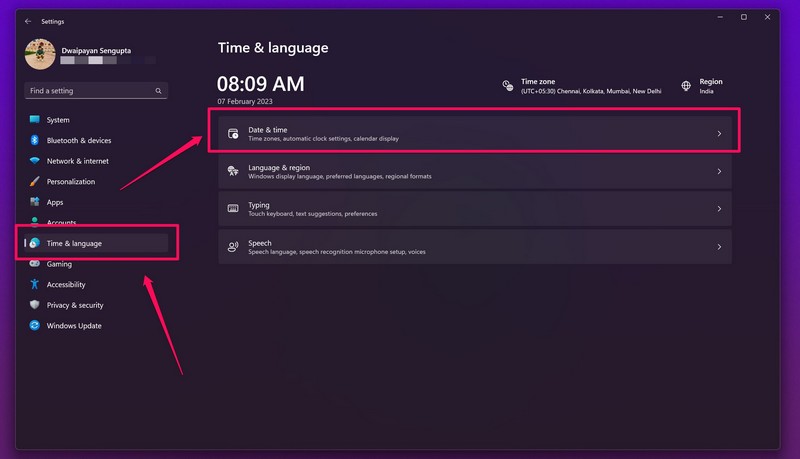
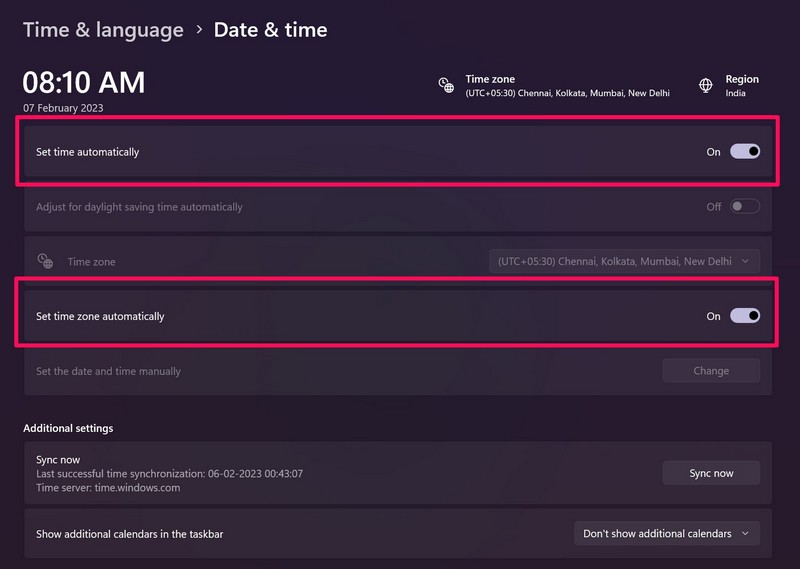
However, before we proceed, verify your Windows 11 gadget is connected to an active internet connection.
2.Under theTime & languagetab on the left nav bar, select theDate & timeoption.
3.see to it that the toggles for bothSet time automaticallyandSet time zone automaticallyare enabled.
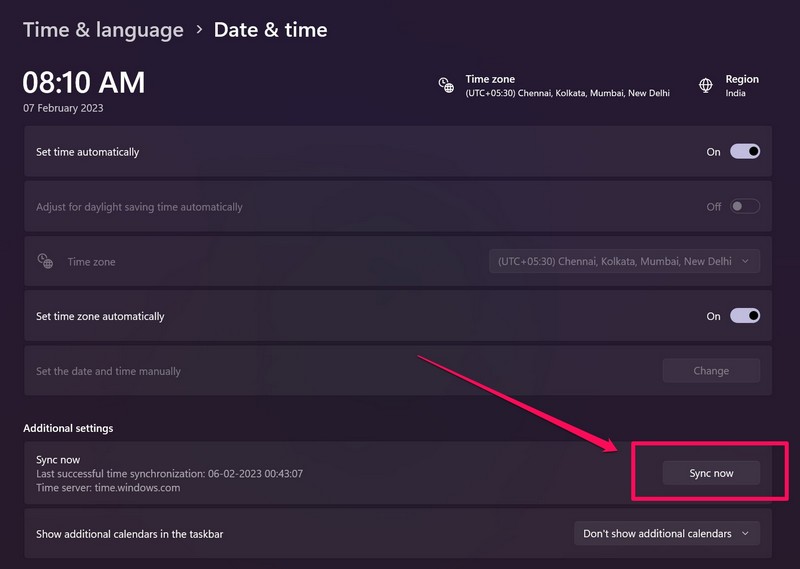
4.Next, click theSync nowbutton to sync the date and time on your Windows 11 PC or laptop.
5.start your deviceand check whether the Night light not working issue is fixed or not.
So, running an outdated graphics driver in Windows 11 can cause the Night light feature to break.
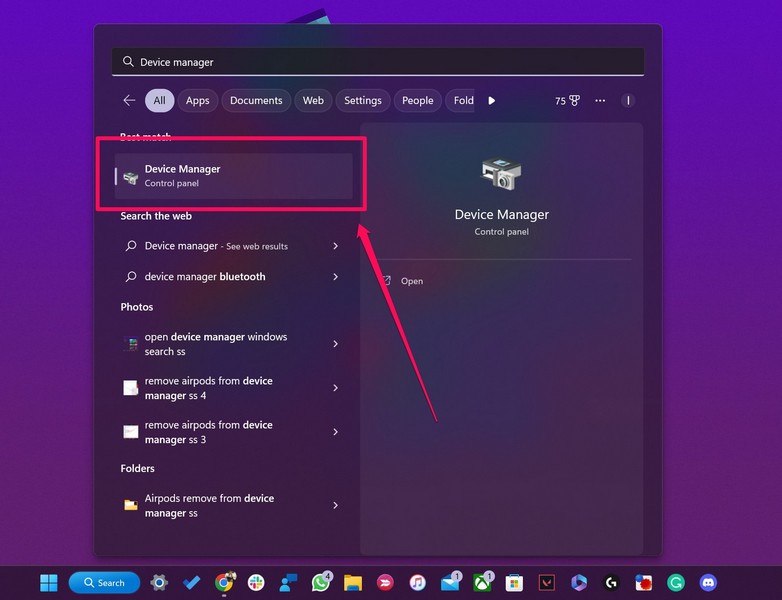
2.go for the said program in the search results to launch it.
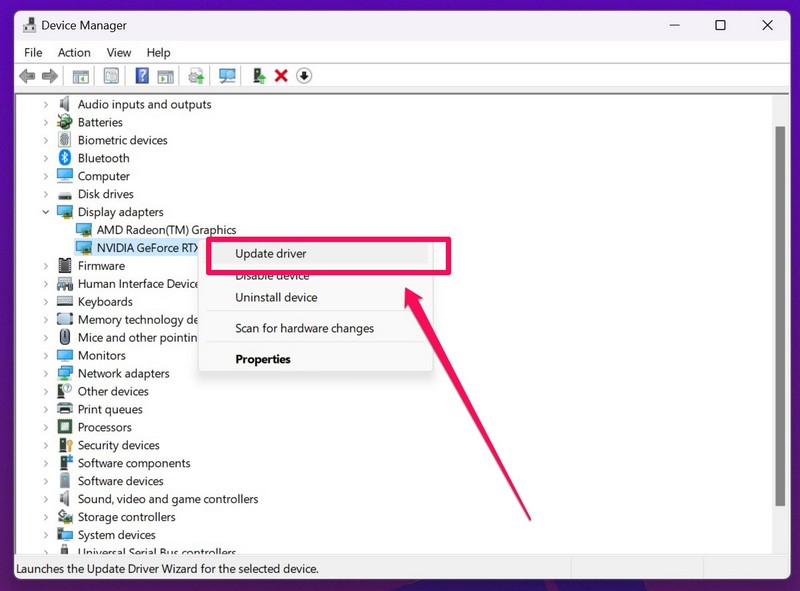
3.Find theDisplay adaptersoption on the list andclick the tiny arrowbeside it to expand.
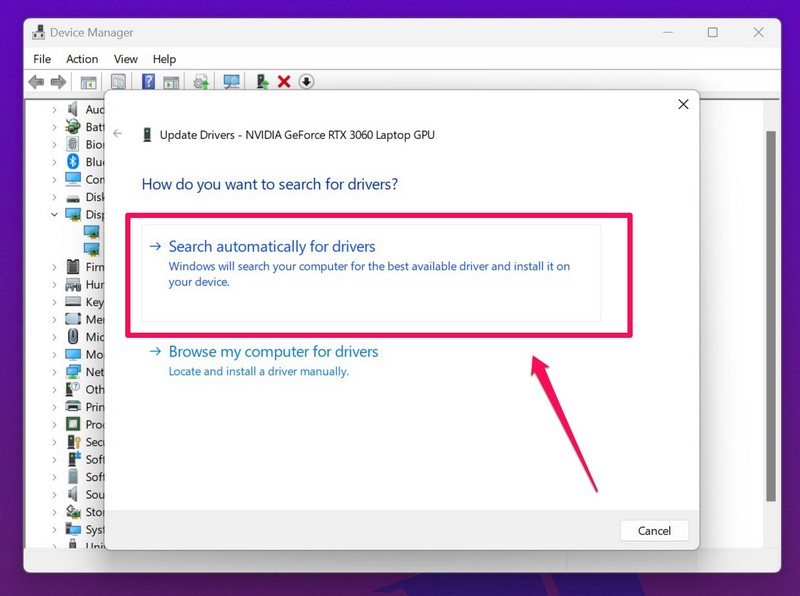
4.Next,right-punch your primary graphics cardand select theUpdate driveroption on the context menu.
6.After the update process is complete,start your Windows 11 PCor laptop.
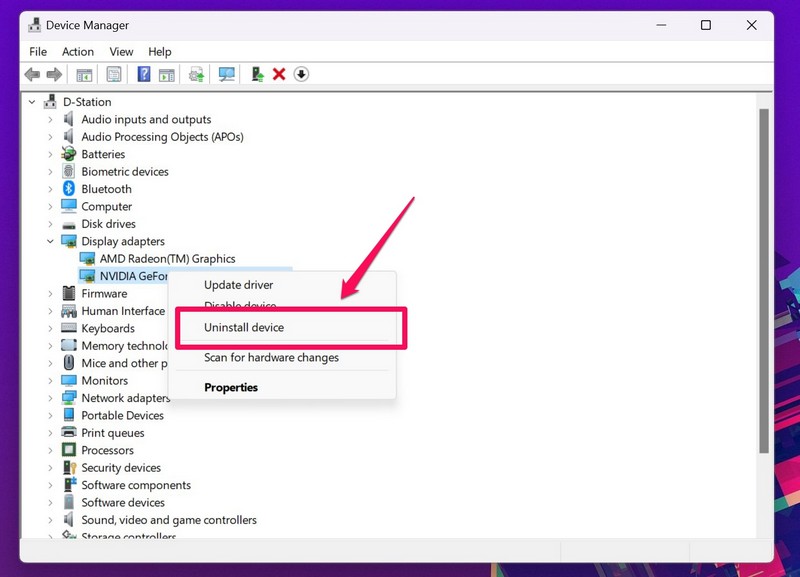
2.Expand theDisplay adaptersoption by clicking the tiny arrow.
Right-clickon your primary graphics driver and select theUninstalloption on the context menu.
4.Confirm your actionon the following prompt.
5.reboot your Windows 11 PCor laptop after the uninstallation completes.
1.PressWindows + Sto open Windows search and bang out incmdin the search bar.
2.Click theRun as administratorbutton for theCommand Prompttool in the search results.
3.ClickYeson the following User Account Control prompt.
After completion,start your Windows 11 deviceand check whether the Night light issue is fixed or not.
3.Once the latest update(s) show up, click theDownload and installbutton to get them right away.
4.After the update,cycle your Windows 11 PCor laptop.
1.PressWindows + Rto launch the Run tool in Windows 11.
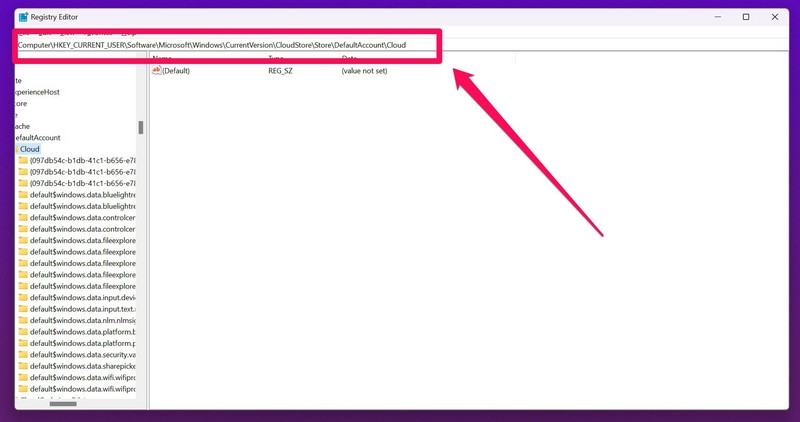
2.Typeregeditin the provided text field and pressEnteron your keyboard.
3.ClickYeson the following UAC prompt.
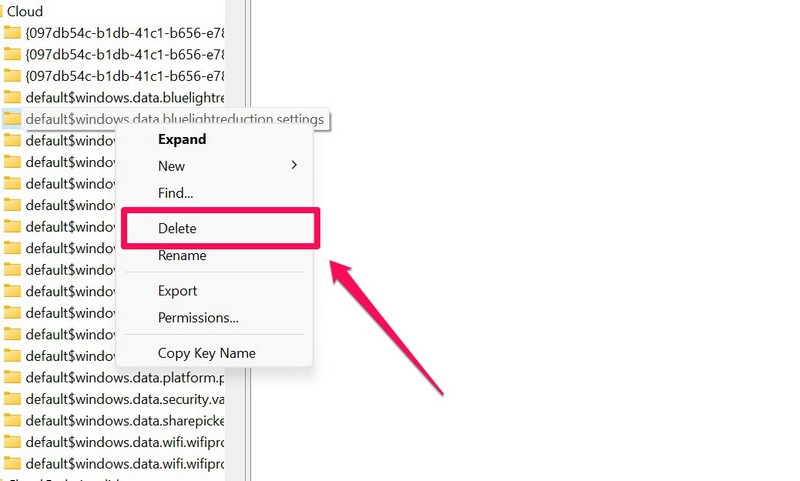
5.Next,find the following foldersrelated to Night light:
6.choose the above folders one by one andright-press them.
7.Select theDeleteoption on the context menu to delete both folders.
Yes, the Night light feature is available on both Windows 11 as well as on Windows 10.
It can be found within the configs app and on the Action Center in Windows 11.