One of them is the Mail app notifications not working issue on the iPhone.
Many users have reported the issue and taken it to Apples official forums to get resolutions.
Well, fret not!
In this article, we have discussed numerous fixes to resolve issues with Mail app notifications on the iPhone.
So, check out the following sections for all the details!
It could be because of a simple misconfigured setting or it could be due to a faulty internet internet.
We have previously covered an in-depth guide onhow to fix the Mail app not working issue on the iPhone.
If none of the fixes from that article work for you, check out the following fixes right away.
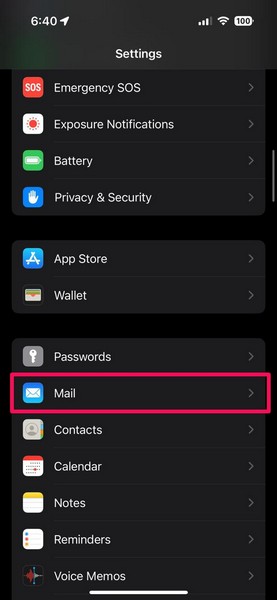
2.Locate theMailoption on the list and tap it to open.
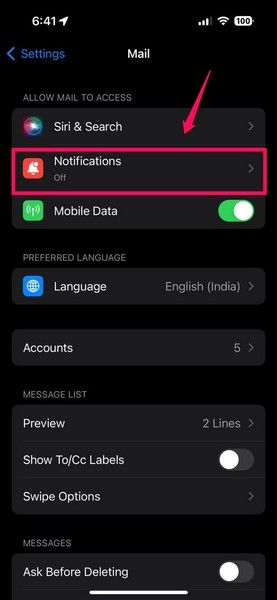
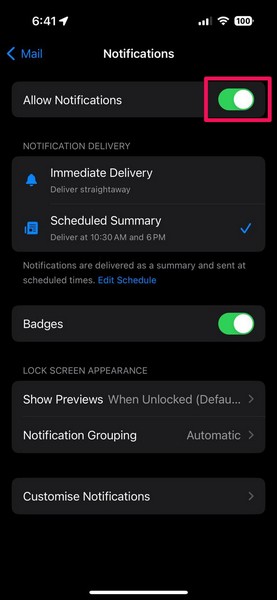
3.Tap theNotificationsoption on the following page.
4.Now, if the toggle for theAllow Notificationsoption is not enabled,tap it to turn it on.
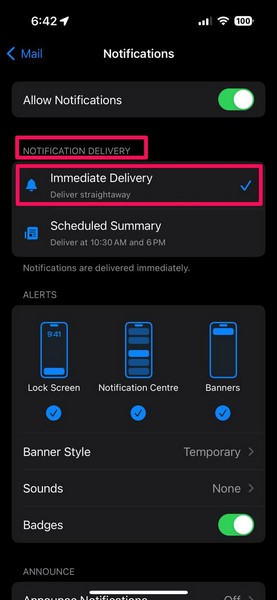
5.Next, tap theImmediate Deliveryoption under theNotification Deliverysection if it is set to Scheduled Summary.
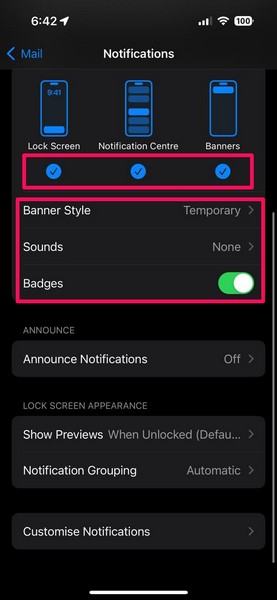
6.Moving to the Alerts section, confirm all the options Lock Screen,Notification Center, andBanners, arechecked.
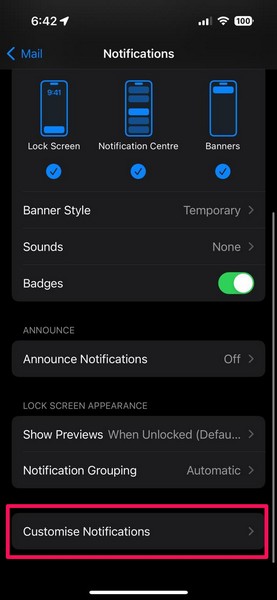
After that, you cancustomize the Banner Style, Sounds, and Badges optionsas per your preference.
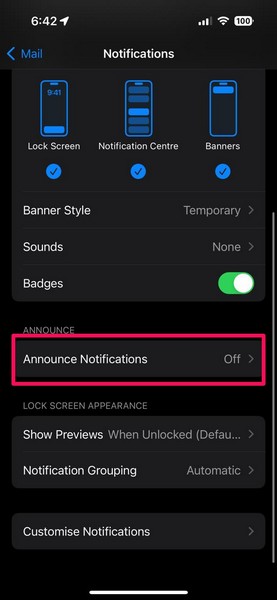
7.If you want Siri to announce your incoming emails, you canturn ontheAnnounce Notificationsoption.
2.Scroll down to the bottom and tap theCustomize Notificationsoption.
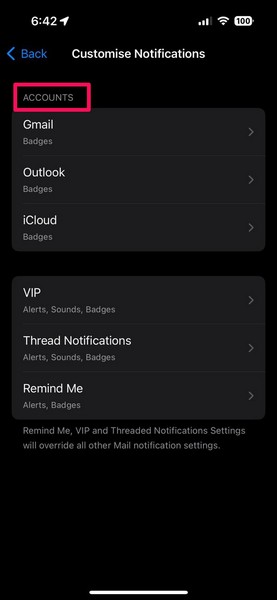
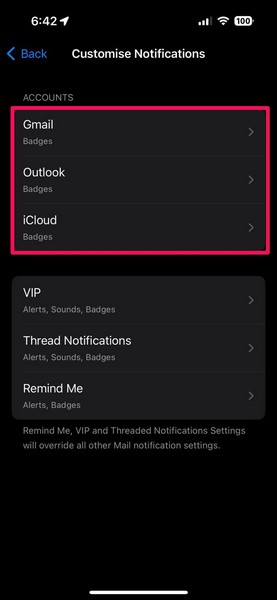
3.On the following page, you willfind all your email accountsunder theAccountssection.
Tap the onefor which you want to receive email notification alerts on your iPhone.
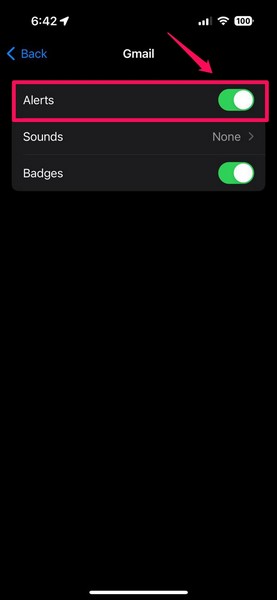
5.you’re free to thentap the togglefor theAlertsoption to enable it for the selected account.
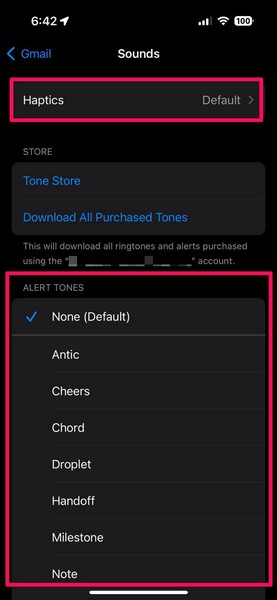
6.Additionally, you canset an alert sound and haptic patternfor the email notifications via theSoundssection.
7.You canenable the Alerts togglefor asingle email accountorall of themon your iPhone.
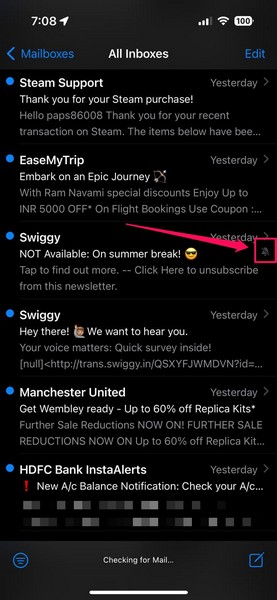
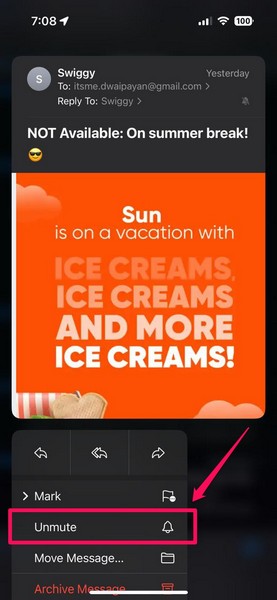
The Mail app lets users mute senders to stop receiving email notifications from them.
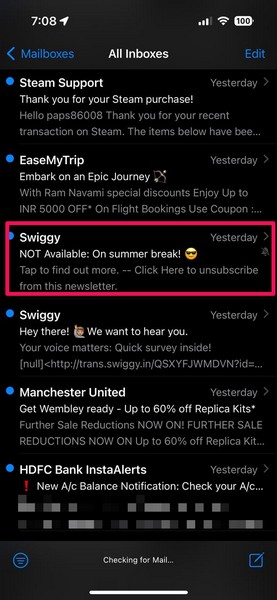
2.Scroll through your emails tofind one from a muted sender.
3.Tap and hold the emailto reveal the context menu.
4.Next, simply tap theUnmuteoption on the context menu.
Now, you will start receiving Mail app notifications for emails sent by the unmuted sender on your iPhone.
Hence, you will not receive any Mail app notifications for those.
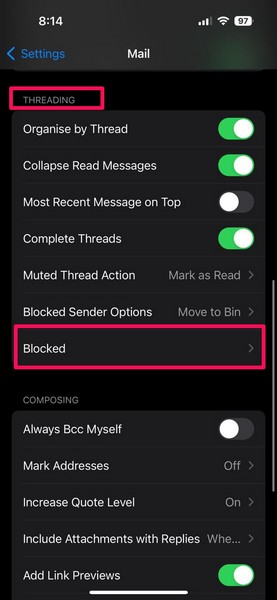
So, follow the steps below to ensure that the email sender is not blocked on your iPhone.
3.Scroll down to theThreading section and tap theBlockedoption to open it.
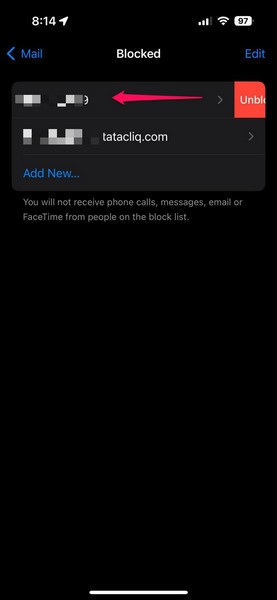
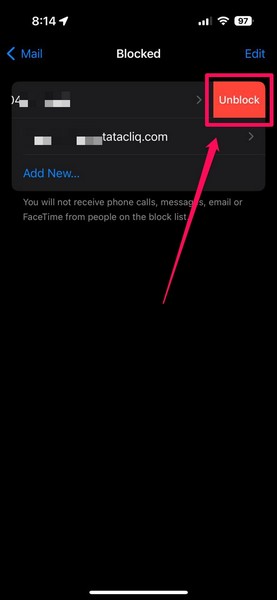
4.On the following page, you willfind a list of the blocked contacts.
6.Tap theUnblock buttonto instantly unblock them on your iOS rig.
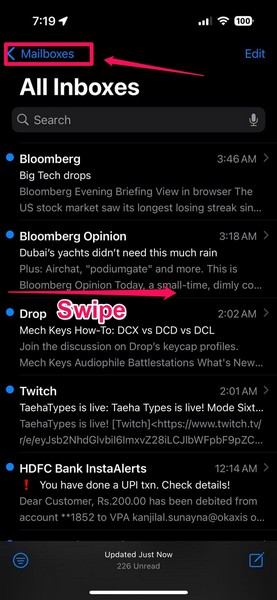
2.Swipe right from the left edgeof the screen toopen the Mailboxes pane.
Alternatively, you cantap the Mailboxes buttonat the top left to open it in the Mail app.
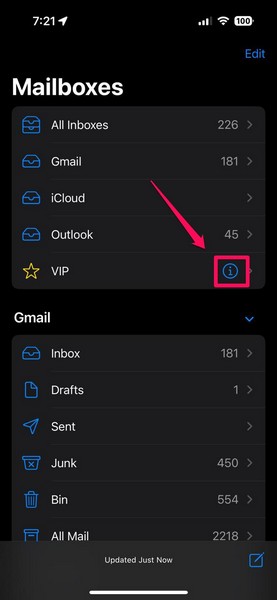
3.Now,locate the VIP optionunder the Mailboxes section.
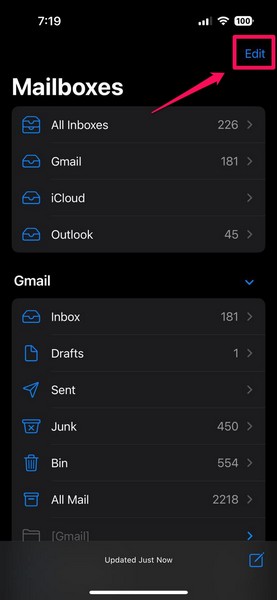
If you cannot find the VIP option listed under Mailboxes, tap theEditbutton at the top right.
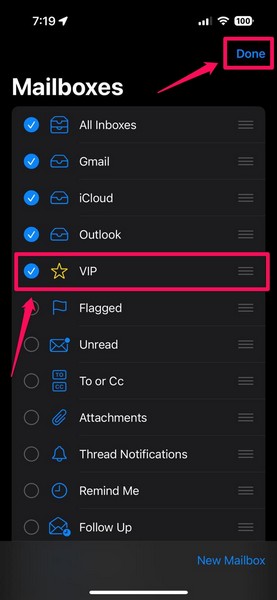
4.Next,check the boxfor theVIP optionand hit theDonebutton.
5.Once the VIP option is available, tap theibutton next to it.
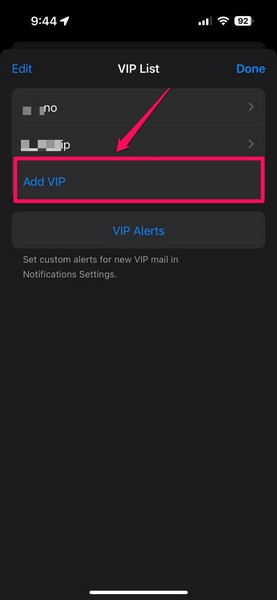
6.On the following page, you willfind previously added VIP contacts.
7.you’ve got the option to then tap theAdd VIPbutton to open your contact list.
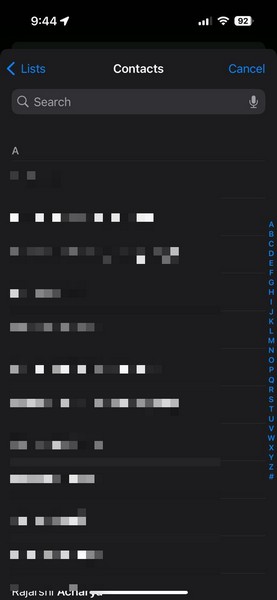
Select a contact from your listand tap them to add to the VIP list in the Mail app.
Note:ensure the contact you use has a valid email address added to their contact information.
Tapping a contact without an email address will not add the contact to the VIP list.
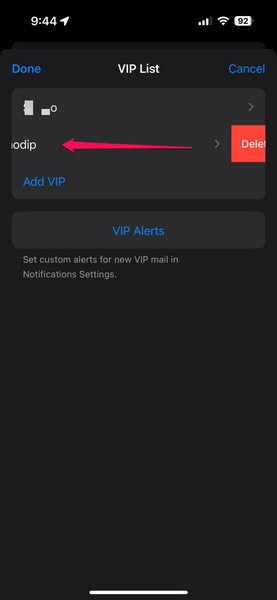
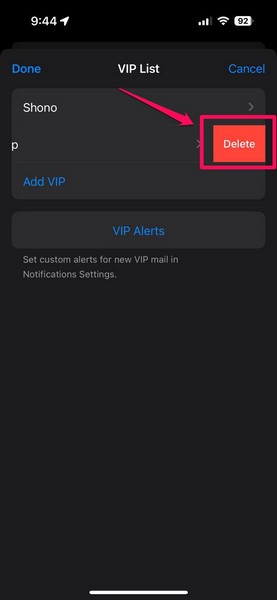
9.If you wish todelete a contactfrom the VIP list,swipe it leftto reveal theDeletebutton.
10.Tap theDeletebutton to instantly remove the contact from the Mail VIP list.
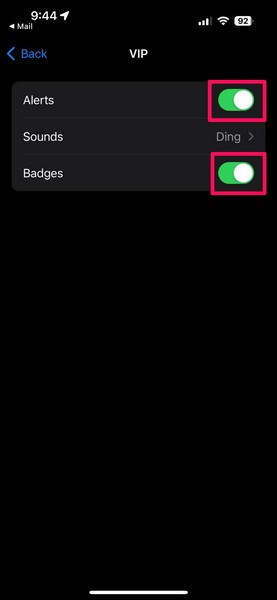
Use steps 1-6from the previous section toopen the VIP list in the Mail appon your iOS equipment.
3.Here, make surethe togglesfor theAlertsandBadgesare enabled.
4.you’re able to thentap the Sounds optiontoassign a notification alertsound andhaptic feedbackfrom the following list.
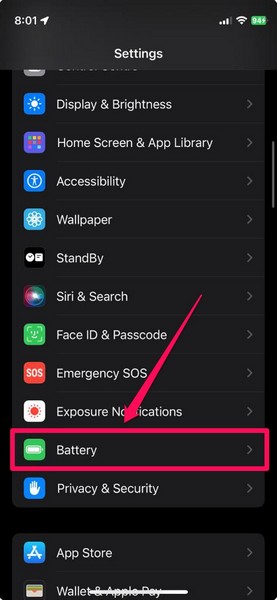
2.Open theBatterysettings from the list.
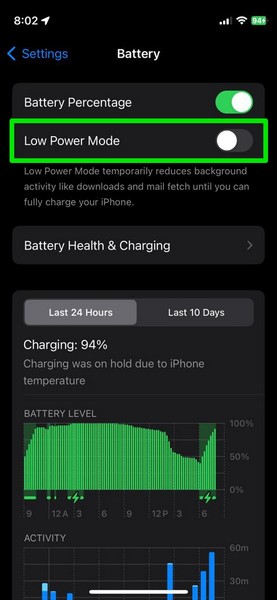
3.Here, check that the toggle for theLow Power Modeisdisabled.
4.If it is turned on,tap it to turn it offon your iPhone.
With this change, you should start receiving Mail app notifications on your iPhone again.
The Push setting is only available for iCloud accounts and a handful of other email services.
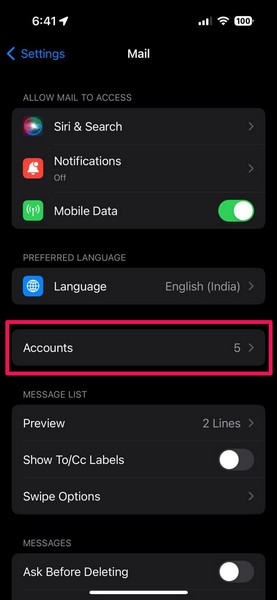
2.Locate and tap theMailoption to open it.
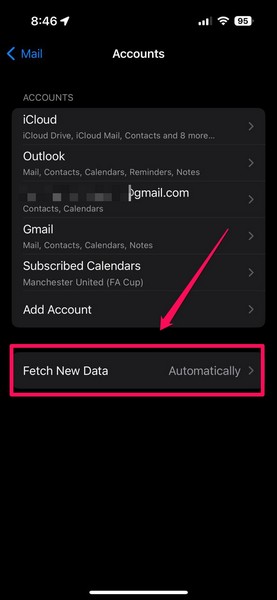
3.Tap theAccountsoption on the following page.
4.Next, tap theFetch New Dataoption at the bottom.
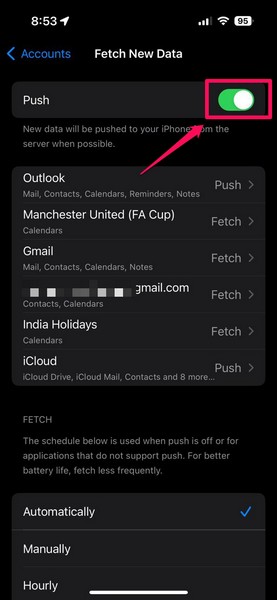
5.Here, make surethe toggle for the Push optionisenabled.
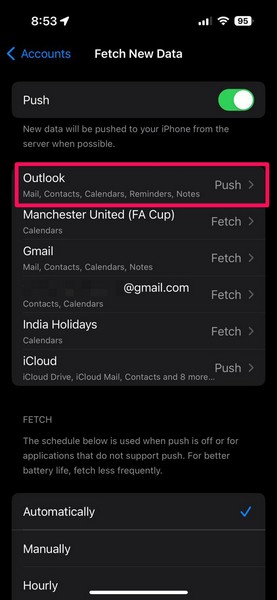
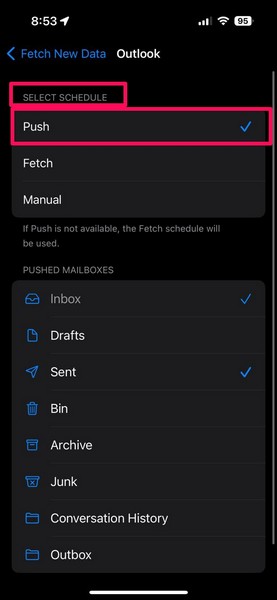
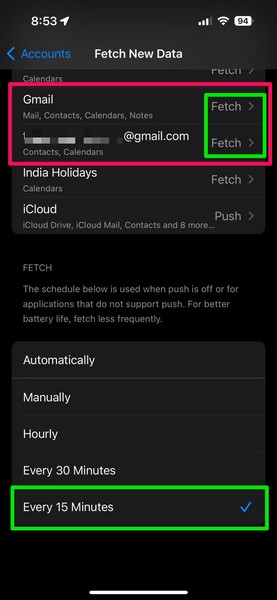
6.Then,tap your added email accountsto checkwhich one supports the Push setting.
7.Once you find a supported email service,opt for Push optionfor it from under theSelect Schedule section.
2.Then, scroll down to theFetchsection and set it toEvery 15 Minutes.
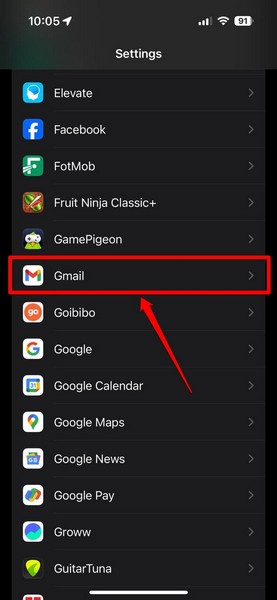
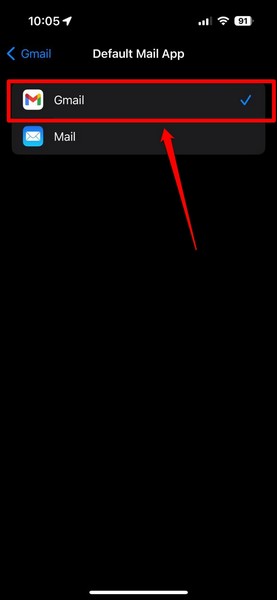
2.Locate theGmail appon the list andtap it to open.
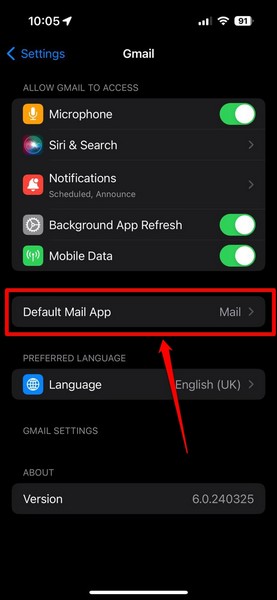
3.Tap theDefault Mail Appoption on the app parameters page.
4.Here, you might simplytap the Gmail optiontoset it as the primary email appon your iPhone.
FAQs
Why is my iPhone not notifying me when I get an email?
Why is the Mail app not getting emails on my iPhone?
How do I get a notification when I get an email on my iPhone?
Wrapping Up
So, there you have it, guys!
This was our comprehensive guide on how to fix Mail app notifications not working on the iPhone.