2.In theWindows Search Box, typeWindows Security, and from the search results, select it.
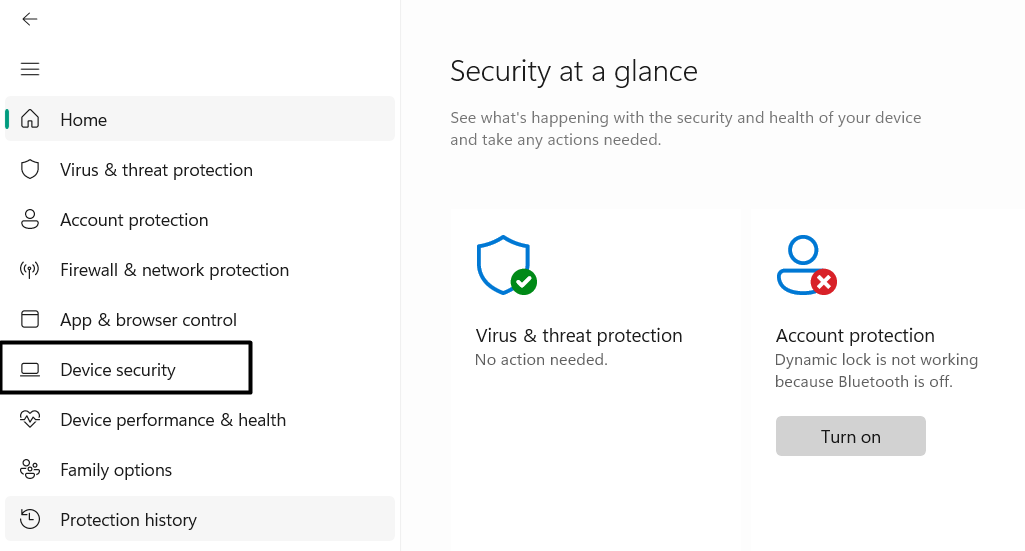
3.Once the Windows Security program is opened, selectDevice securityfrom the left of it.
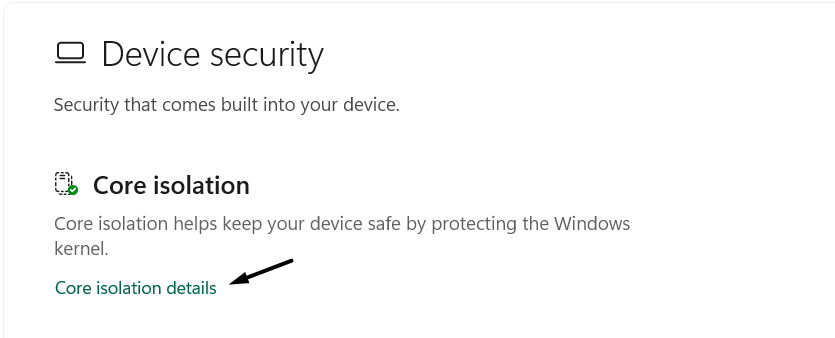
4.On the right side of the same window, clickCore isolation detailsunderCore isolation.

Virus and threat protection
Use Other Ways to Enable LSA
1.Press theWindows + Rkeys altogether to open theRun utilityon your Windows 11 PC.
6.tap the dropdown icon underConfigure LSA to run as a protected processand selectEnabled with UEFI Lock.
7.In the end, click theApplybutton to save all the changes on your PC and sort out the issue.
1.PressWindows + Rto open theRun programon your Windows 11 system.
4.On the panel of the utility, double-click theLsa keyand then right-click theRunAsPPLfolder.
5.From the contextual menu, choose theEditoption and then type1in theValue data:field.
6.In the end, click theOKbutton to save all the changes and turn on the LSA functionality.
Close All Running Apps
4. reset your gadget
Your gadget may be vulnerable warning.
To reset your Windows 11 PC, pressAlt + F4, and in theShut Down Windowsprompt, chooseRestart.
Once the PC is restarted, peek if the issue is fixed.
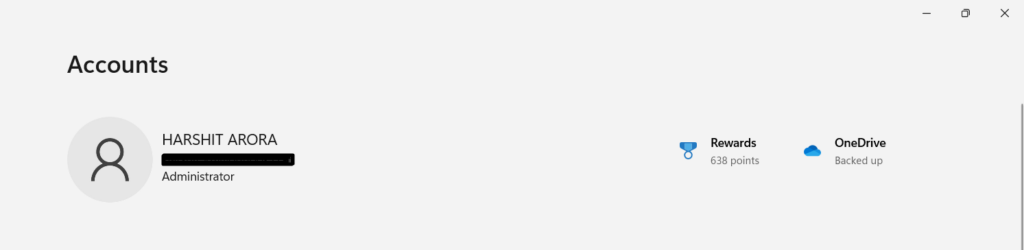
If this isnt mentioned there, you oughta sign in with an admin account.
Temporarily Turn Off Third-Party Security Software
7.
Look for Malware
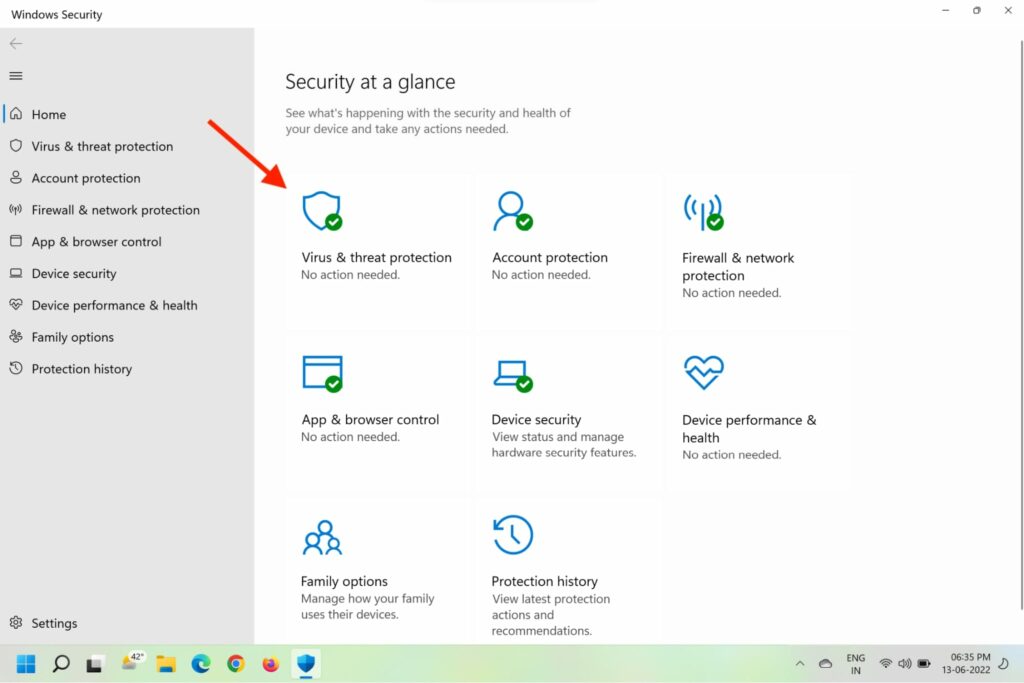
To check whether its the same in your case,run a virus scanon your PC.
2.On theSecurity at a glancewindow, select theVirus & threat protectionoption to proceed ahead.
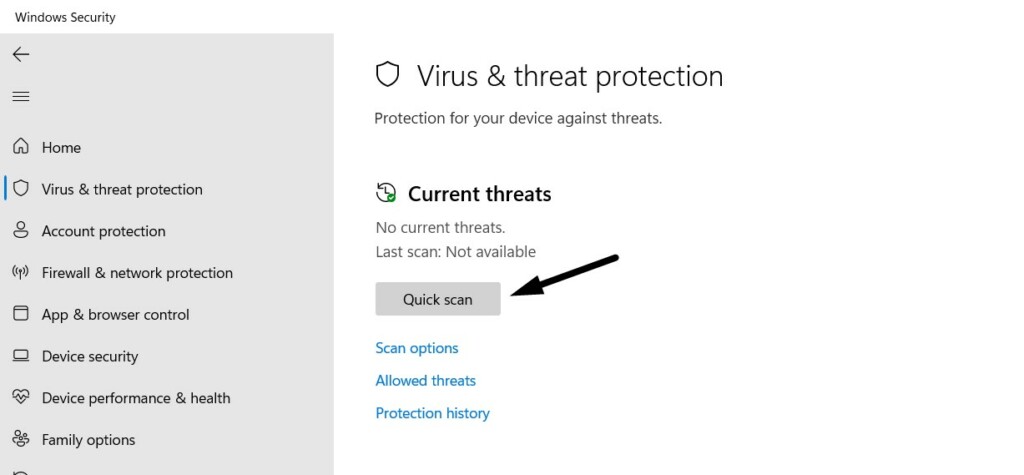
4.Once the virus scan is completed, see if it has found some malicious files on your PC.

If yes, then follow the on-screen instructions to remove them from your Windows 11 PC.
Run SFC and DISM
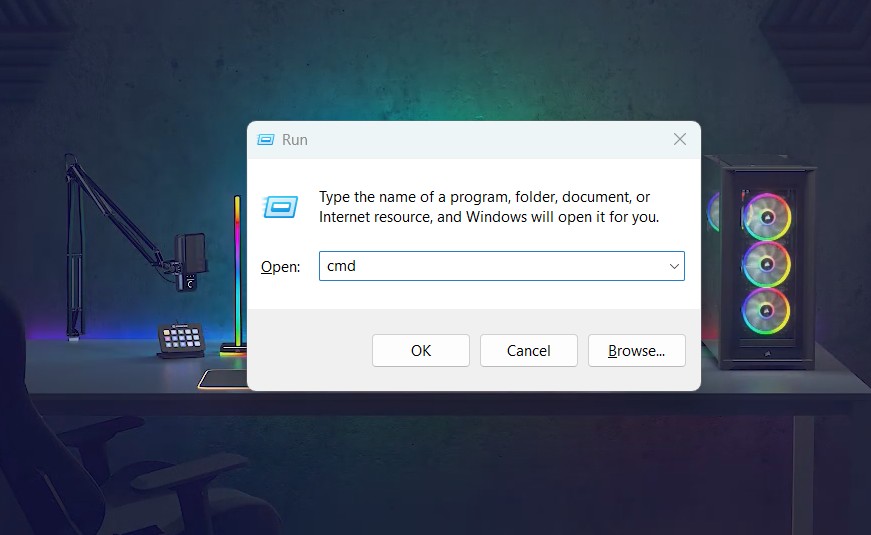
1.PressWindows + Rto get theRun utilityon your screen, and typecmdin the Runs search box.
2.PressCtrl + Shift + Enterto open theCommand Prompt utilityon your PC with admin rights.

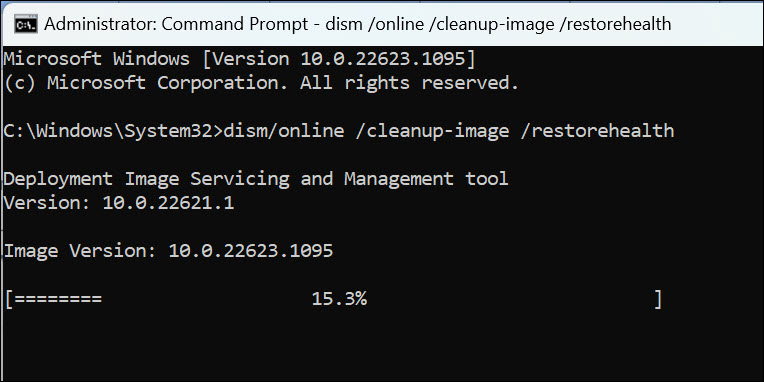
5.Once the DISM scan is completed, copy-pastesfc/ scannowin the console and press theEnter key.
After the completion of both system scans, reboot your setup and check the issues status.
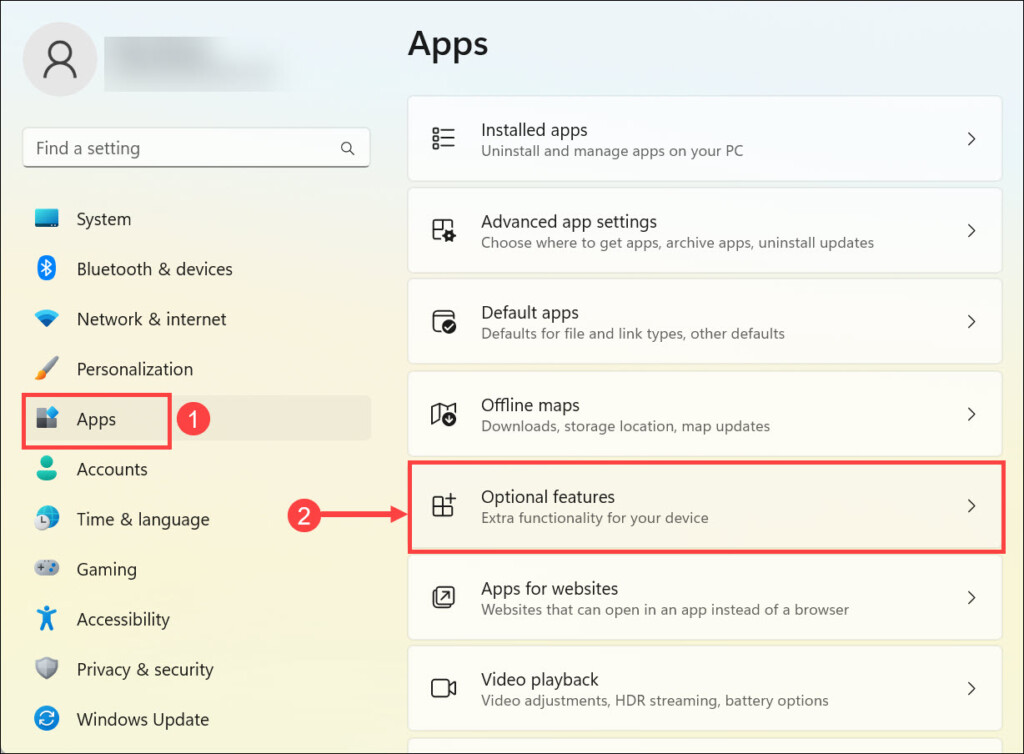
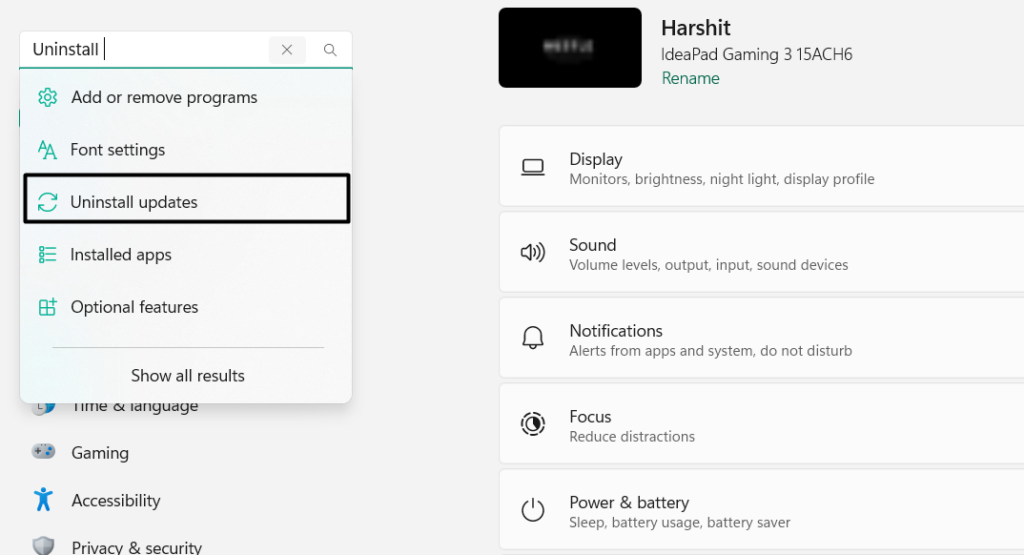
2.On the screen, selectOptional featuresto access all the optional Windows 11 features.
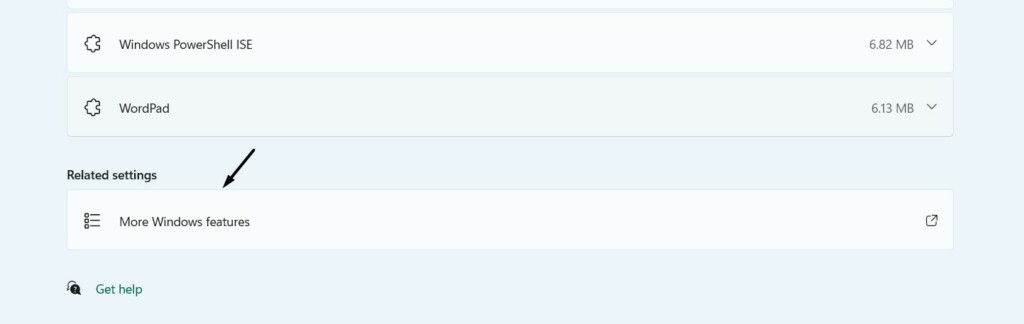
3.Go to the bottom of the next window, and chooseMore Windows featuresto go ahead.
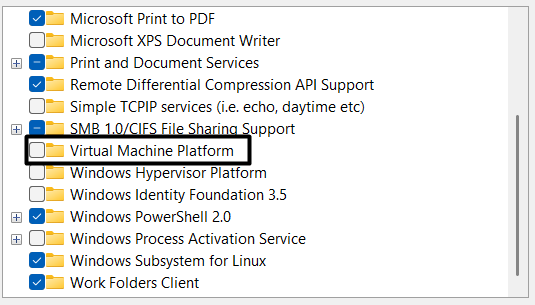
4.In theWindows Featuresprompt, look forVirtual Machine Platformand check the box next to it.
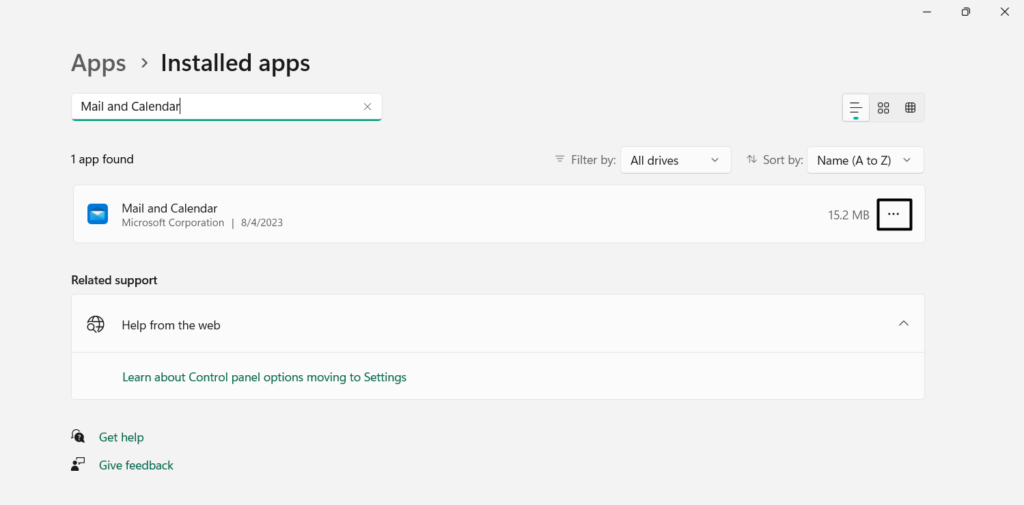
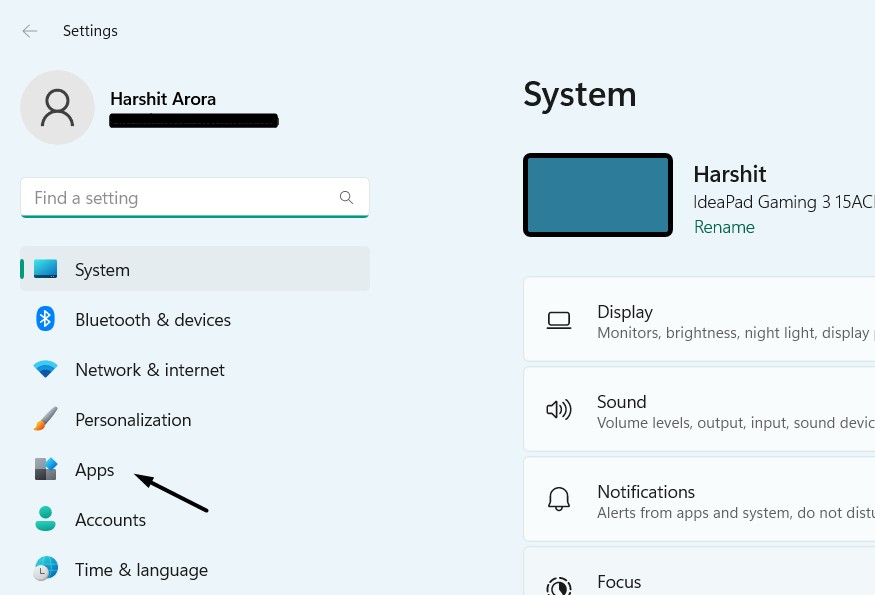
2.On theAppsscreen, click theInstalled appsoption to get a list of all the apps installed on your PC.
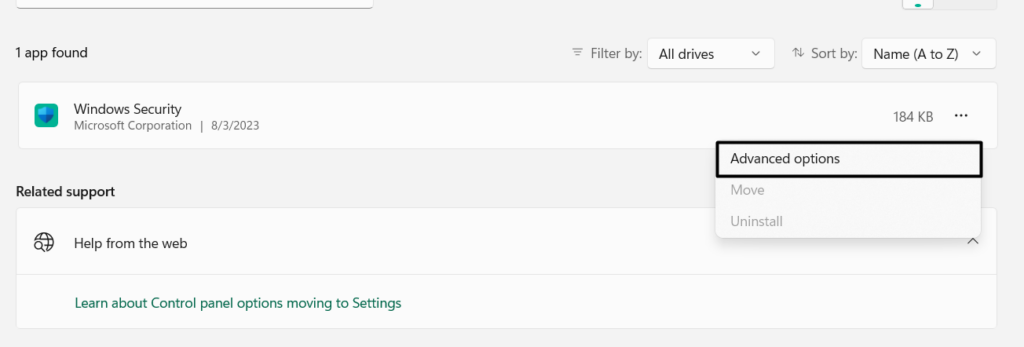
4.From thethree dots (…)dropdown, selectUninstall,and in the next prompt, clickUninstall.
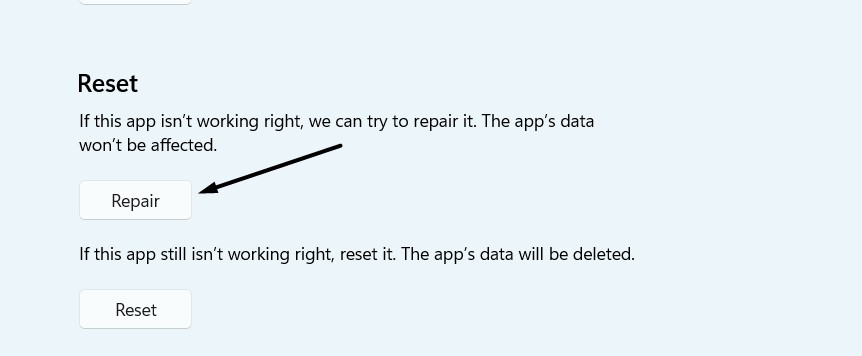
Whereas repairing will fix all issues with its working.
2.From the left sidebar of the program, chooseApps,and then on the next screen, selectInstalled apps.
Virus and threat protection
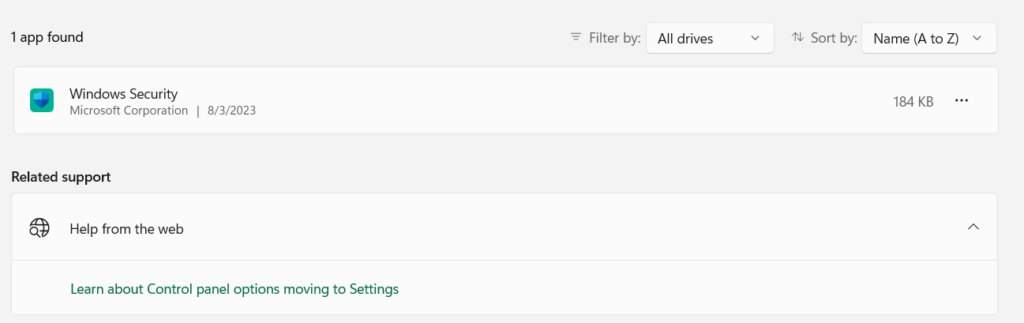
3.Look for theWindows Security appwith the search box.
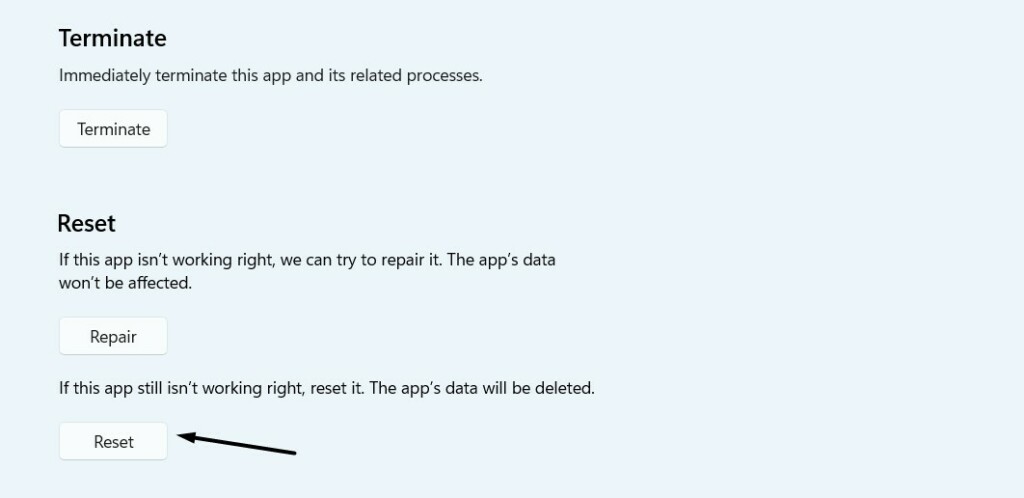
5.On the following screen, go to theResetsection, and clickResetto start resetting the Windows Security app.
6.Once the program is reset, clickRepairto start repairing the Windows Security program.
After resetting and repairing the Windows Security app on your PC, check whether the problem is fixed.
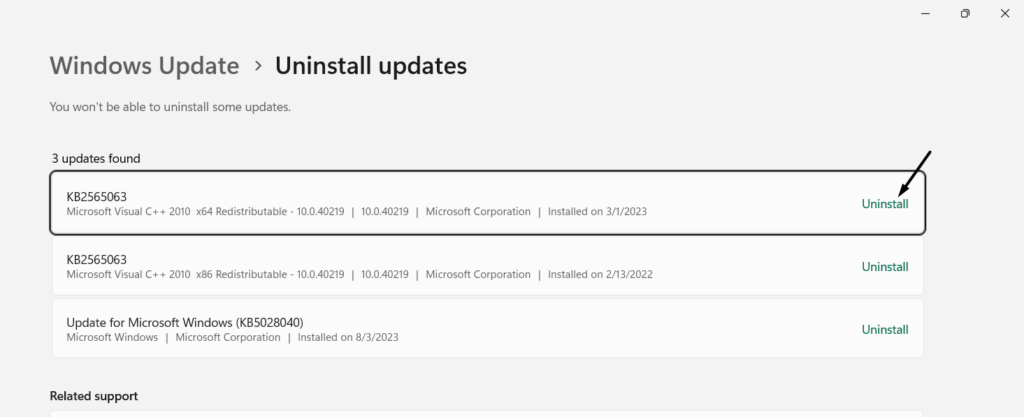
3.On the next screen, look for the update that caused this issue, and click theUninstallbuttonnext to it.
4.Lastly, click theUninstallbutton in the next promptto uninstall this update from your Windows 11 PC.
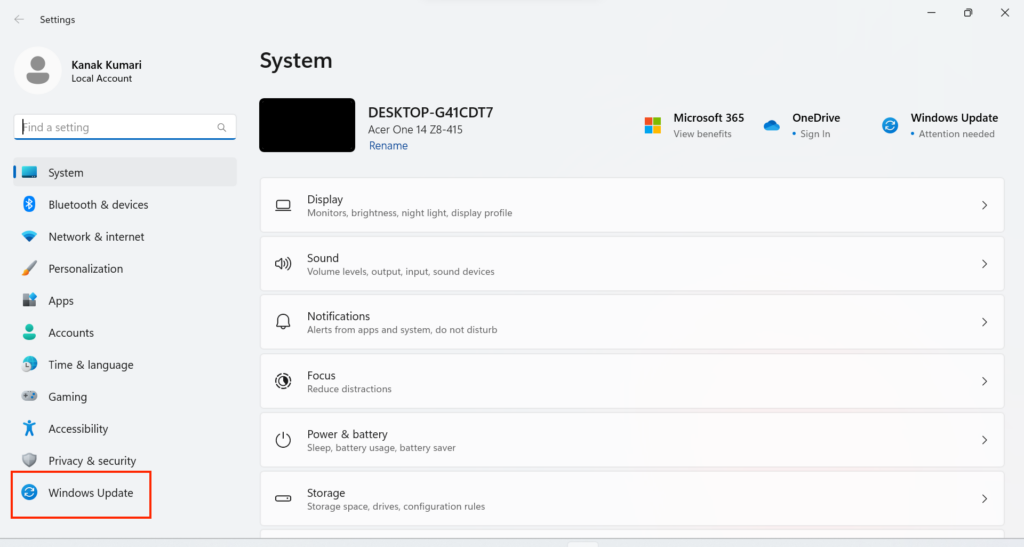
2.In theWindows Updatewindow, click theCheck for updatesbutton to search for pending Windows updates.
3.If the system finds some new Windows updates to install, click theDownload and installbutton to do so.
If theWindows Security program isnt working on your Windows 11 PC,reset and repair it.
If this doesnt fix the issue, consider upgrading your Windows 11 PC to the latest build.
How Do I Enable Protection in Windows 11?
2.In theSystemwindow, click theAboutoption to view all the system-related info.
3.On the next screen,underDevice specifications, click theSystem protectionoption.
4.In theSystem Propertieswindow, click theConfigurebutton and choose the mentioned radio button:
Final Note