Microsofts Windows 11 OS is a great platform to run various kinds of graphic-intensive applications and gaming applications.
Well, we have got your covered!
So, without further ado, check out the following sections for all the details!
What is the LoadLibrary failed with error 87: The parameter is incorrect Error on Windows 11?
In rare cases, it can be a result of issues with system files and Windows disk images.
To help you execute the fixes, we have also included easy-to-follow, step-by-step guides.
With that being said, check them out listed right below.
Also, it takes less than a minute to perform a restart!
We have mentioned both of them in the following sub-sections.

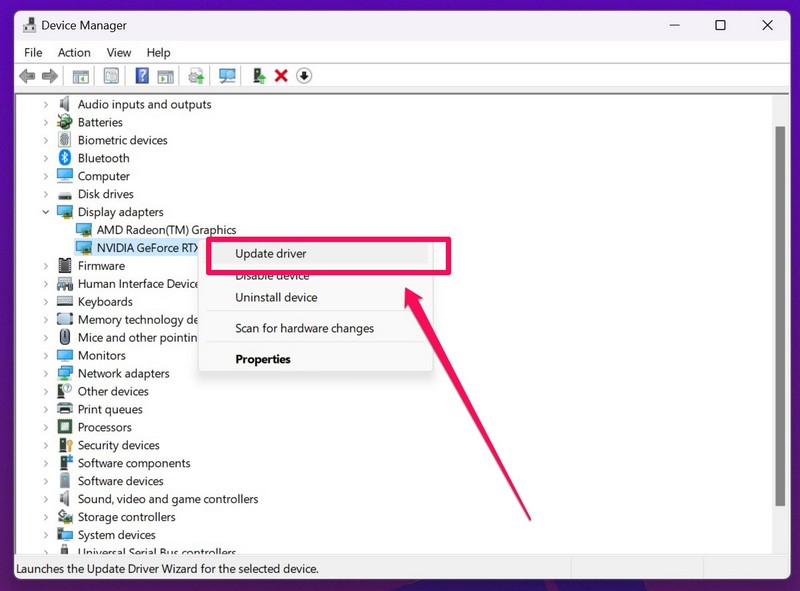
2.Click theDevice Manager optionon the following list.
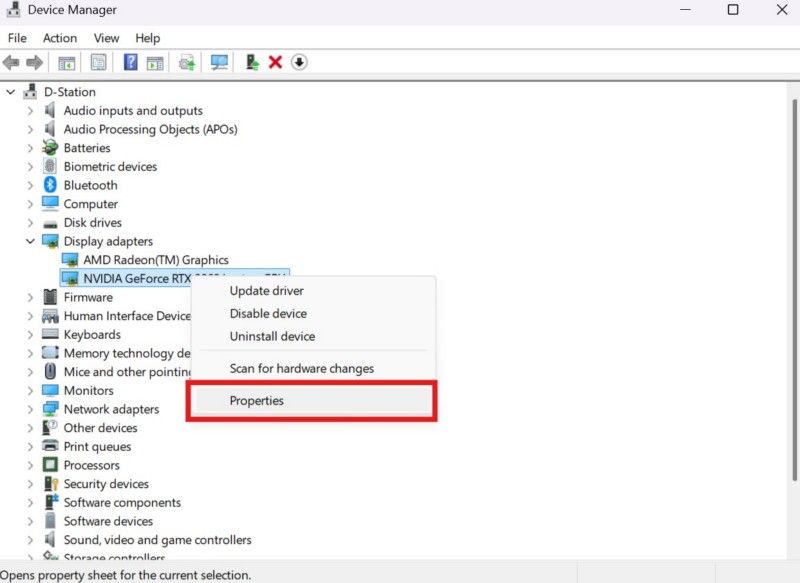
3.In the unit Manager window,nudge the tiny arrownext to theDisplay adapters optionto expand it.
4.Right-punch your graphics driverand select theUpdate driver optionon the context menu.

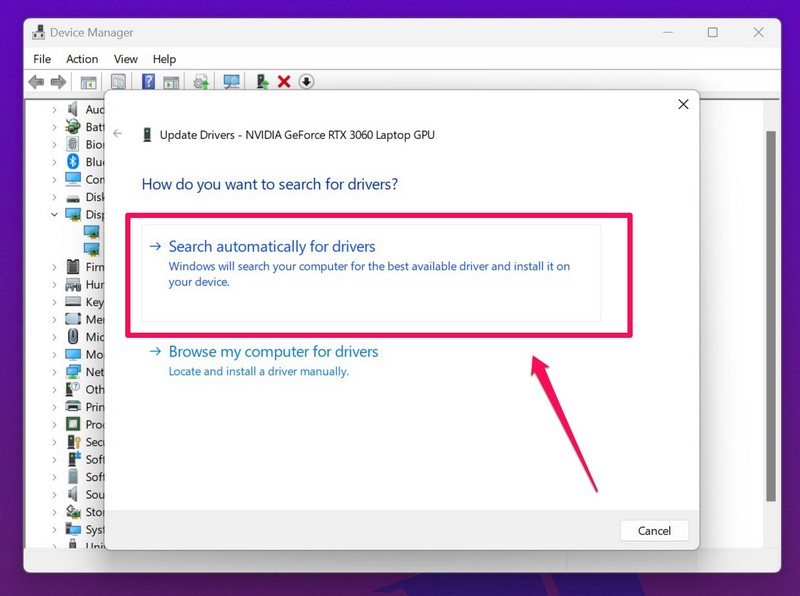
5.Click onSearch automatically for driverson the following prompt.
7.If you have multiple graphics cards,use the same steps to update their driversas well.
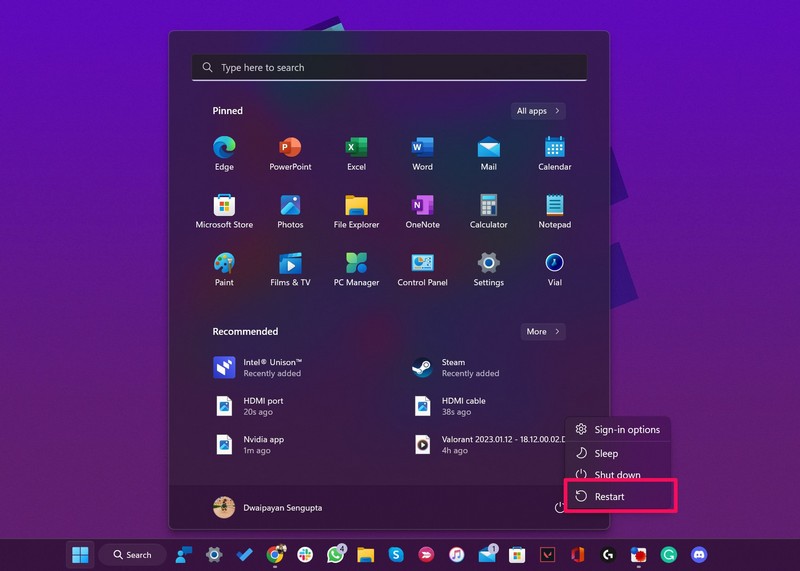
- kickstart your Windows 11 PCor laptop after updating the graphics driver(s).
There is theAdrenaline software for AMD graphics cardsand theNvidia GeForce Experience app for Nvidia GPUs.
So, if you are using an AMD graphics card, you could use theAdrenaline softwareto update its drivers.
Right-press your graphics driverand select theProperties optionon the context menu.
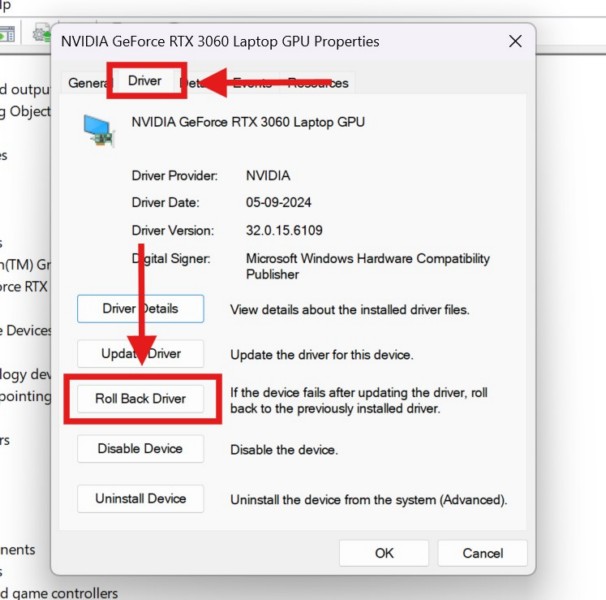
3.In the following window, go to theDriver tabfrom the above section and click theRoll Back Driver button.
5.reset your Windows 11 PCor laptop after completion.
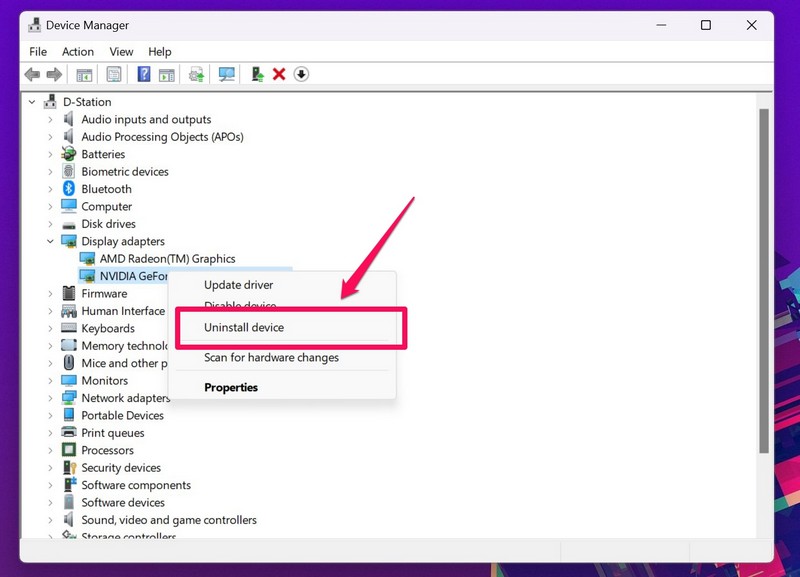
2.Right-punch your graphics driverand hit theUninstall rig optionon the context menu.

3.Confirm your actionon the following prompt.
4.Once the uninstallation is completed,reboot your Windows 11 equipment.
However, to rename the file, one must have administrative privileges on their Windows devices.
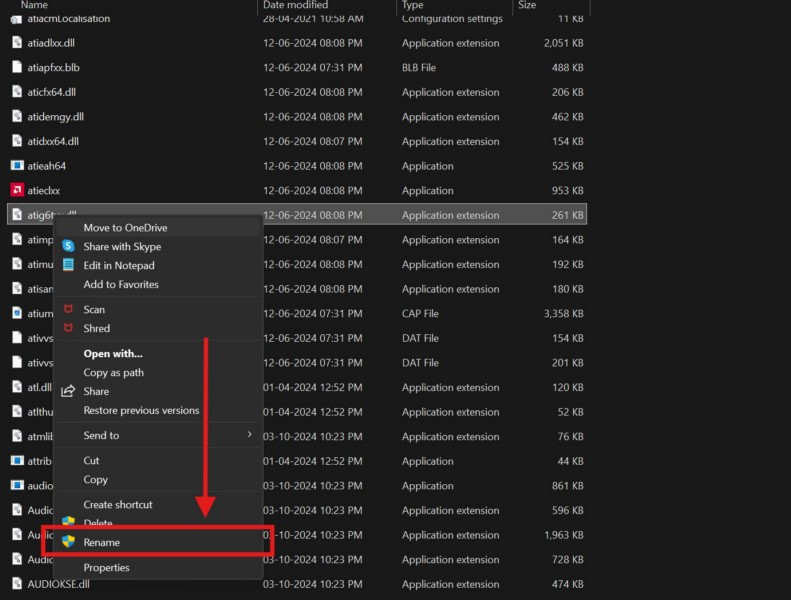
Right-punch itand hit theRename optionon the context menu.
5.Now, rename the selected file asatig6pxx.dll.bakand press the Enter key to proceed.
6.ClickYeson the followingUser Account Control (UAC) promptto confirm the action.
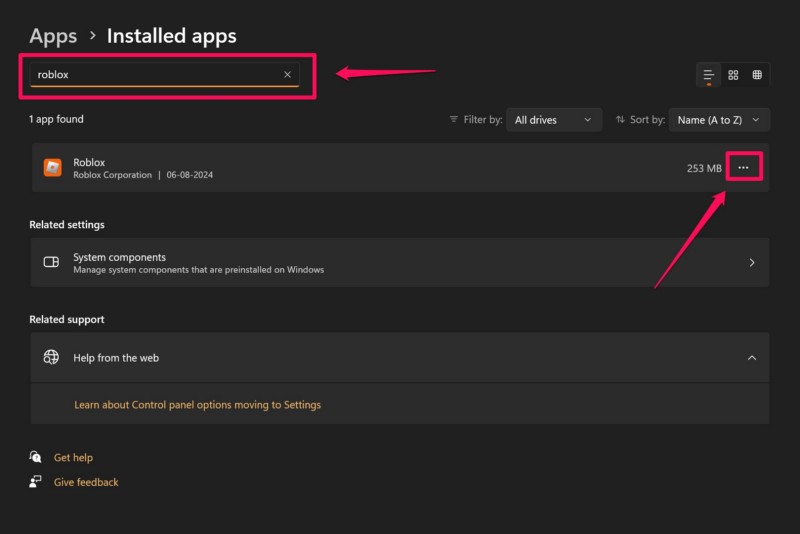
2.Go to theApps tabon the left navigation bar and click onInstalled appson the right pane.
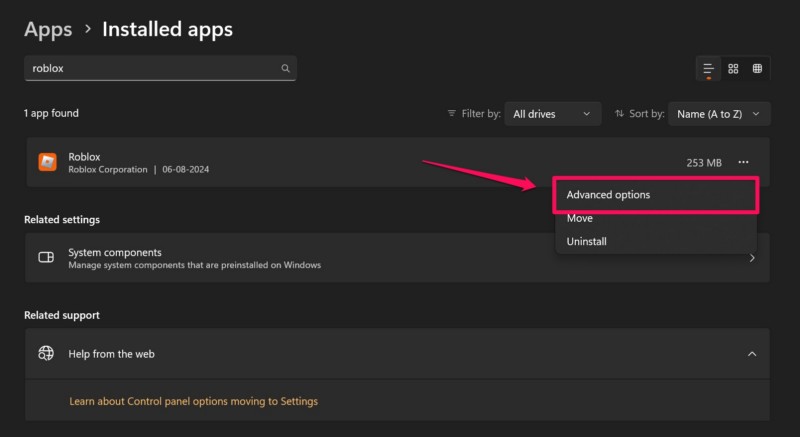
4.Click onAdvanced optionson following menu.
5.Scroll down to theReset sectionto find theRepair buttonandclick on itto initiate the process.
6.Wait for the repair process to complete.
It should not take more than a minute.
After repairing the app, kill the prefs window and launch it on your Windows 11 PC or laptop.
Use the steps from the previous sectionto open theAdvanced options pagefor the affected app within the prefs app.
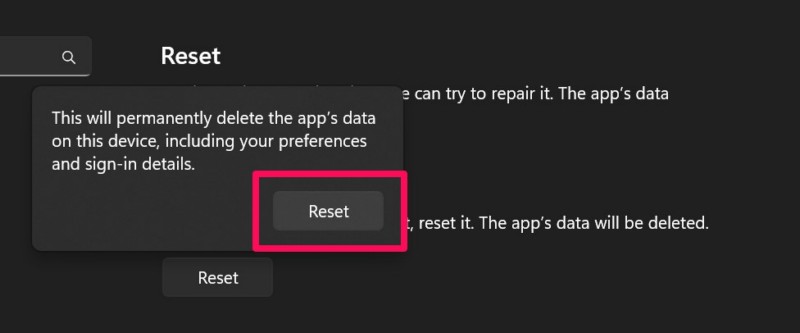
2.Scroll down to theReset sectionand click theReset button.
Confirm your actionon the following prompt.
4.Wait for the reset process to complete.
Reinstalling the app will remove any bug or glitch that may be causing the error 87 to generate.
It will also ensure that the latest version of the problematic app is installed on your equipment.

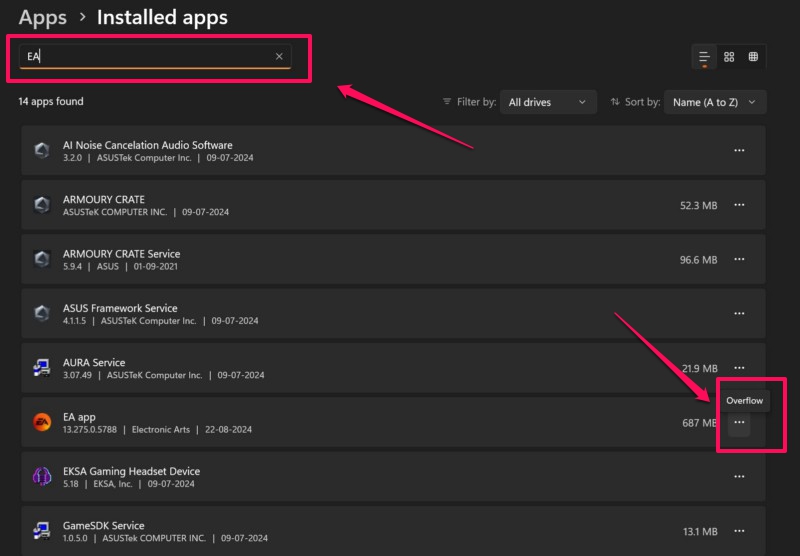
2.Go to theInstalled apps sectionunder theApps tabon the left navigation bar.
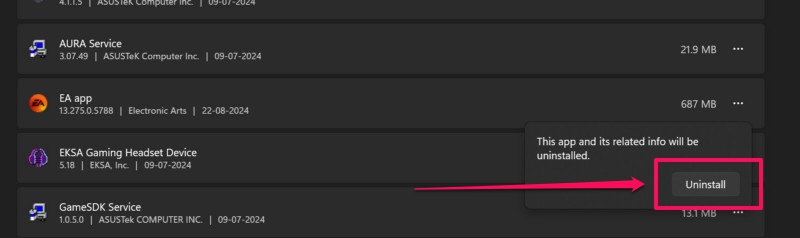
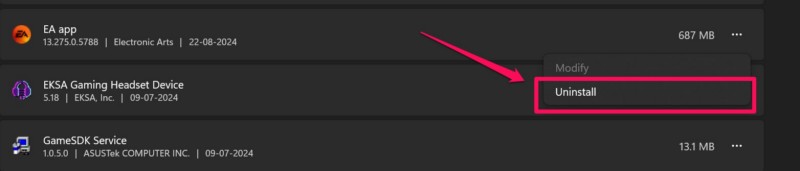
Use the above search barto find the problematic app and select theOverflow (…) buttonnext to it.
4.Click onUninstallon the context menu.
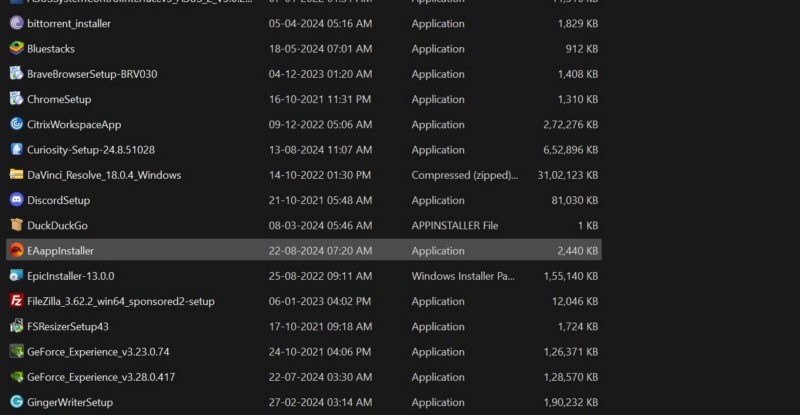
6.Now, if you have the installation file for the app on your machine, locate it.
Otherwise, you candownload the setup file of the appfrom online sources.
Double-choose itto initiate the installation process.
Now, Microsoft Store applications can be reinstalled more easily than non-Microsoft Store apps.
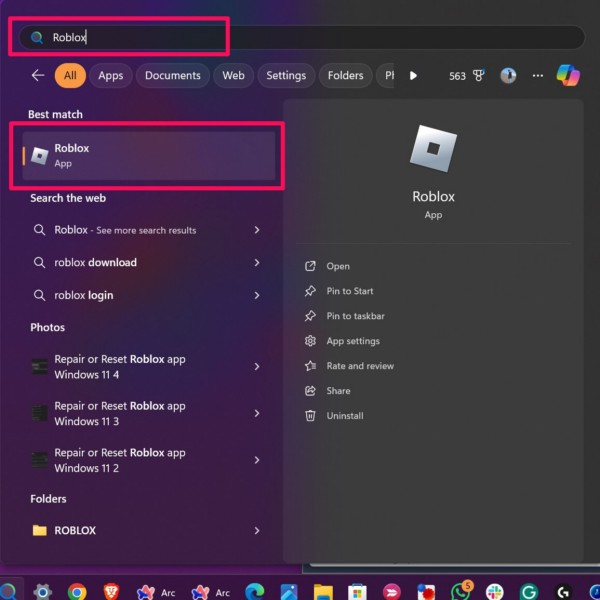
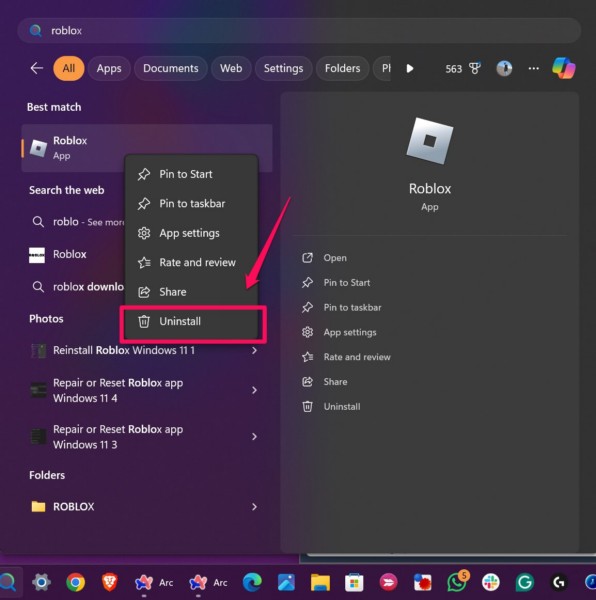
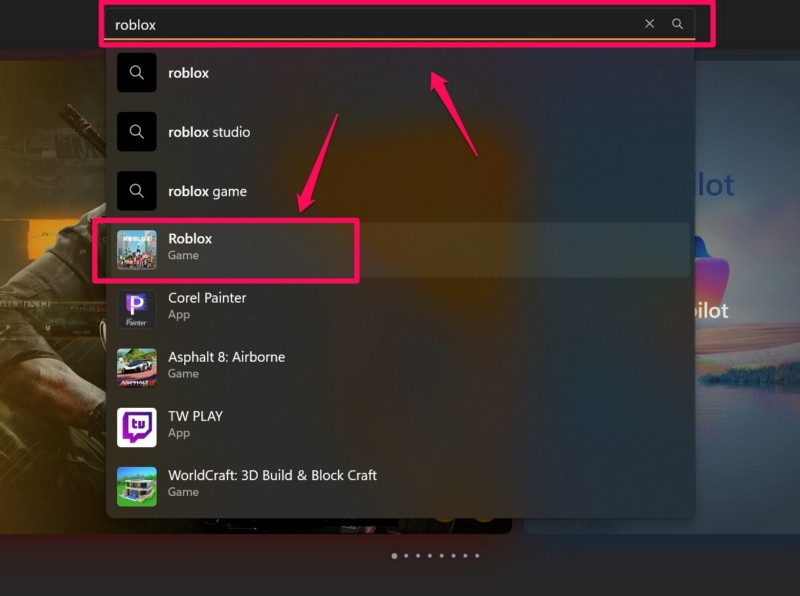
Find the appthat you want to reinstall using the above search bar.
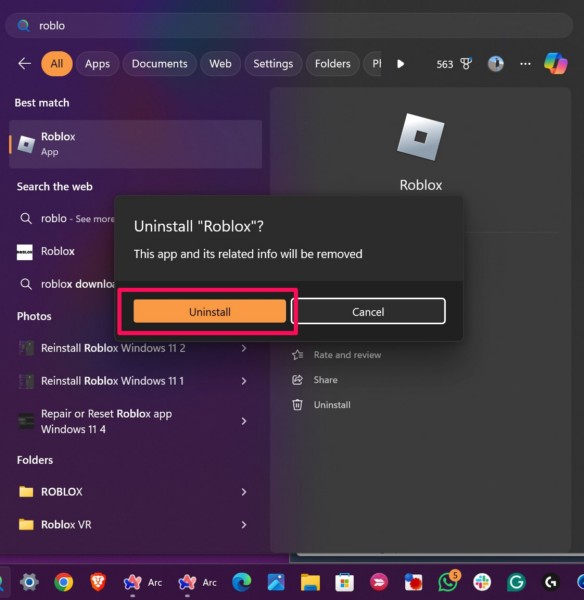
Right-pick the app iconand select theUninstall optionon the context menu.

5.Once done, open theMicrosoft Store app on your PC or laptop.
Find the appthat you just uninstalled using the above search bar.
7.kick off the listing and click theInstall buttonto reinstall the tool.

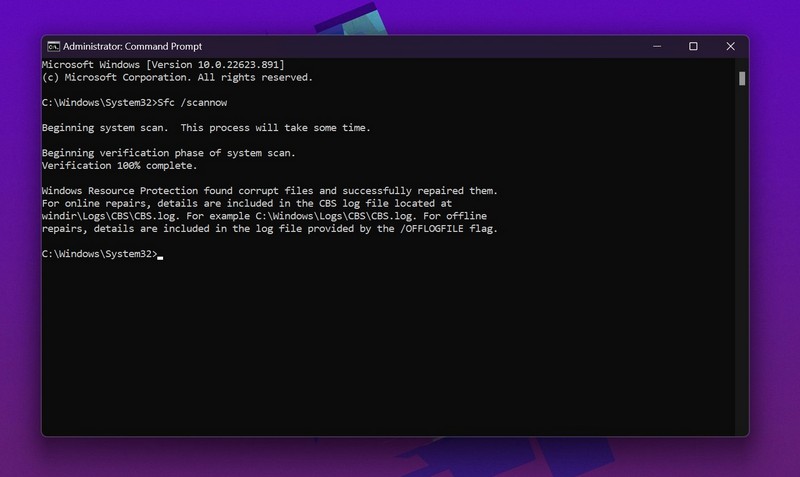
2.punch in incmdin the search field and click theRun as administrator buttonfor theCommand Prompt toolon the search results page.
Wait for the SFC scan to complete.
It might take some time to finish.
Do not intercept the process or terminate the Command Prompt window mid-way.
5.Once the SFC scan is completed,start your Windows 11 gadget.
Use the following steps to fire off the DISM scans on your Windows 11 PC or laptop:
1.
Use steps 1-3from the previous fix(Fix #8)toopen an elevated Command Prompt windowon your machine.
Run them one by one and in the same order as mentioned above.
3.Wait for the last DISM scan to complete.
4.reboot your Windows 11 PCor laptop after completion.
FAQs
What is the LoadLibrary failed with error 87 on Windows 11?
How to update graphics driver on Windows 11?