It streamlines the entire Windows 11 download and install process.
However, it isnt working properly for some users on their Windows 11 PC.
When using it, they get the0x8007007Ferror code in theWindows 11 Installation Assistantwindow.

Some users also mentioned that the installation process always gets stuck at 99%.
So continue reading ahead and learn to quickly fix Installation Assistant not working in Windows 11.
Why Is the Installation Assistant Not Working in Windows 11?

One common reason for Installation Assistant not working in Windows 11 could becorrupted installation files.
But besides this, there could be several more reasons for this issue.
In this section, well share all thepossible waysto get rid of it with ease in Windows 11.

Itll eliminate all the temporary bugs and glitches and make the Installation Assistant work.
2.From the dropdown, selectRestartand hit theEnter keyto reset your Windows 11 PC.
3.Once the PC is rebooted, open theInstallation Assistant appon your PC and verify if it works well.

Else, you will see theThis PC meets Windows 11 requirementsmessage on the screen.
It could be possible that it isnt working because of missing admin rights.
2.From the context menu, selectRun as administratorto pop kick open the program with admin rights.
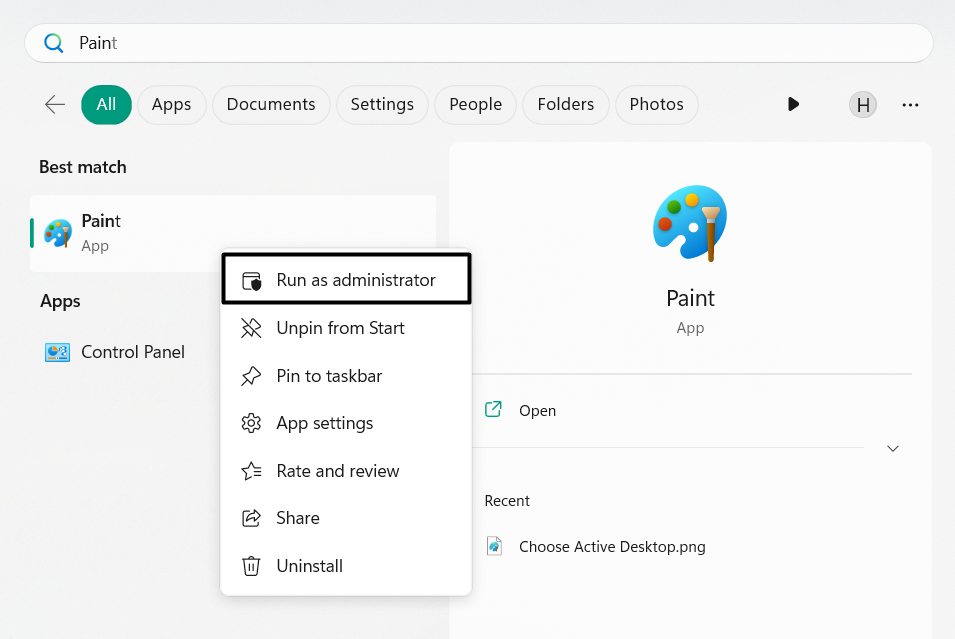
We hope theInstallation Assistanttool works well after opening it with administrative rights.
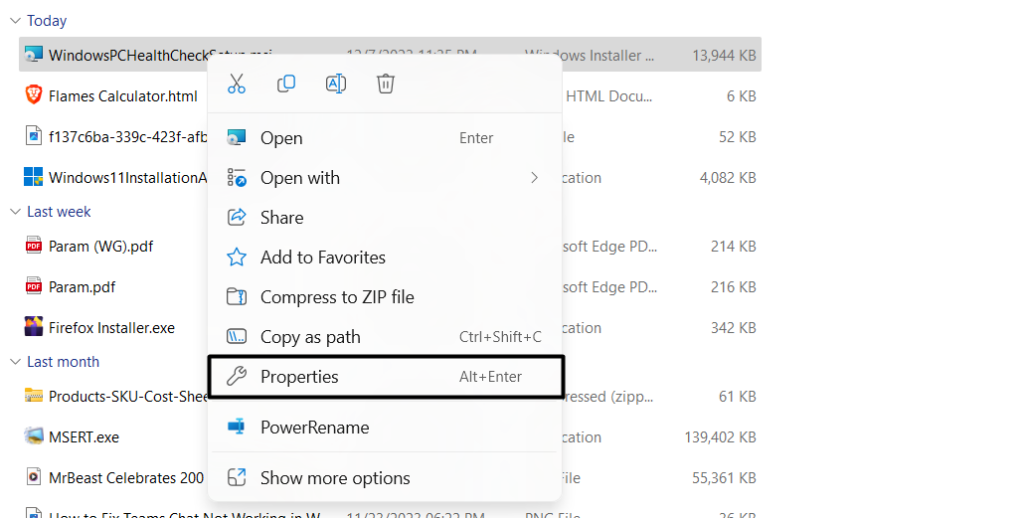
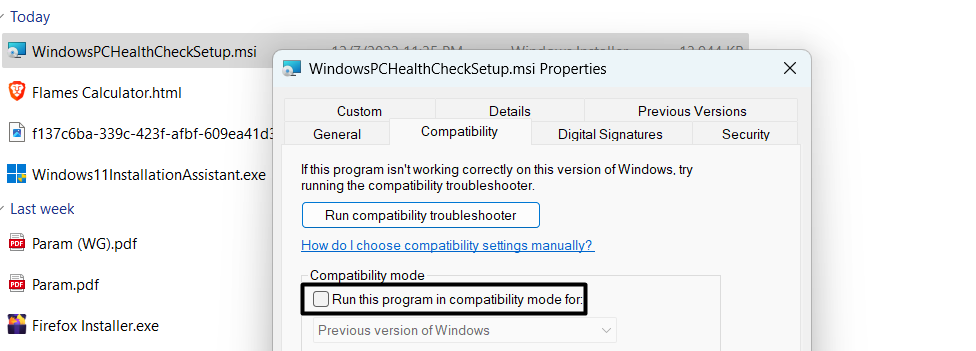
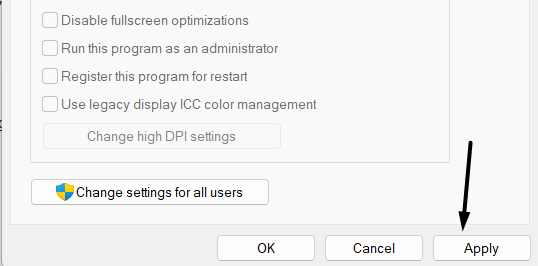
2.Go to theCompatibilitytab in thePropertieswindow, then tickRun this program in compatibility mode for:.
3.Choose theWindows 7option from the dropdown and clickApplyto save the change.
4.Finally, open theInstallation Assistant appon the PC to check whether its issues are gone.
This is because it could be possible that its preventing the tool from working.
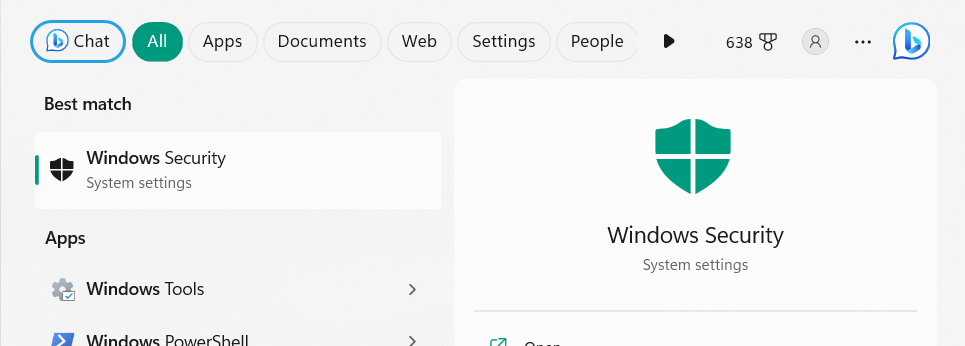
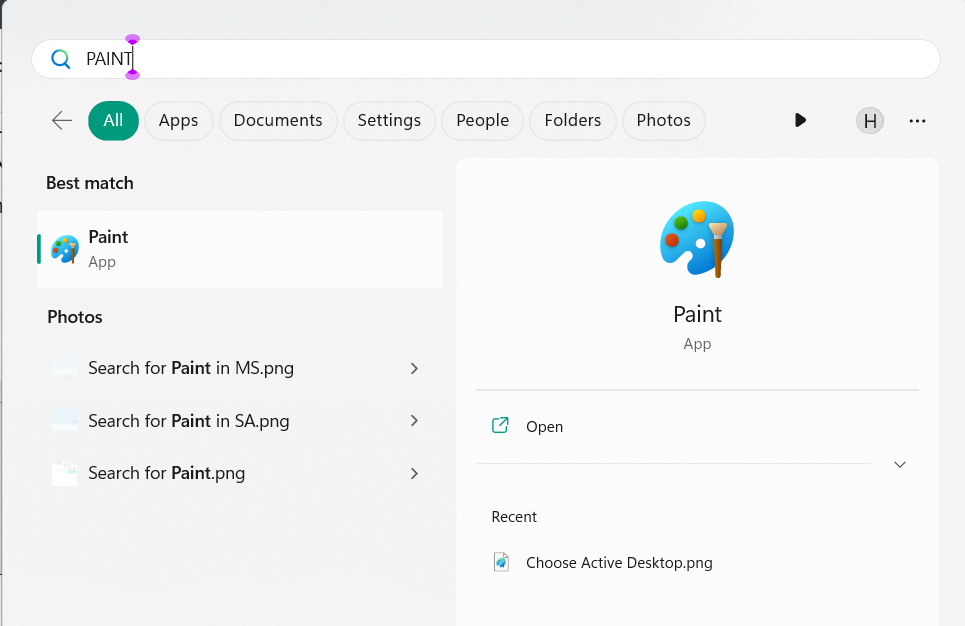
2.In the search box, typeWindows Securityand choose it under theBest matchsection.
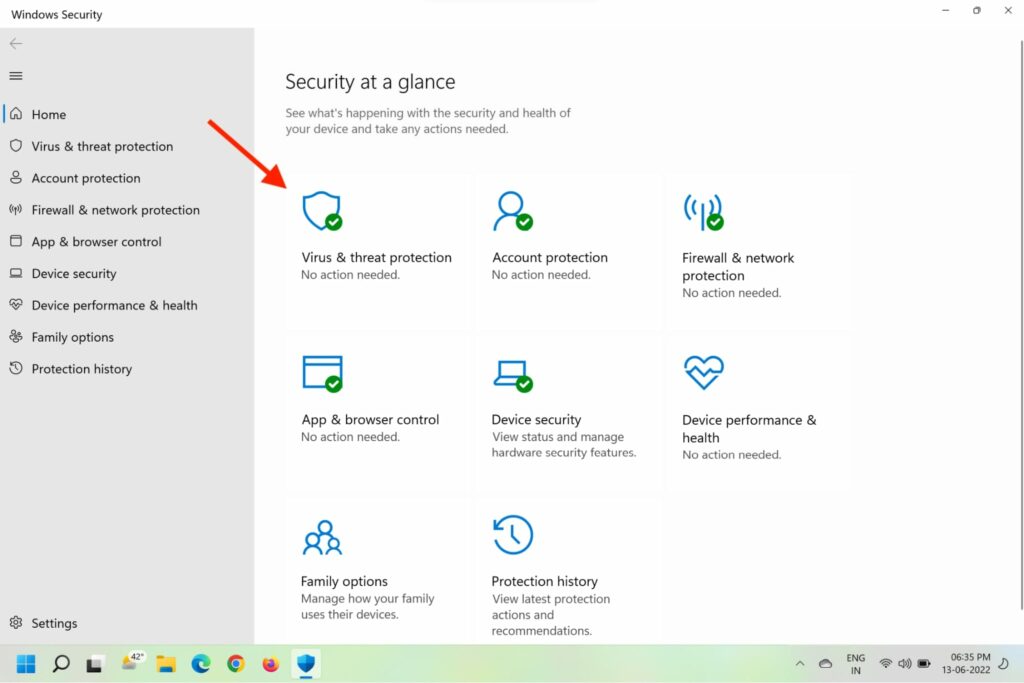
3.On theSecurity at a glancescreen, chooseVirus & threat protectionand then clickManage parameters.
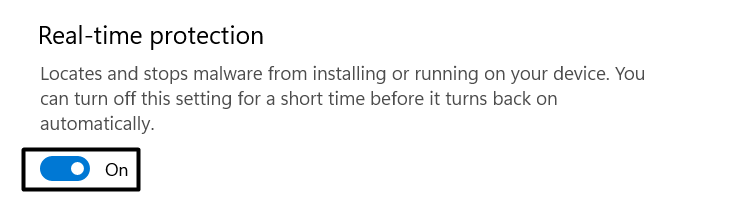
4.UnderReal-time threat protection, switch off the toggle to turn off the built-in antivirus.
5.Finally, close theWindows Securitywindow and trigger the Installation Assistant tool again.
Note:To block the third-party antivirus on your PC, click theDisableor similar option in it.
Execute the DISM Scan
Damaged Windows OS image could also cause issues with the Installation Assistant program.
Thus, we suggest yourun the DISM scanon the PC to identify and fix issues with the Windows image.

Therefore, we suggest yourun the SFC scanon your PC to find the damaged PC files and repair them.
Itll replace the corrupted system files with the cached and corrected version of them stored on the computer.
2.After running the SFC tool, let the scan complete and then confirm the problems status.
2.Once done, let the OS scan the file system for the problems and then report them to you.
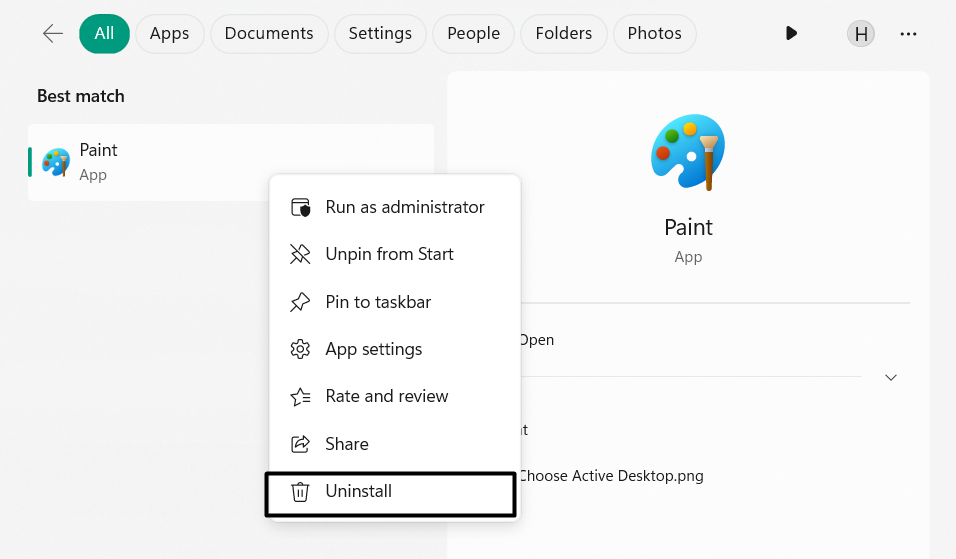
Considering this,uninstall the conflicting appfrom your gadget and peek if the issue gets fixed.
2.ChooseUninstallfrom the search results under the app and clickUninstallin the new prompt.
3.Once the app is uninstalled, check whether the Installation Assistant not working issue is fixed.
Also, you must remove every unnecessary external gadget.
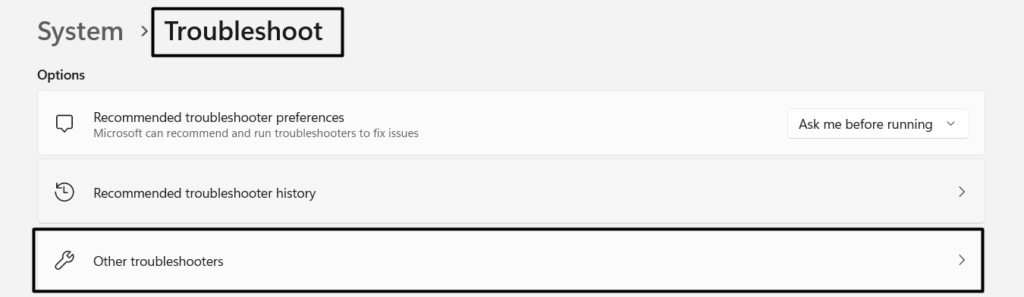
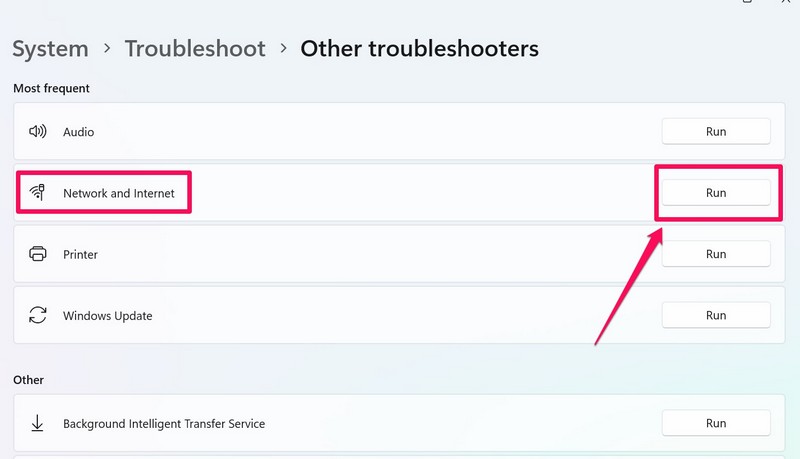
2.On theTroubleshootscreen, clickOther troubleshooters, and underMost frequent, findNetwork and Internet.
3.Click theRunbutton next to run theNetwork and Internettroubleshooter on your PC or laptop.
4.Lastly, follow the on-screen instructions to fix Installation Assistant not working in Windows 11.
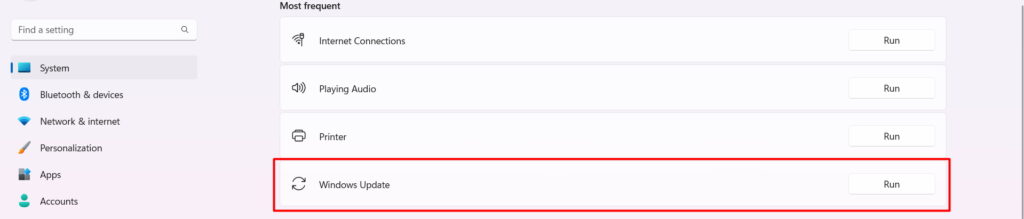
2.On the next screen, underMost frequent, find theWindows Update, and clickRunnext to it.
Thus, we suggest youupdate your PCs display adapterto ensure this isnt the same in your case.
you’ve got the option to update the graphics driver in gadget Manager.
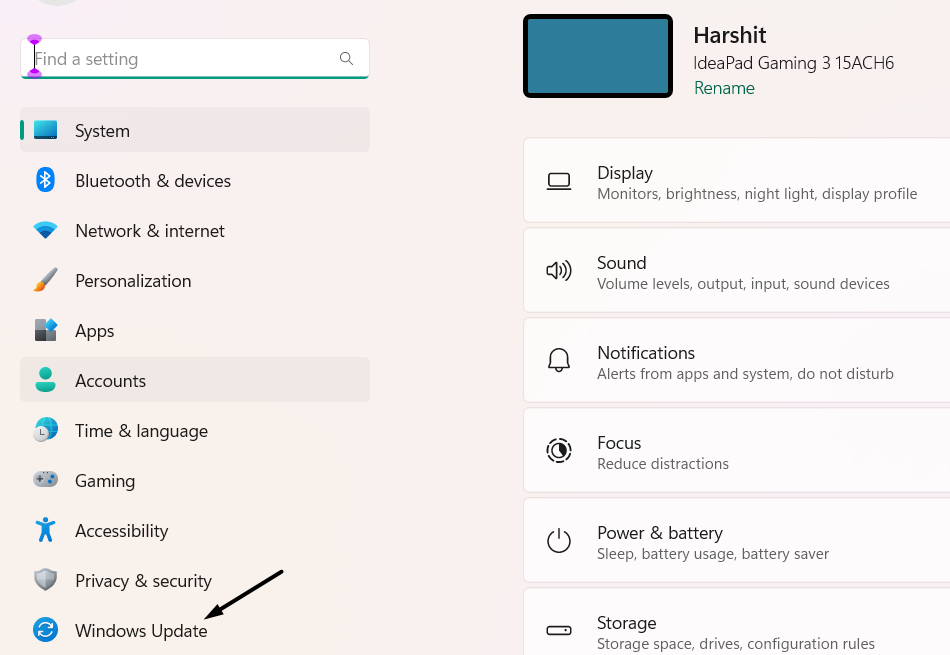
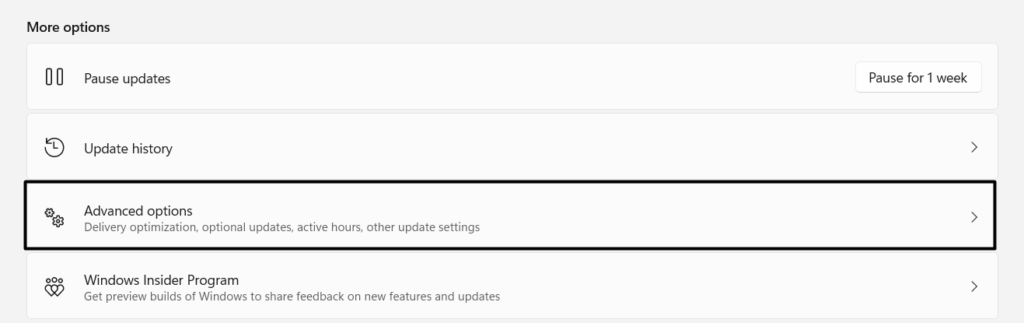
2.Go to theWindows Updatesection of parameters from the left and chooseAdvanced options.
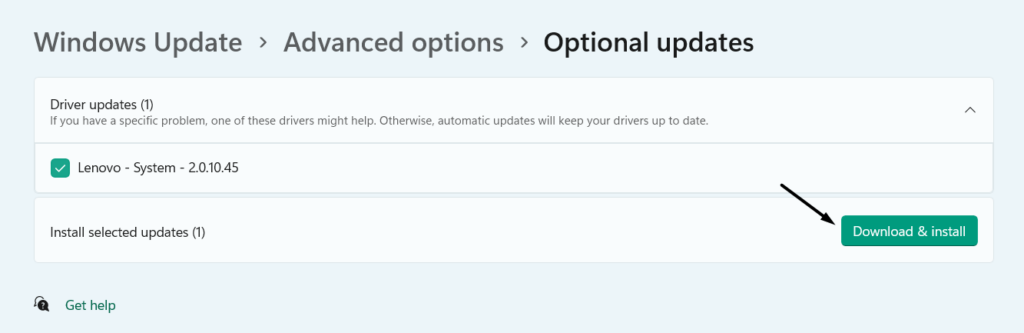
3.On the next screen, clickOptional updates, and thenCheck for updatesto search for new updates.
4.UnderDriver updates(number of updates), verify if the new graphics driver updates are available to install.
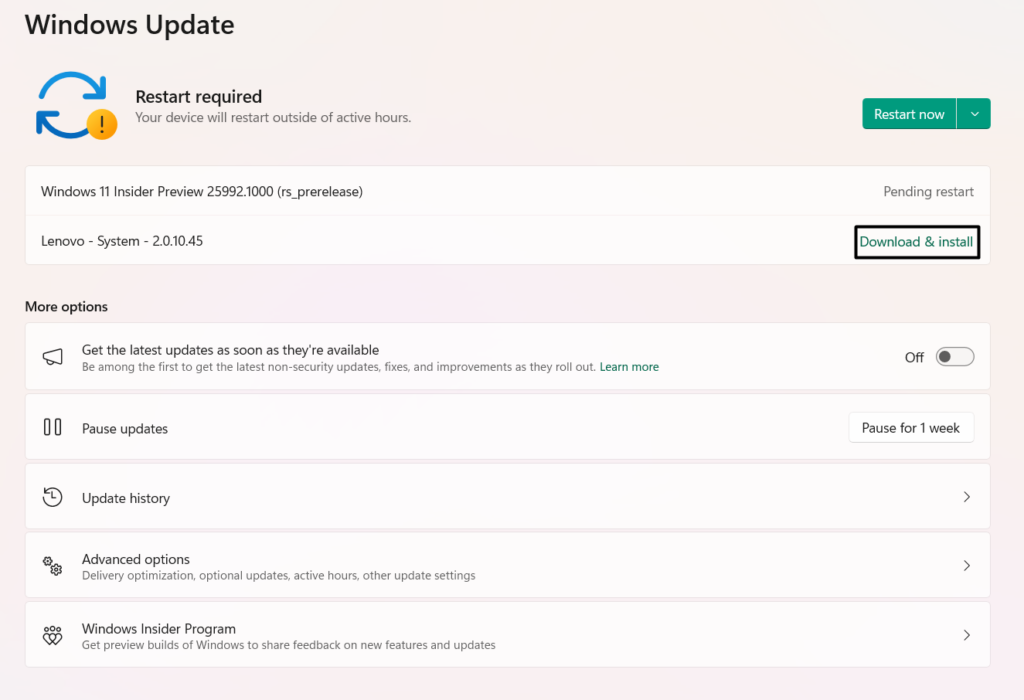
2.On the next screen, click theCheck for updatesbutton to search for new Windows updates.
3.If you see new updates to install, clickDownload & installallnext to it to download and install them.
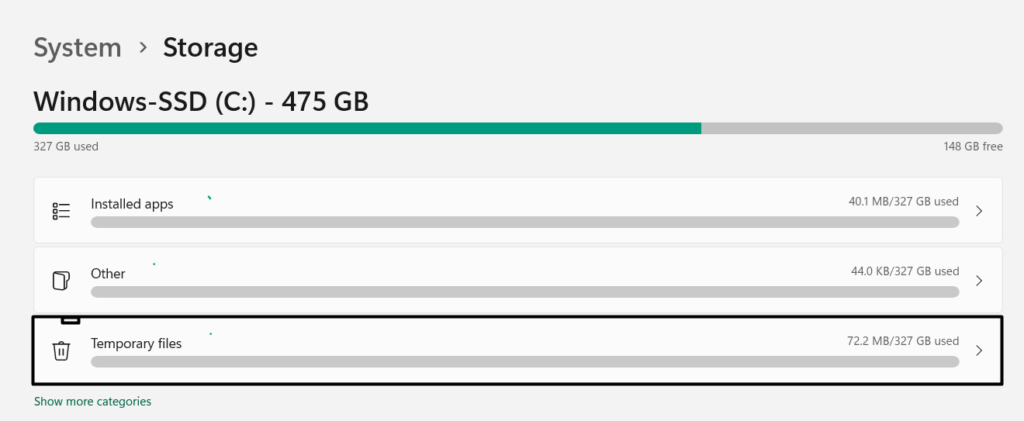
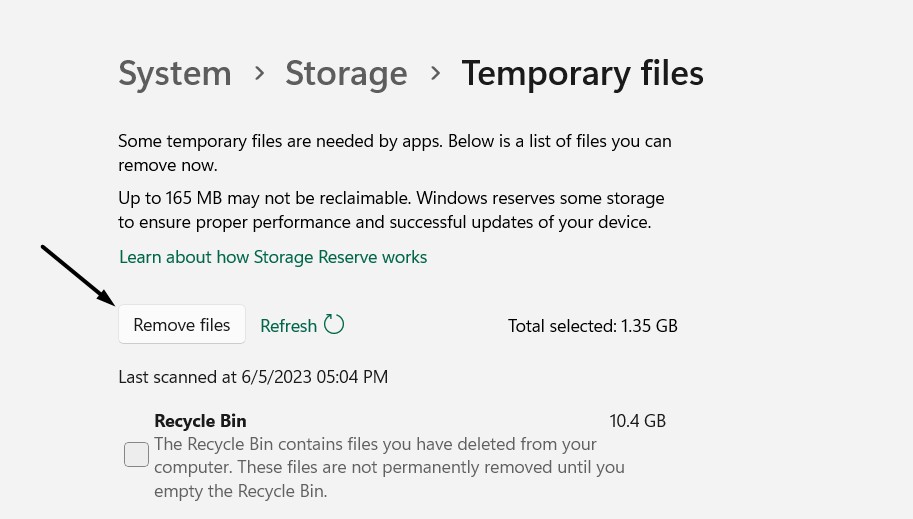
So, we suggest youfree up some storage on your PC.
The best way to do so is to delete the temporary files on the PC.
FAQs
Why Windows 11 Assistant Failed to Install?
One reason for the Installation Assistant failed to install on your Windows 11 PC could be glitches.
Other possible reasons could be a faulty Windows 11 update, low PC storage, etc.
How Do I Run Windows 11 Installation Assistant?
To launch the Windows 11 Installation Assistant tool on your PC, you better first download it.
Why Is Windows 11 Installer Not Working?
How Do I Reset Windows 11 Installation Assistant?
Anyone who is unfamiliar with Windows OS can easily use it on their PC.
But sadly, for some Windows 11 users, the tool isnt working properly.

They get varied errors when using it.
If that was the same with you, we hope this troubleshooting guide helped you fix it.
Here in this guide, we sharedseveral working workaroundsto eliminate issues with the Installation Assistant program.
Lastly, dont forget to share which listed fix helped you fix Installation Assistant not working in Windows 11.