Hosts files are text files that help your system in the process of mapping hostnames to IP addresses.
These files failing to work can make you face serious internet-related issues.
Check the Location of the Hosts File
1.bring up the folder where the current Hosts file is located.
2.Right-punch the file and use thecutoption.
3.Head to the following location:
4.Paste the file.
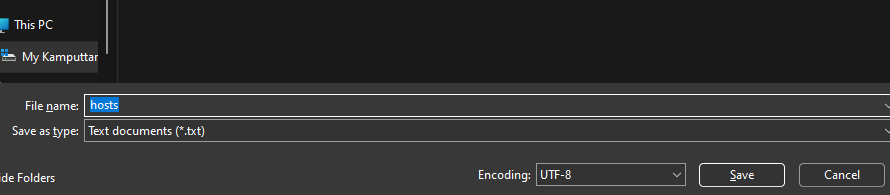
1.Open theFile Managerapp, paste the following address, and press the enter key.
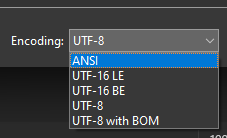
pop pop the encodings drop-down menu, selectANSI, and hit theSavebutton.
Sometimes, you make changes to a Hosts File and forget to update its registry path.
This forgetting will cause conflict when your system tries to access or use the Hosts File.
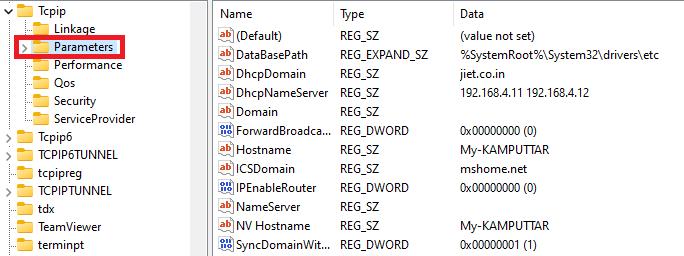
Therefore, you should always correct/update the registry path after editing a Hosts File.
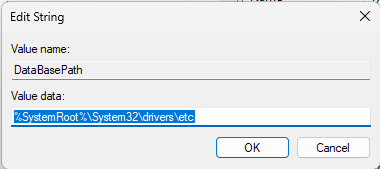
3.Click onDatabasePath,and under theValuedatasection, paste the location path of the Hosts file.
However, if its required to do so, then only you should edit it.
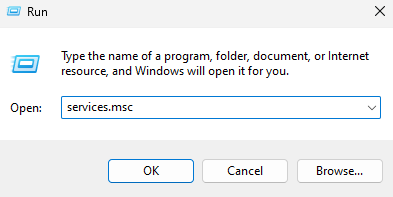
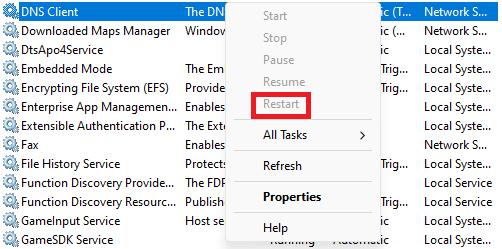
The easiest way to fix this is by restarting the DNS client.
2.Scroll down, find DNS Client, right-click, and choose theRestartbutton.
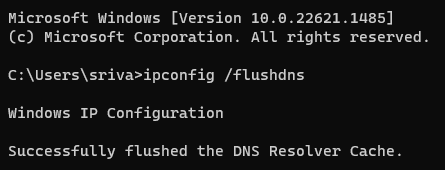
The DNS Cache contains a list of websites and their IP addresses that youve accessed on your box.
Therefore, to avoid such issues, try flushing the DNS cache on your system.
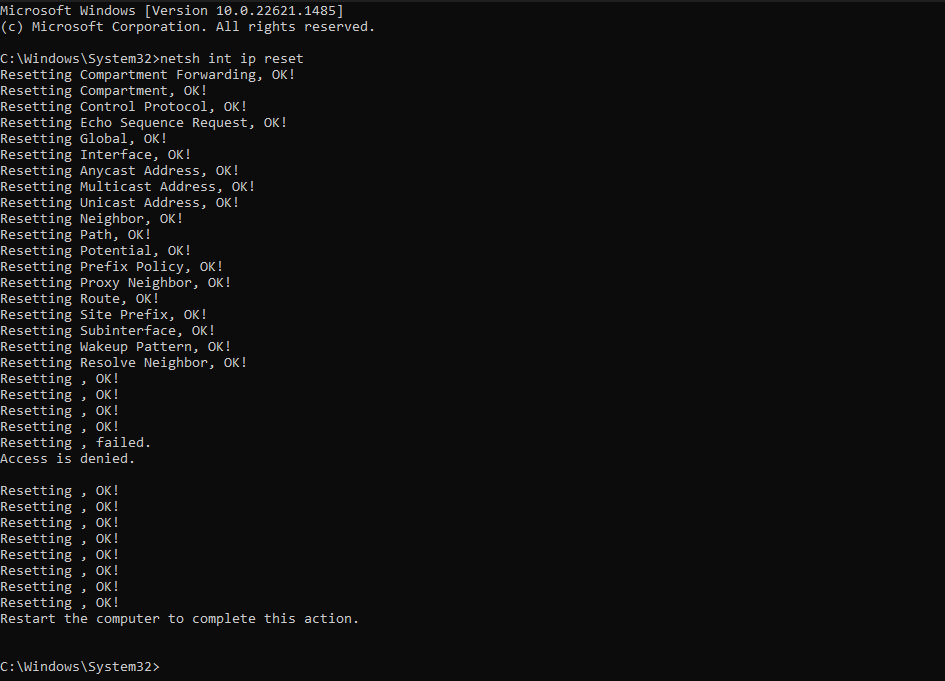
Resetting it will change all the connection-related options to default, fixing the error with the Hosts File.
2.Execute the following command.
3.After executing, restart the computer.
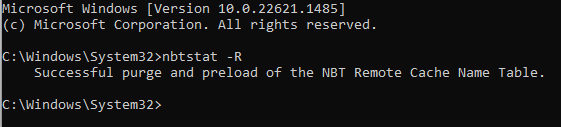
For fixing this issue, the only option is resetting the NetBIOS cache.
2.jot down the following command and press theEnterkey.
Therefore, its recommended to take a backup of all your custom entries before moving forward in this process.
Upon rebooting, the operating system will create a new default Hosts file.
2.jot down the following in the address bar of theFile Explorerapp and hit the Enter button.
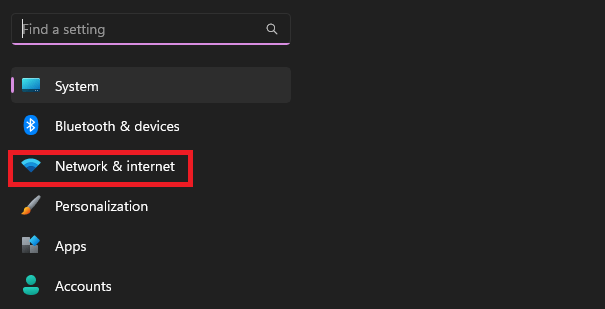
2.Click onNetwork & internet.
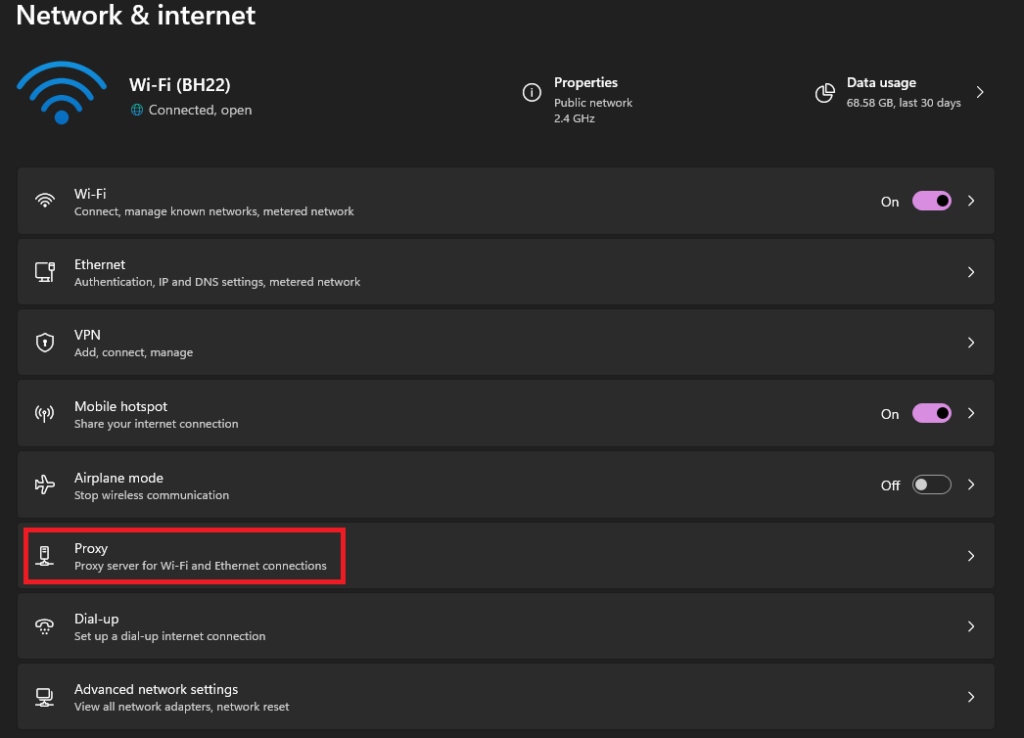
3.Click onProxyto open its configs.
4.UnderManual proxy setup, check that the switch is set toOff.
2.pop in the following command and press the Enter button.
After executing the command, a new and empty Hosts file will be created in the default location.
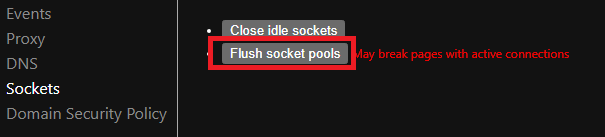
Heres how it’s possible for you to flush socket pools in Chrome web surfing app:
1.Open theChromebrowser.
2.bang out the following into the address bar and press the Enter key.
3.Click theFlush socket poolsbutton.
Restartthe Chrome surfing app.
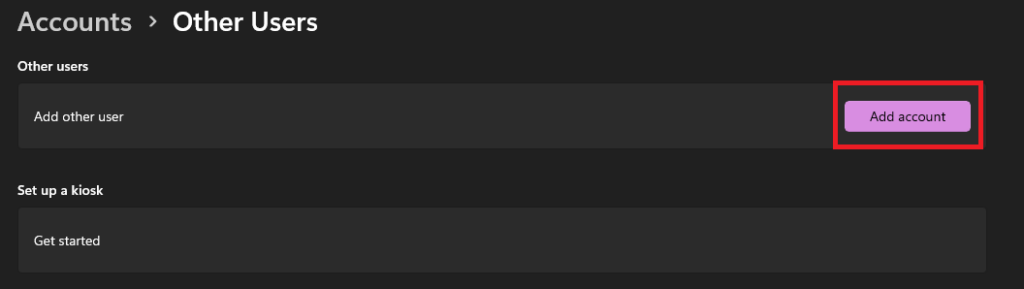
6.sign out of your current user account.
7.sign on to the new user account you just created.
Run System File Checker
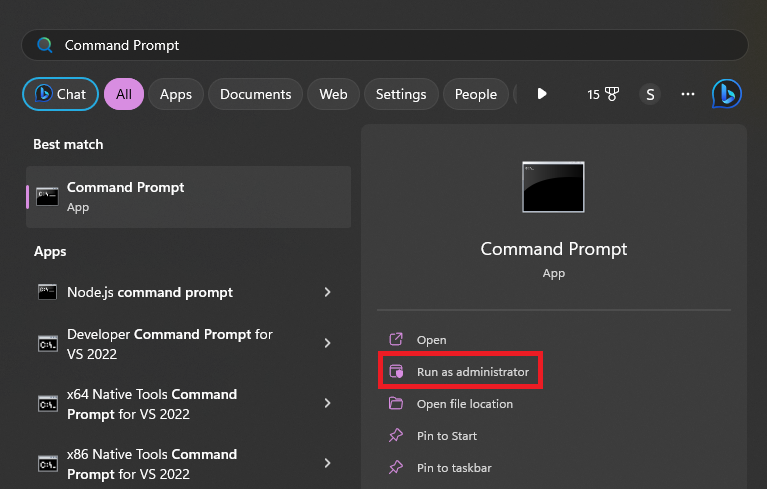
1.Launch theCommand Promptwith administrator privileges on your gear.
2.bang out the following and press theEnterbutton on the keyboard to start the scan.
The scan may take some time to finish, but once it does, start your system.
Perform a System Restore
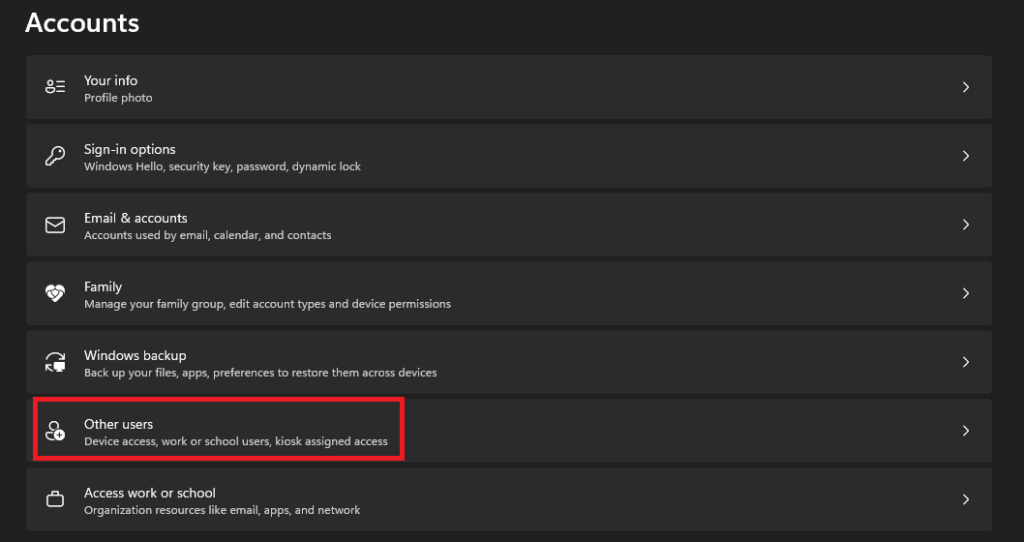
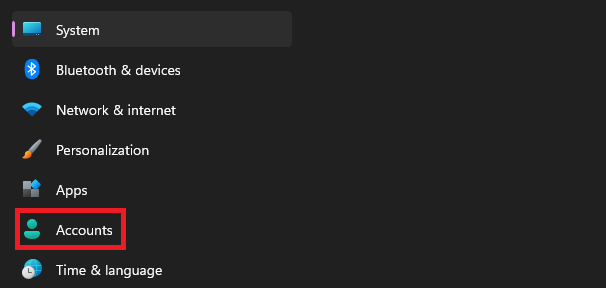
1.Launch theSettingsapp on your PC.
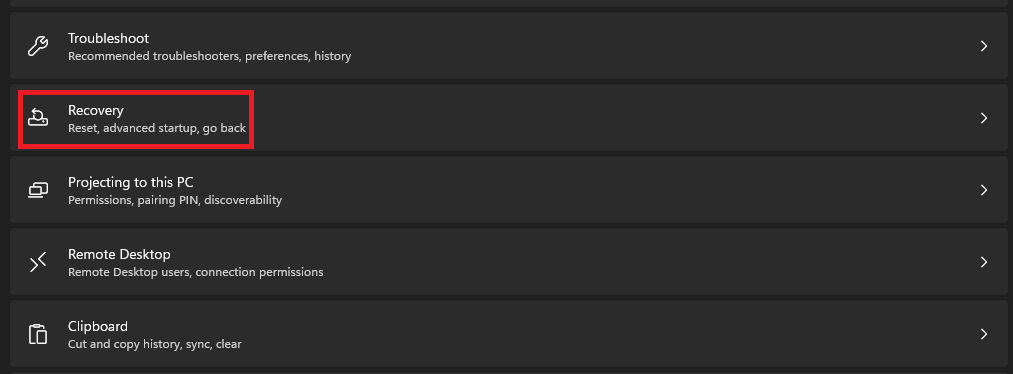
2.Scroll down and click onRecovery.
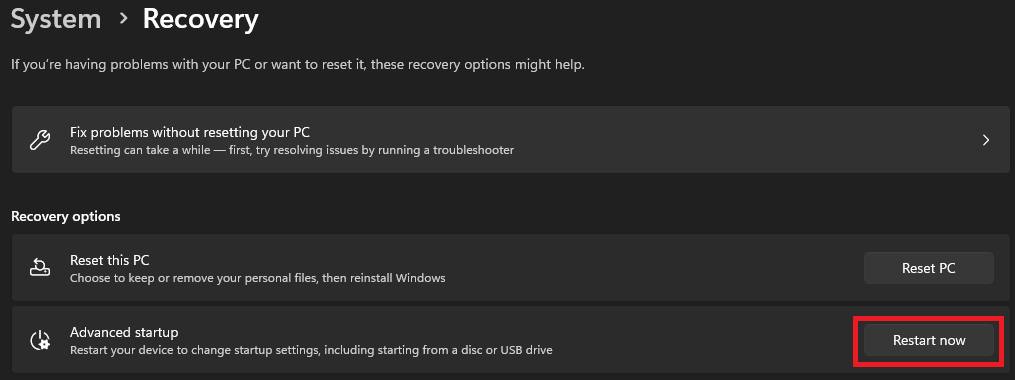
3.Click theRestart Nowbutton next to theAdvanced Startupsettings.
4.When the Choose an option screen appears, selectTroubleshoot, followed byAdvanced options, andSystem Restore.
6.Once the restore is complete, your rig will restart.
We hope that one of the mentioned fixes has worked for you.