One of these errors is the error 0x80070570 that has pestered many users on the Windows 11 platform.
Well, we are pleased to inform you that you have landed on the right page.
In this in-depth guide, we will discuss everything about the error 0x80070570 on Windows 11.
So, check out the following sections for all the details!
What is Error 0x80070570 on Windows 11?
This could be due to errors in the source or destination drive on the gadget.
These will help you to execute the appropriate resolutions on your PC or laptop to fix the error 0x80070570.
With that being said, check out the fixes for the error 0x80070570 on Windows 11 listed right below.
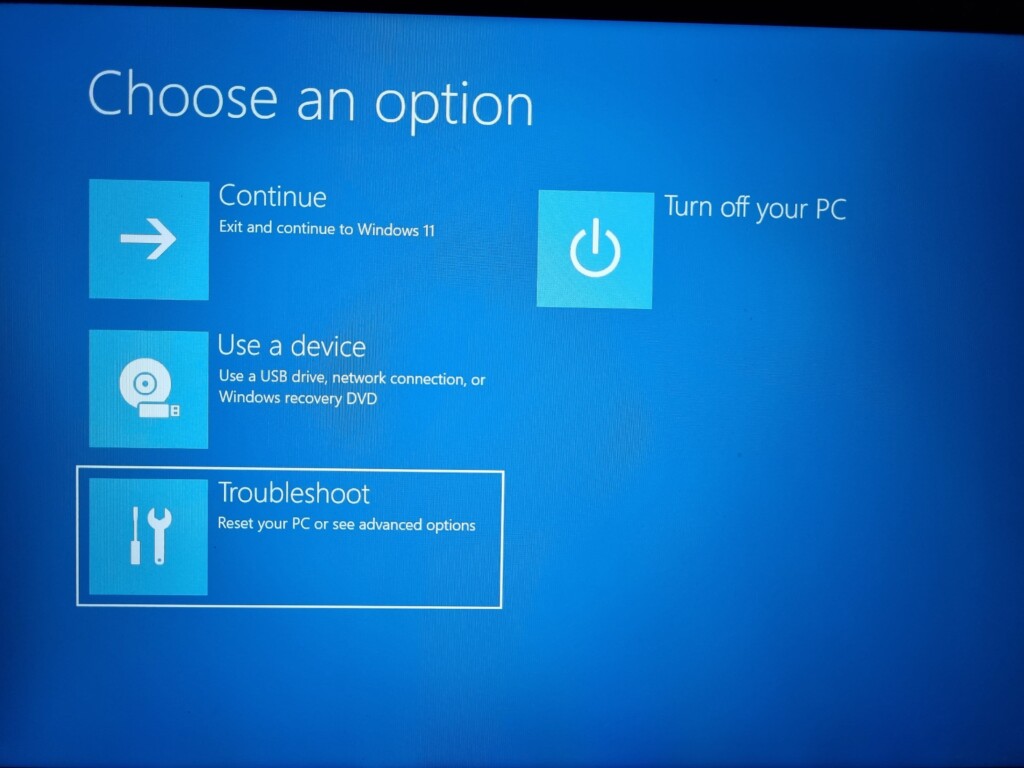
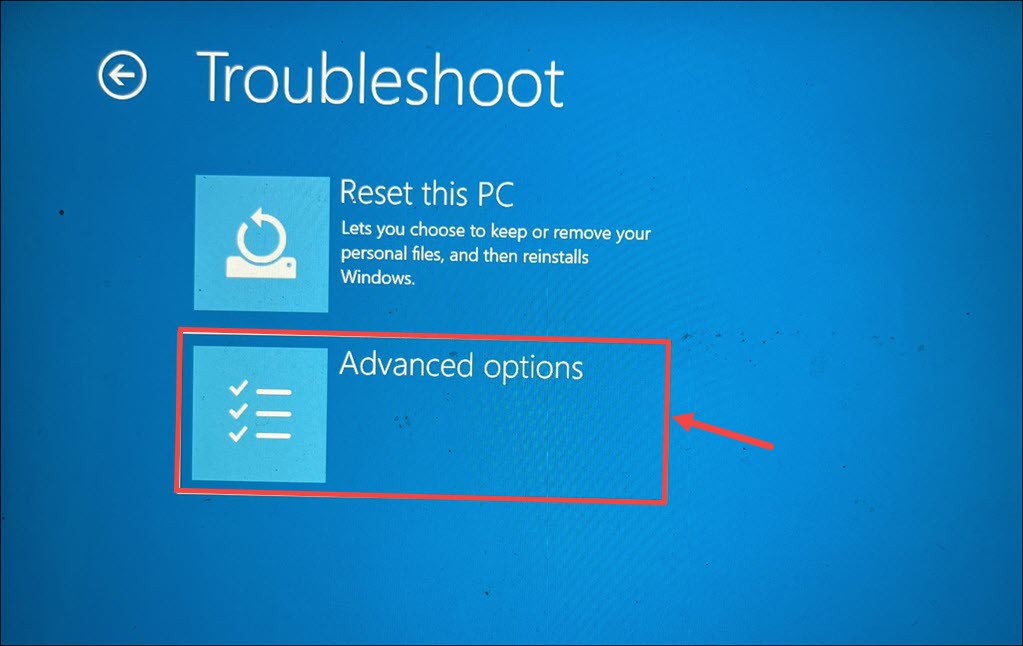
2.Next, select theAdvanced options.
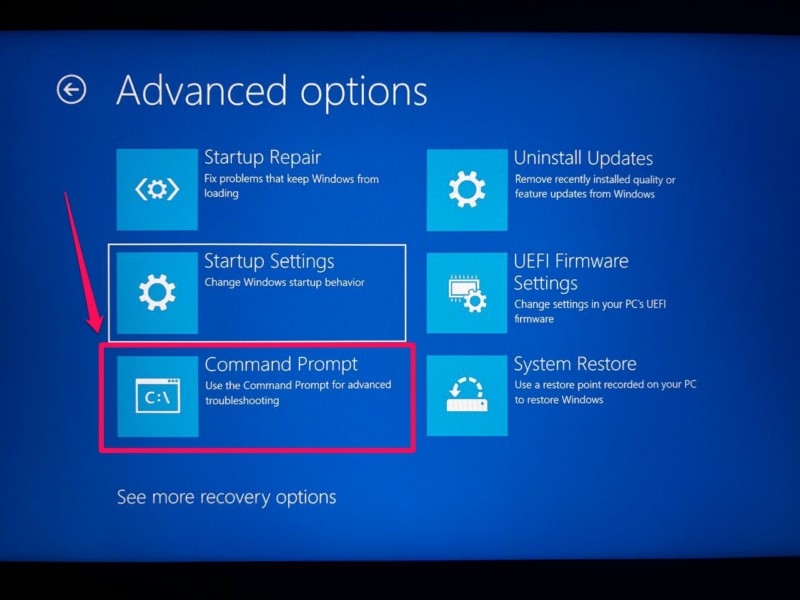
3.On the Advanced options page, navigate to theCommand Prompt optionand pressEnterto open it.
- snag the administrator accounton the following page and click onContinueto fire up the Command Prompt tool.
5.Now,jot down in or copy-paste the following commandin the Command Prompt UI and pressEnterto run it.
6.Wait for the CHKDKS command to run completely.
look to see if the error 0x80070570 shows up during the installation or not.
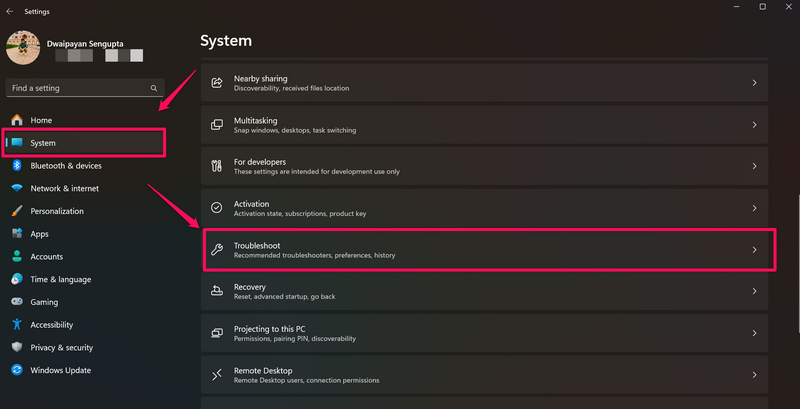
2.Under theSystem tabon the left navigation bar, select theTroubleshoot optionon the right pane.
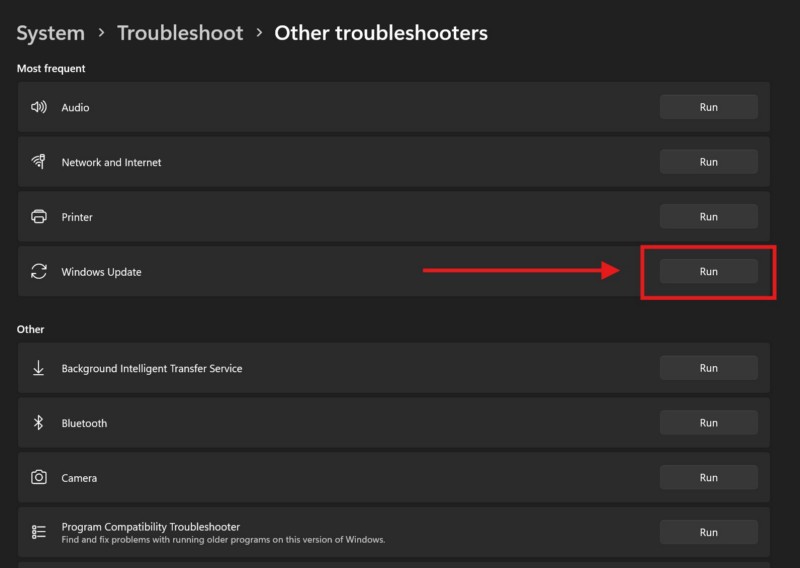
4.On the following page, locate theWindows Update optionon the provided list and hit theRun buttonnext to it.
- cycle your PCor laptop after completion.
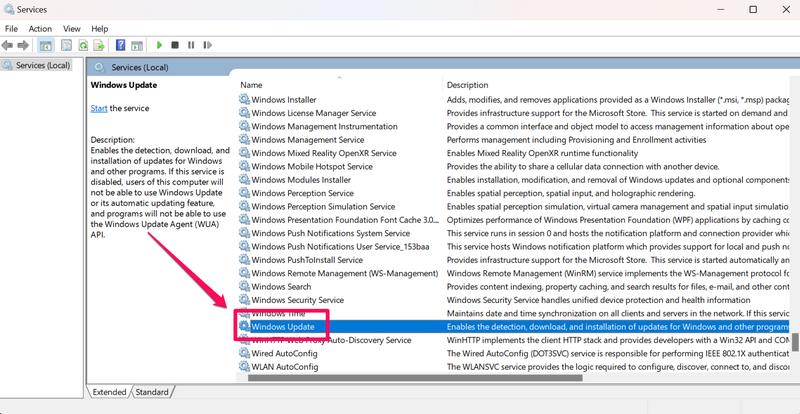
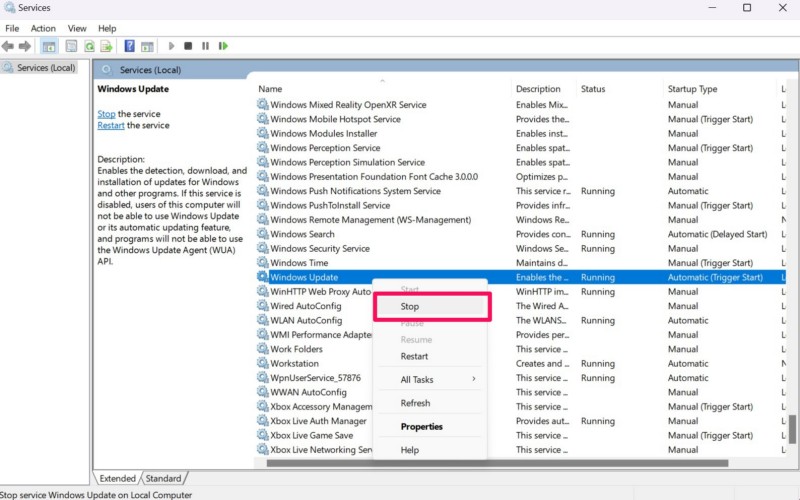
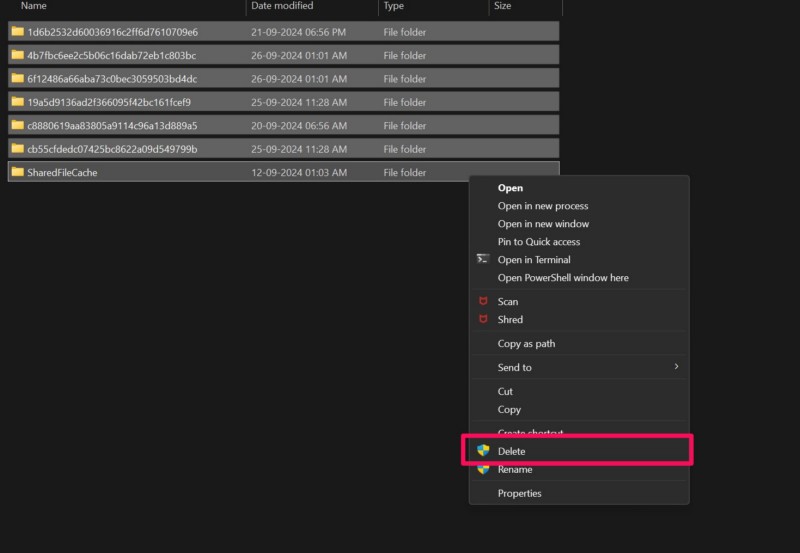
4.Right-punch the Windows Update serviceand select theStop optionon the context menu.
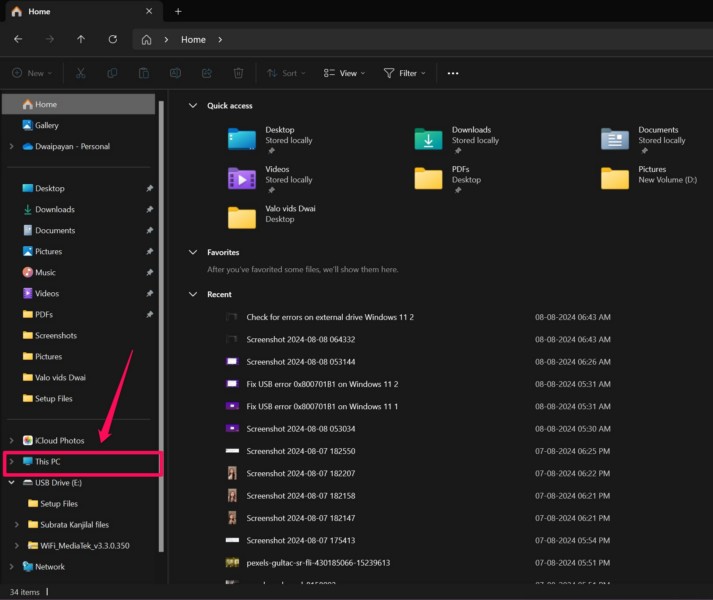
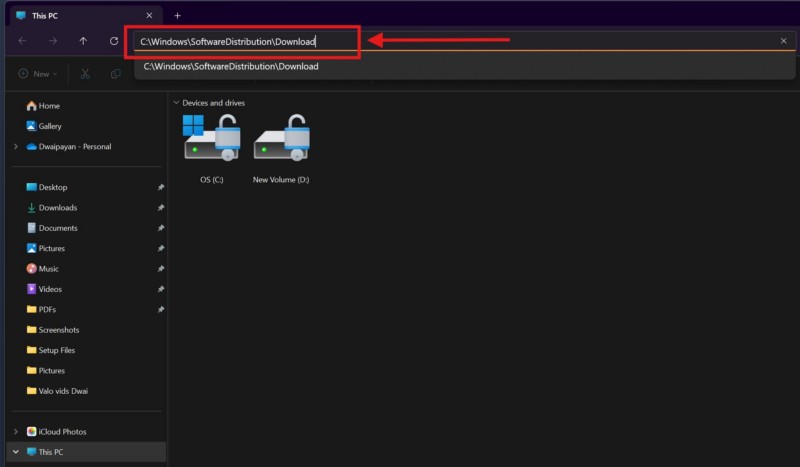
5.shut the Services windowand useWindows + Eto open a File Explorer window.
8.ClickYeson the followingUser Account Controlprompt.
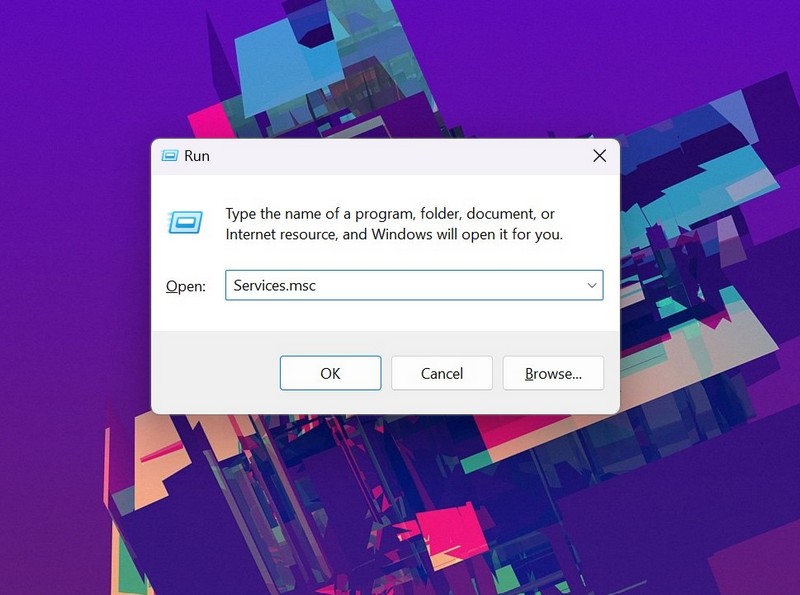
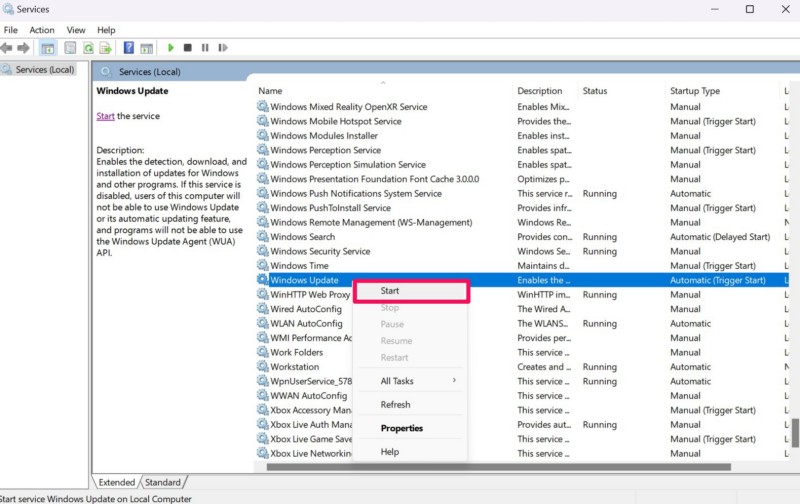
9.Finally,reopen the Services windowusing theRun toolandrestart the Windows Update servicevia the context menu.
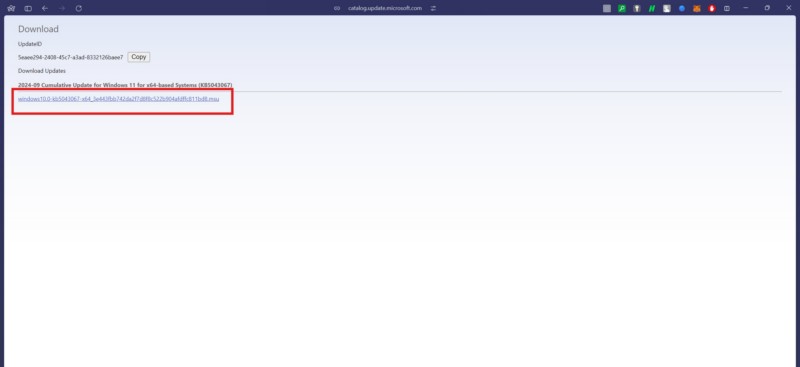
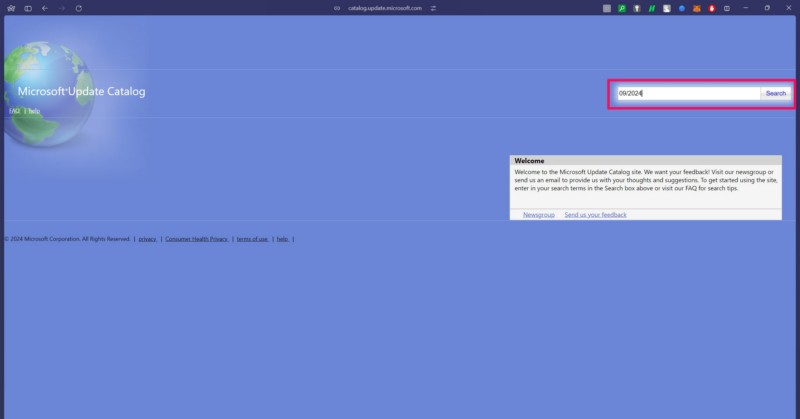
2.Open your preferred web net surf tool and navigate to the Microsoft Update Catalog website.
- poke the generated download linkfor the selected update on the following page to initiate the download process.
6.Once it is completed,locate the Windows update packageon your rig anddouble-click it to open.
- reboot your Windows 11 PCor laptop to apply the recently installed Windows 11 update.
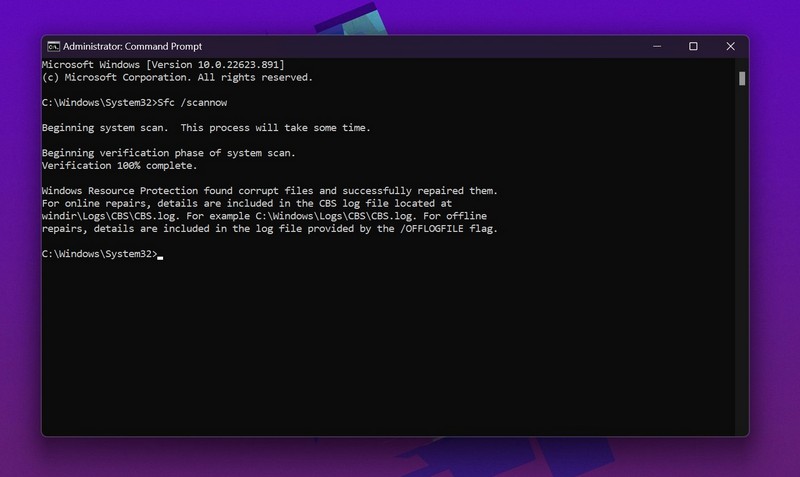
In this case, the System File Checker (SFC) scan can come in pretty handy.
2.Click theRun as administrator buttonfor theCommand Prompt toolto open an elevated Command Prompt window.
3.ClickYeson the followingUser Account Control (UAC)prompt.
6.reboot your deviceafter completion.
Run them one after the other and in the same order as above.
3.Wait for the last DISM scan to complete.
4.start your Windows 11 PCor laptop.
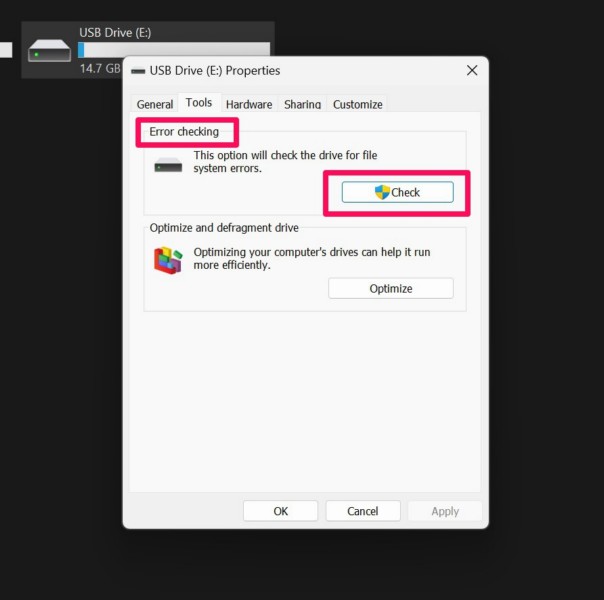
The built-in error-checking tool on the Windows platform can be helpful in this case.
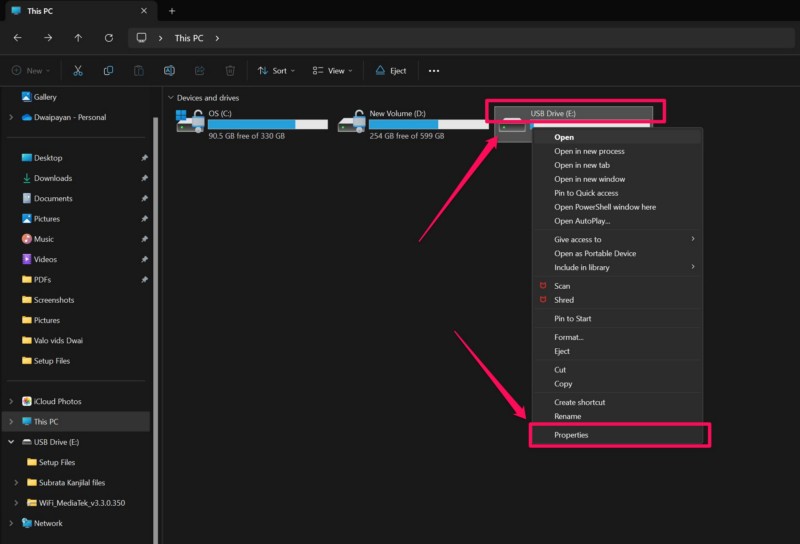
3.Within the Properties window, go to theTools tabfrom the above tab bar.
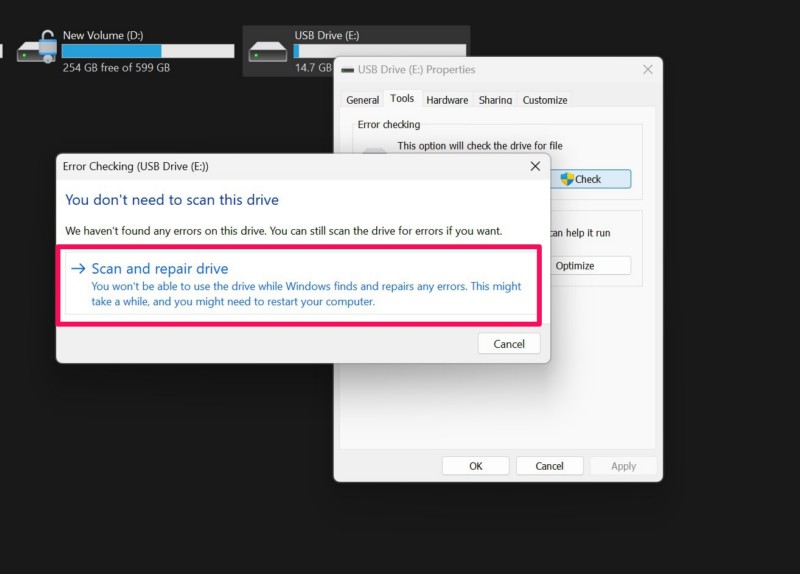
4.Now, under theError checking section, click theCheck button.
5.ClickYesif aUser Account Control (UAC) promptshows up.
6.Finally, click theScan and repair drive buttonto initiate the error-checking process.
FAQs
How to fix error 0x80070570 while Windows 11 installation?
Why am I getting the error 0x80070570 when trying to update on Windows 11?
What is error code 0x80070570 on USB drive?
Wrapping Up
There you have it, folks!
That wraps up our comprehensive guide on how to fix the error 0x80070570 on Windows 11 PCs and laptops.