So, check out the following sections for all the details!
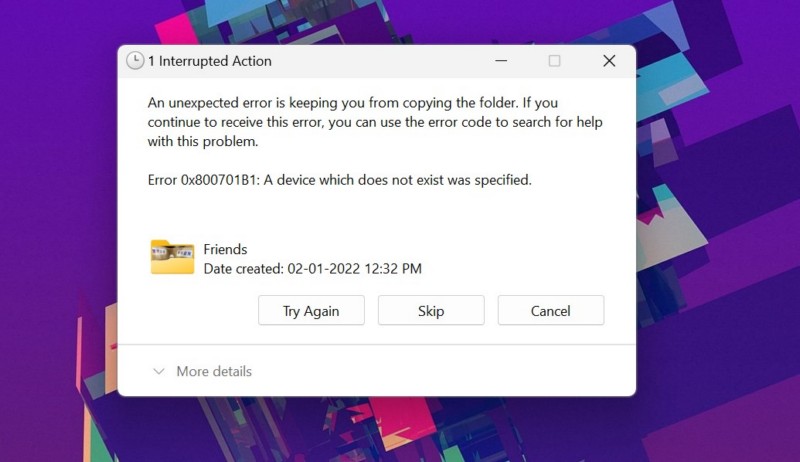
What is the Error 0x800701B1: A machine which does not exist was specified on Windows 11?
So, check them out in the following section.
So, try them out one by one on your rig and check which one resolves the Error 0x800701B1.
If the connection is re-established, the error window will automatically go away.
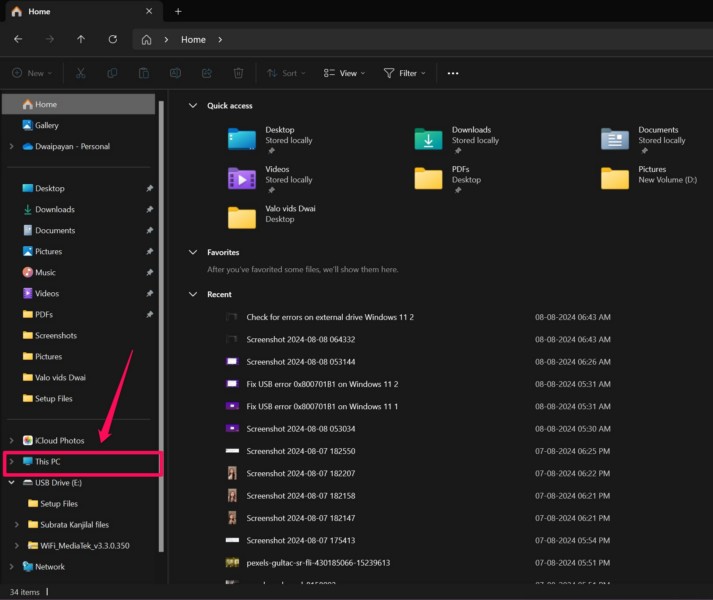
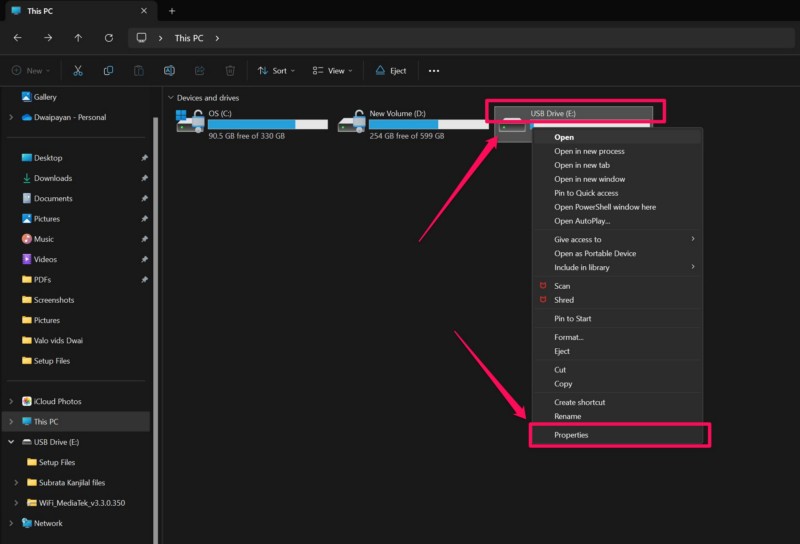
2.Go to theThis PC tabfrom the left navigation bar.
3.Next,right-choose the external driveand select theProperties optionon the context menu.
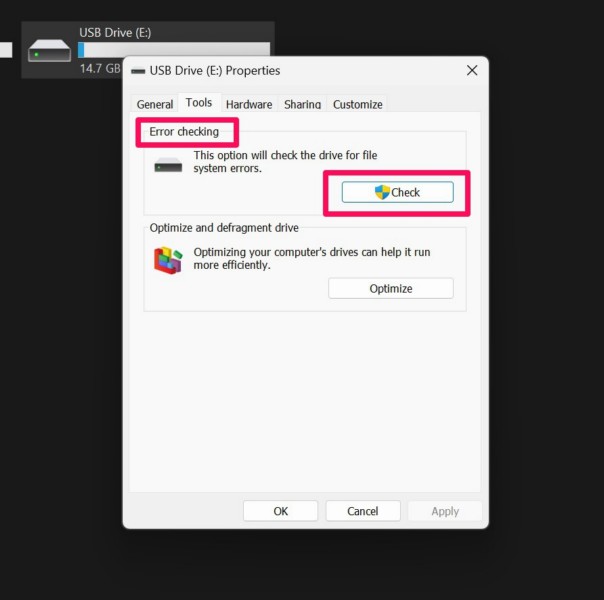
4.In the Properties window, go to theTools tabfrom the above tab bar.
5.Under theError checkingsection, click theCheck button.
Note:You will require administrative rights to do this on your Windows 11 PC or laptop.
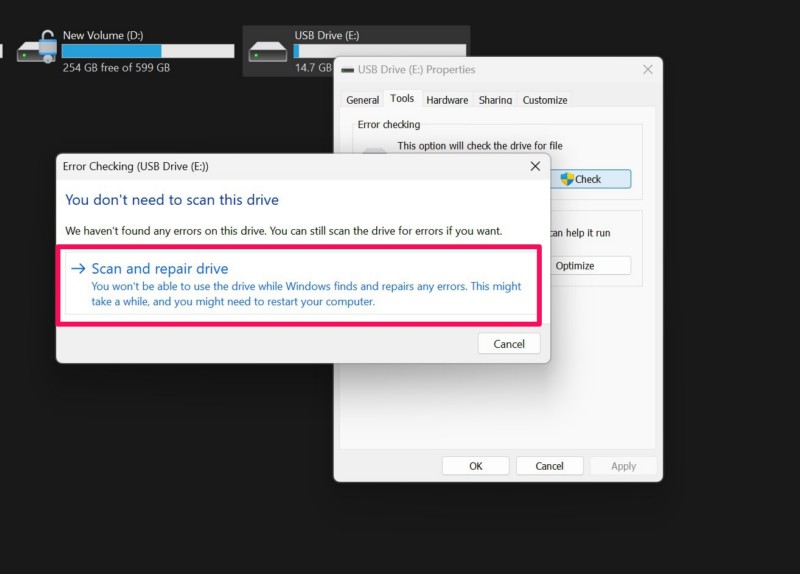
6.On the following prompt, click theScan and repair drive buttonand wait for the error-checking process to complete.
Once that is done, disconnect your external drive and reconnect it.

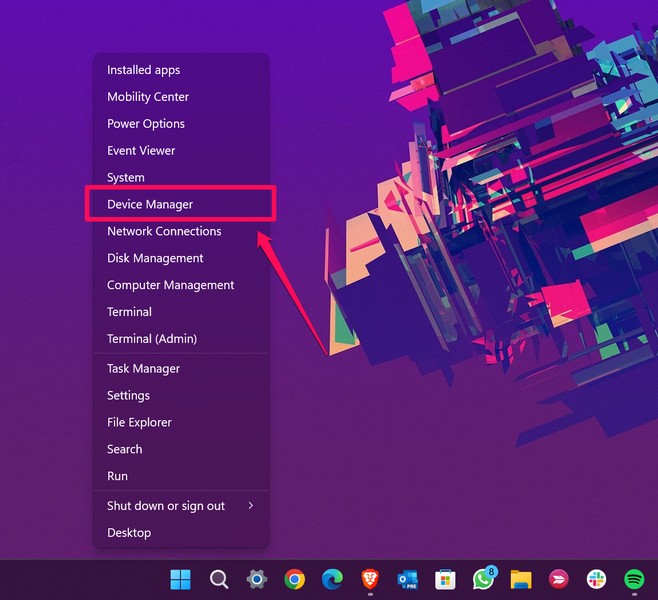
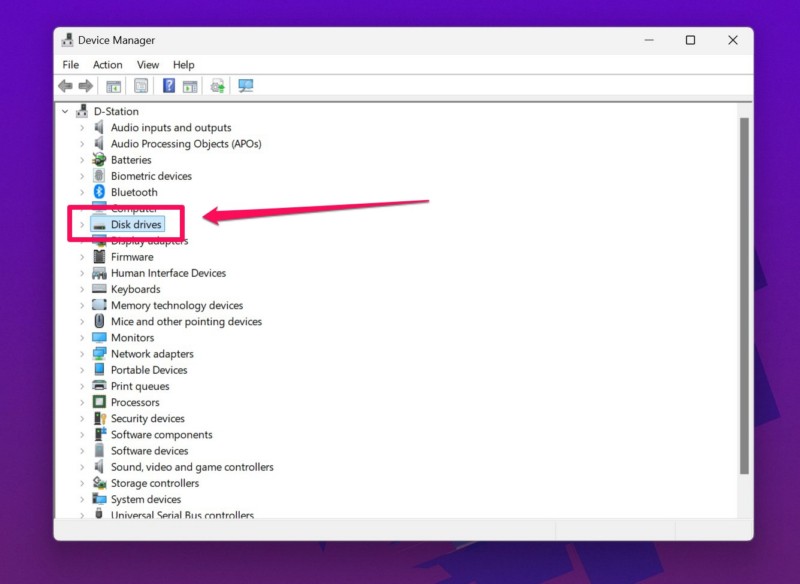
2.Choose theDevice Manageroption from the list.
3.Locate theDisk drives optionon the list andclick the arrownext to it toexpand it.
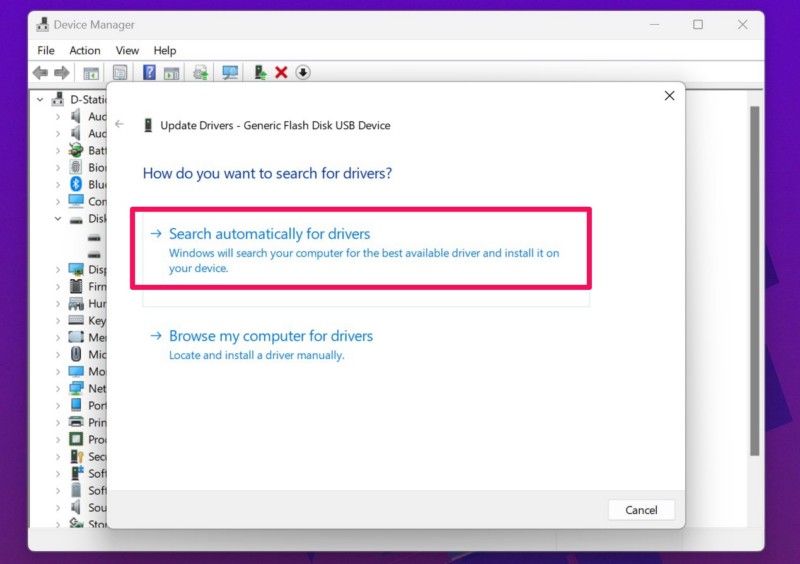
5.Click theSearch automatically for driversbutton on the following prompt.
6.Wait for the process to complete.
- start your Windows 11 deviceafter completion.
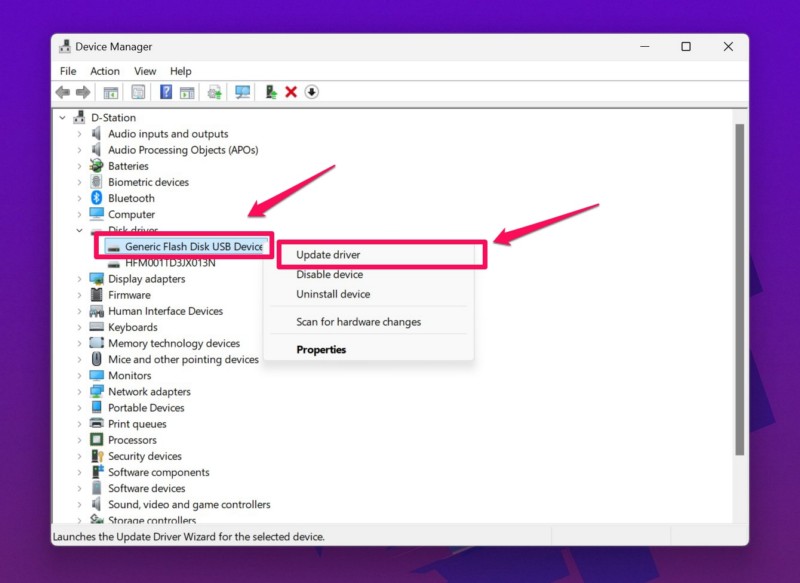
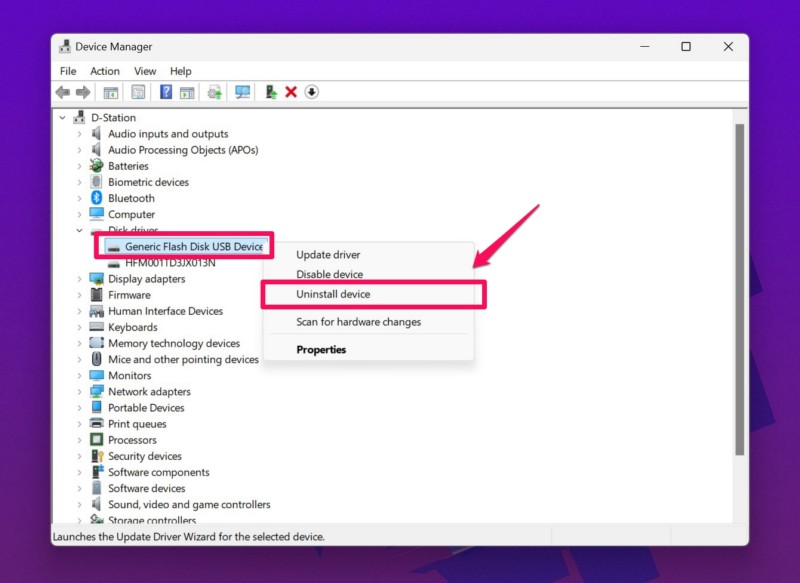
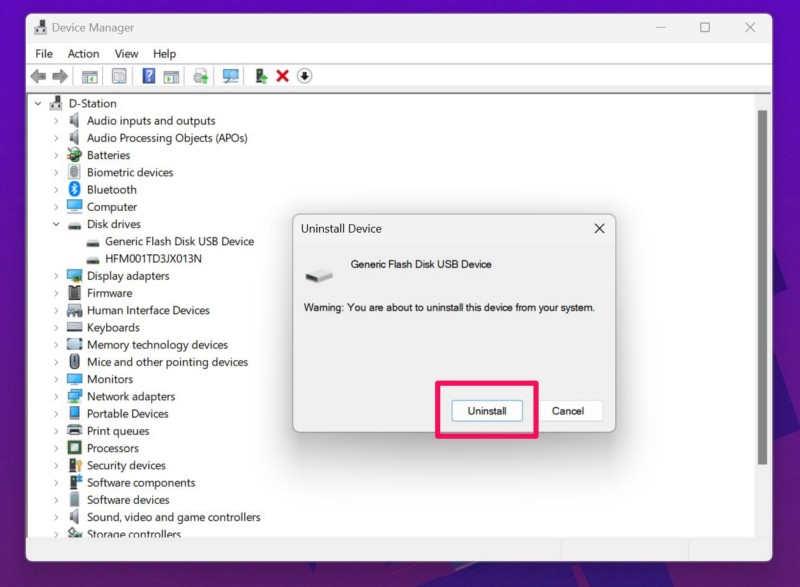
Right-hit the disk driverfor your external drive and click theUninstall deviceoption on the context menu.
Confirm your actionon the following prompt and wait for the driver to uninstall.
4.reboot your Windows 11 PCor laptop after the process is completed.
Restarting your gadget will automatically set up the missing disk driver.
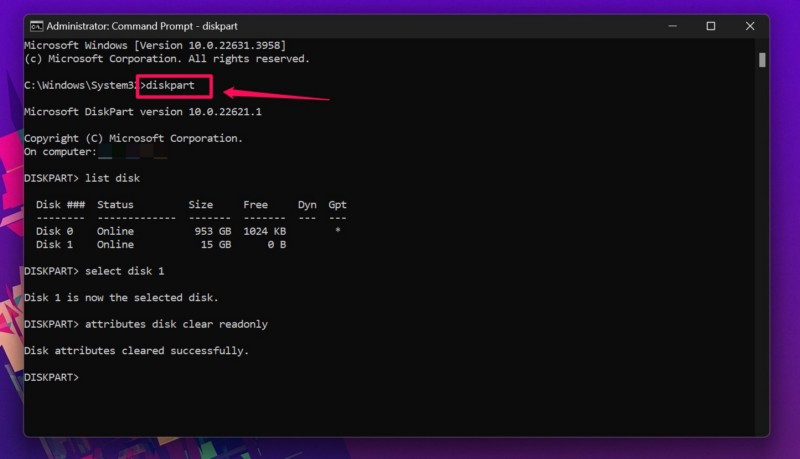
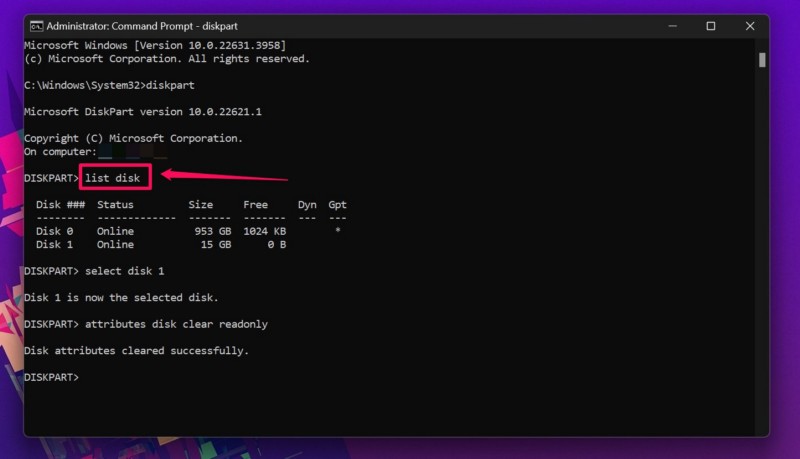
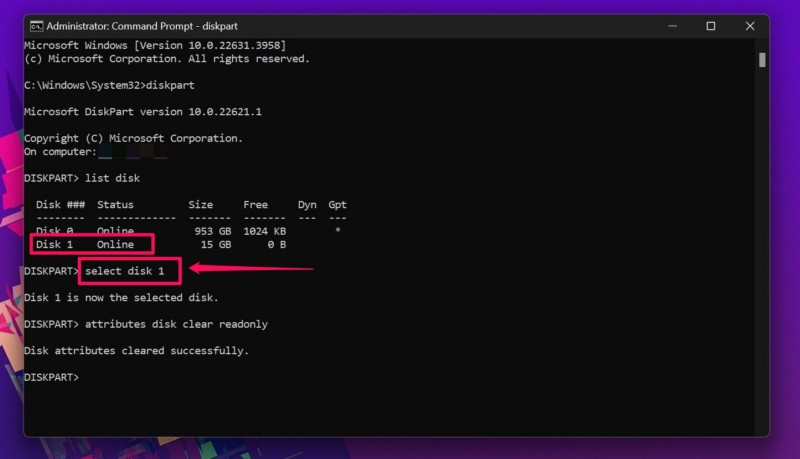
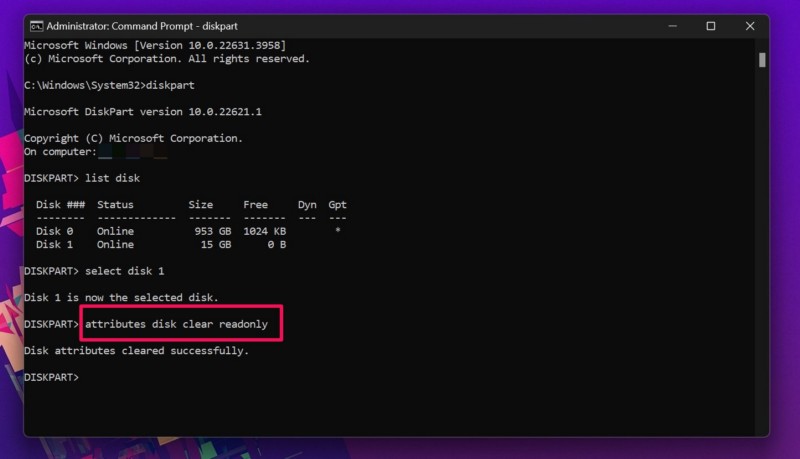
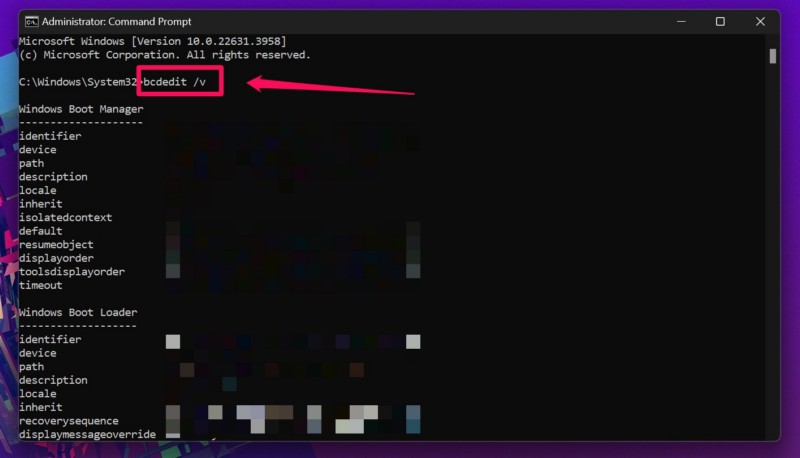
2.Click theRun as administrator optionfor theCommand Prompt toolin the search results.
3.ClickYeson the followingUser Account Control (UAC)prompt.
6.After it is executed,cycle your PCor laptop.
2.Go to theThis PC tabon the left nav bar.
3.Note down the letterthat represents the connected external drive.
In our case, it is the E drive.
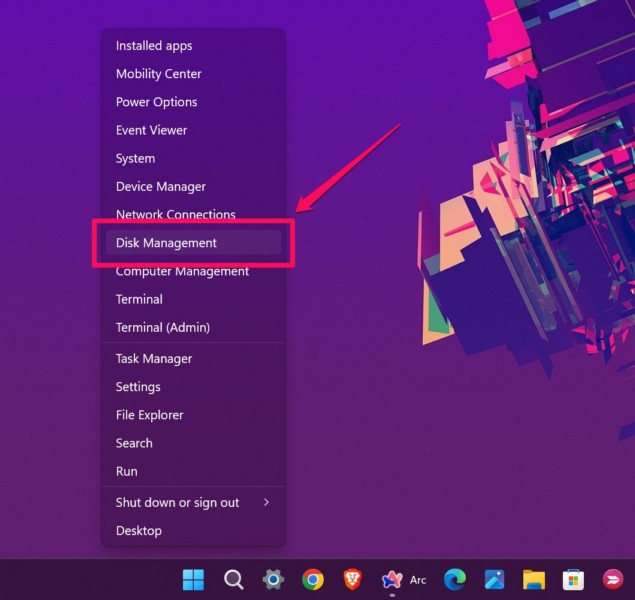
2.Select theDisk Management optionon the overflow menu.
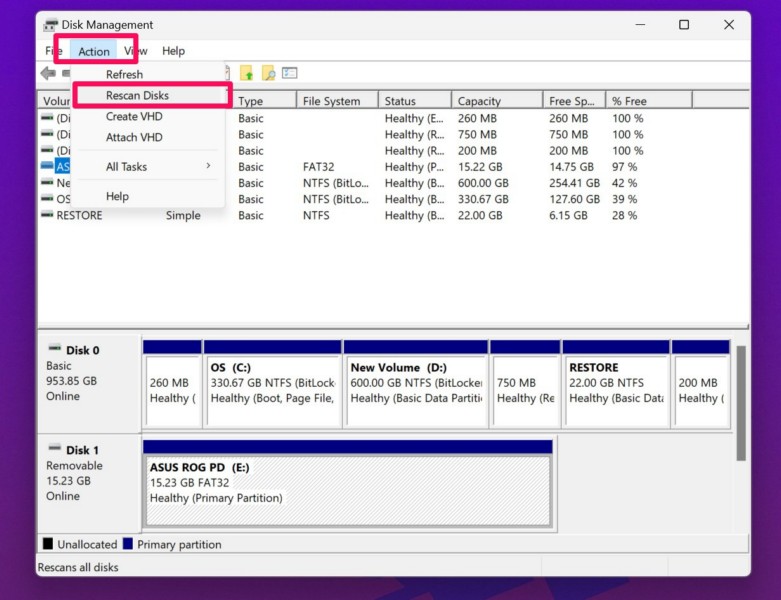
4.Now, click theAction menuon the above menu bar and hit theRescan optionon the drop-down list.
5.Wait for the process to complete.
2.Go to theThis PC tab.
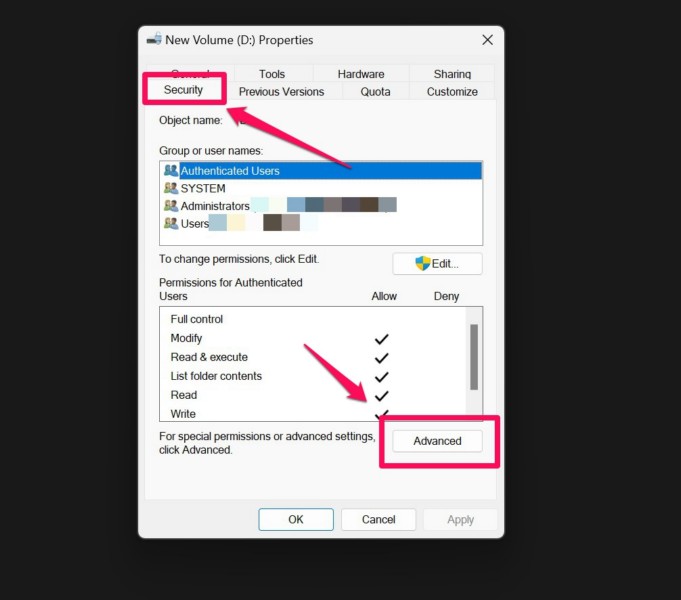
3.Right-punch the problematic driveand select theProperties optionon the context menu.
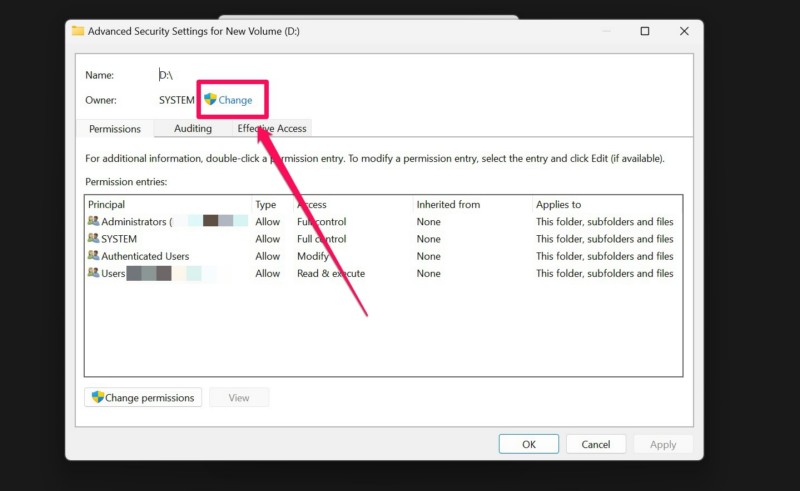
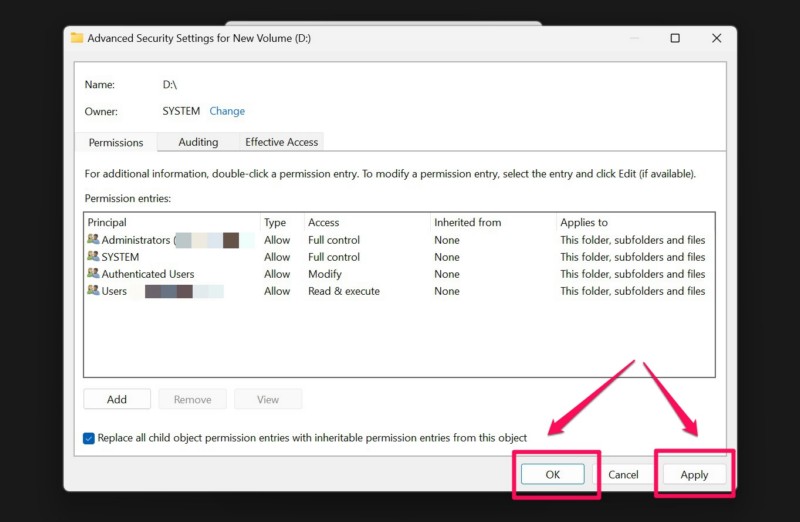
4.Now, go to theSecurity tabfrom the above tab bar and click theAdvanced buttonbelow.
5.In the following window, click theChange buttonnext to theOwner name.
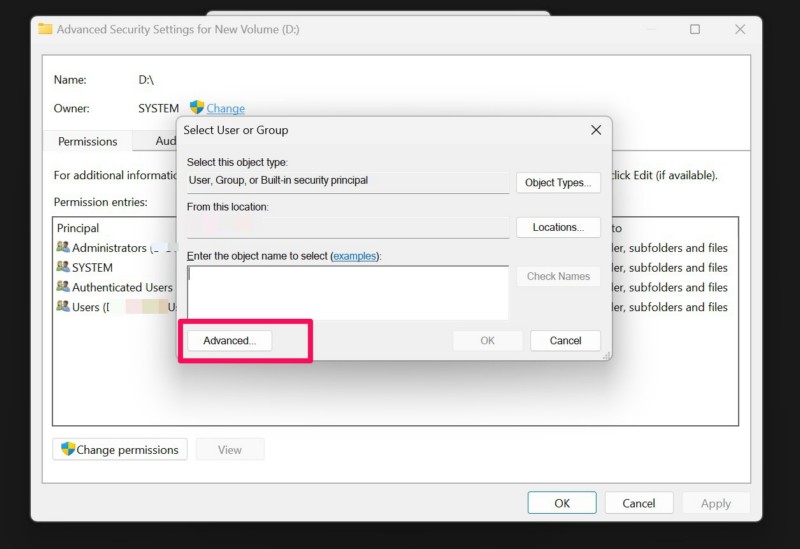
6.Next, click theAdvanced buttonin the following dialog box.
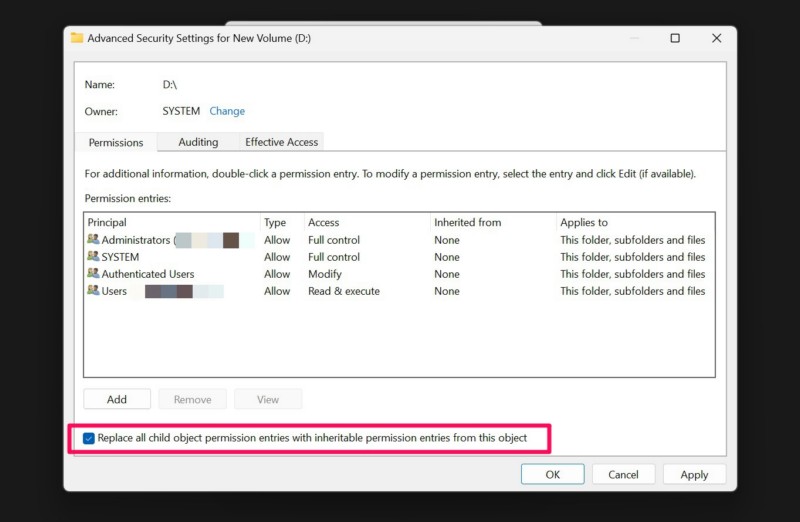
9.Click theApply buttonand then, hit theOK buttonto exit the window.
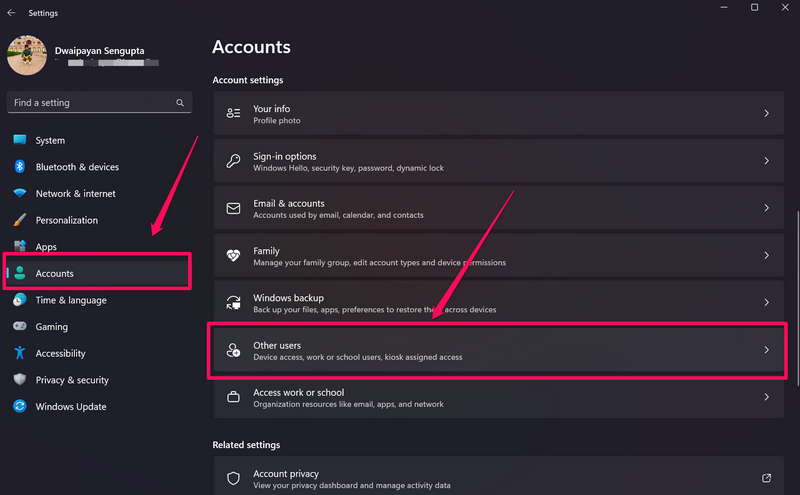
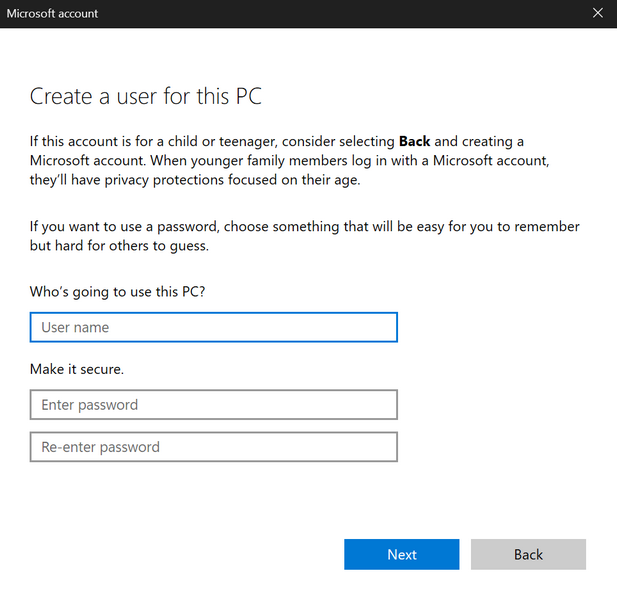
2.Go to theAccounts tabon the left navigation bar and click theOther usersoption on the right pane.
3.On the following page, click theAdd account button.
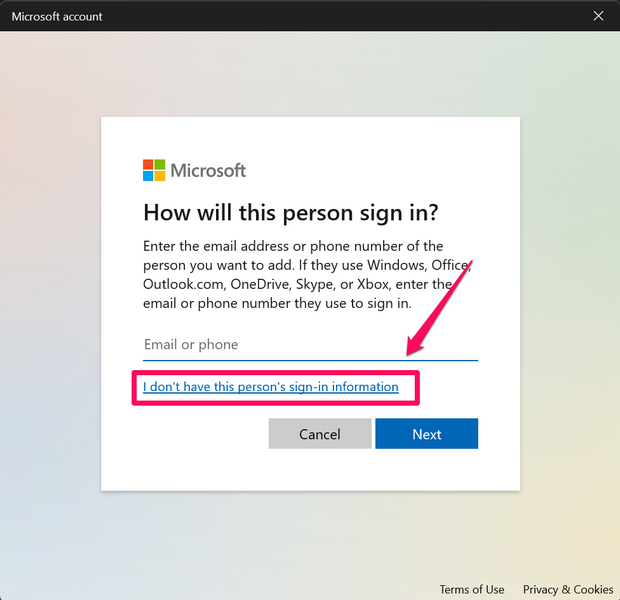
4.In the following window, select theI dont have this persons sign-in informationbutton.

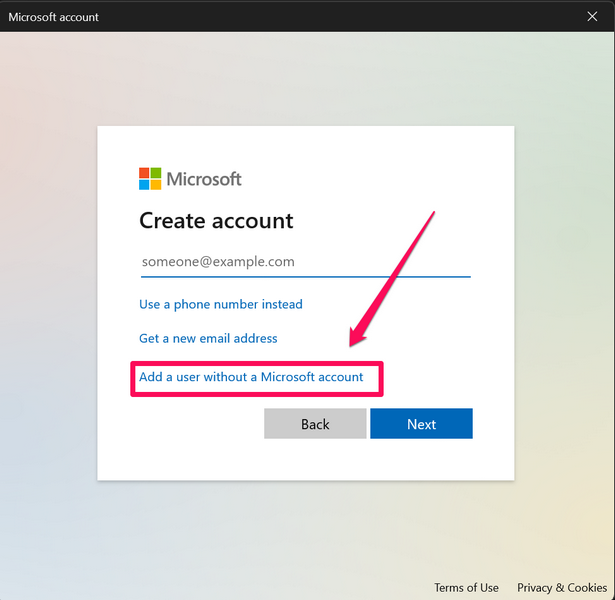
5.Next, click theAdd a user without a Microsoft accountbutton.
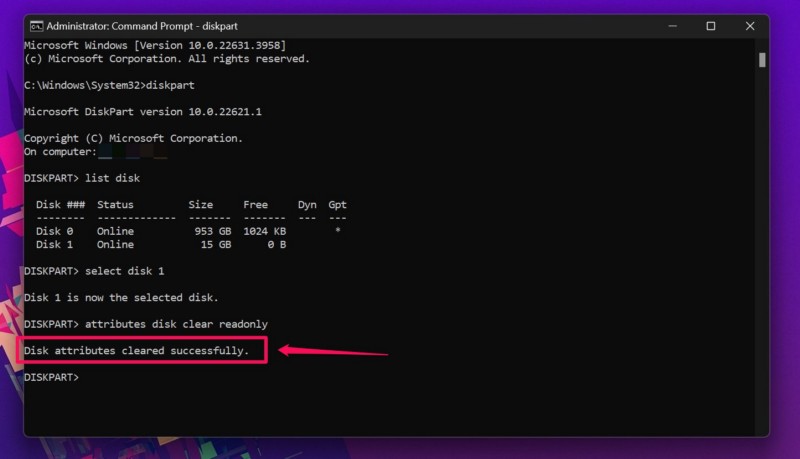
2.Click theRun as administrator buttonfor theCommand Prompt tool.
This means that all the data stored within your external drive will be permanently removed.
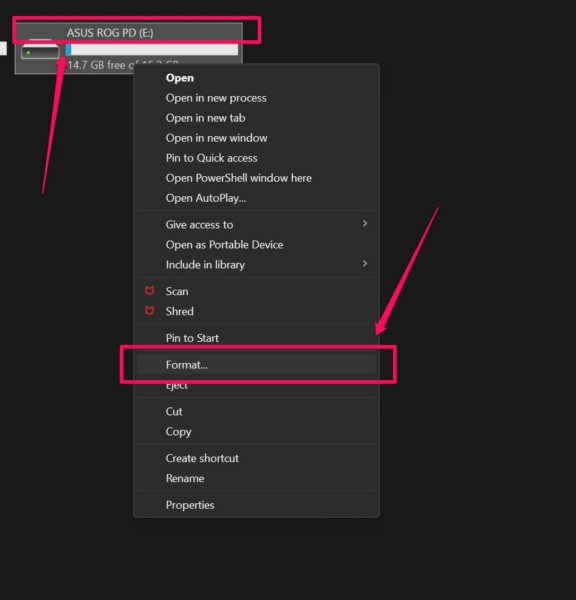
2.Go to theThis PC tabfrom the left nav bar.
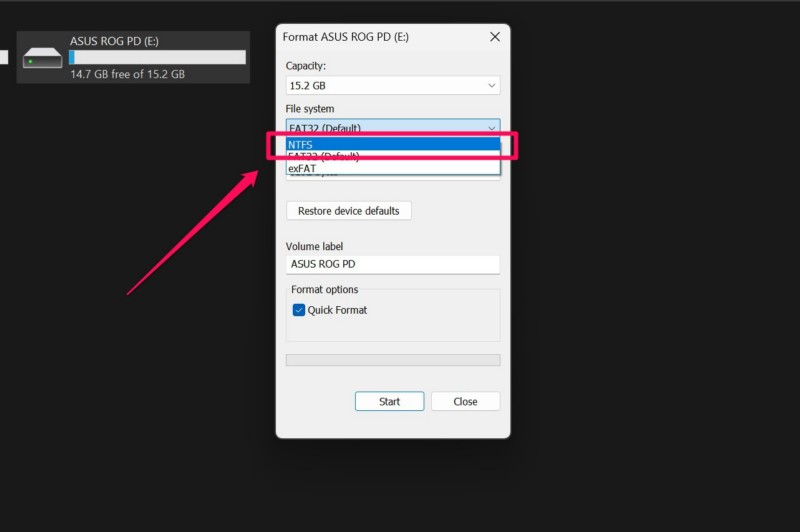
3.Right-press the external driveand click theFormat optionon the context menu.
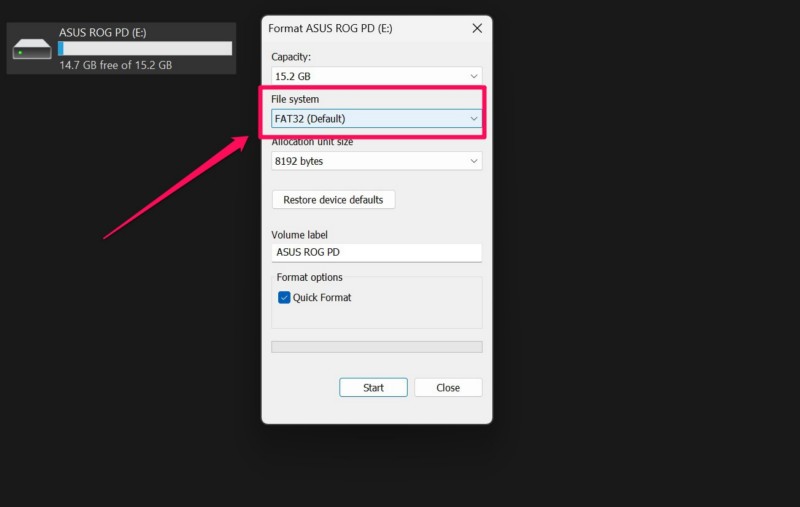
4.In the following window, click theFile system field.
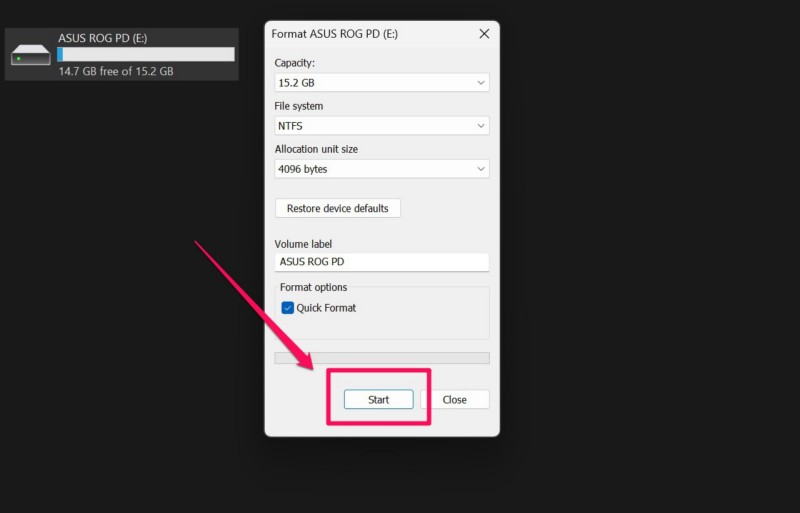
6.Now, click theStart buttonbelow to initiate the formatting process.
7.Wait for the process to complete on your Windows 11 PC or laptop.
After completion of the process, disconnect the external drive and reconnect it to your equipment.
Why is my USB drive not connecting in Windows 11?
The same can happen if the USB cable of the external drive or USB accessory is damaged.
How to format an external USB drive in Windows 11?
From there on, follow the on-screen instructions to format the USB drive in Windows 11.
Hence, we understand how frustrating it can be when the same error pops up repeatedly.