Though, it uses a minimal systems graphics resources to work properly.
But sometimes, it suddenly starts using an extensive amount of GPU power, which hampers the systems performance.
Sadly, the same is happening with many Windows 11 users.
Here in this guide, weve shared several fixes to eliminate the Desktop Window Manager high GPU usage issue.
Why Is Desktop Window Manager Using So Much GPU?
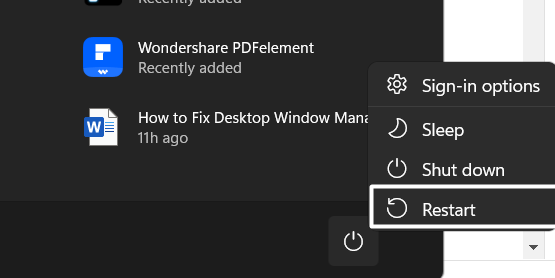
2.Select theRestartoption from the menu to start your Windows 11 PC and check the issues status.

2.SelectVirus and threat protectionfrom theBest matchsection and click theScan nowbutton to start the scan.
3.Now, wait for the estimated remaining time for the virus scan to complete and display the results.
To check whether its the same in your case, we suggest yourun DISM, SFC, andCHKDSKscans.

The DISM scan will restore your systems image.
Whereas the SFC scan will replace all the corrupted system files.
And the CHKDSK scan will repair the bad physical sectors on your systems secondary storage.

2.Copy-paste the below-listed command into the console and press theEnter keyto fire off the DISM scan.
4.Execute the below command in the console to initiate the CHKDSK scan to find and fix disk-related errors.
5.Finally, pressYon your keyboard to schedule the CHKDSK scan the next time you reboot your PC.

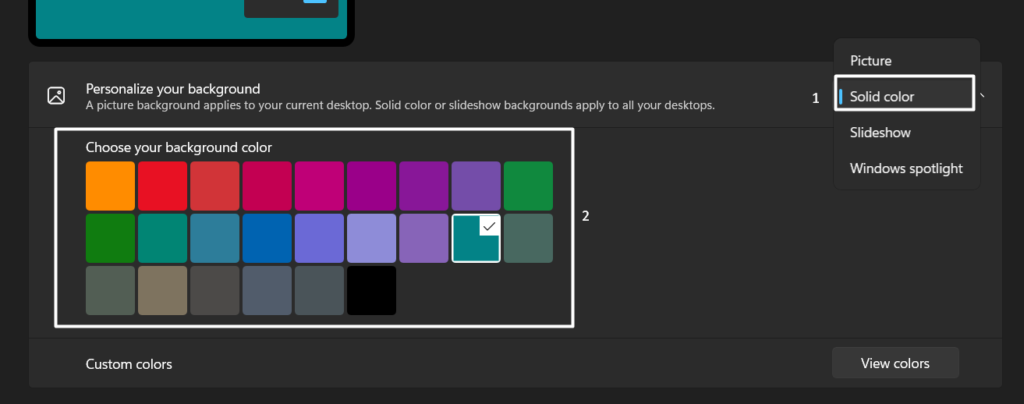
This is because live wallpaper requires high GPU resources to run properly.
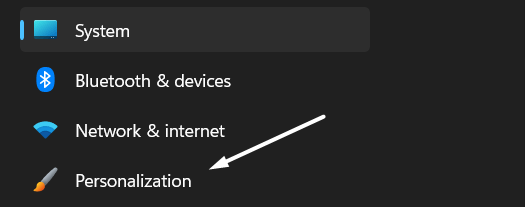
1.Use theWindows + Ikeys combination to open theSettings appand move to thePersonalizationsection.
2.Click onBackgroundon the next screen, and then set thePersonalize your backgroundoption toSolid color.

This is because HDR uses extensive GPU resources to play videos at high resolution.
Due to this, we suggest youdisable HDRon your PC and then check the issues status.
2.press theHDRoptionunderBrightness & colorand turn off theHDR video streamingtoggle.

Hence, its causing this issue.
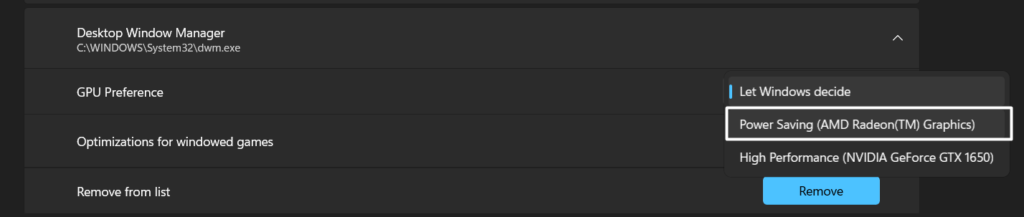
2.Click onGraphicsin theRelated settingssection and click theAdd desktop appbutton.
3.Navigate to the below path in the File Explorer, search fordwm.exe, and then clickAddto add it.

4.Click onDesktop Window Managerto expand the section and select thePower Savingoption from theGPU Preferencedropdown.
Some users said that the issue with DWM.exe got fixed afterdisabling the above functionon their Windows 11 PC.
2.Click onGraphicsunderRelated settingsand expand theHardware-accelerated GPU schedulingsection.
3.Lastly, turn off the toggle next toHardware-accelerated GPU schedulingto turn off the feature.
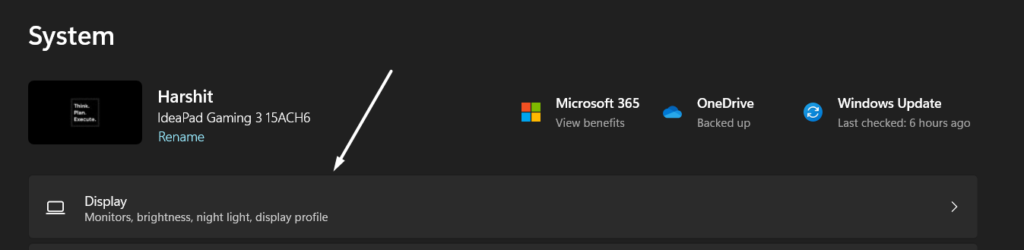
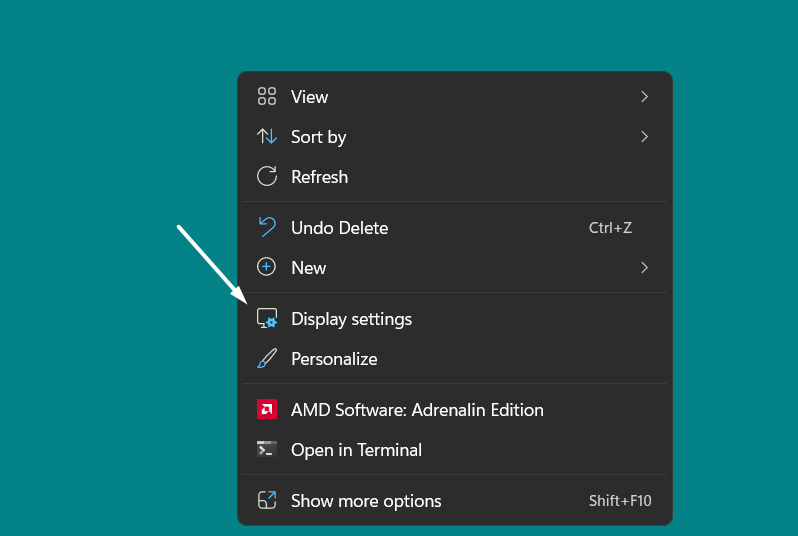
2.snag the recommended option from theScaleandDisplay resolutiondropdown in theScale & layoutsection.
It could be possible that the parameters arent properly configured, which is causing this issue.
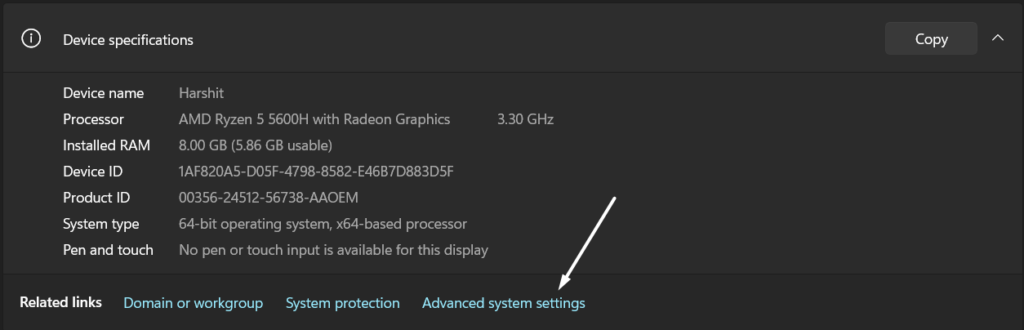
2.Click theAdvanced system settingsoption on theSystemwindow and then navigate to theAdvancedtab.
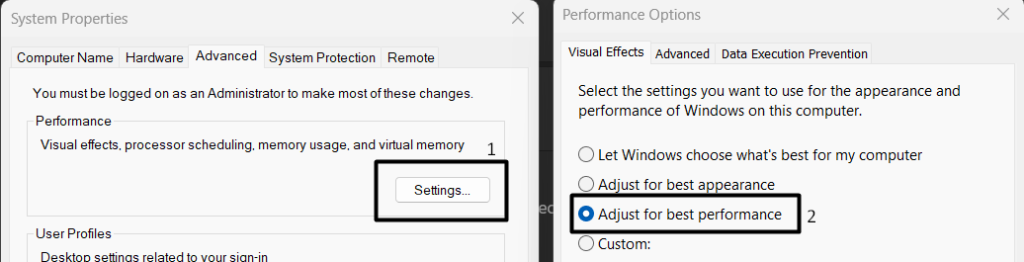
3.Click theSettingsbutton in thePerformancesectionand choose theAdjust for best performanceoption.
4.Lastly, punch theOKoptionto save all the recently made changes and reboot your Windows system.
Due to this, we suggest youupdate your Windows 11 PCs GPU driver.
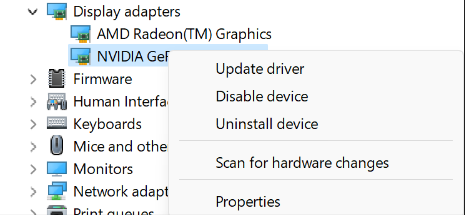
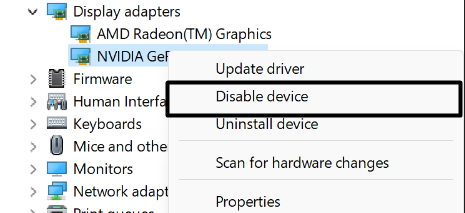
2.Expand theDisplay adapterssection by clicking on the arrow next to it and right-tap on the GPU driver.
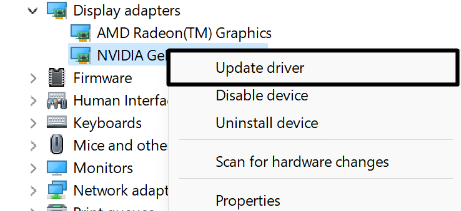
3.Select theUpdate driveroption from the menu and then choose theSearch automatically for driversoption.

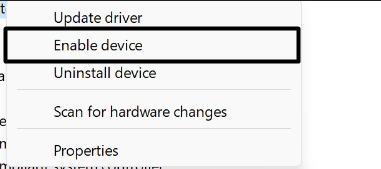
2.Once the GPU driver is disabled, select theEnable deviceoption from the menu to re-enable it.
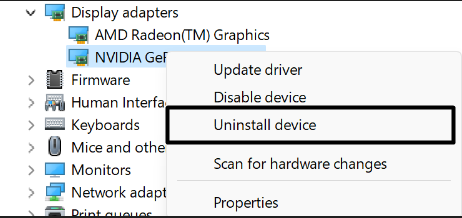
2.hit theActionoptionin the top menu and select theScan for hardware changesoption from the dropdown.
Once the GPU driver is reinstalled, verify if the Desktop Window Manager high GPU usageis fixed.

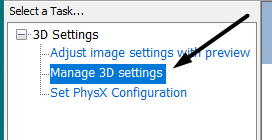
2.hit theManage 3D settingsoption in the left sidebar and then move to theGlobal Settingssection.
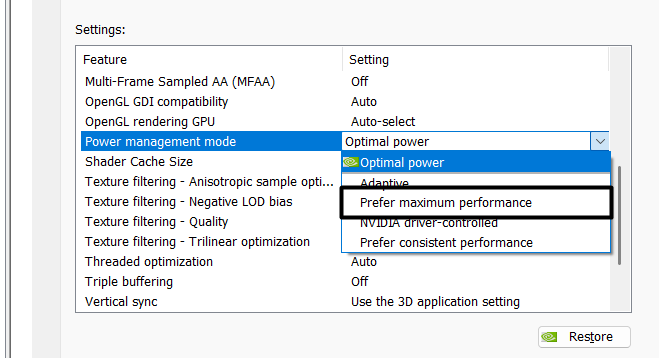
3.Search forPower management modein theSettings:box and select thePrefer maximum performanceoption from the dropdown.
4.terminate the NVIDIA Control Panel tab and start your Windows PC to eliminate the issue.

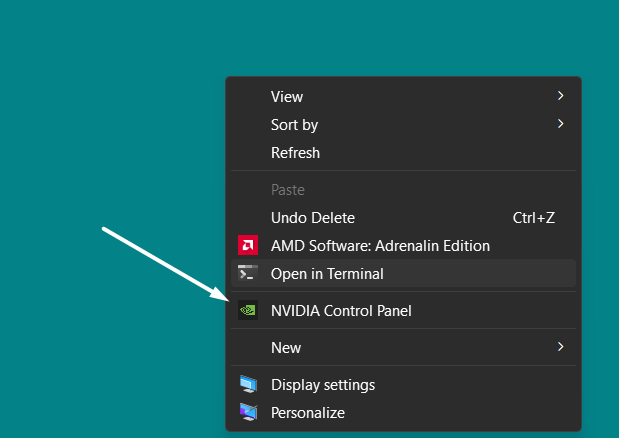
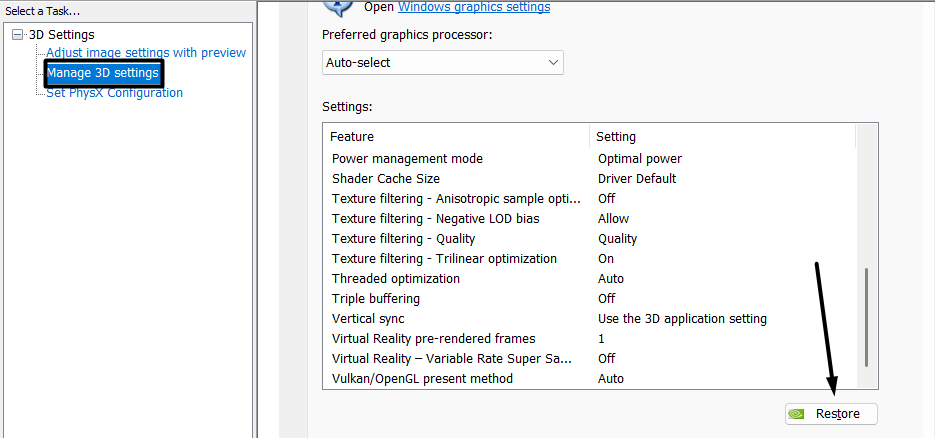
2.SelectNVIDIA Control Panelfrom the contextual menu to fire up the NVIDIA Control Panel on your system.
3.Navigate to theManage 3D settingssection from the left navigation pane and click theRestorebutton at the bottom.
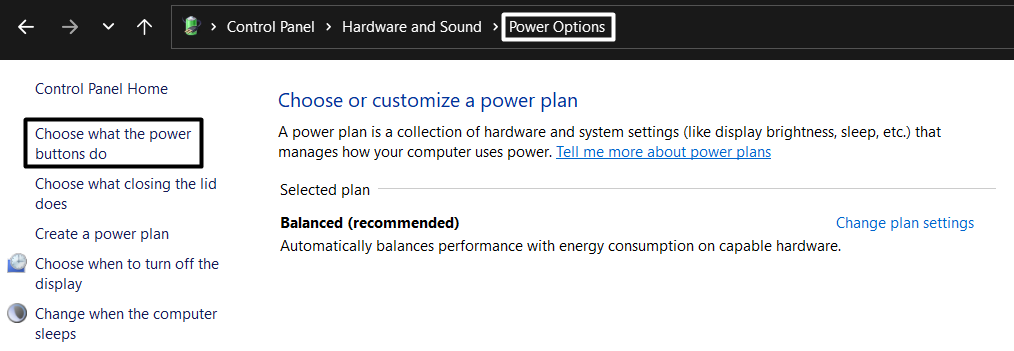
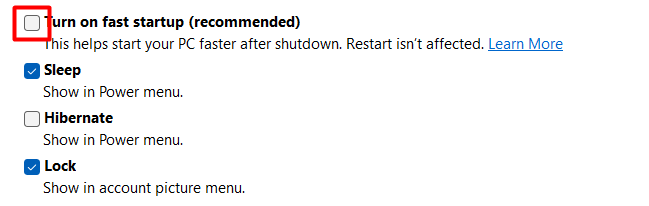
To check whether its true, we suggest youdisable Fast Startupon your system.

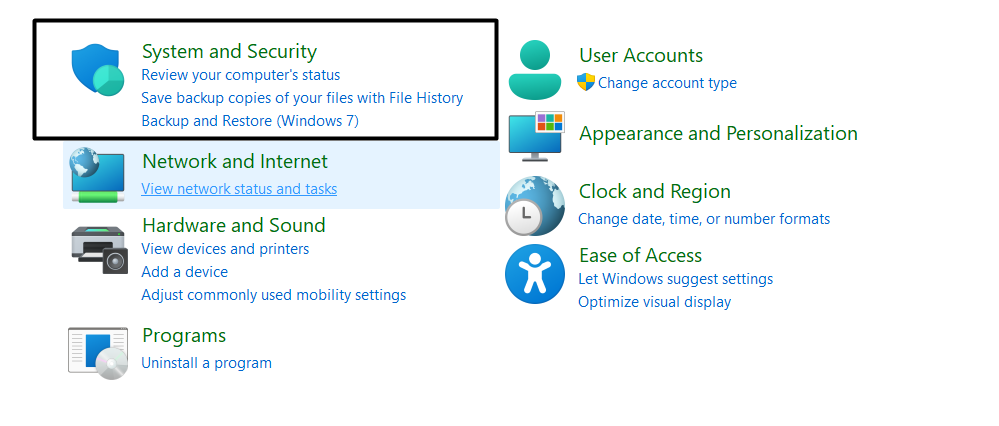
2.Click onPower Optionson the next window and then selectChoose what the power buttons dofrom the left sidebar.
4.In the end,click theSave changesbutton to save all the changes and fix the issue.
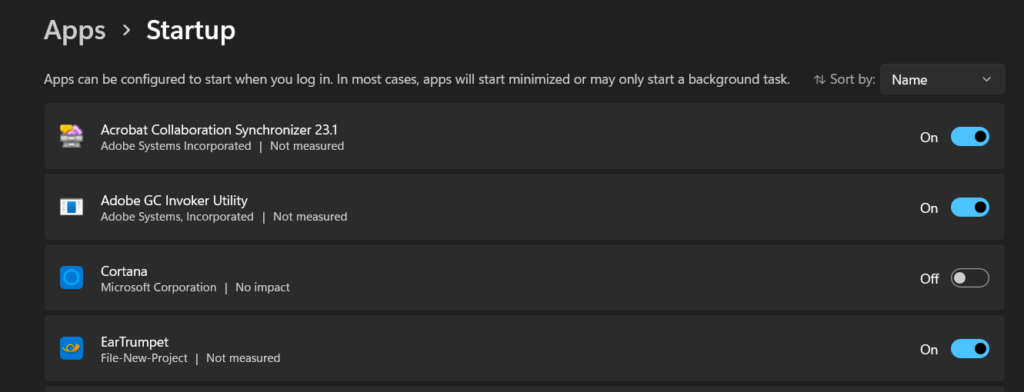
Considering this, we suggest you prevent all theirrelevant startup apps and servicesfrom starting at the system boot.
2.punch theCheck for updatesbutton at the top to search for new available Windows updates.
As a result, the issue will get fixed automatically.
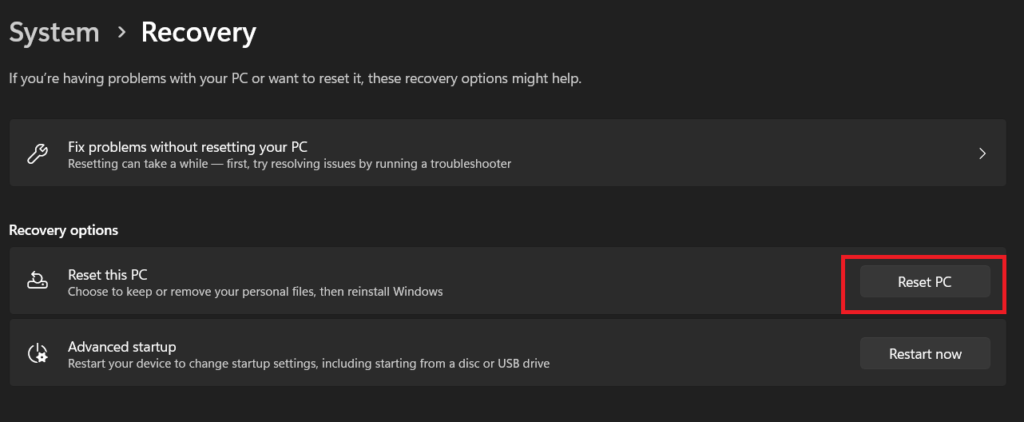
2.hit theReset PCbutton next toReset this PCin theRecovery optionssection.
3.Select theRemove everythingoption on the next prompt and then choose theCloud downloadoption.
4.Finally, press theNextbuttonand thenResetto start the factory reset process.
FAQs
How Do I Fix High GPU Usage on Windows 11?

If this doesnt fix the issue, try restarting the PC.
How Do I Fix Desktop Window Manager in Windows 11?
If this doesnt fix the issue, consider disabling Hardware Accelerated GPU Scheduling (HAGS) on your PC.

Does Windows 11 Affect GPU?
Some users said their systems GPU performance dropped a bit after upgrading to the latest Windows 11.
Can I Disable Desktop Window Manager Windows 11?

How Do I Reduce Desktop Window Manager Usage?
This process usually requires a minimal amount of our systems graphic resources to function.
If yes, then do let us know which workaround fixed the issue for you.