Dell SupportAssist is a utility familiar to most Dell laptop users.
It automatically scans their devices to find new updates available for the installed drivers and the built-in Dell utilities.
But at the same time, most users also know that it never works perfectly on Windows 11.
It keeps getting new and new issues.
For instance, it shows theInstallation failed We were unable to complete the installation.
So, without any further delay, lets resolve it.
Why Is Dell SupportAssist Not Working in Windows 11?
There could be several reasons for the non-functioning of Dell SupportAssist in Windows 11.
In this section, well list all thecommon reasonsfor Dell SupportAssist not working in Windows 11. you might check the minimum PC requirementshere.
So, confirm its installed on your Dell laptop.
3.Once its installed, find out if the Dell SupportAssist program works well on your Dell laptop.
This will eliminate all the temporary bugs and glitches that may be causing this issue.
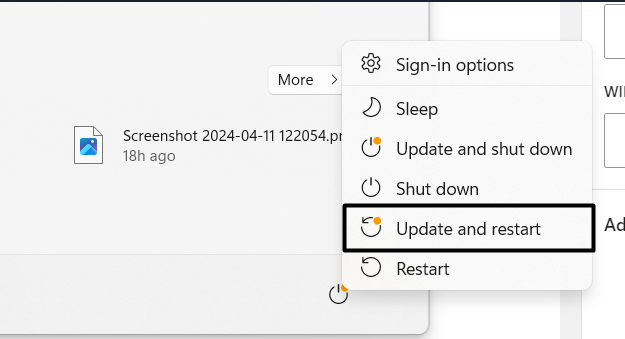
2.In the new prompt, right-click thePower iconand choose theRestartoption from the menu.
3.Once your laptop is rebooted, confirm whether Dell SupportAssist not working is fixed now.
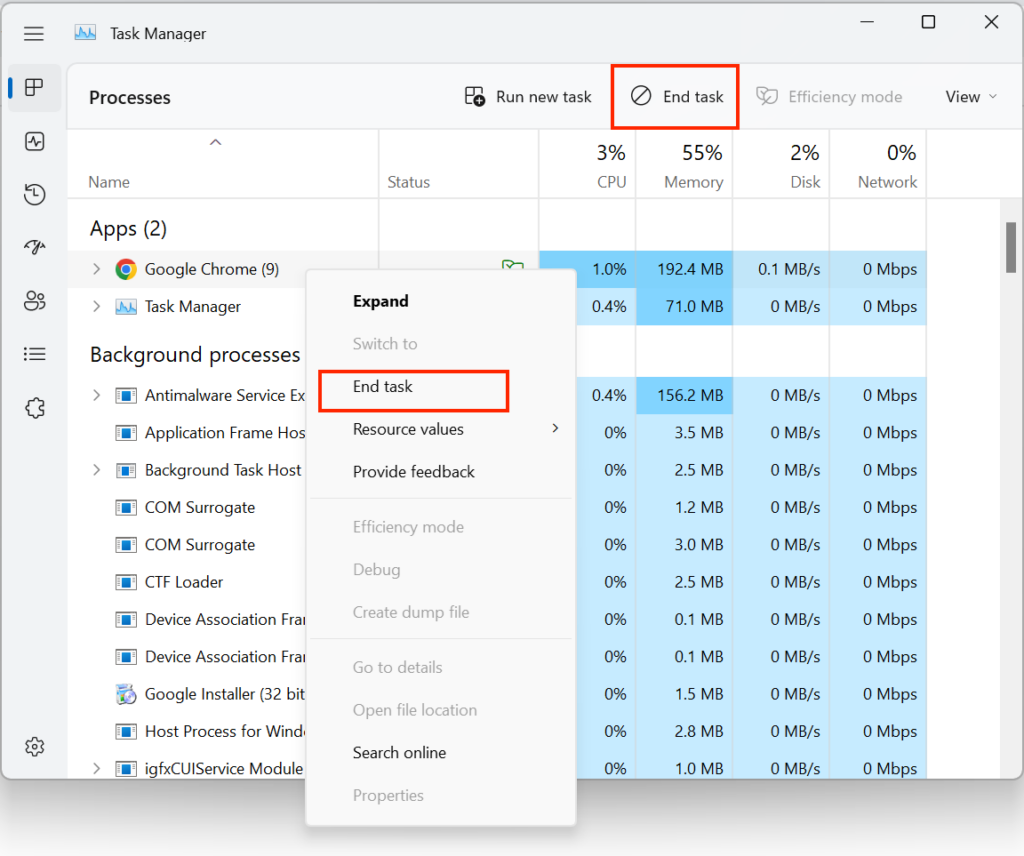
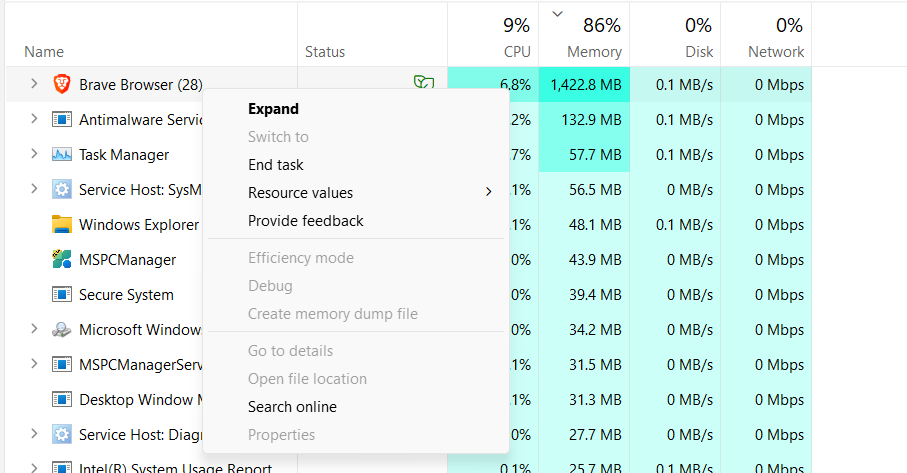
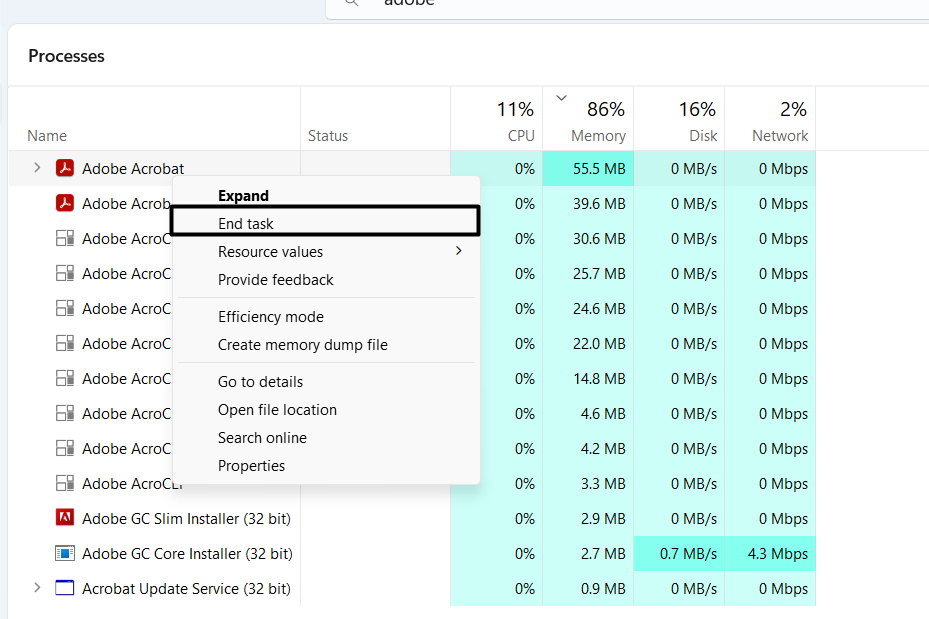
2.UnderProcessesinTask Manager, simply right-click theDell SupportAssistprocess in it.

3.From the menu, choose theEnd taskoption to force wrap up the Dell SupportAssist program.
4.Finally, open Dell SupportAssist and confirm whether the program works well on your Dell laptop.
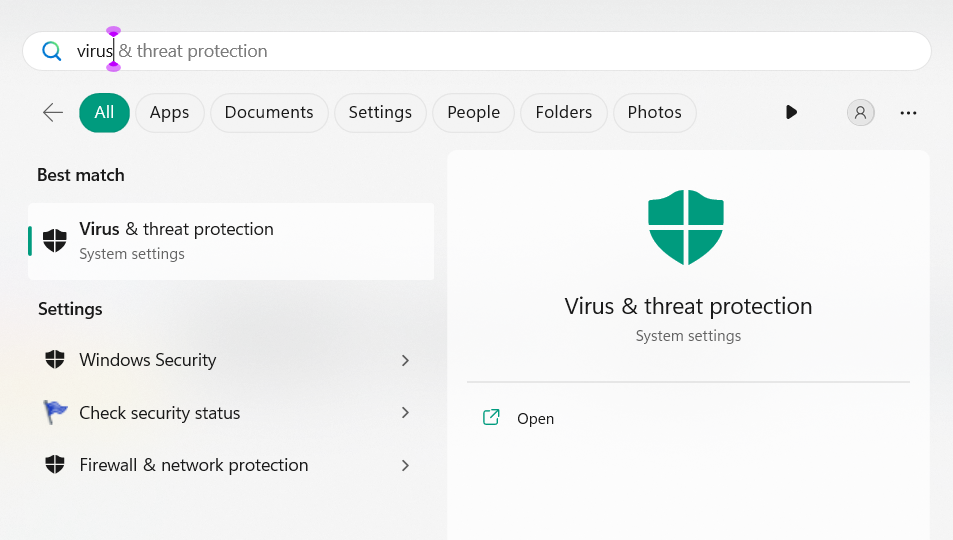
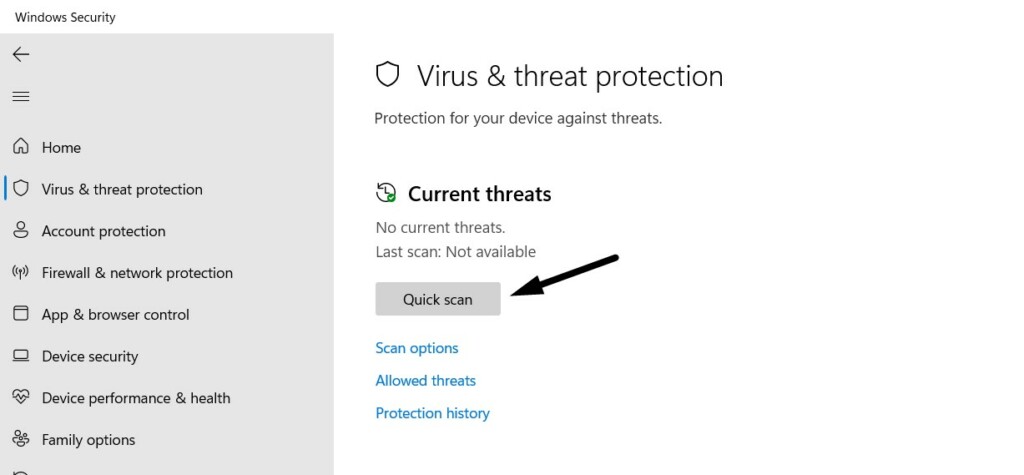
Therefore, we suggest youscan for malware and viruseson your laptop using the Windows 11 built-in virus facility.
3.Hopefully, the Dell SupportAssist not working problem is fixed now on your Windows 11 Dell laptop.
Implementing this solution has resolved the Dell SupportAssist not working problem for many Windows 11 users.
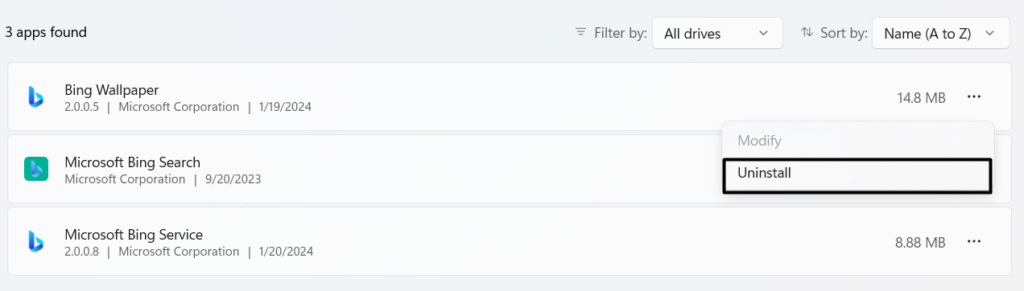
2.In theAppswindow, expandInstalled apps, and then find theDell SupportAssistapp.
3.Clickthree dots (…)next toDell SupportAssist, and choose theUninstalloption from the menu.
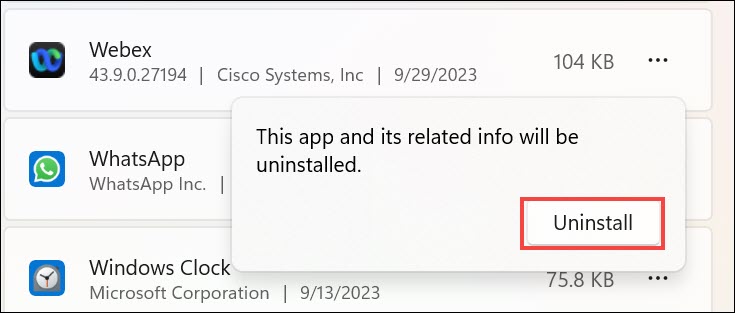
4.In the new window, click theUninstallbutton to delete the program from your Dell laptop.
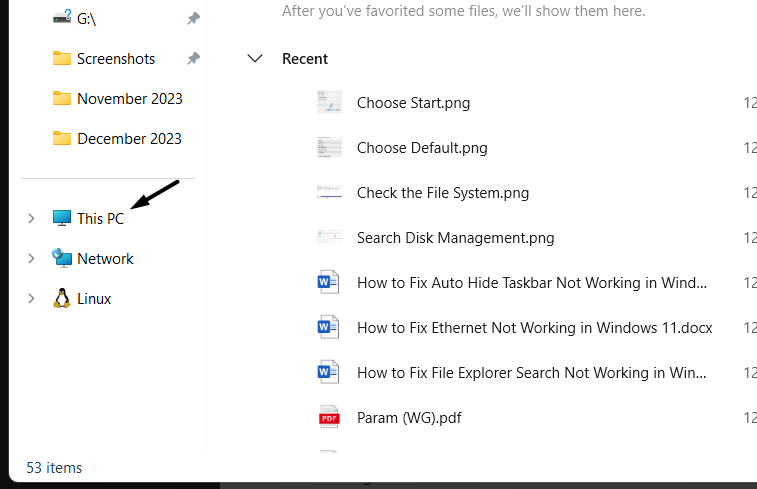
5.Proceed to theThis PCsection from the left, choose the main storage, and clickViewat the top.
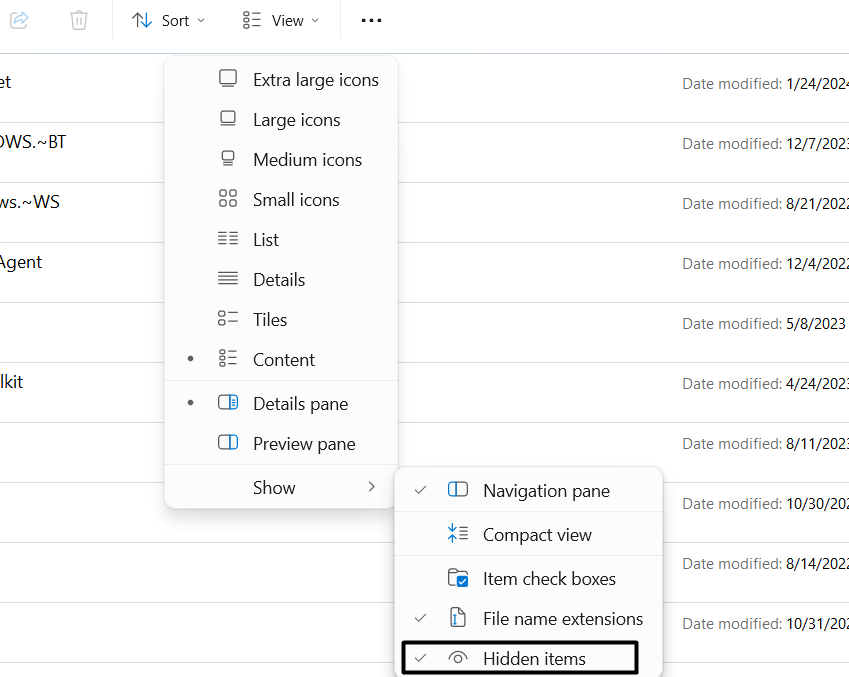
6.Hover the arrow onShow, and from theShowdrop-down, chooseHidden itemsto enable.
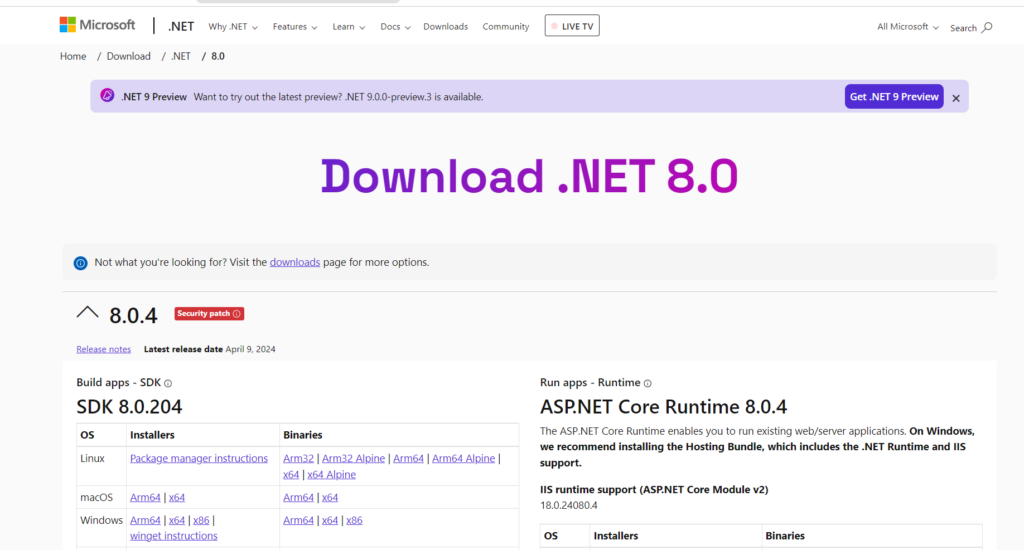
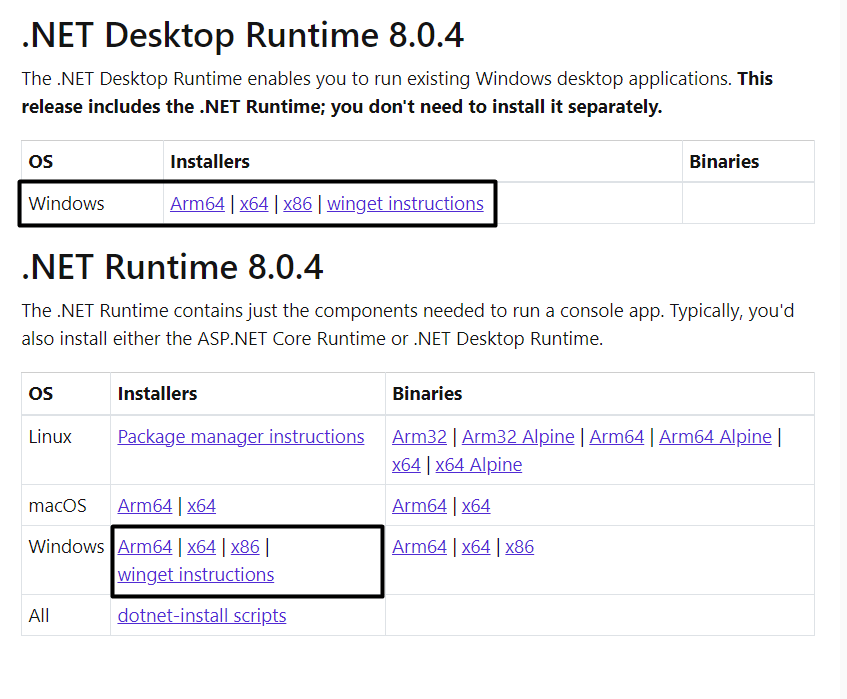
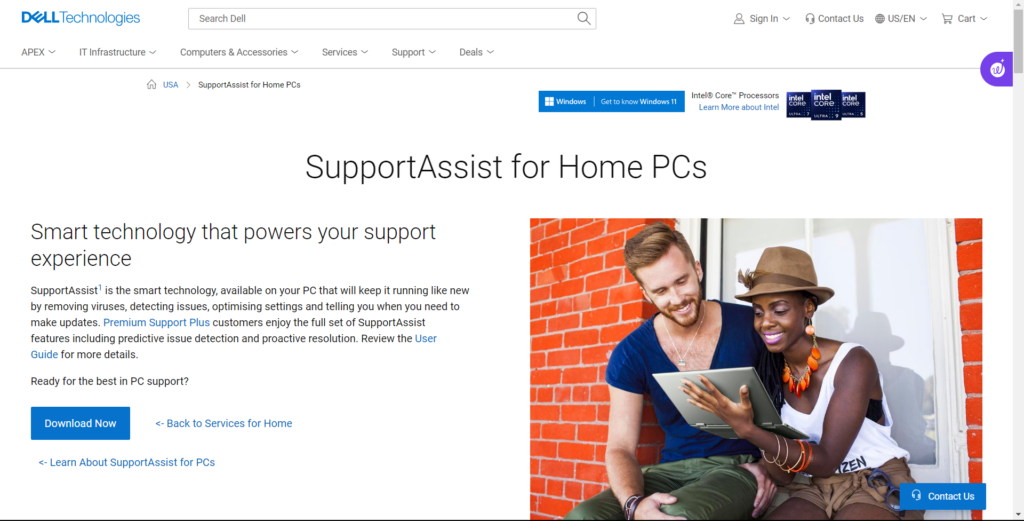
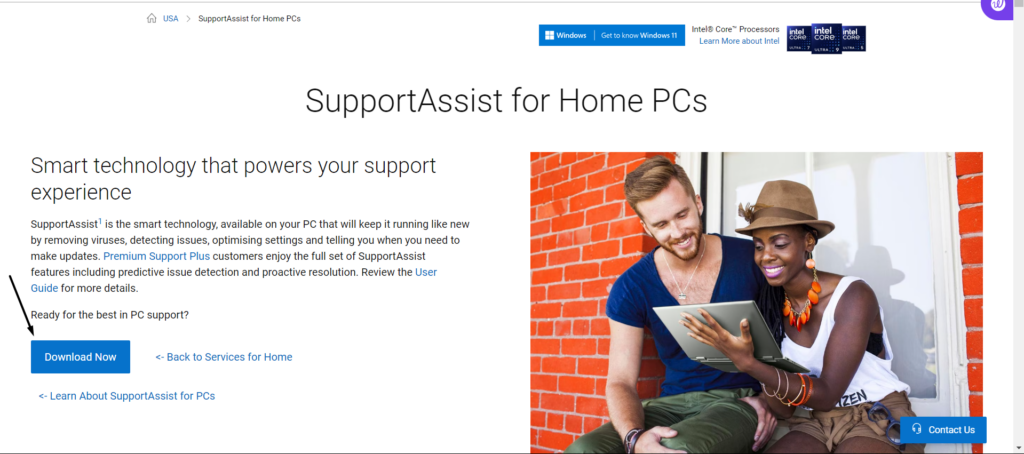
10.Choose theDownload Nowbutton to download its executable file and see if it works now.
Below are prompts to do the same:
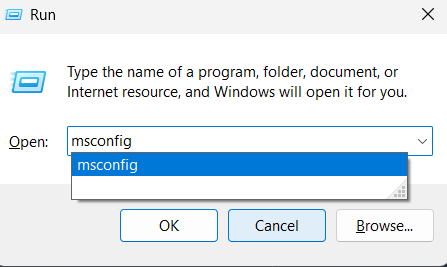
1.Open theRun search boxusing theWindows + Rshortcut and then typemsconfigin it.
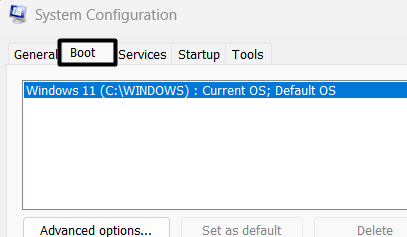
2.HitEnterto open theSystem Configurationwindow and go to theBoot tabfrom the top.
3.In theBoottab, under theBoot optionssection, checkmark theSafe bootbox to enable it.
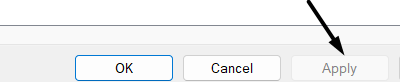
4.Once done, click theApplybutton at the bottom and thenOKto save the recent changes.

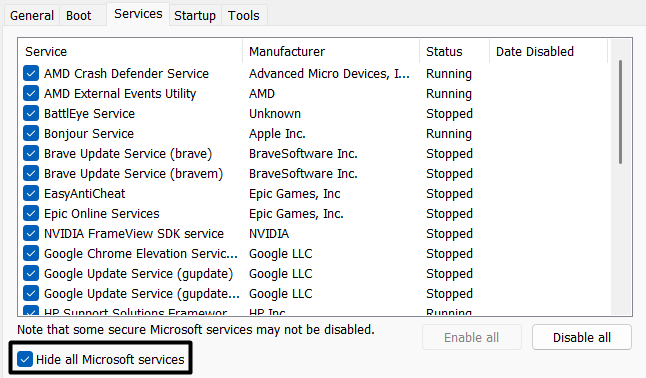
5.Jump to theServices tabof theSystem Configurationwindow and tickHide all Microsoft services.
6.ClickDisable allto turn off all the third-party services that could be the reason for this issue.
7.Proceed to theStartuptab, choose theOpen Task Managertext, and end all the tasks.

8.Lastly, minimize the window and check whether the Dell SupportAssist app works well now.
If it works properly, it means a third-party program is causing this issue on your Dell laptop.
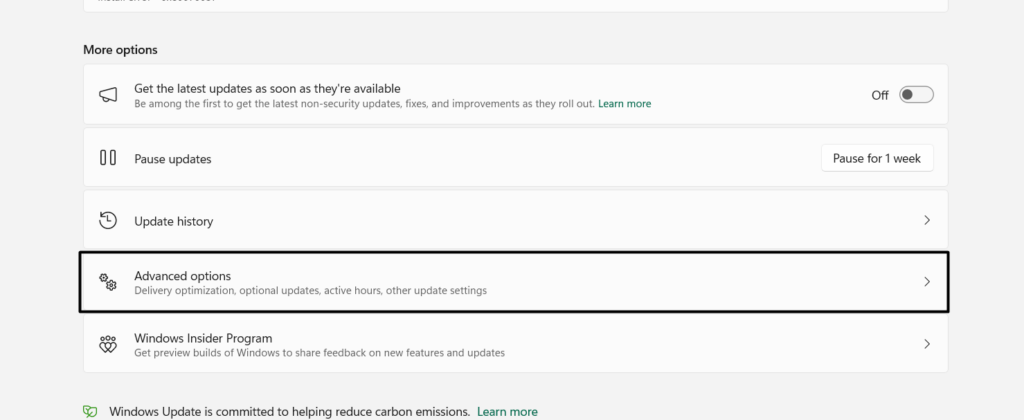
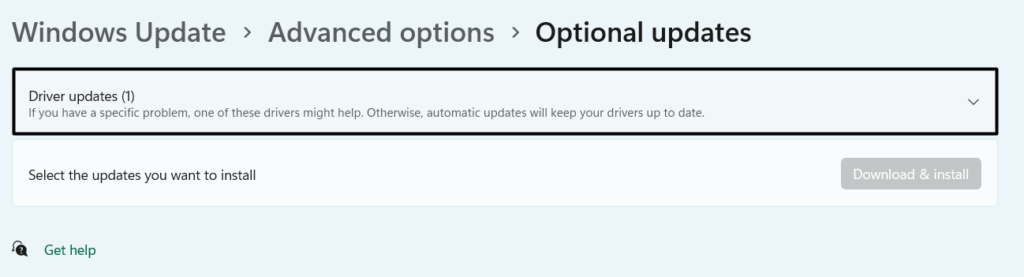
2.In theAdvanced optionssection, openOptional updatesand look for the driver-related updates.
3.Select all the driver-related updates and clickDownload & install allto download and install them.
It could be possible that the OS has some minor glitches, which is why the SupportAssist isnt working.
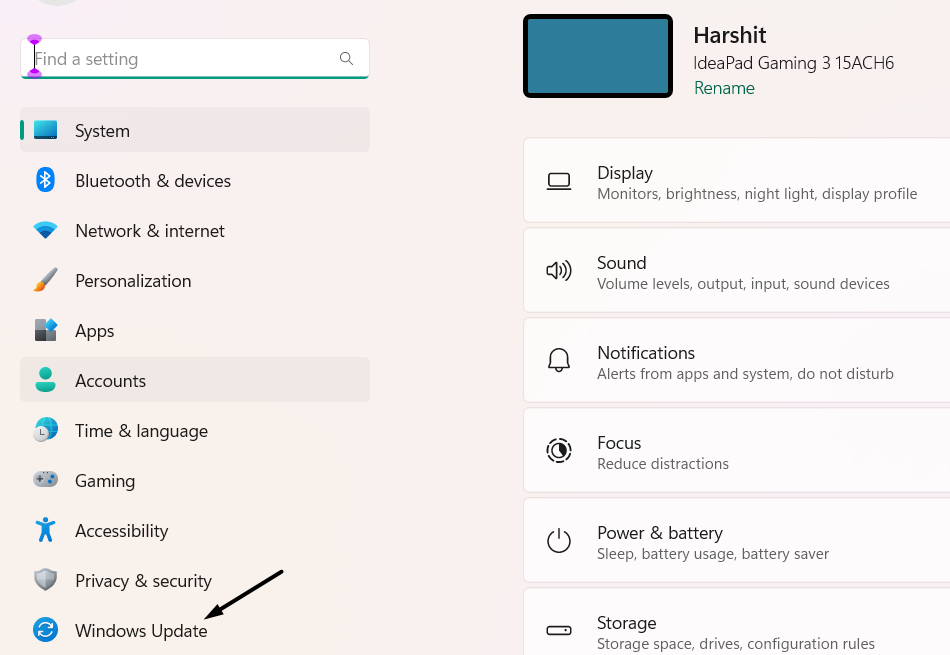
In that case, we suggest youlook for the new Windows updatesand install them.
2.In theWindows Updatewindow, click theCheck for updatesbutton to search for new updates for the operating system.
Once done, cycle your Dell Windows 11 PC and check whether the issue is gone.
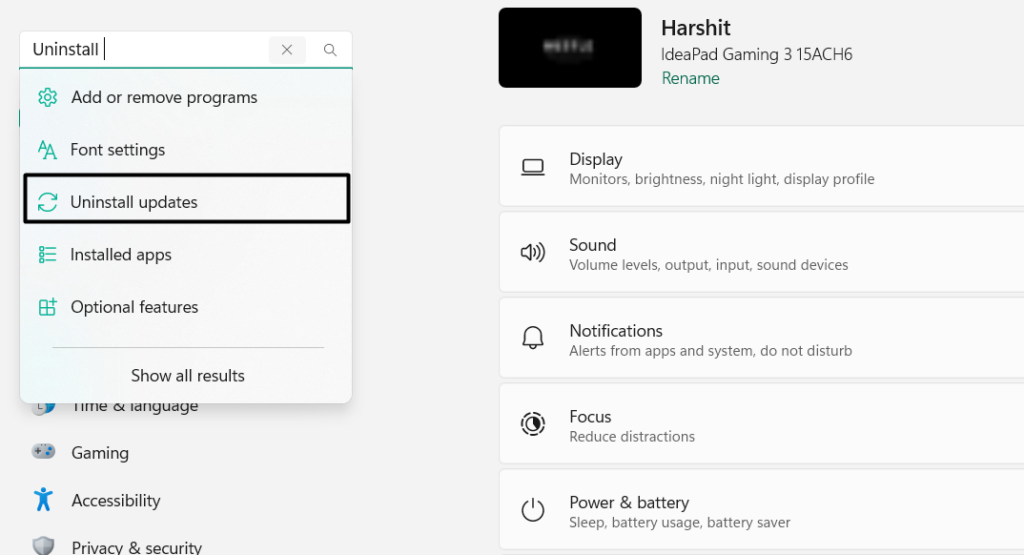
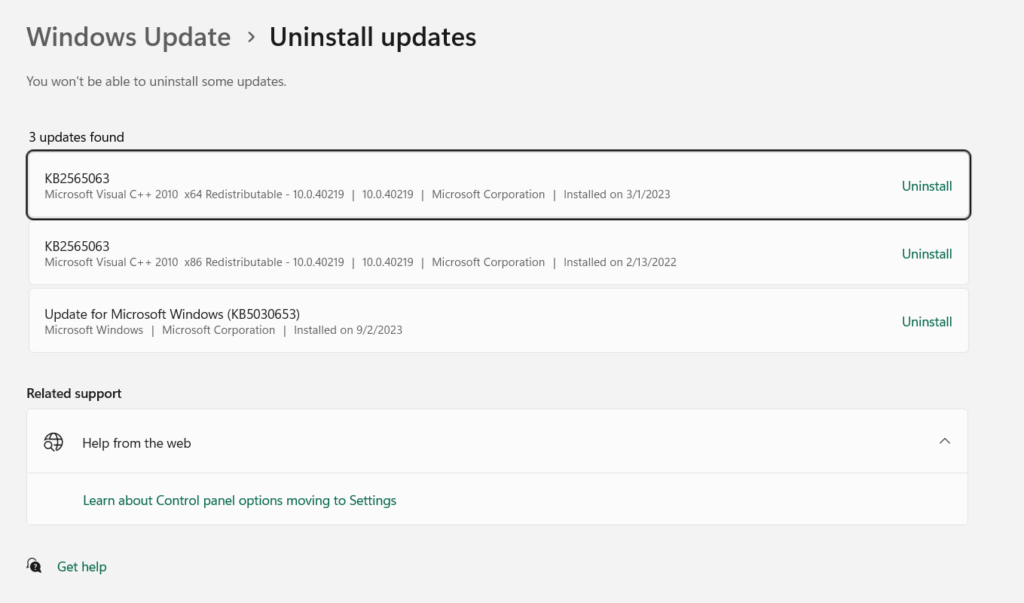
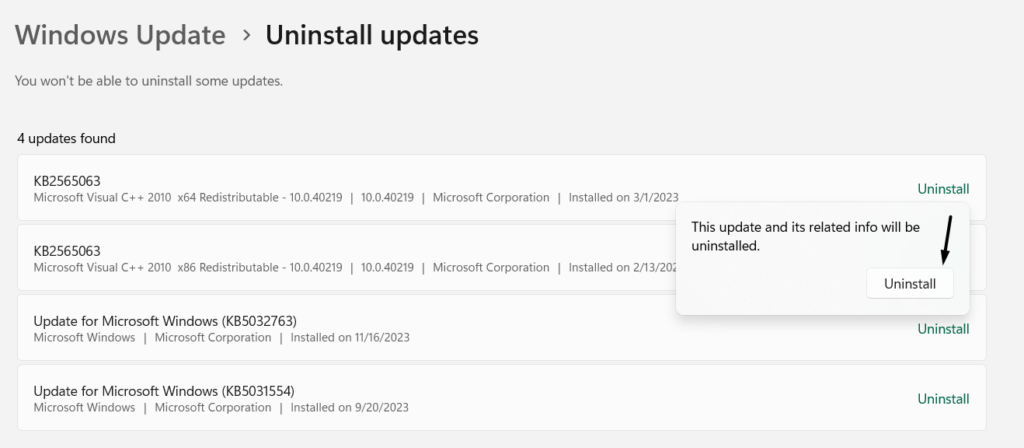
2.In theUninstall updateswindow, find theW11 22H2build update and clickUninstallnext to it.
3.In the next window, chooseUninstallto uninstall the selected Windows update from the PC.
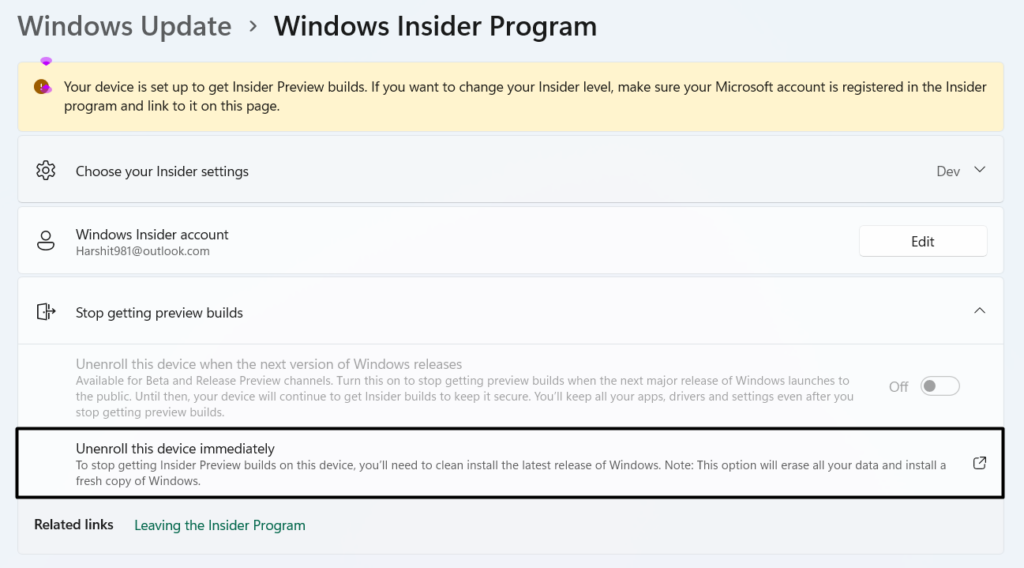
They said that the preview updates arent completely compatible with SupportAssist.
If youre also a part of the Windows 11 Preview build,leave itand see if it helps.
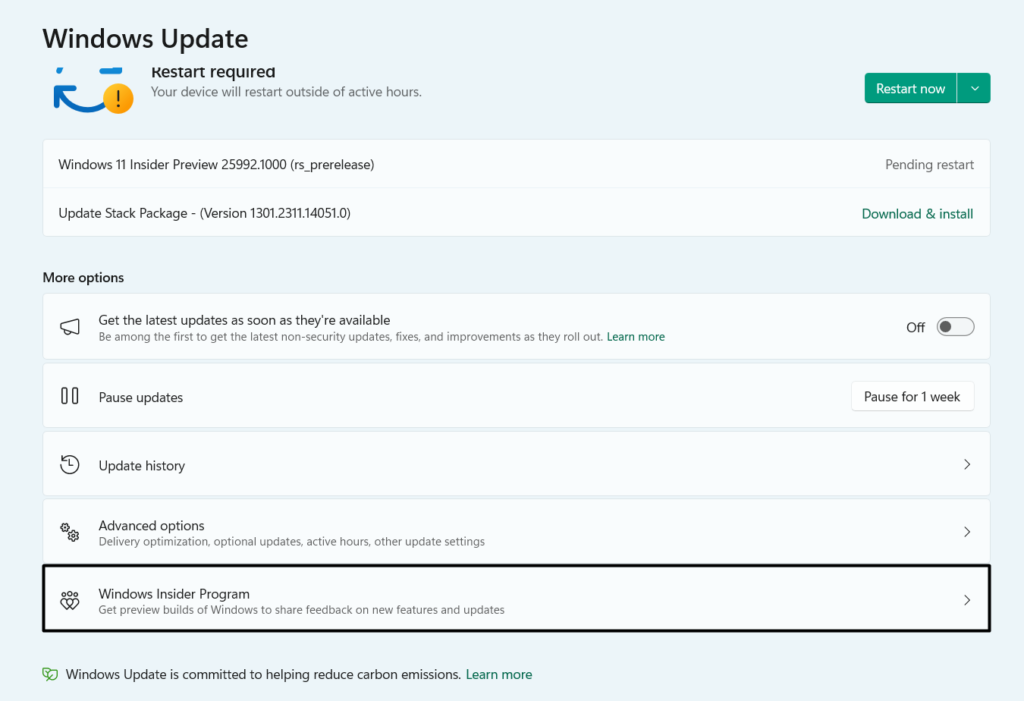
2.In the app, choose theWindows Updateoption and chooseWindows Insider Program.
3.Expand theStop getting preview buildssection and clickUnenroll this equipment immediately.
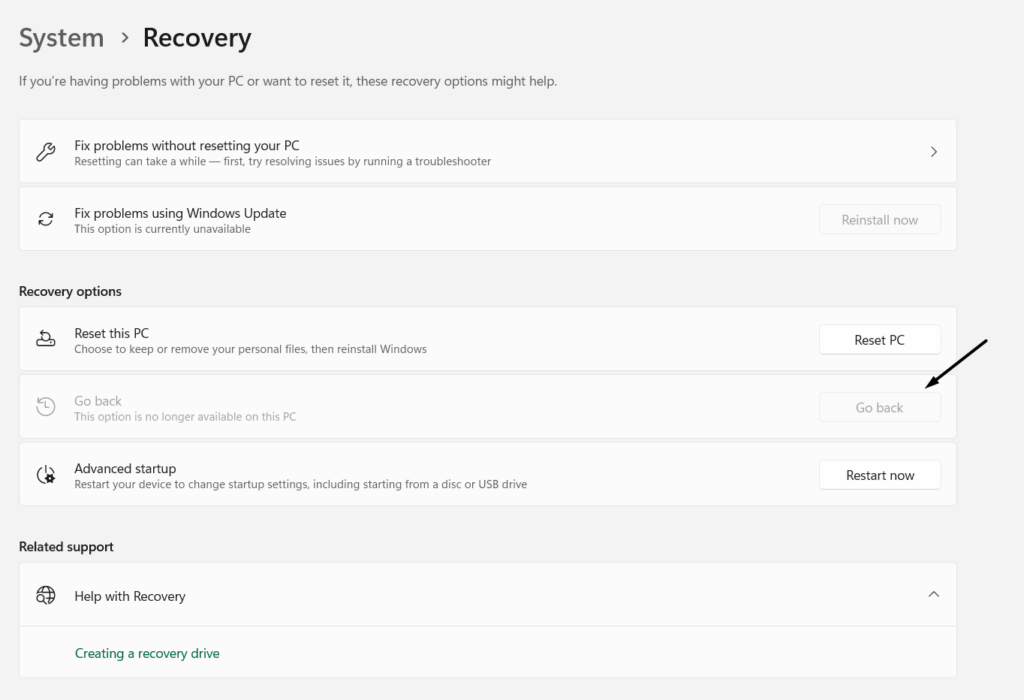
Some users in the online forums mentioned they fixed the issue by reverting the PC to Windows 11.
Thus, we also suggest youdo the sameusing the PCs integrated Go back function and test whether it helps.
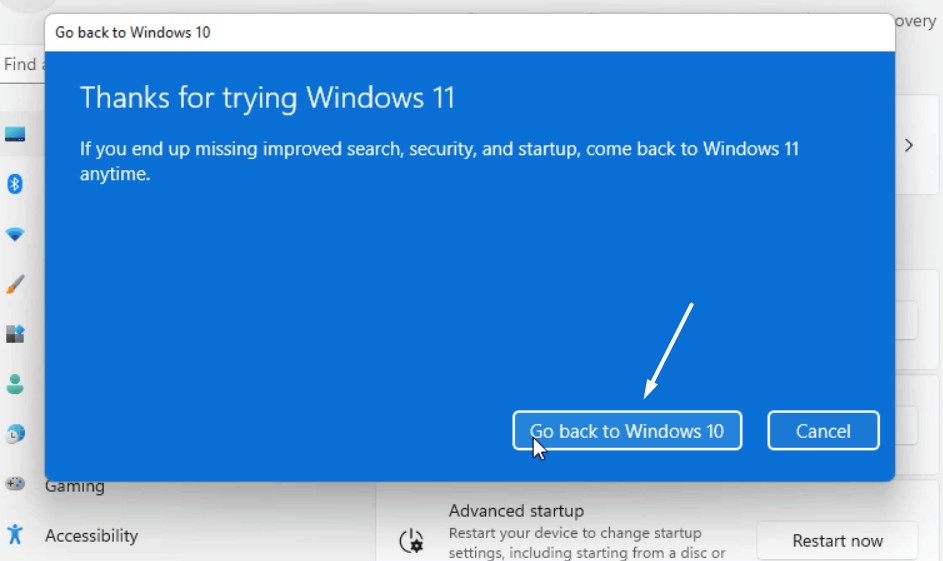
2.In theRecoverywindow, choose theGo backbutton next to theGo backtext to go ahead.
3.In the end, follow the on-screen instructions to go back to Windows 10 and check the issues status.
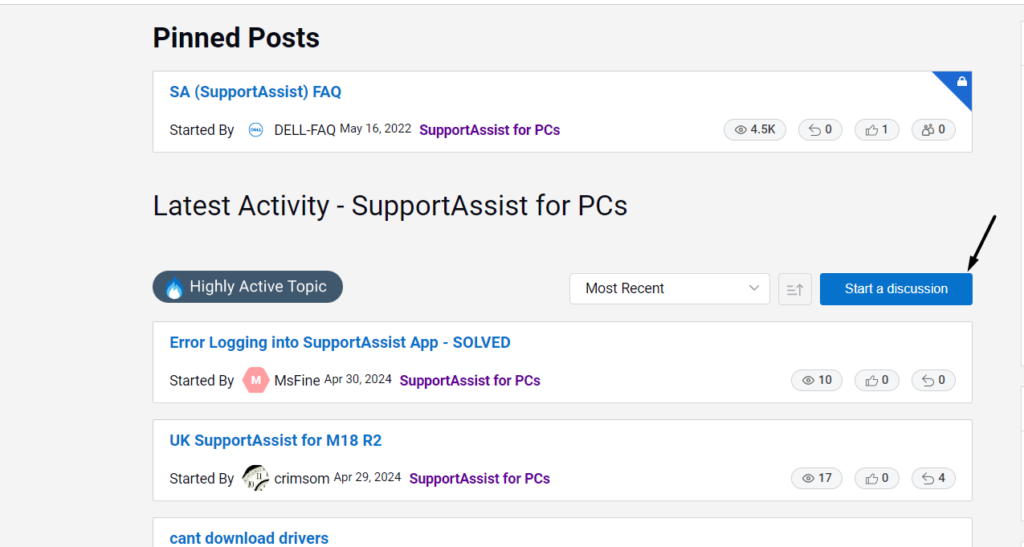
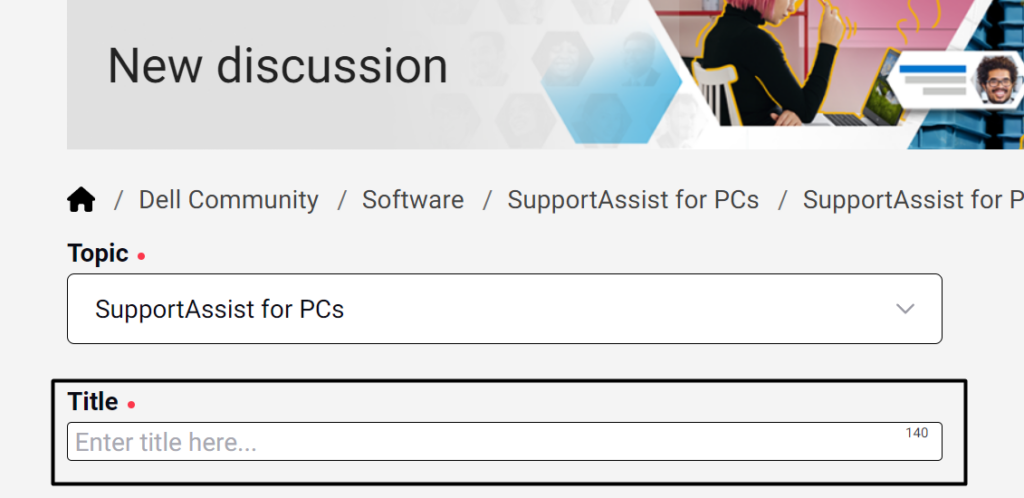
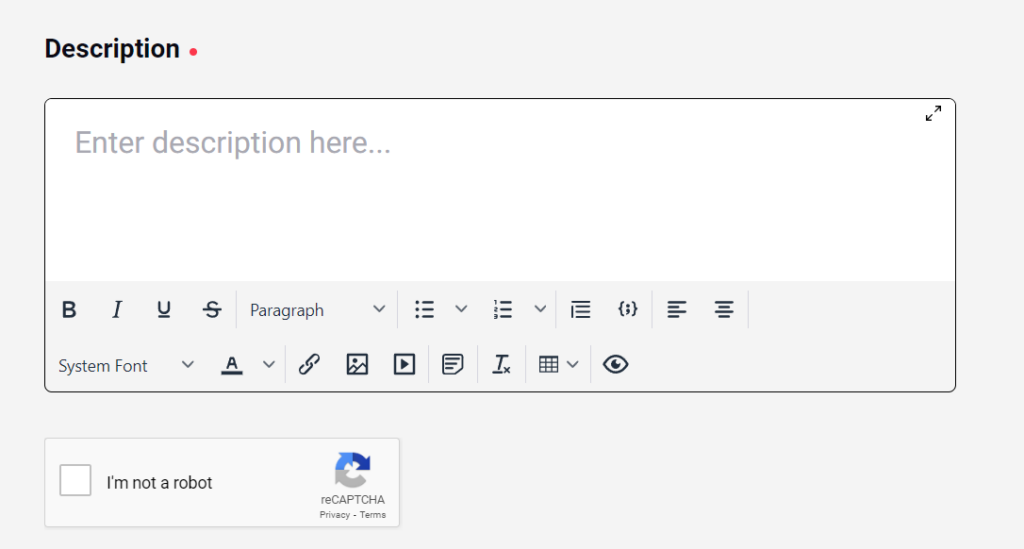
3.If available, simply attach a screenshot in theSelect the product you need help with (optional)box.
4.Explain your issue in theDescriptionbox, verify youre not a robot, and click thePostbutton.
5.Wait for the community members to come across your issue and provide fixes if they know.
it’s possible for you to find the Dell after sales team contact details at theattached page.
FAQs
Does Dell SupportAssist Work With Windows 11?
Yes, the Dell SupportAssist utility works on Windows 11.
However, at times, it faces issues in working.
Why My Dell Support Assistant ain’t running?
It may be possible that DellAssistant is outdated and has some bugs, which is why it isnt working.

Other reasons for the issue with DellAssistant could be outdated BIOS, Windows 11, etc.
How To Repair Dell SupportAssist?
The only easiest way to repair DellAssistant is to uninstall it from the equipment and then clean install it.
How Do I Reinstall Dell SupportAssist?
How Do I Open Dell SupportAssist in Windows 11?
you could also launch the app from the Installed apps section of the controls app.
But, at times, it also faces problems when working on the PC.
For instance, it shows different errors when running or when trying to open on the Dell laptop.
Before leaving, let us know which mentioned fixes helped you fix Dell SupportAssist not working in Windows 11.