The Could Not Create the Java Virtual Machine error appears when launching a Java-based app.
No doubt, this error can be fixed on the PC.
But fixing it without any technical guidance could be pretty difficult.

In this guide, well shareseveral working waysto fix this error in Windows 11.
Why Does the Could Not Create the Java Virtual Machine Error Appear in Windows 11?
In this section, well list out all the common reasons for this annoying error.

Below, well shareseveral waysto eliminate this error on your Windows 11 PC.
Reboot Your PC
Sometimes, the temporary issues in the computer also lead to these errors.
So, we suggest youreboot the PCto eliminate them.
The best part is that sometimes restarting the PC fixes the issue.
2.In theShut Down Windowsprompt, opt for dropdown and choose theRestartoption from it.
3.HitEnterto reboot the PC and see if the Could Not Create the Java Virtual Machine error is still there.
you’ve got the option to easily verify the Java installation byexecuting thejava -versioncommandin the Command Prompt utility.
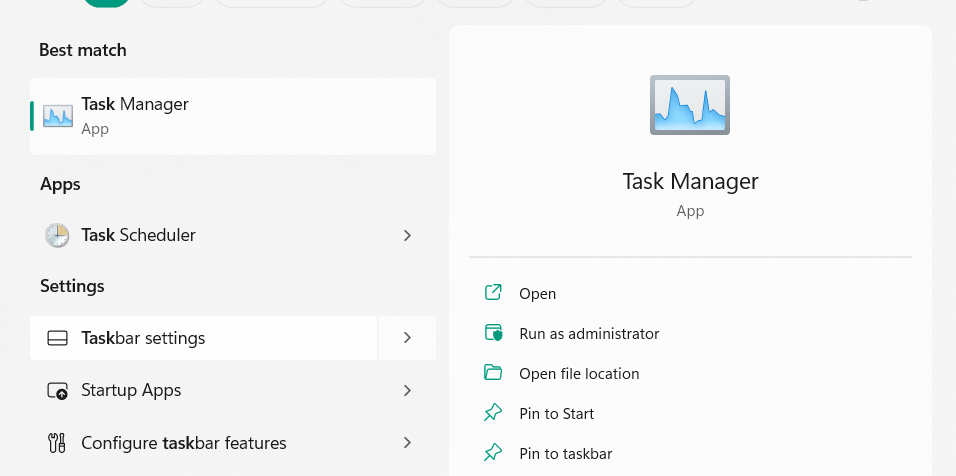
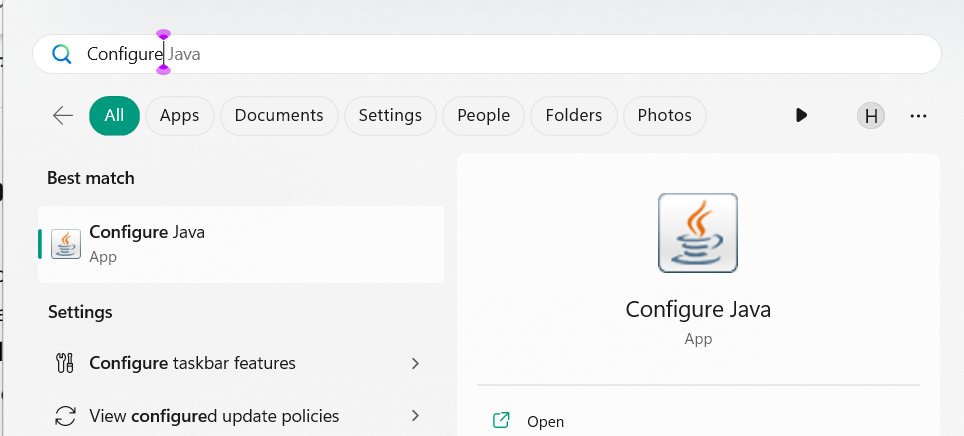
1.Launch theWindows Search Boxby pressing theWindows keyand typeCommand Promptin it.
2.UnderCommand Promptin the results, clickRun as administratorand then chooseYes.
5.After runningjava -versionin the console, check the version and roll out the updated Java app.
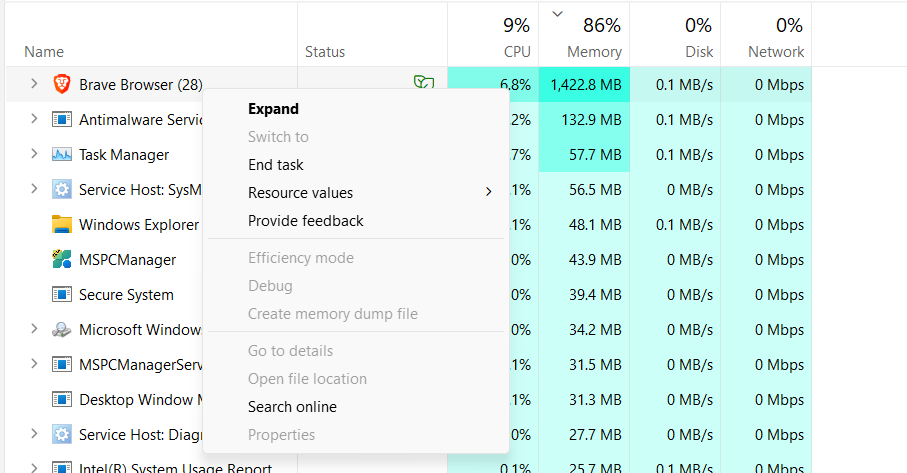
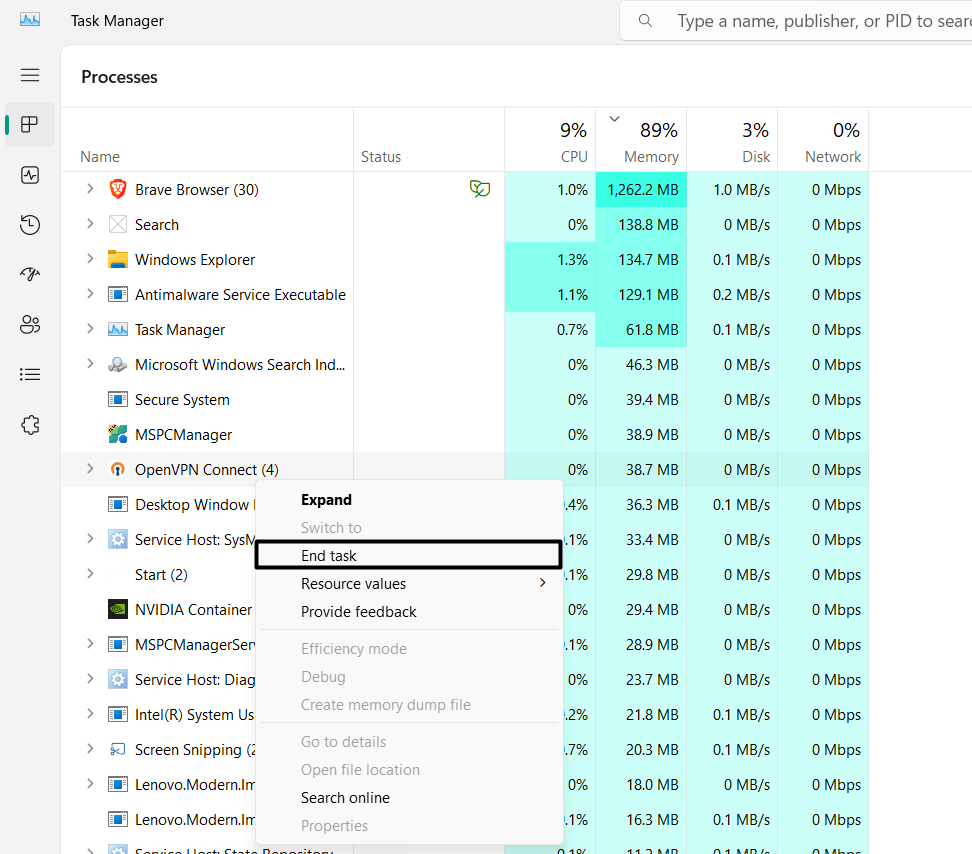
2.In theTask Managerwindow, find theJavaprocess underProcessesand then right-click it.
3.ChooseEnd taskfrom the contextual menu to force shut the Java process on your PC.
4.Lastly, open theJava appand peek if Could Not Create the Java Virtual Machine is fixed.
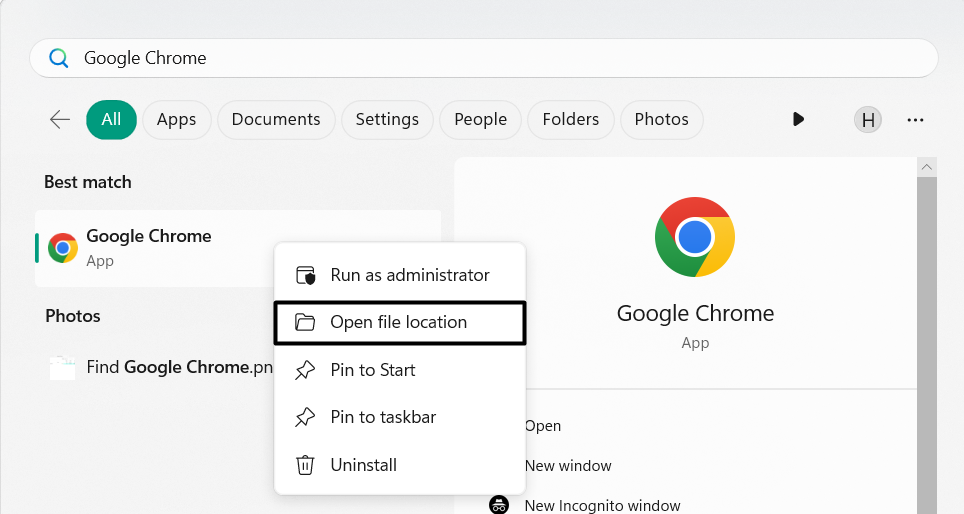
Due to this, we suggest youlaunch Java.exe with admin privilegeson your Windows PC.
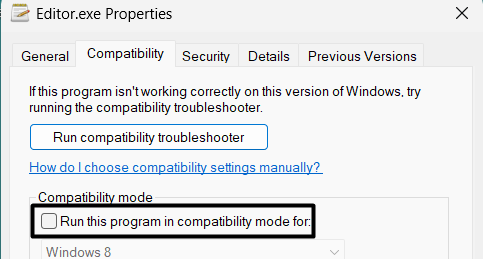
2.In theFile Explorerwindow, right-clickJava.exeand selectPropertiesfrom the menu.
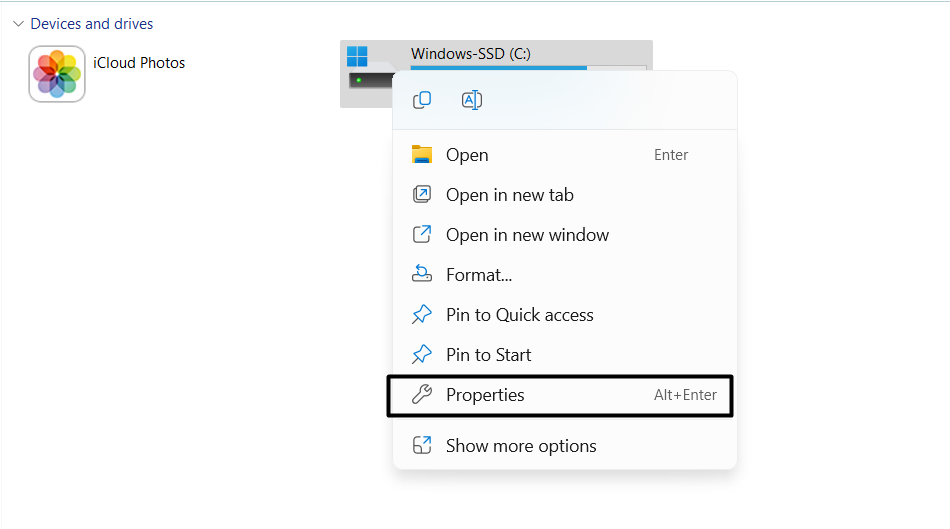
4.Finally, clickApplyand thenOKat the bottom to save the change and shut the window.
Keeping this in mind,increase the allocated memory for the Javaappson your PC.
Doing so will allow the Java and apps to run on Java properly without any crashes.
There are two ways to change the heap size.
Below, weve explained both the methods:
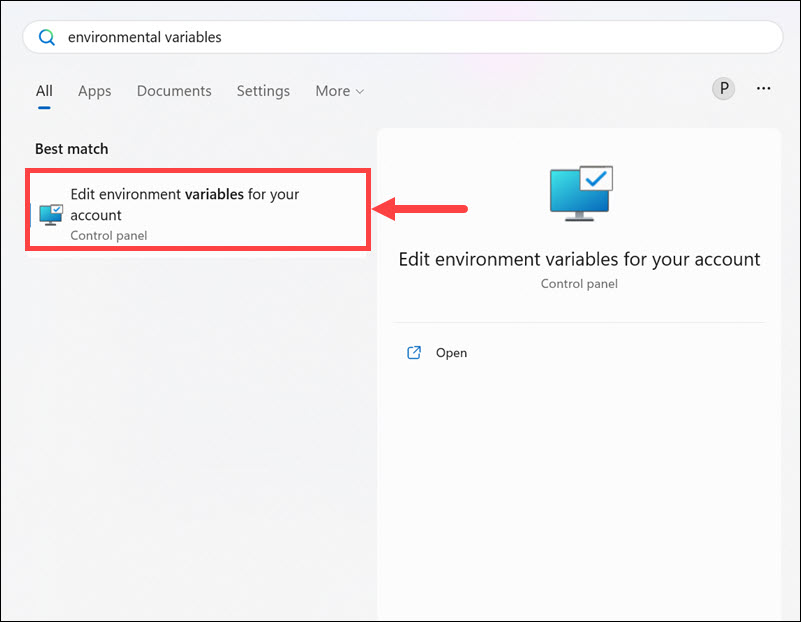
1.Launch theWindows Search Boxon the computer, then typeEnvironmental Variables.
2.ChooseEdit the system environment variablesfrom the results to openSystem Properties.

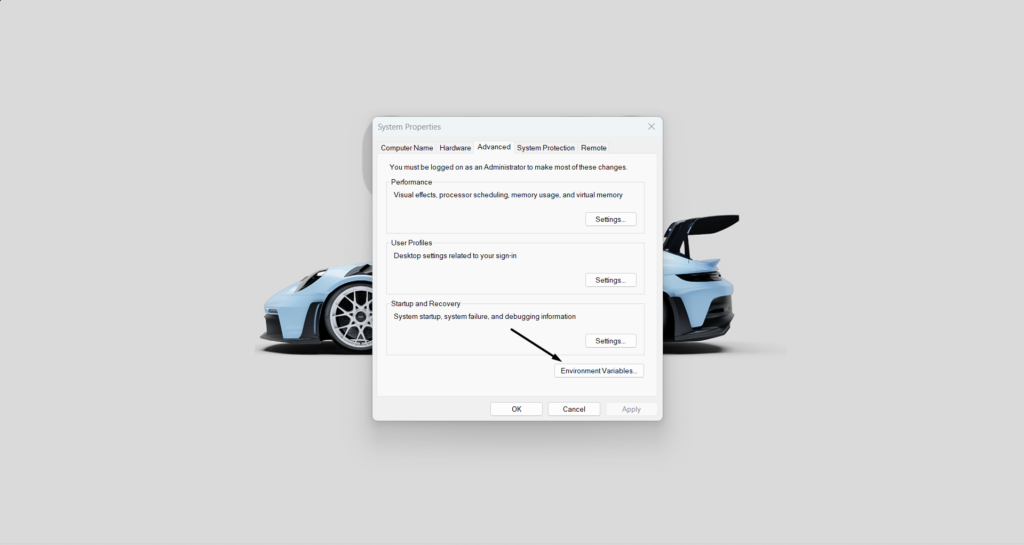
3.In theSystem Propertieswindow, clickEnvironment Variables…and choose theNew…button.
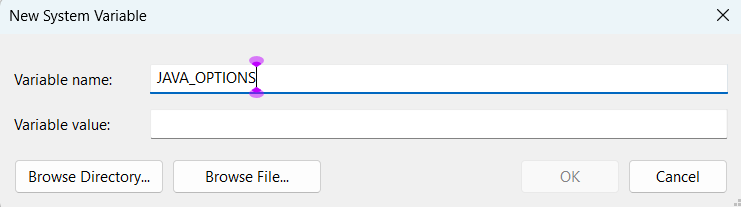
4.In theNew System Variablesprompt, typeJAVA_OPTIONSin theVariable name:text field.
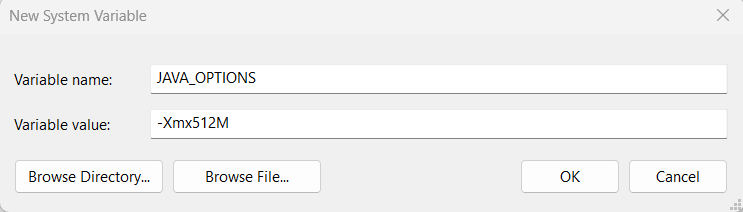
4.Enter-Xmx512Min theVariable value:field and then chooseOKto save the above changes.
5.In the end, click theOKbutton again in the last window to increase the heap size value.
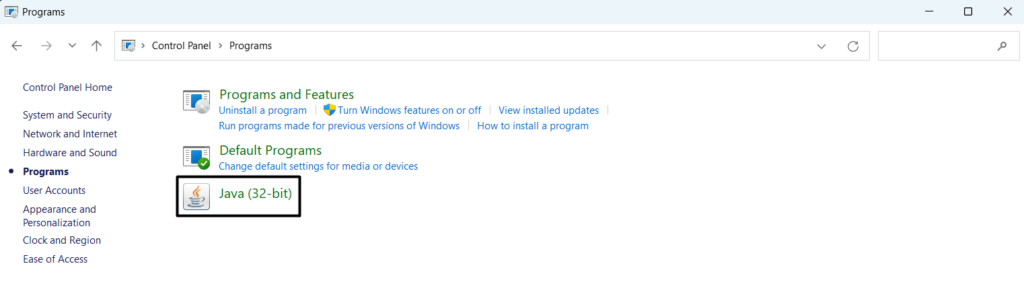
2.In theControl Panelwindow, select theProgramoption and find theJava (32-bit)app.
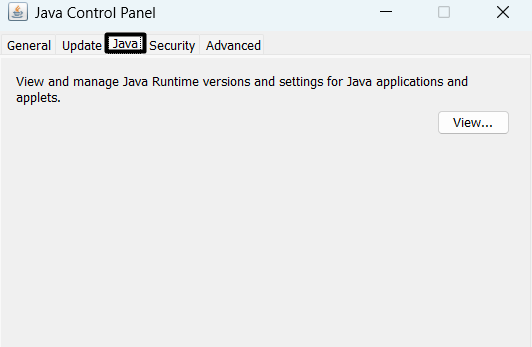
3.Choose it, and in theJava Control Panelwindow, go to theJavatab from the top menu.
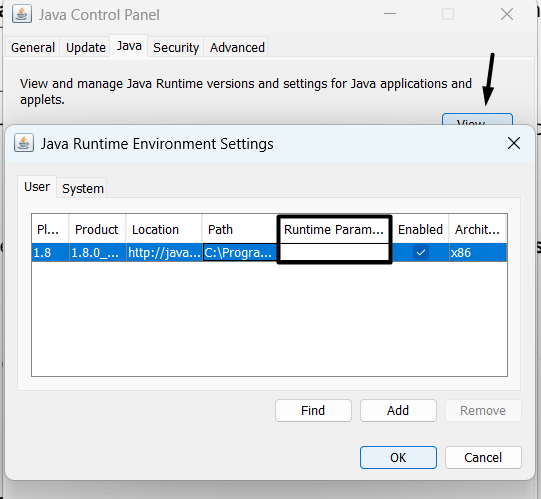
4.In the next tab, selectView…, double-click theRuntime Parameterscolumn, and jot down-Xmx512m.
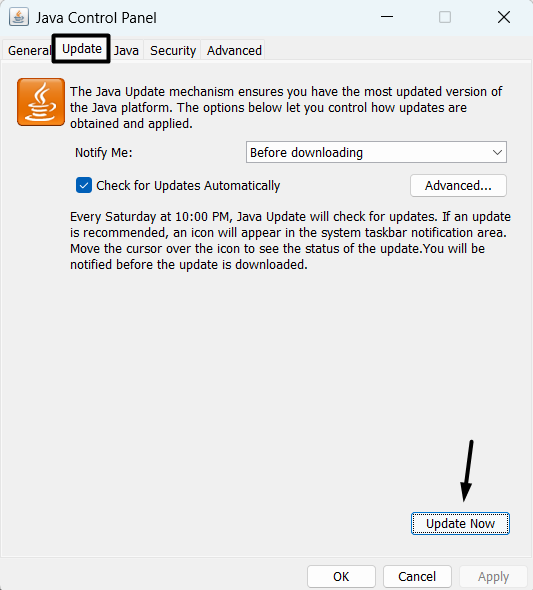
2.Go to theUpdatetab of theJava Control Panelwindow, and in it, click theUpdate Nowbutton.
This will launch the Java Update app on the PC and look for new updates for the Java app.
3.After updating the Java app on your PC, re-open it and confirm if the error is gone now.
Hopefully, doing so will fix all the issues with the program.
Weve mentioned prompts to reinstall the Java system in Windows 11 below.
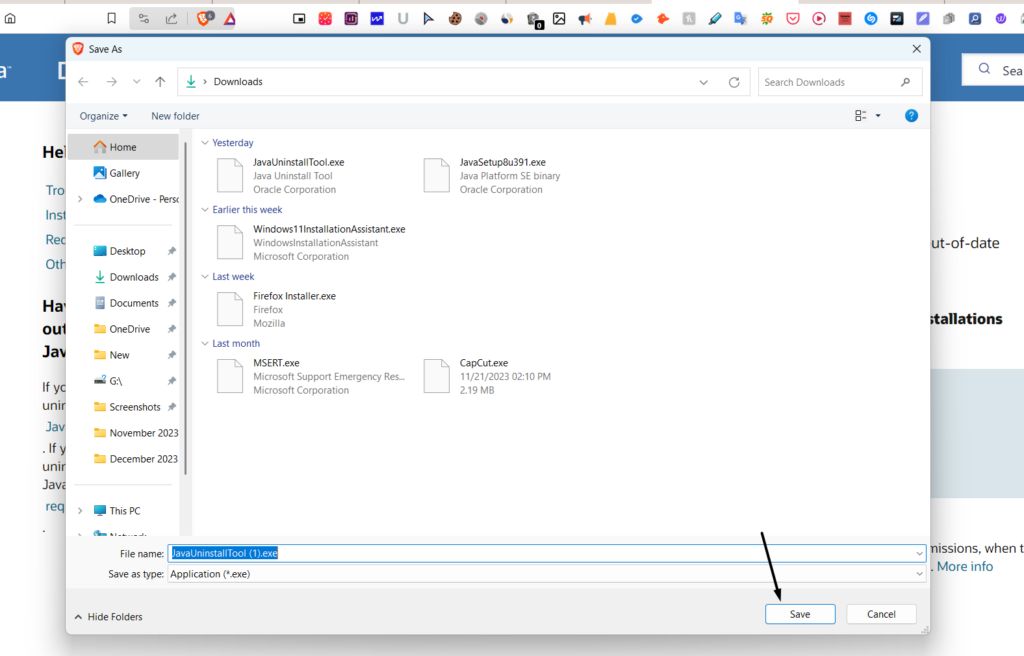
2.In theSave Aswindow, clickSaveto download theJavaUninstallTool.exefile on your PC.
3.Once theJavaUninstallTool.exefile is downloaded, click it and follow the on-screen steps to install it.
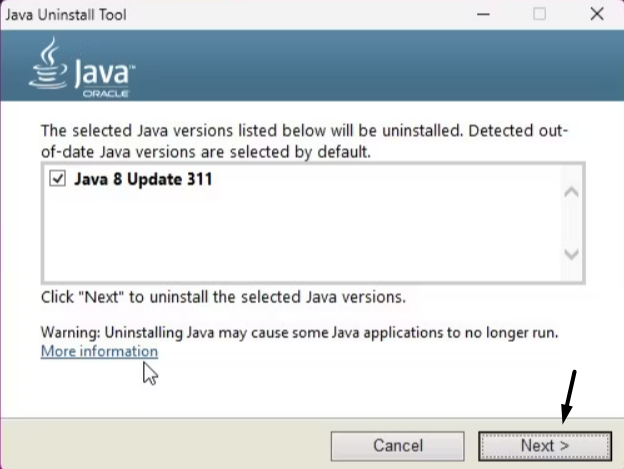
4.Launch the tool, choose all the Java versions detected by the tool, and click theNext >button.
5.Click theYesbutton and then wait for the Java Uninstall Tool to remove the Java from the computer.
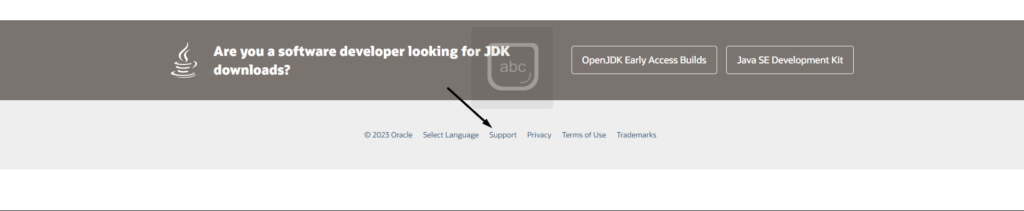
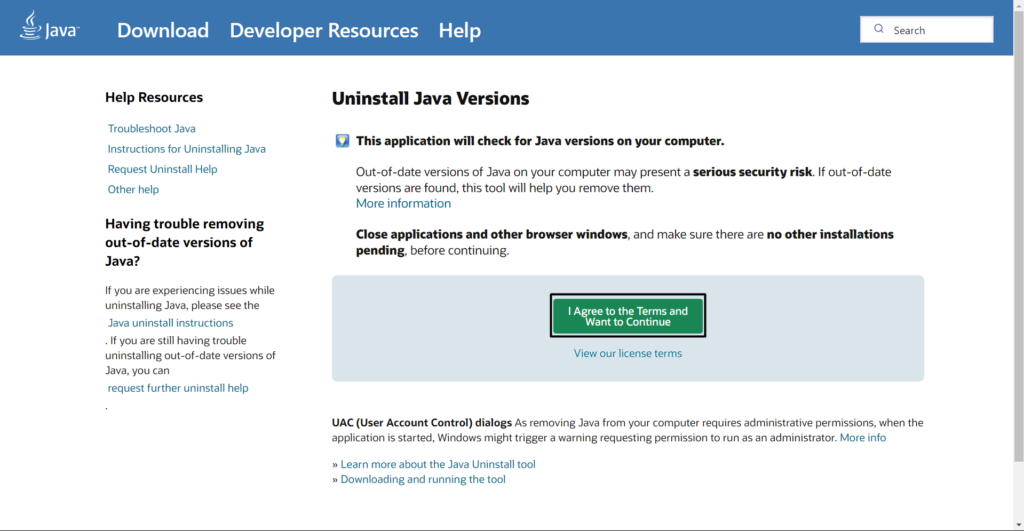
6.After removing Java from your machine, go to theJava Download page, and get the tool.
This will prevent the third-party apps on the machine from interrupting Javas working.
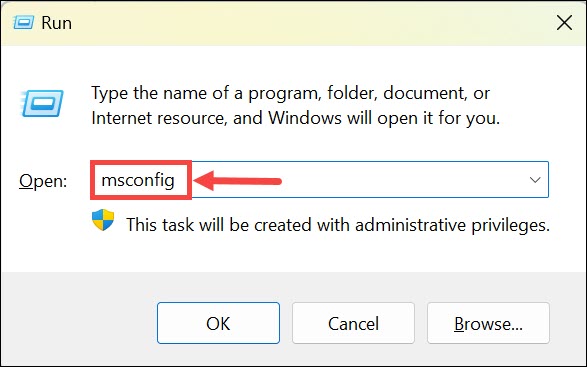
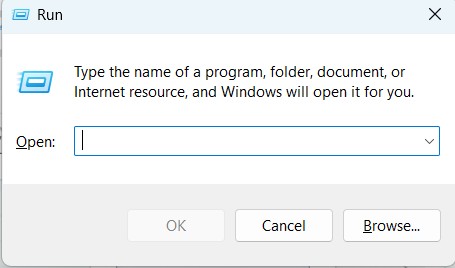
2.In theRun command box, typemsconfigand press theEnter keyto openSystem Configuration.
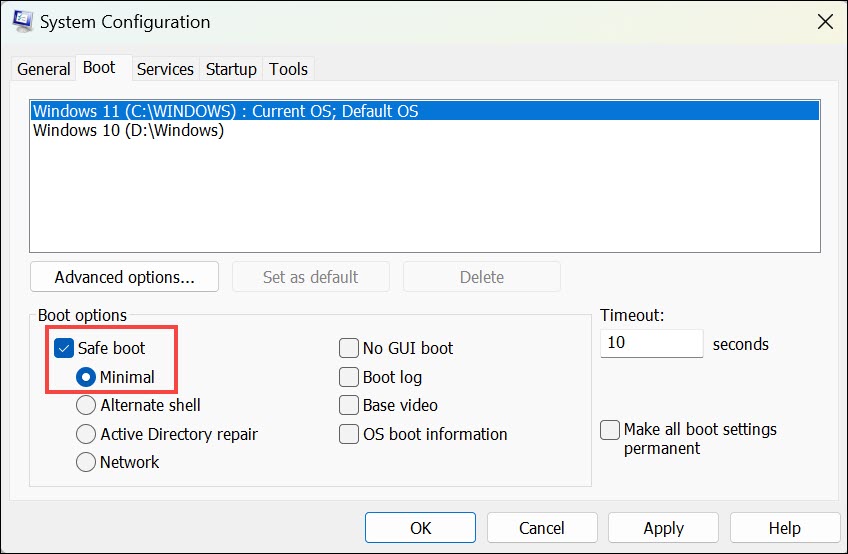
3.In the next window, go to theBoottab, and underBoot options, tick theSafe bootoption.
4.After checking the above checkbox,clickApplyand thenOKat the bottom to apply changes.
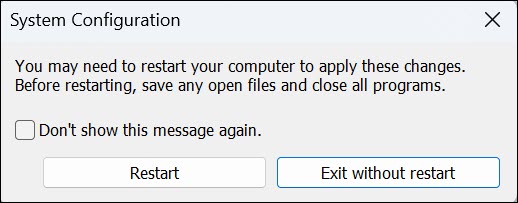
5.Lastly, choose theRestartoption to reboot the PC, and once done, reinstall the Java app.
you’ve got the option to clickhereto download the Javas Developer app on your Windows 11 PC.
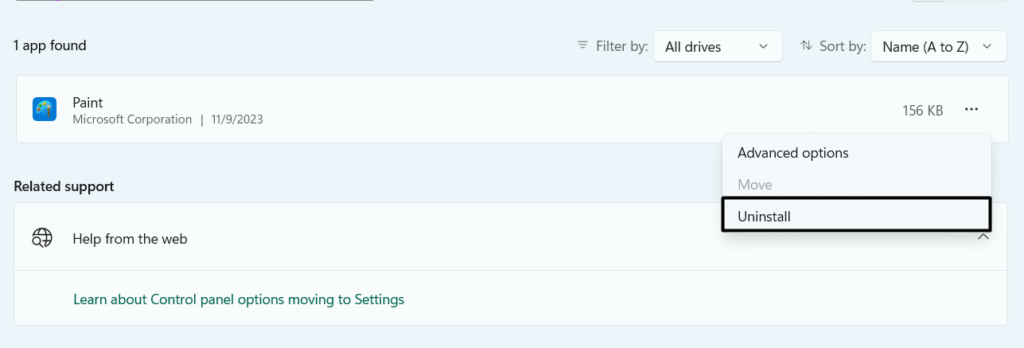
2.Choose theInstalled appsoption to view all the installed apps installed and find the JDK app.
3.Click thethree dots (…)next to the app, and from the dropdown, select theUninstalloption.
4.ClickUninstallin the new prompt to uninstall Java Development Kit (JDK) from your PC.
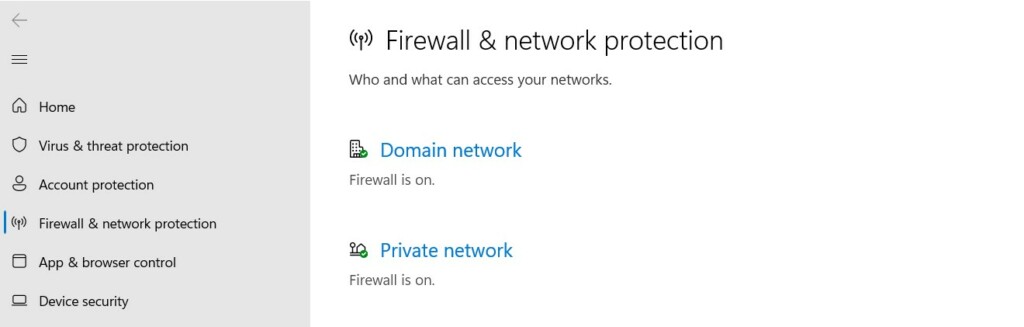
2.In theFirewall & web link protectionwindow, clickPublic networkand shut down the toggle on the next screen.
After disabling the public firewall, simply shut down the private ones.
3.Once both the firewalls are disabled, confirm if the error still appears when creating a machine.
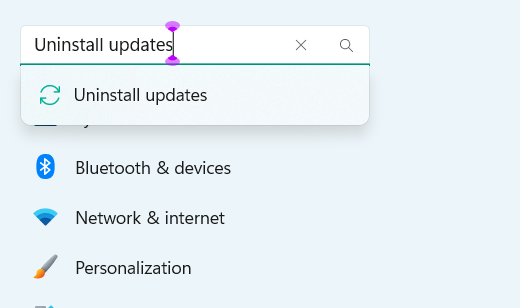
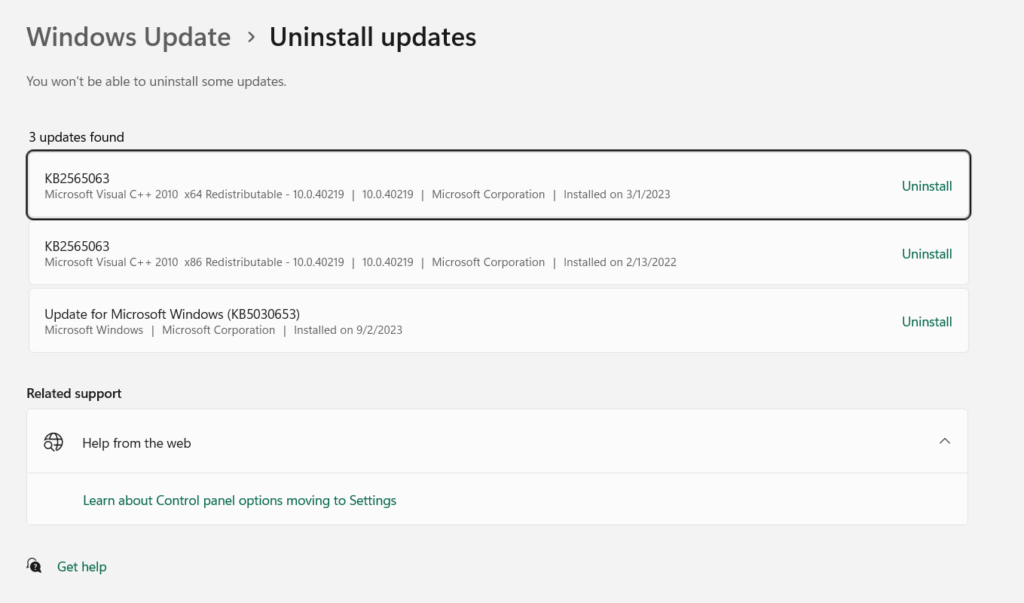
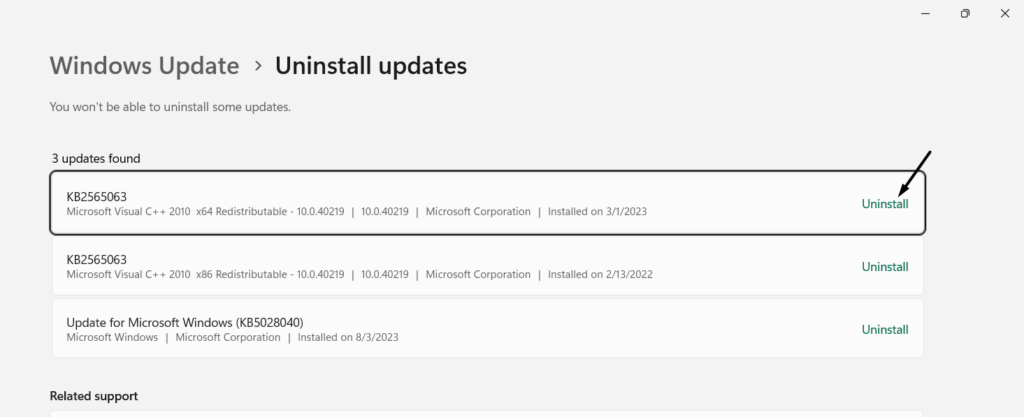
2.On theUninstall updatesscreen, find the conflicting update and click theUninstallbutton next to it.
3.Again, click theUninstallbutton next to it to remove the conflicting update from your Windows 11 PC.
you might share the issue with them to let them look into it and resolve it for you.
FAQs
Why Cant I Create Java Virtual Machine Minecraft?
What Is Virtual Machine Error in Java?
This error in Java appears when an internal error or resource limitation prevents it from working well.
How to Enable Java Virtual Machine?
How Do I Fix Error Occurred During Initialization of Virtual Machine?
To fix error occurred during initialization of Virtual Machine, change the computers variables.
How Do I Fix a Failed to Create Java Virtual Machine?
you’re able to also consider uninstalling and reinstalling the Java app on the PC.
It usually appears while accessing an Java-based programs, like Minecraft.
Luckily, in this troubleshooting guide, we sharedseveral working solutionsto get rid of it with ease.
Hopefully, the shared solutions helped you get rid of the Could Not Create the Java Virtual Machine error.
If yes, then do let us know which mentioned workaround assisted you in resolving this problem.