So when the camera on your MacBook stops working, its natural to panic.
If your MacBook camera is also not working, you are in the right place.
So without any further ado, lets look at possible ways to fix the MacBook camera not working.
you’re free to do so on both Apple and Intel silicon Mabook by following the below steps.
1.Turn off your MacBook.
2.Turn your MacBook on again.
3.Press and hold the D key as soon as you turn your laptop on.
4.Let go of the key when you see a progress bar.
2.Turn it back on but keep pressing the power button.

3.Let off the button when you see startup options.
4.Press Command and D together to spin up the diagnostics.
If you’re free to see cracks, moisture, etc.

inside the camera, no amount of software tricks or workarounds can help.
Sometimes some processes using the web camera might get stuck in the background, preventing it from opening.
you’re free to kill such tasks by restarting your laptop.
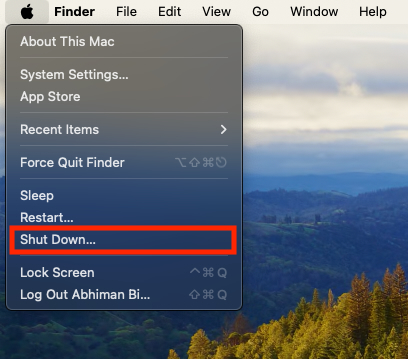
1.Go to Desktop and opt for Apple logo in the top bar.
2.Select Shut Down from the context menu.
3.Wait for the unit to shut down and then turn it on again.
Heres how you’re free to do that.
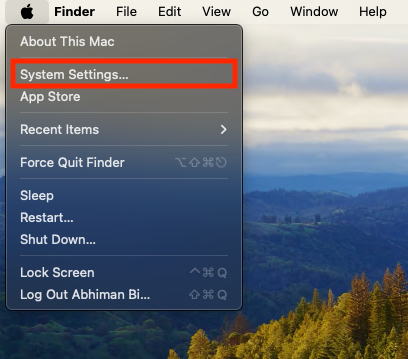
1.Tap on the Apple logo in the Menu bar on top.
2.SelectSystem Settingsfrom the context menu.

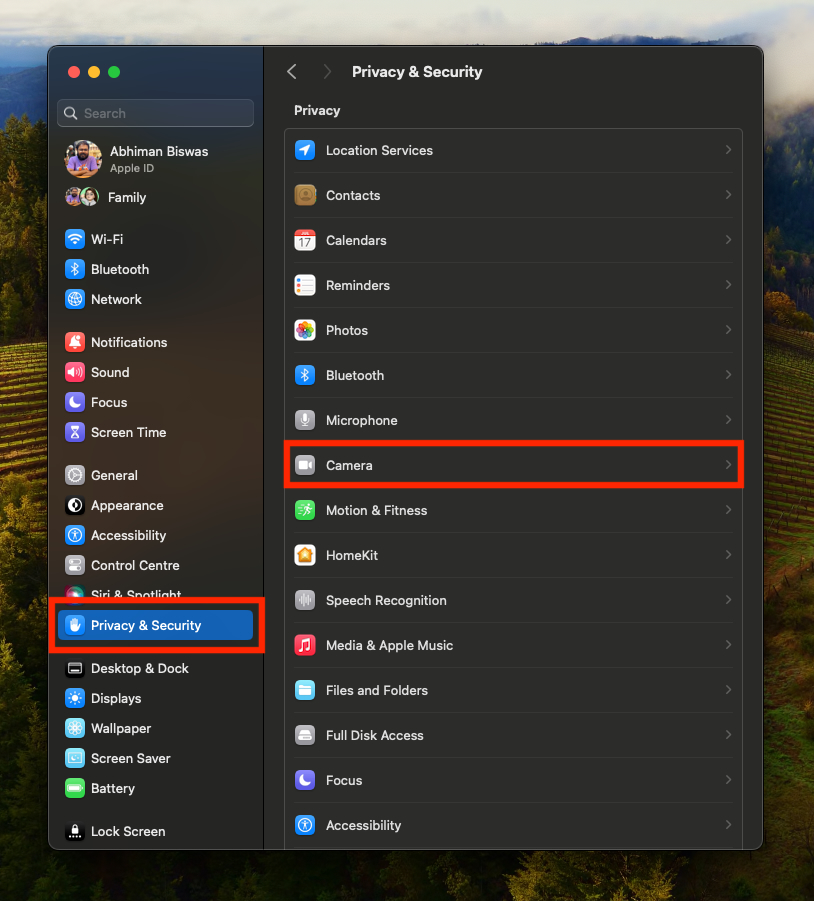
3.Scroll toPrivacy & Securityand tap on it.
4.Go to thePrivacytab and scroll down toCamera.
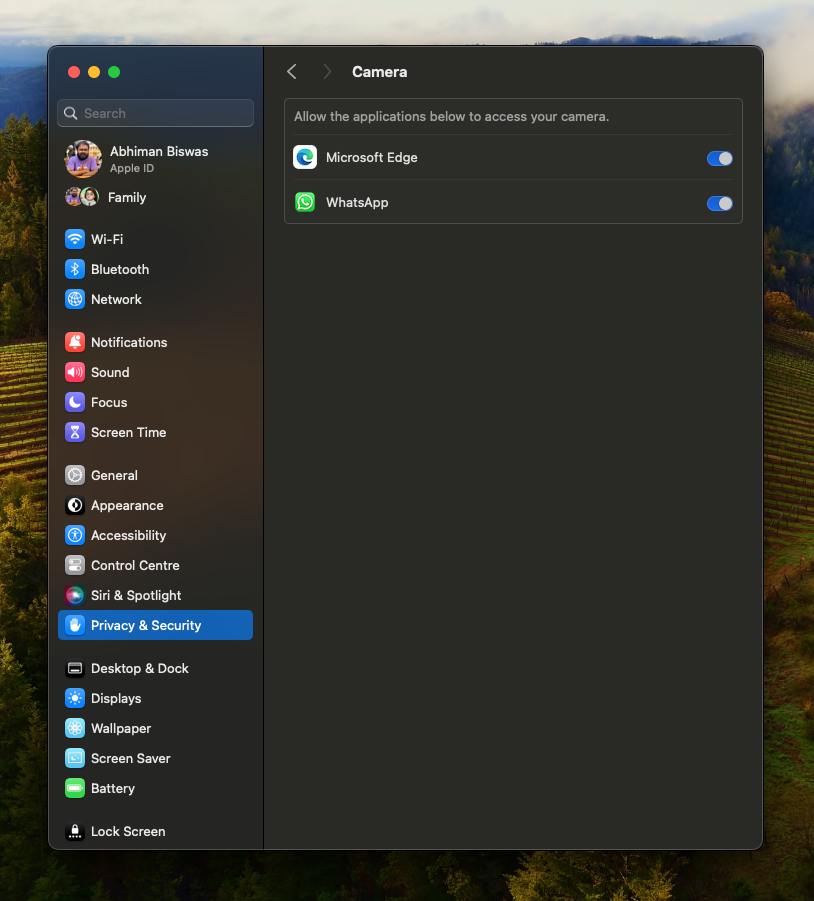
5.test whether the app you want to use the webcam with has access.
3.Scroll toSecurity and Privacyand tap on it.
5.If you see your app listed but not ticked, toggle it on
6.
Heres how it’s possible for you to address the issue.
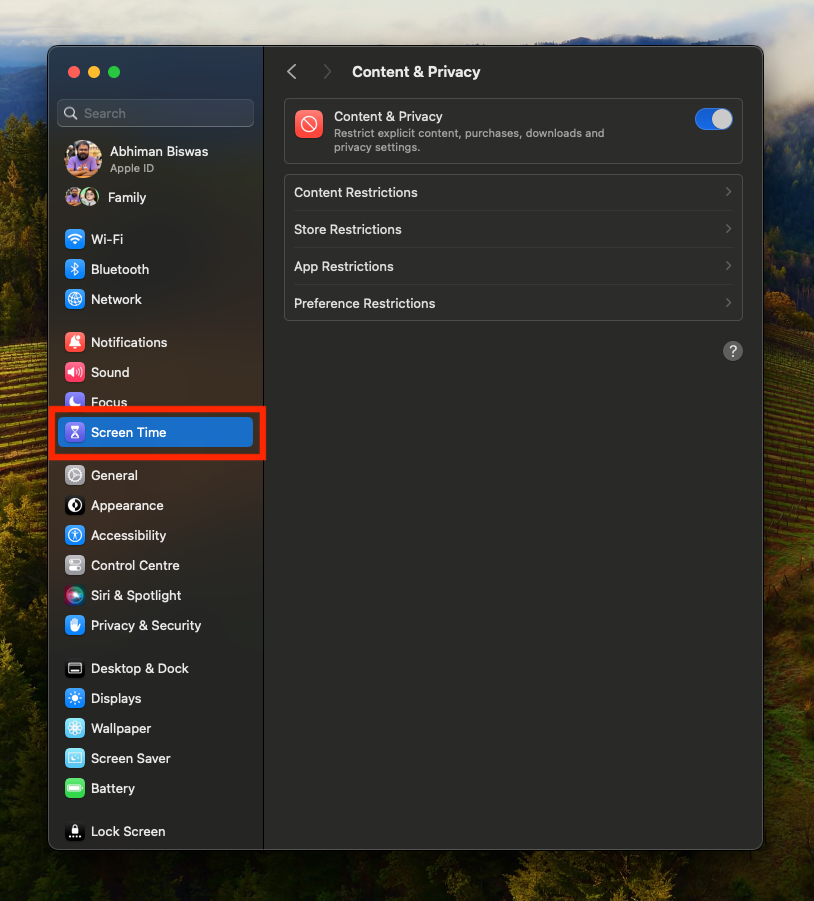
3.Scroll down toScreen Timeand tap on it.
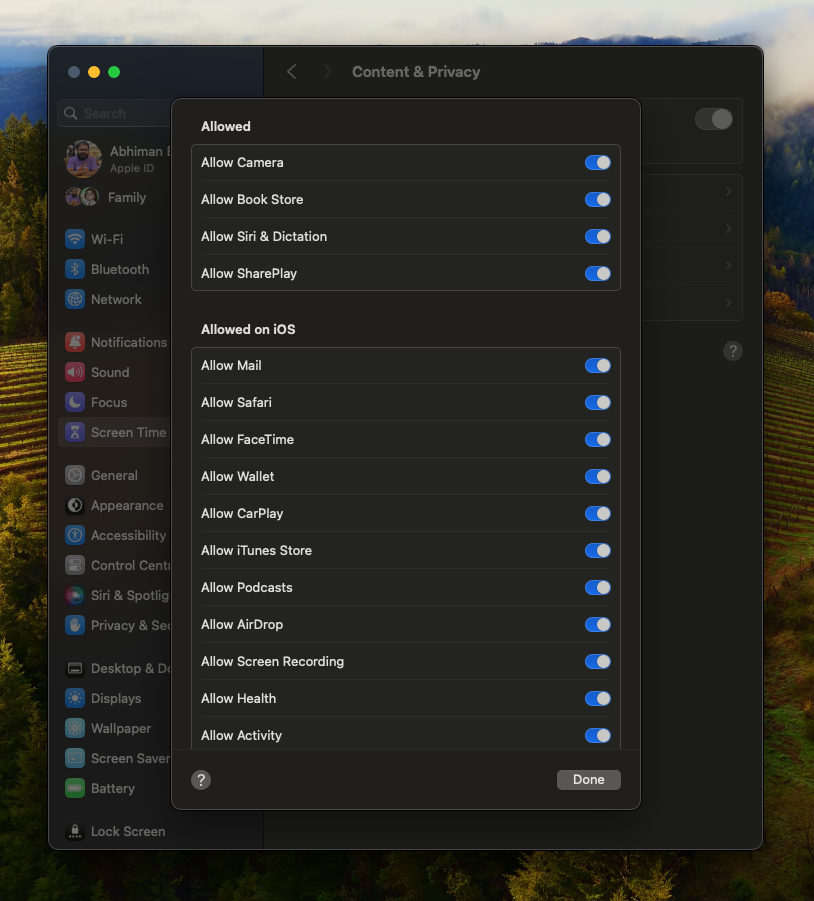
4.SelectContent and Privacyand tap onApp Restrictions.
Heres how you could do it.
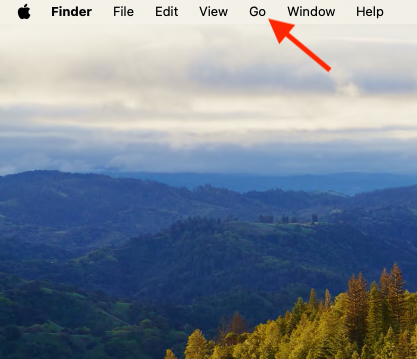
1.Tap on Go in Menu Bar on top.
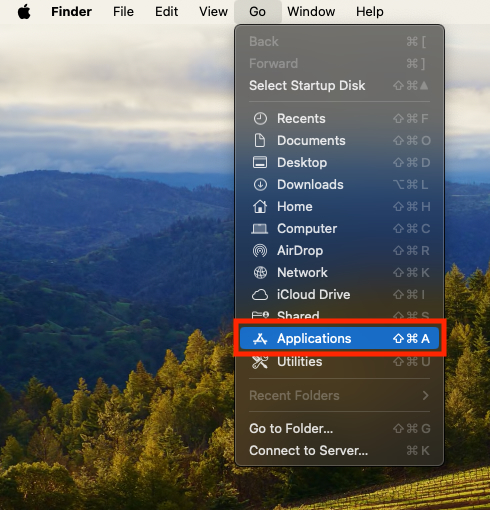
2.SelectApplicationsfrom the context menu.
5.Check the list for apps that might be using the camera like Skype.
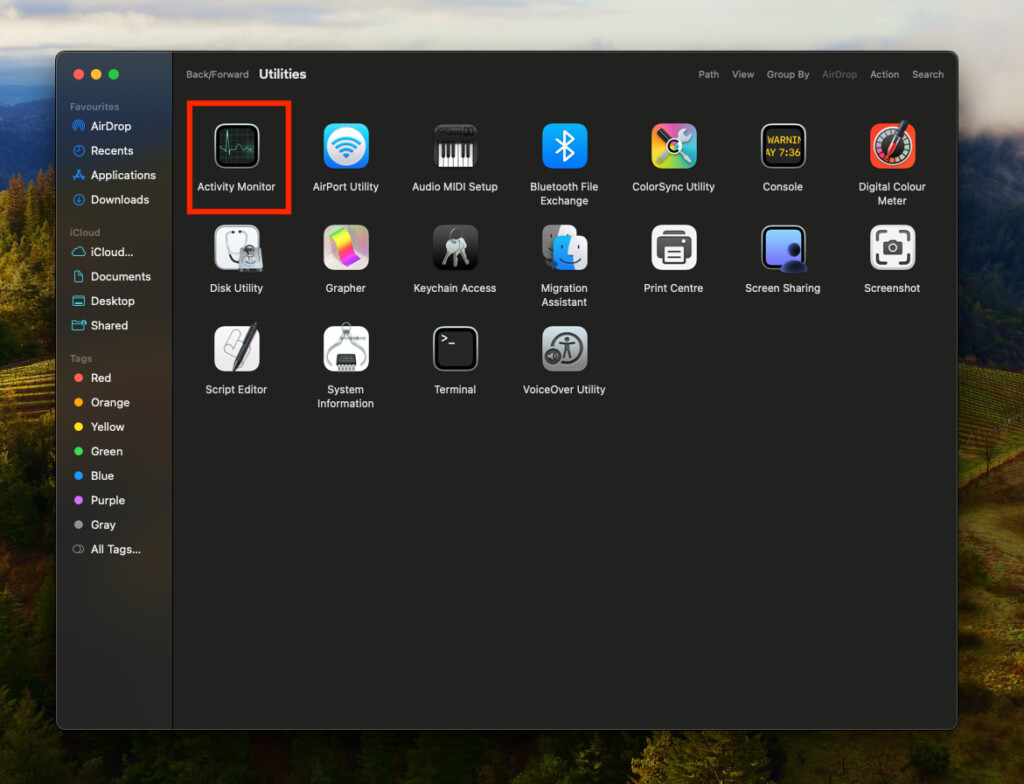
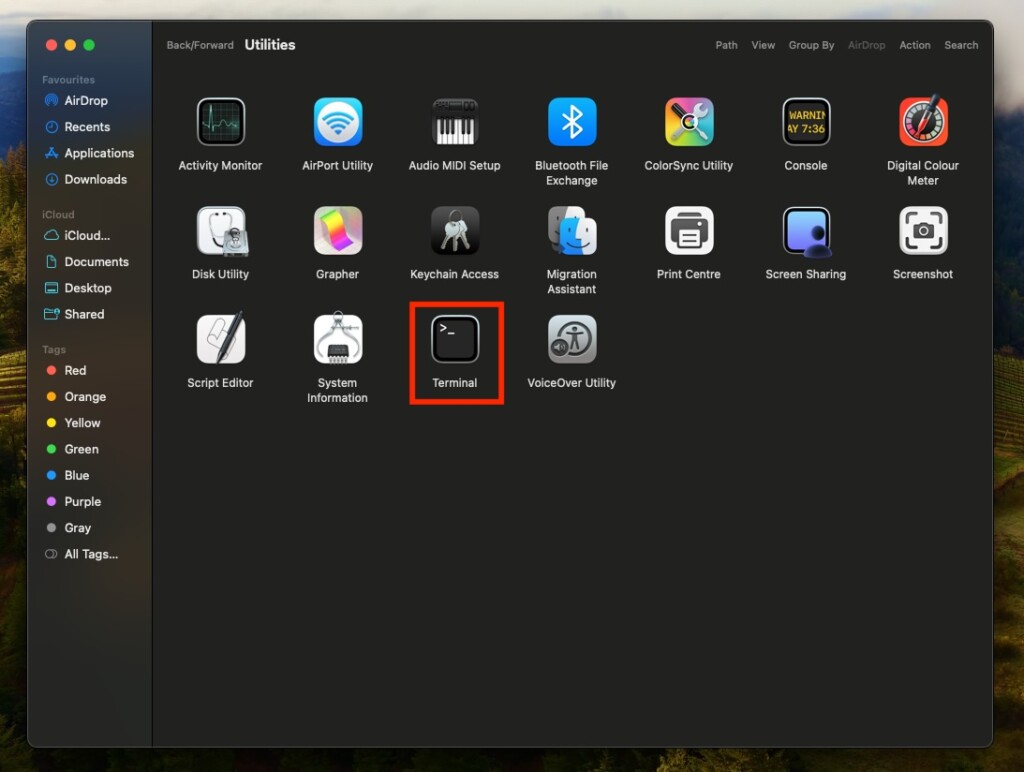
Quit Camera Using Terminal
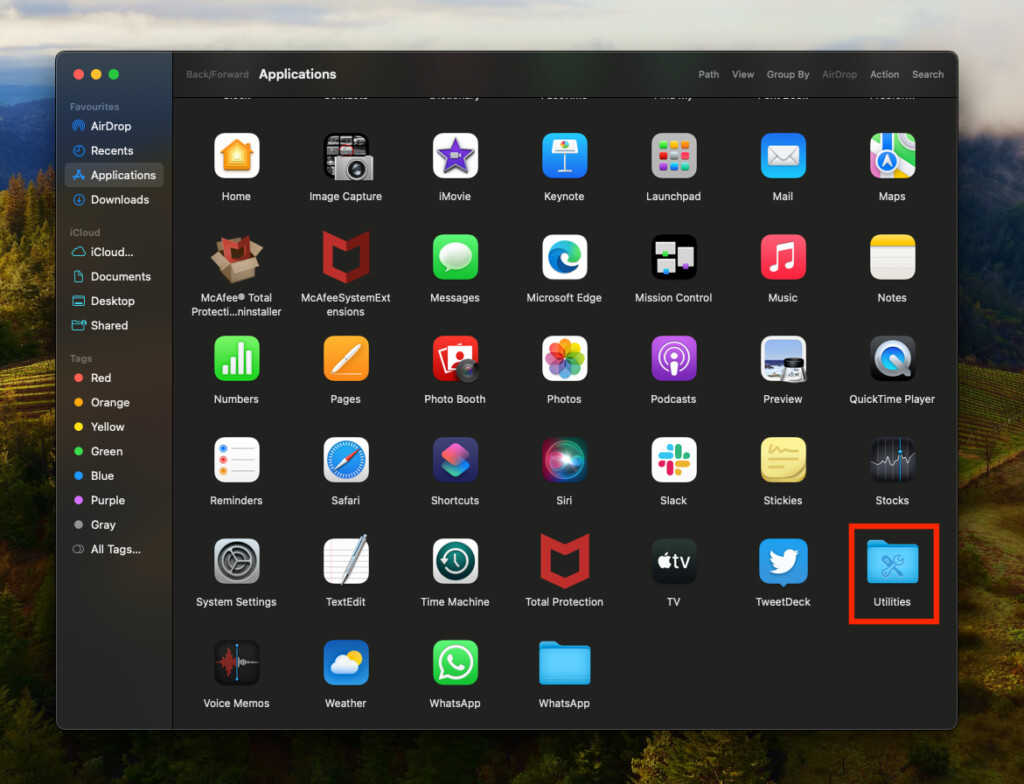
3.Go toApplicationsand open theUtilitiesfolder.
5.Typesudo killall VDCAssistantand pressEnter.
6.Now typesudo killall AppleCameraAssistantand pressEnter.
Bear in mind that you might have to enter the admin password to kill camera processes.
9. upgrade your MacBook
Sometimes a botched update or bugs can break the webcam functionality.
2.SelectSystem options from the context menu.
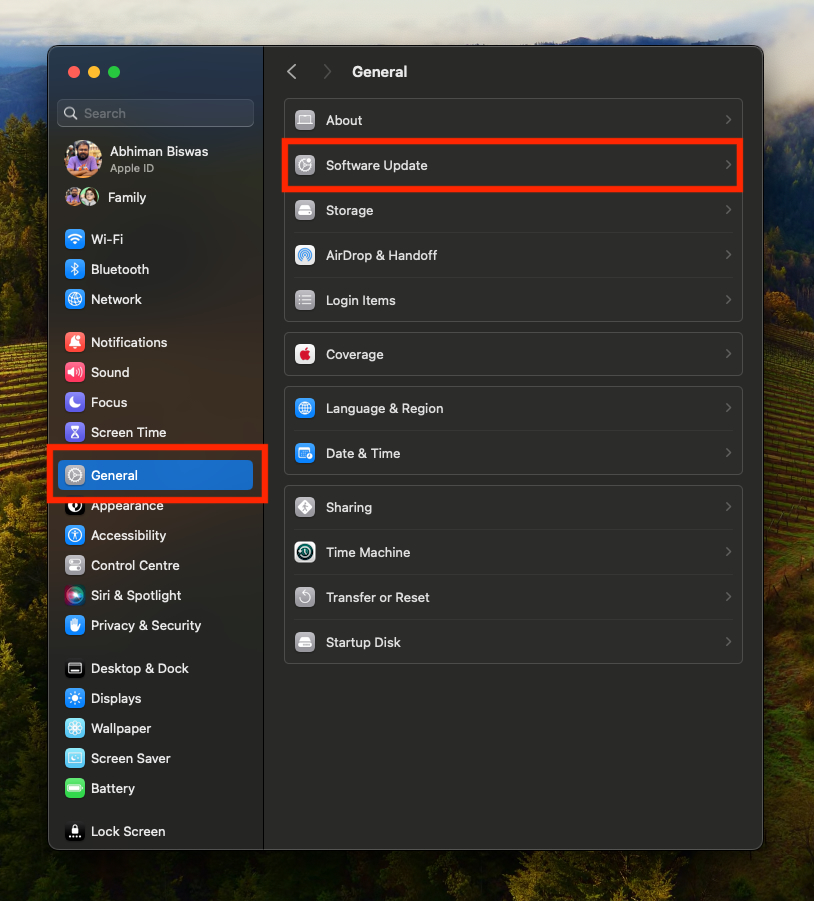
3.Now go toGeneraland click onSoftware Update.
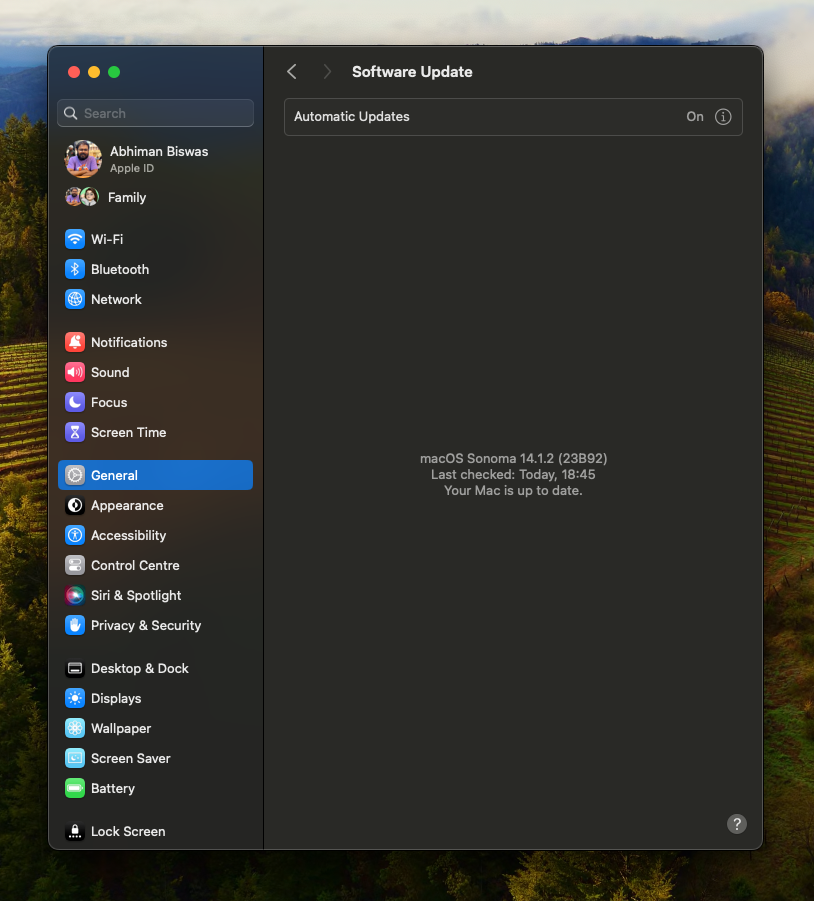
4.SelectUpdate nowif you see an update available.
5.Check back later if theres no update.
Conclusion
These are some of the common causes of webcam not working on MacBook and their fixes.