Many of us use it on our PCs, and it indeed saves a considerable amount of time.
However, sometimes, it also fails to operate properly.
Everything feels good until the issue appears occasionally.

But when it starts appearing again and again, it becomes very annoying.
So, to fix Auto Login not working in Windows 11, read this guide until the end.
Why Is the Auto Login Not Working Issue Appearing in Windows 11?

There could be several reasons for the Auto Login not working in Windows 11.
Here in this section, well share all theworking waysto fix Auto Login not working in Windows 11.
Restart the PC
Sometimes, the issues also appear because of temporary bugs and glitches in the system.

This could be the same in this case.
Thus, we suggest yourestart your systemto fix all the temporary issues and quickly clear this jam.
To reboot your gear, pressAlt + F4to get theShut Down Windowsprompt.
From the dropdown menu in the prompt, choose theRestartoption and press theEnter keyto restart it.
After restarting your Windows computer, check whether the Auto Login not working issue is now resolved.
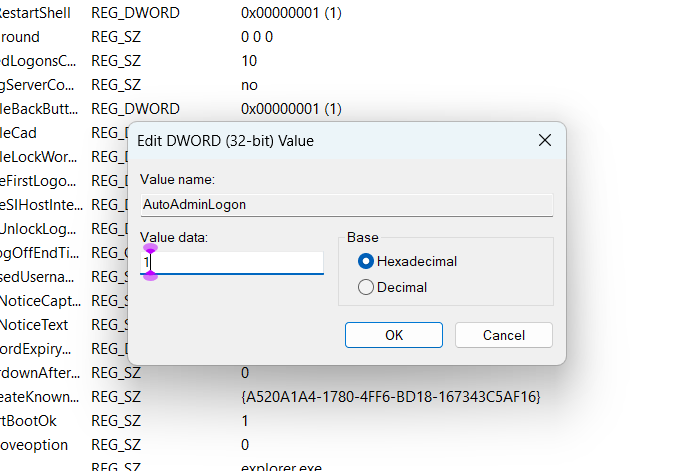
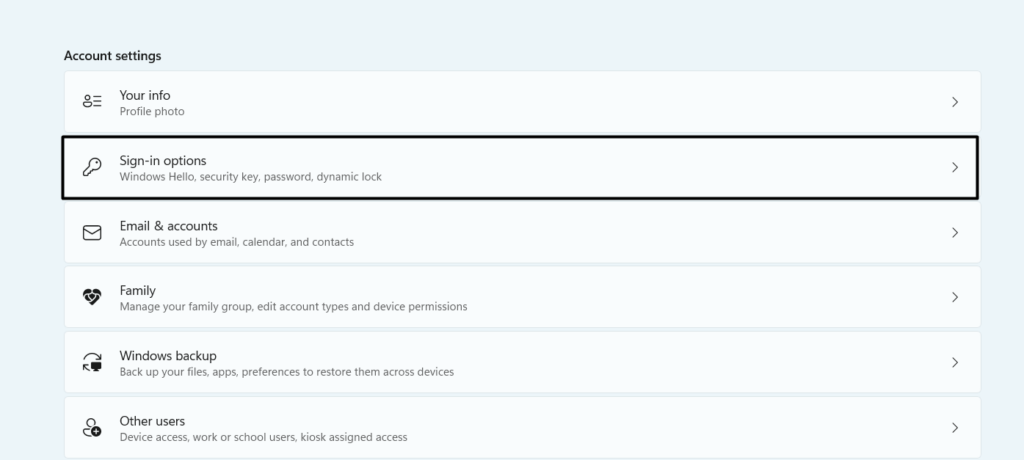
Considering this, we suggest youmake sure the Auto Login function is enabledon your Windows 11 computer.
6.Finally, when the computer is rebooting, check whether you automatically enter it into your PC.
3.Reboot the system and verify if you could now automatically sign in to your Windows 11 PC.
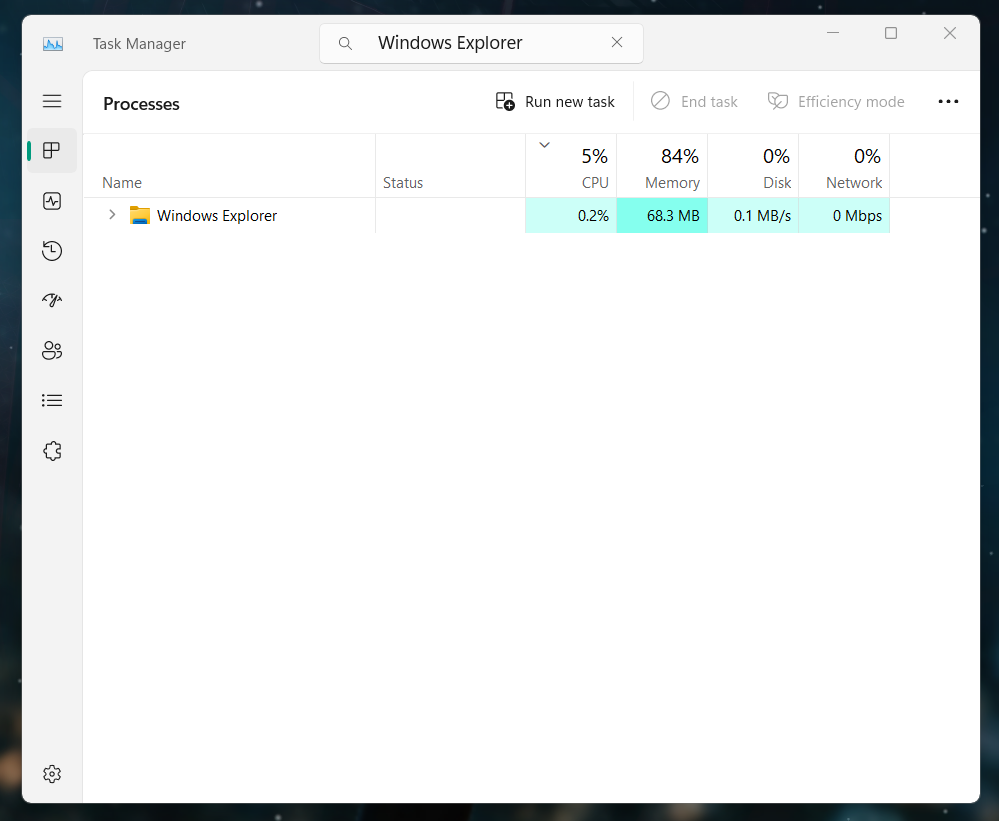
Restart File Explorer
Issues with File Explorer could also cause Auto Login not to work on your Windows PC.
Due to this, we suggest yourestart File Explorerto eliminate issues with it.
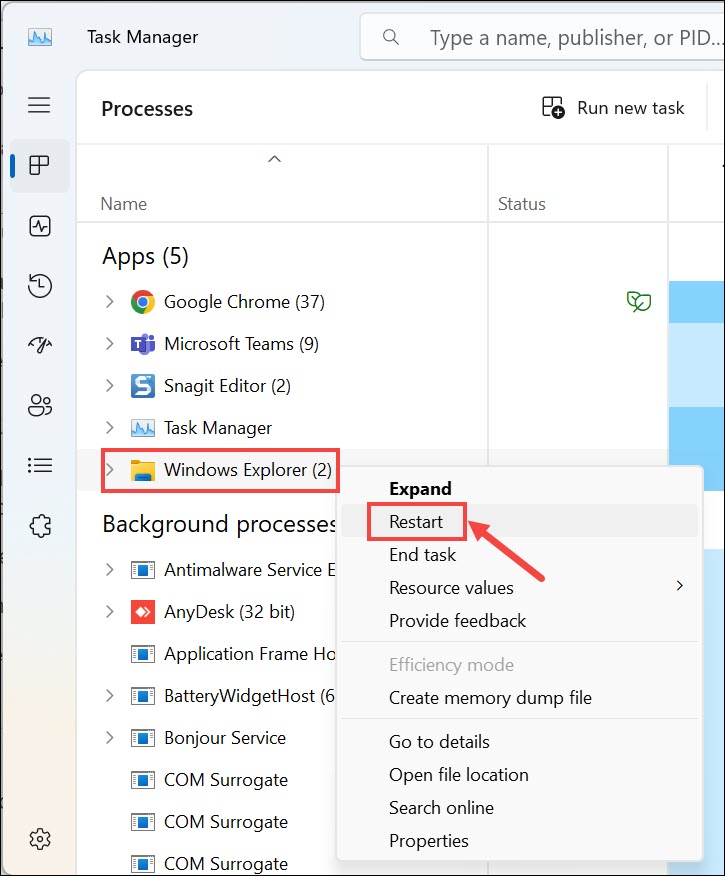
2.Right-clickWindows Explorerin it, and from the right-click menu, choose theRestartoption.
After choosing it, the system screen will flicker a few times, so dont worry about it.
3.Once the Windows Explorer utility is restarted, reboot your PC to confirm the issues status.
Thus, we suggest you recreate them on your Windows 11 PC or laptop.
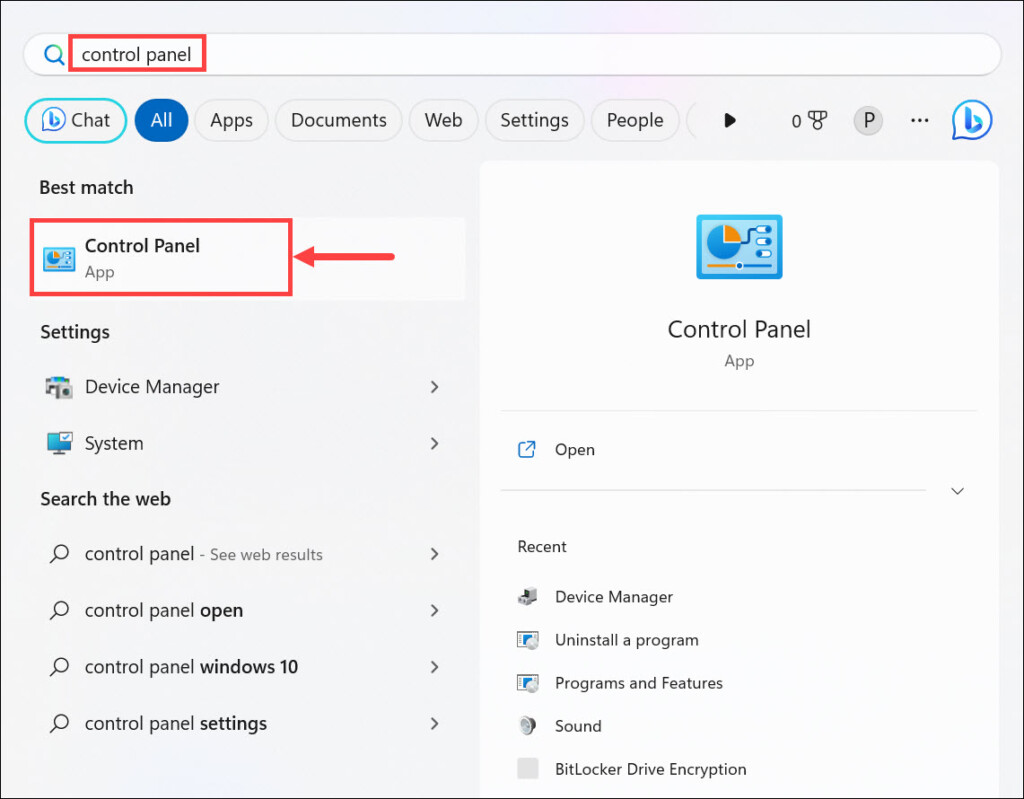
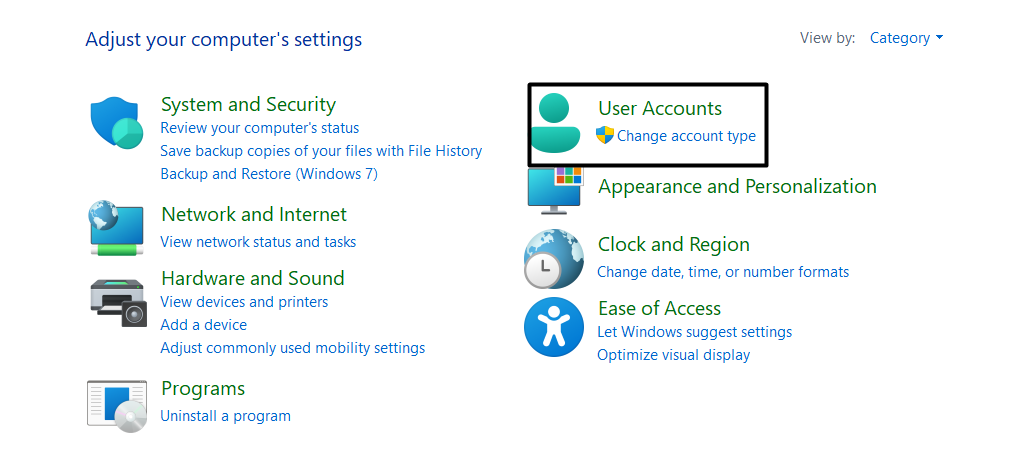
2.In theControl Panelwindow, chooseUser Accountsand then chooseCredential Manager.
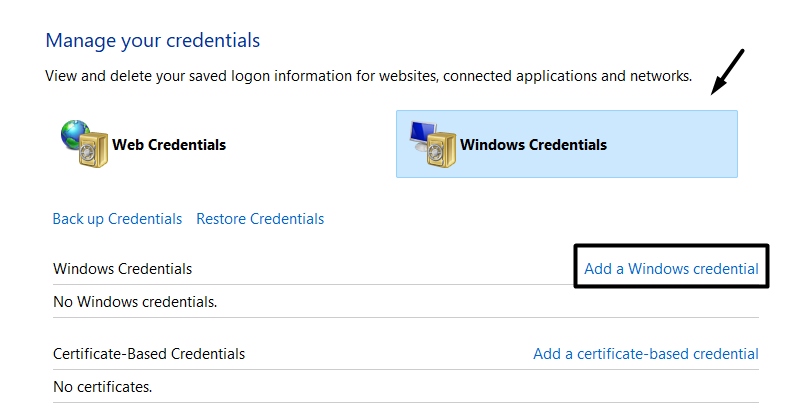
3.On the next screen, next toWindows Credentials, chooseAdd a Windows credential.
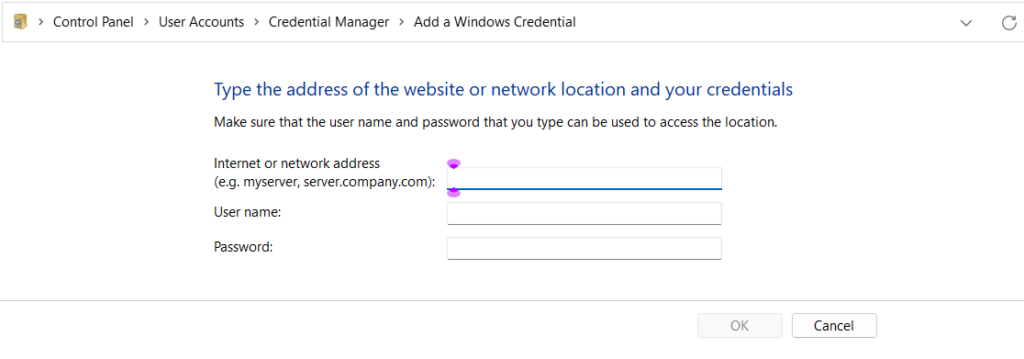
4.Enter the asked information, like account name, password, web connection address, etc., and clickOK.
5.At last, reboot your machine and consider checking whether the Auto Login issue still appears on it.
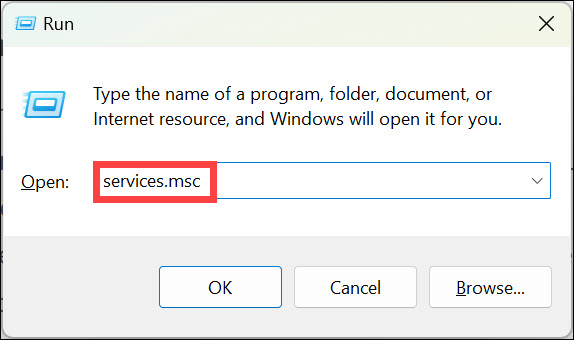
1.PressWindows + Rto launch theRun program, and typegpedit.mscin the search box.
3.Double-click theSign-in and lock last interactive user automatically after a restartpolicy on the right.
4.Next, see to it theNot Configuredradio button on the left is selected, and then clickOK.
5.Do the same with the below-mentioned policy and check whether the issue is working well now.
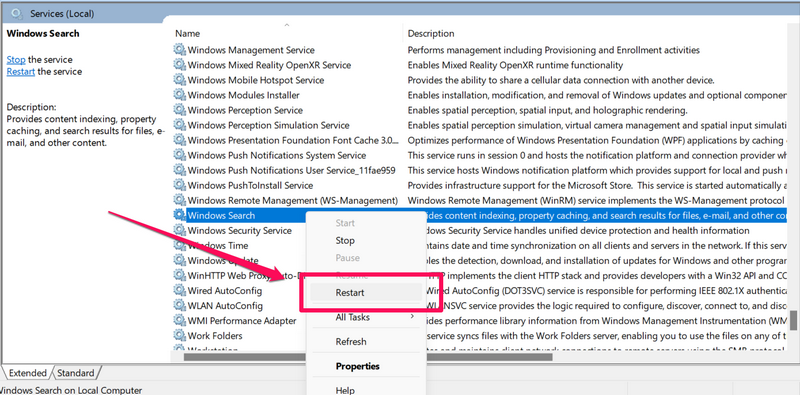
Lastly, do the same with the remaining Windows service and then check the issues status.
Use a Local Account
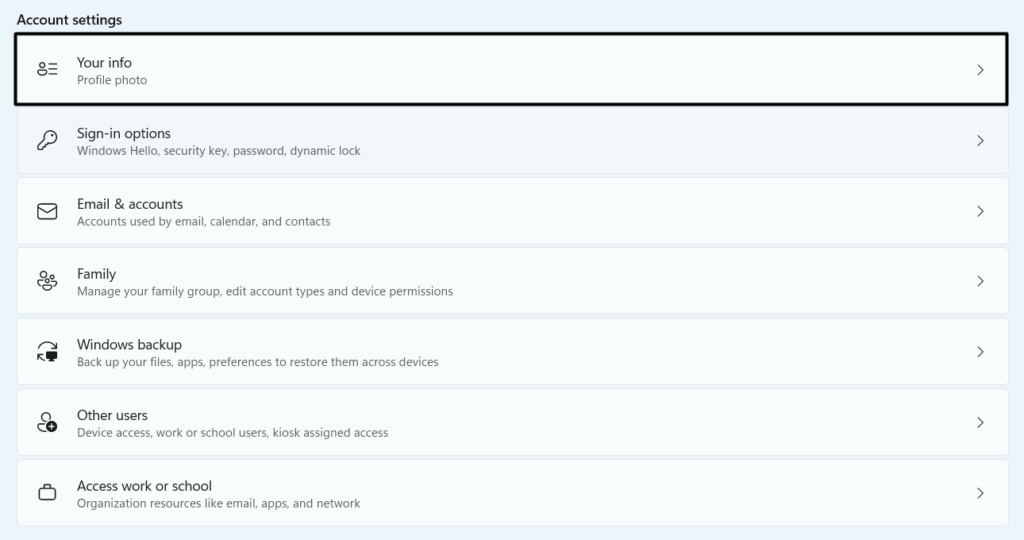
1.InSettings, go to theAccountscategory from the left side menu and choose theYour Infooption.
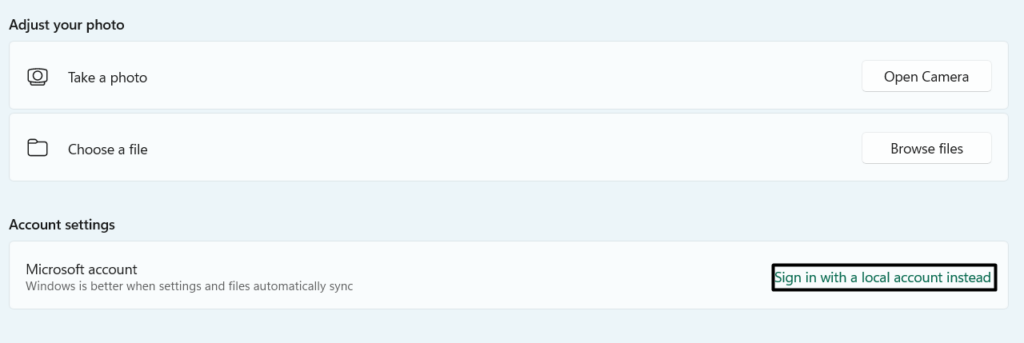
2.UnderAccount controls, next toMicrosoft account, click theSign in with a local account insteadtext.
3.Choose theNextbutton and enter the PIN or password in the box if it asks you to enter it.
This is because it could be possible that the update has some bugs causing this issue.
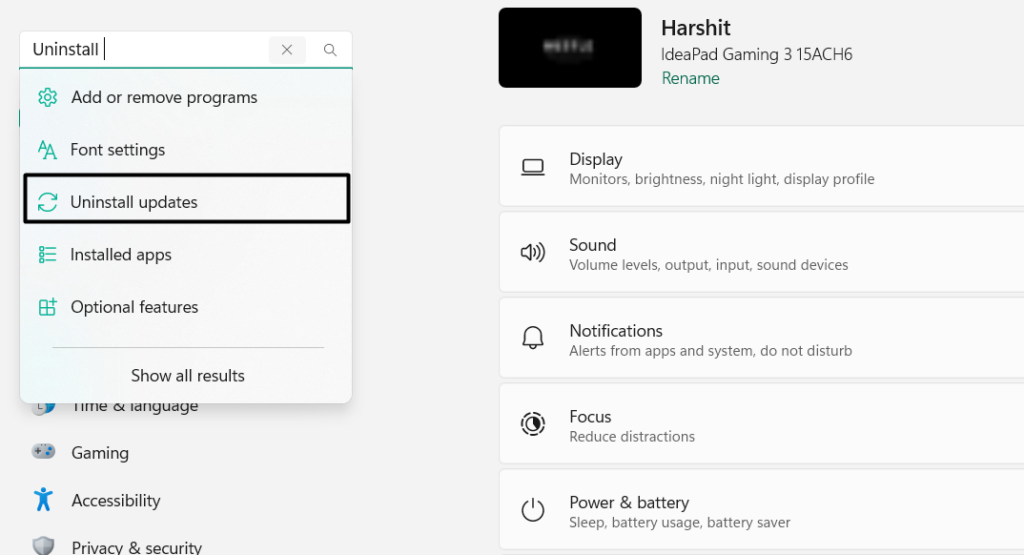
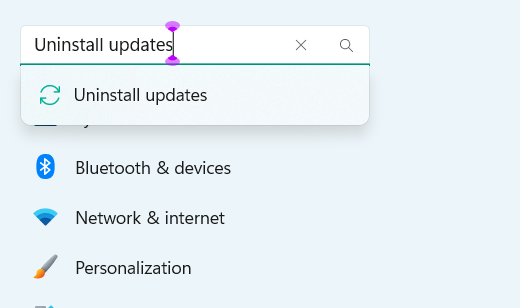
2.From the results, choose theUninstall updatesoption to view all the recently installed updates.
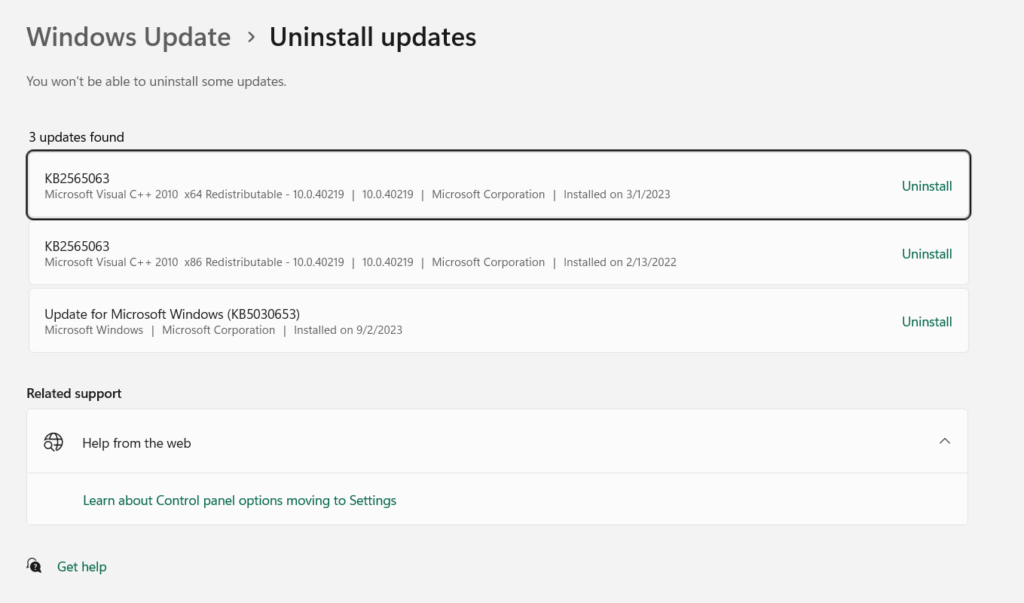
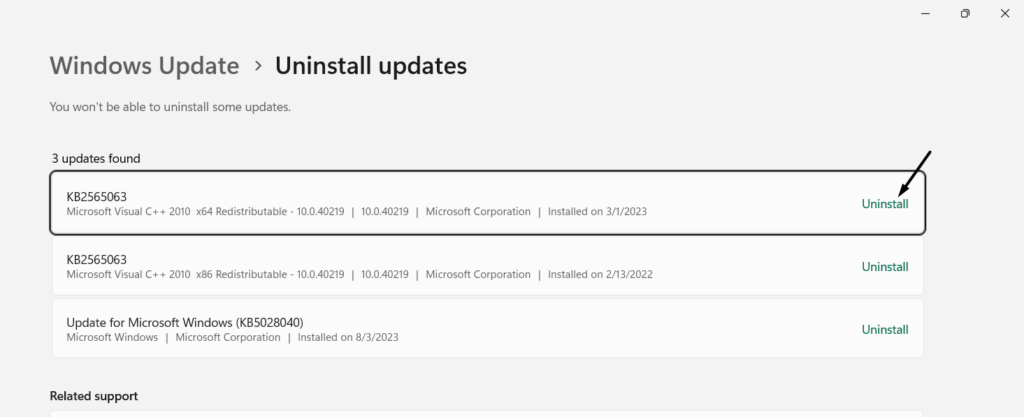
3.Search for the Windows update that caused this issue and click theUninstalloption next to it.
4.Finally,chooseUninstallnext to the conflicting Windows update to uninstall it from your PC.
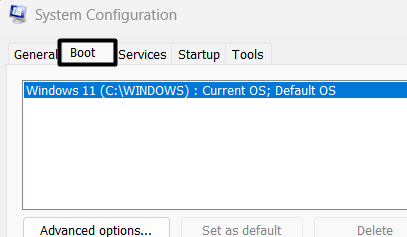
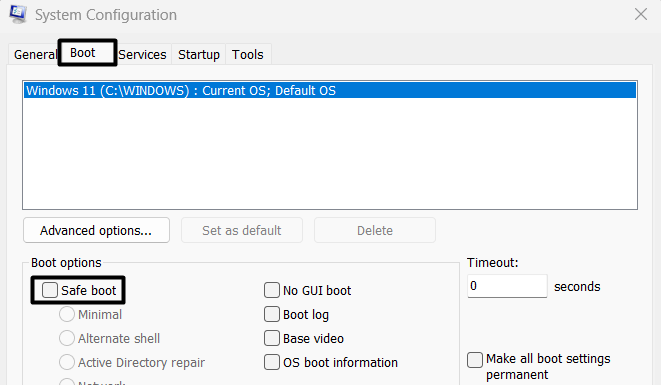
2.In the next window, in theBoot optionssection, pickSafe bootand then check theNetworkoption.
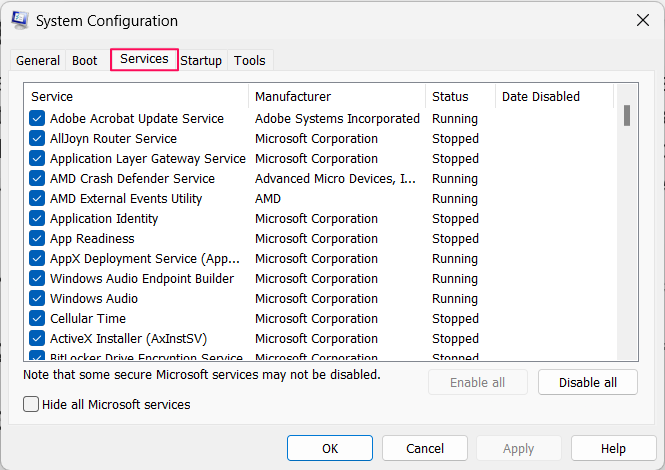
3.ClickApplyat the bottom of the window and jump to theServicestab from the top menu.
4.Choose theHide all Microsoft servicesoption, and thenDisable allto kill the services.
5.In the end, start your box and check whether the issues with Auto Login are fixed now.
If yes, it means an external program is causing this issue.
Reset Windows
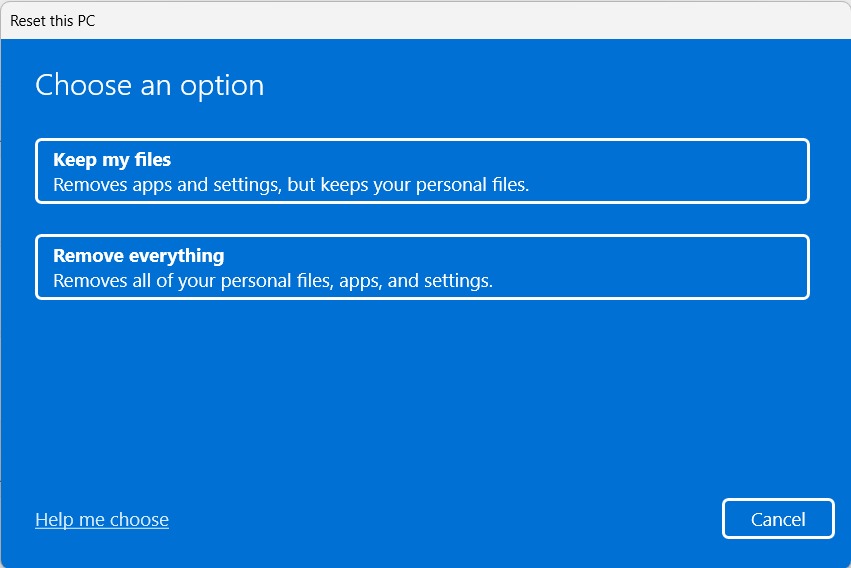
1.Proceed to theRecoverysection of theSettings app, and clickReset PCnext toReset this PC.
2.In the new window, chooseKeep my files, and then clickCloud downloadon the next screen.
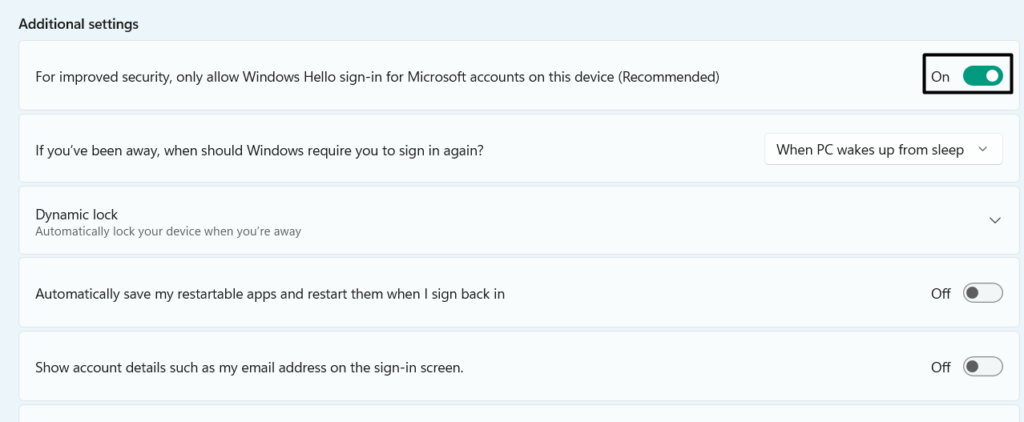
3.In theAdditional settingswindow, chooseNextand then follow the on-screen steps to reset your PC.
FAQs
How Do I Fix Windows 11 Login?
How Do I Get Windows to Automatically Login?
How Do I Fix Windows Login Problem?
There are several ways to fix Windows login problems, and one such way is to restart the PC.

What Is Autologonsid Registry?
The Autologonsid registry in Windows 11 is related to Auto Login, which automatically logs you into the PC.
How Do I Auto Login Windows 11 Without Password?
However, like other Windows 11 functions, it also sometimes faces issues in working properly.