Windows 11 doesnt seem to be able to catch a break.
The list of bugs goes on from automatic update failing to no sound issue.
The latest issue that users face is 100% disk usage even when the computer is idle.

Our laptop didn’t have “IDE ATA/ATAPI controllers” but you can follow the steps below to disable MSI mode
This is something that you wouldnt want to face as it can lead to several other issues.
So, without any further ado, lets delve into it.
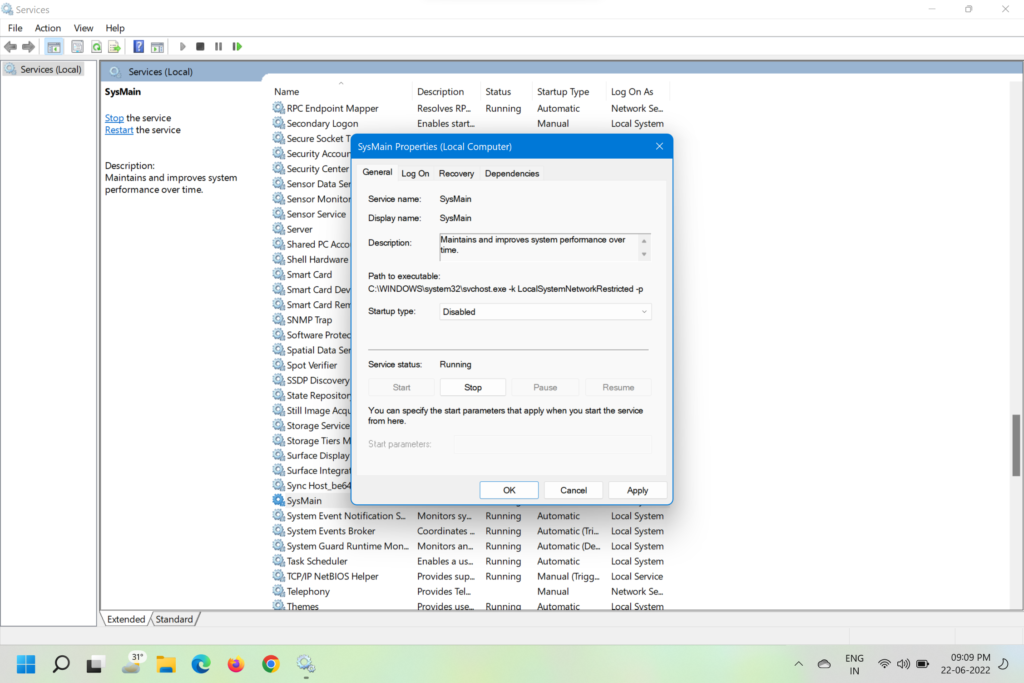
Its meant to pre-load the app into the system memory before the launch to make them open quickly.
Heres how you could disable it.
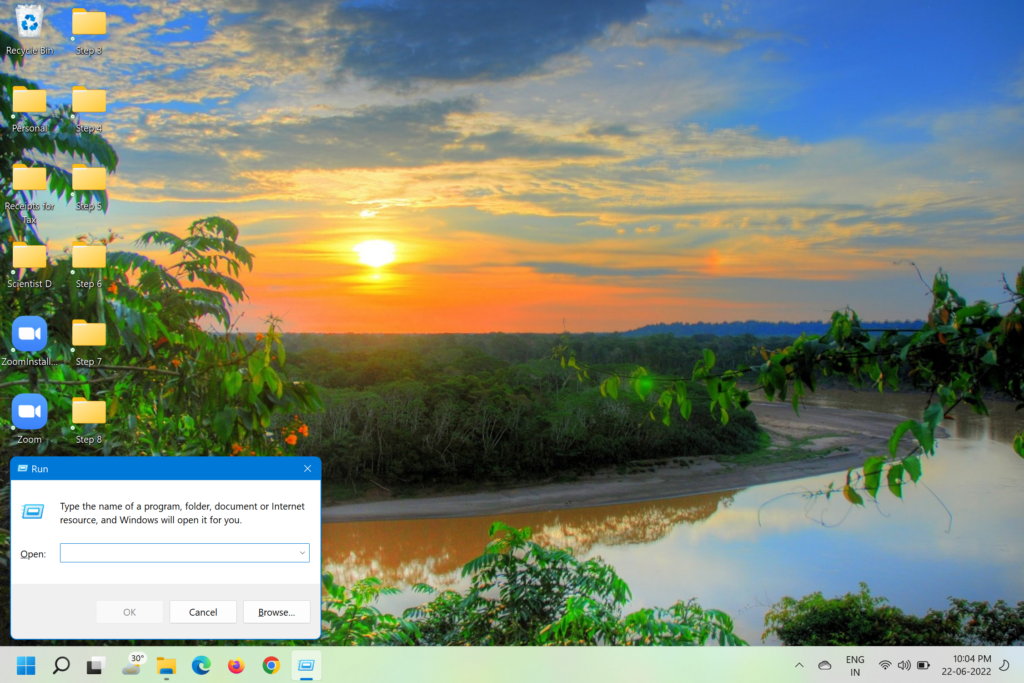
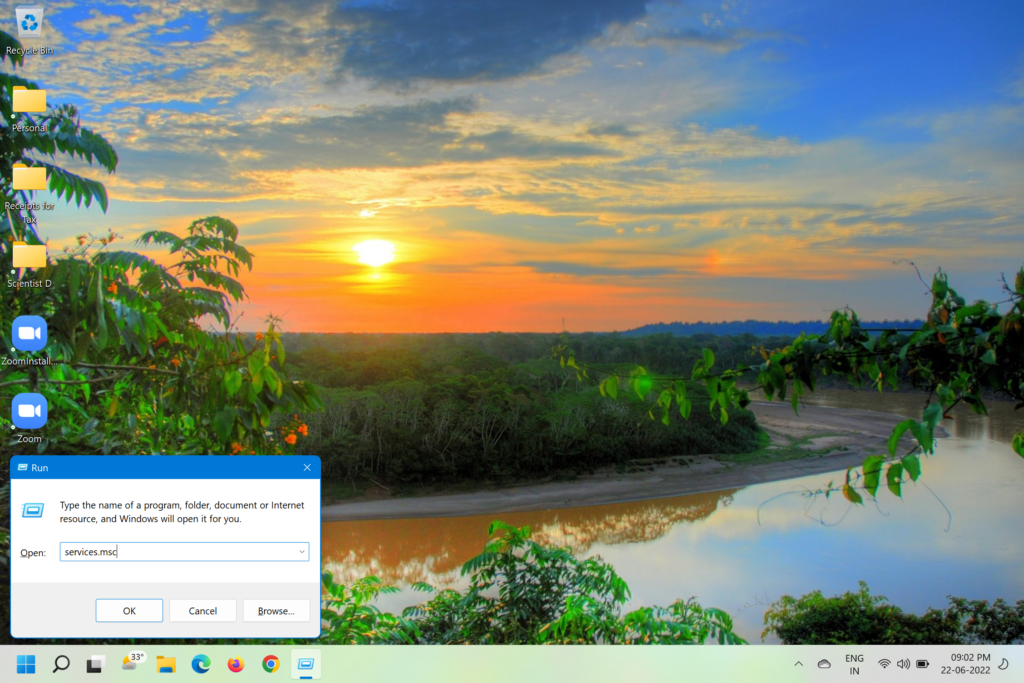
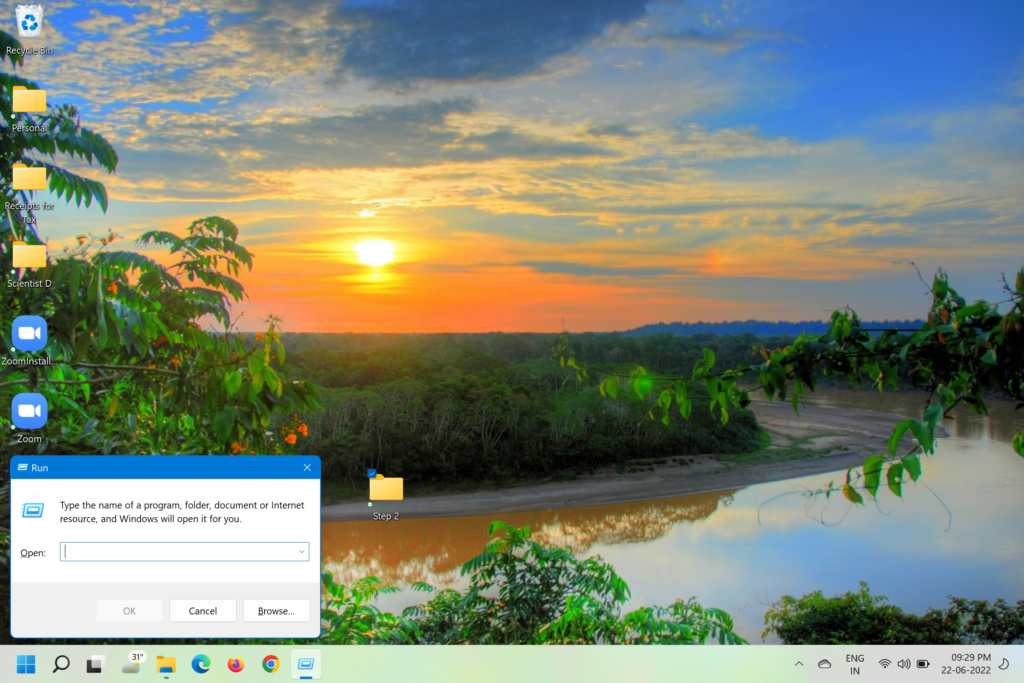
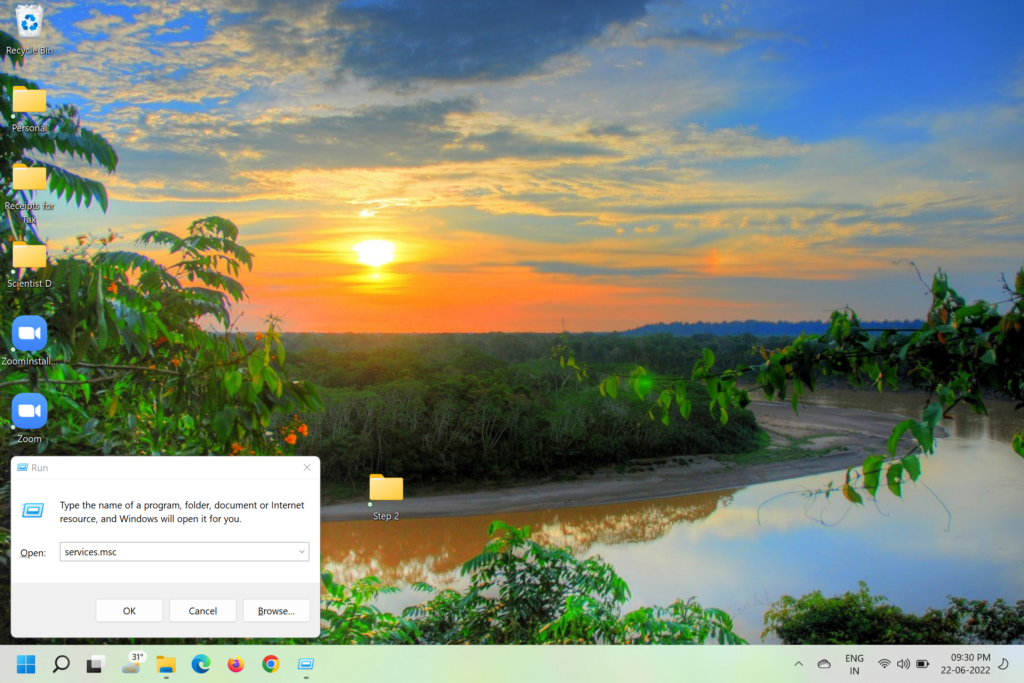
1.PressWin + Rto open theRun dialogbox.
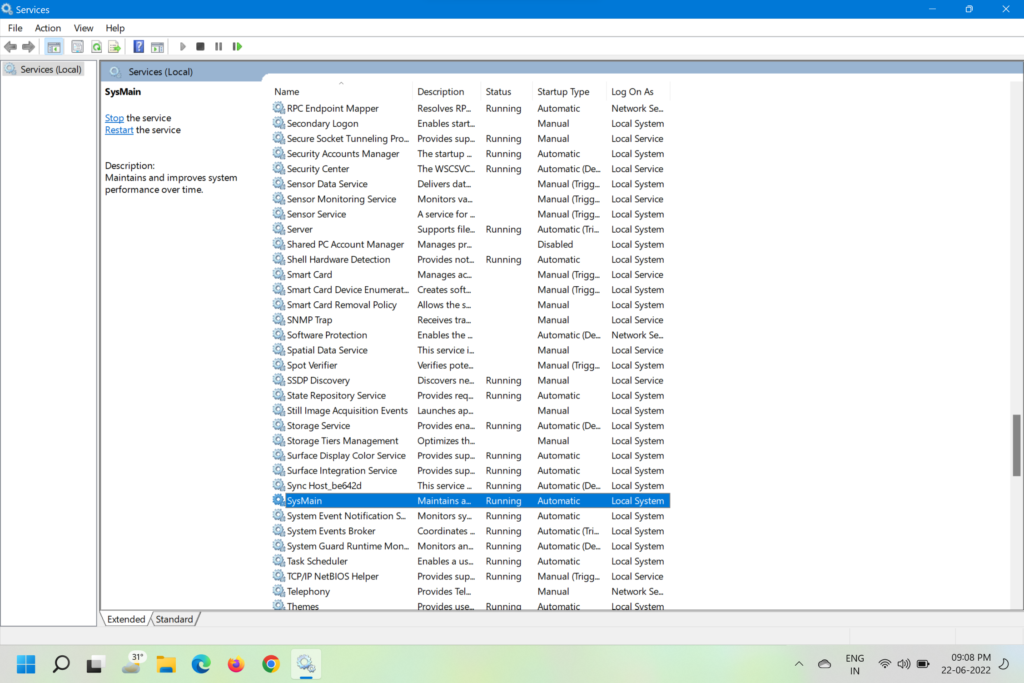
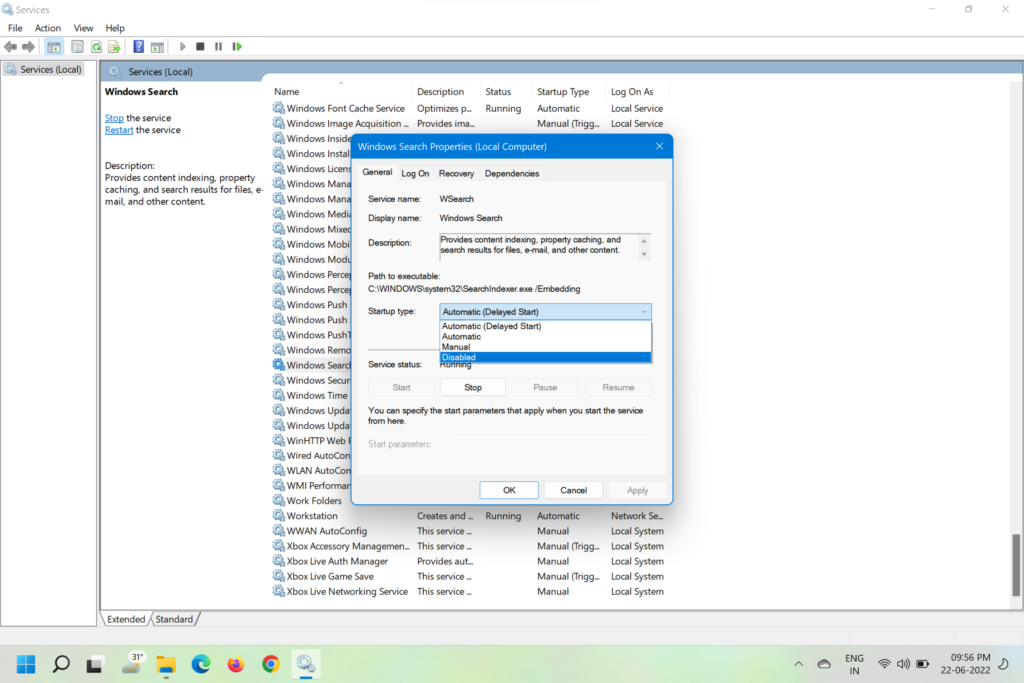
3.In the next window, scroll toSysMainorSuperFetchand double-select it.
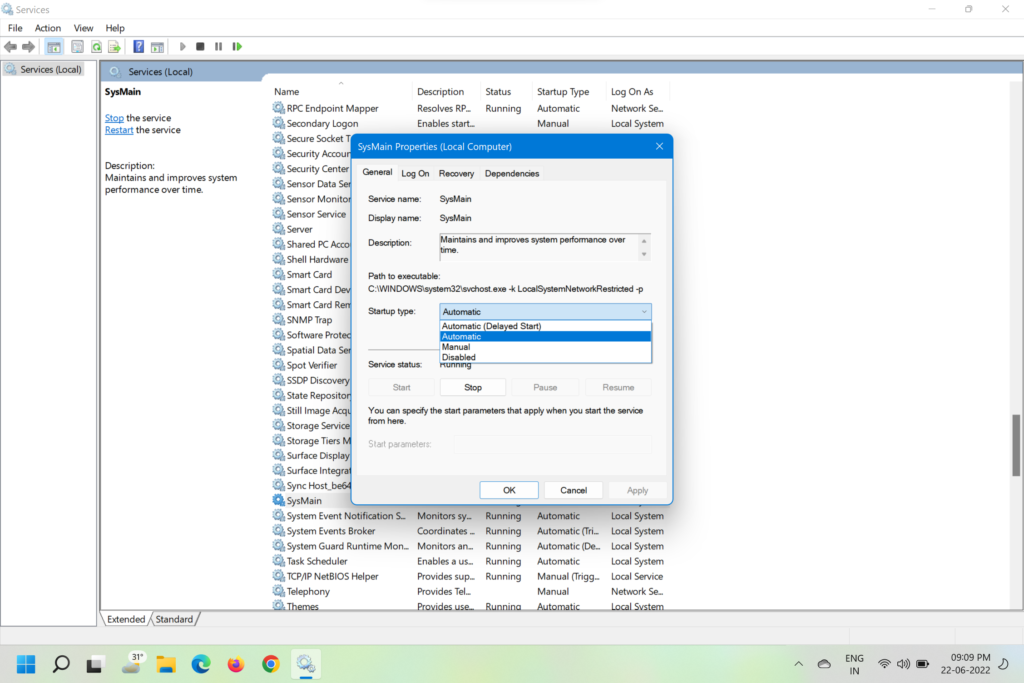
4.Now, change theStartup typetoDisabledand press Stop to halt the service.
5.Click onApplyand confirm the action.
6.Now, restart the PC and you should see a 10-15% drop in disk usage.
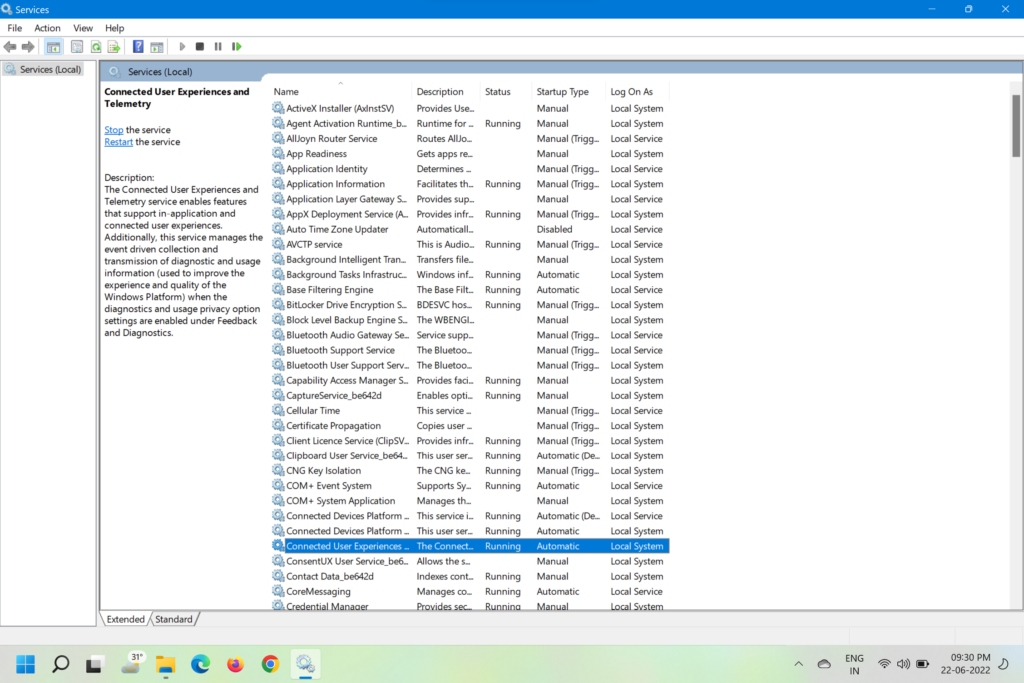
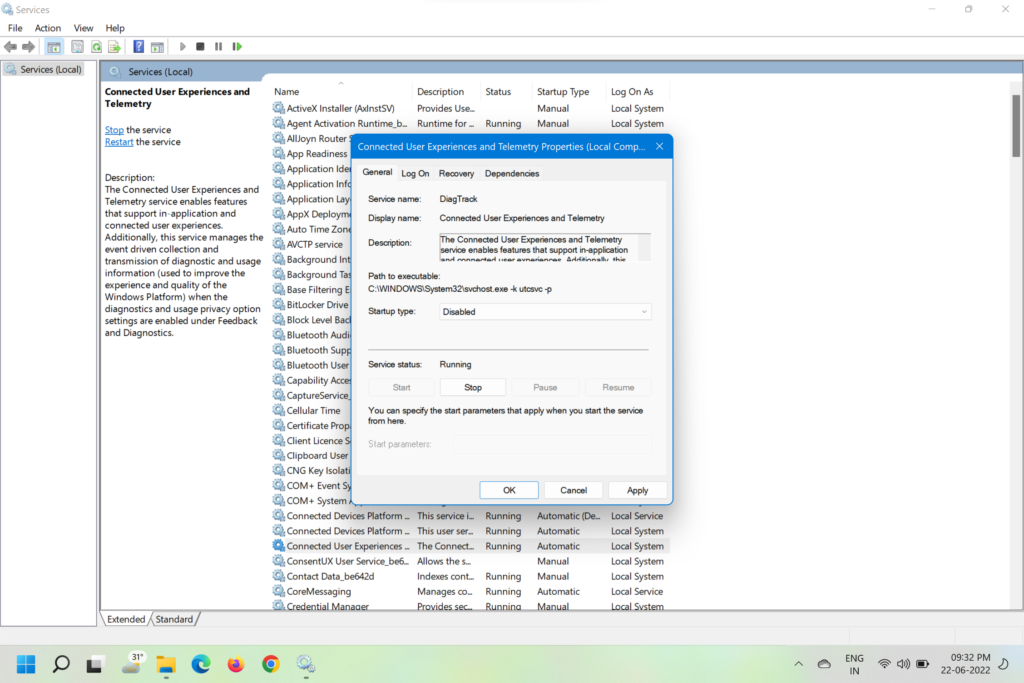
The service is basically meant to track the diagnostic data and send it to Microsofts servers.
you could disable it to fix 100% disk usage on Windows 11 and heres how to do it.
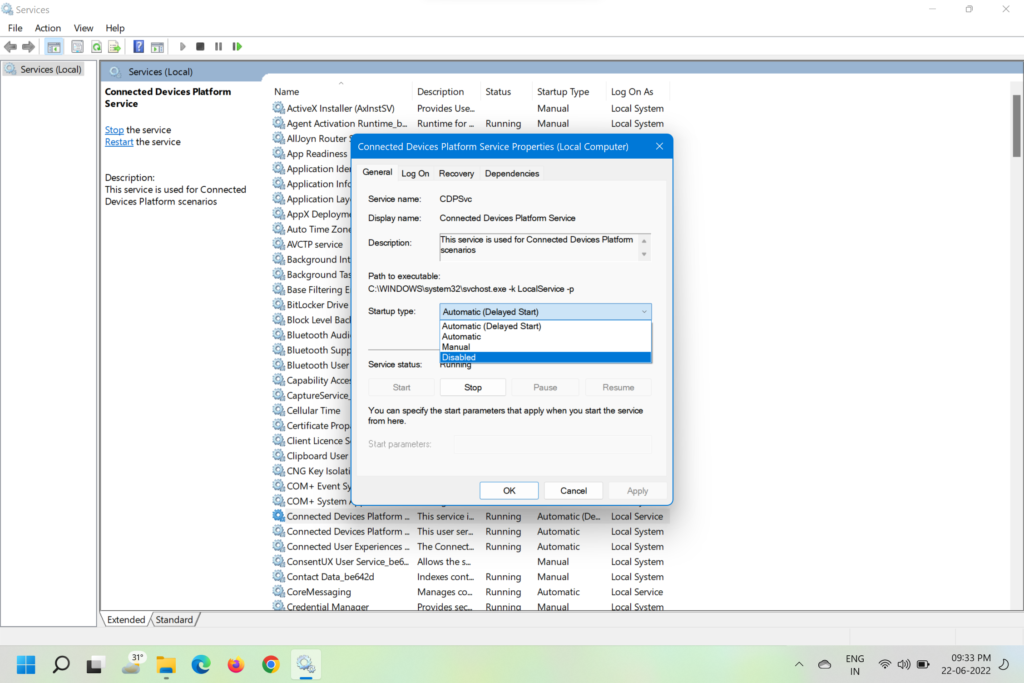
3.In the next window, scroll toConnected User Experiences and Telemetryand double-tap on it.
Repeat the above steps forConnected Devices Platform Serviceas well.
7.Now, restart the PC.
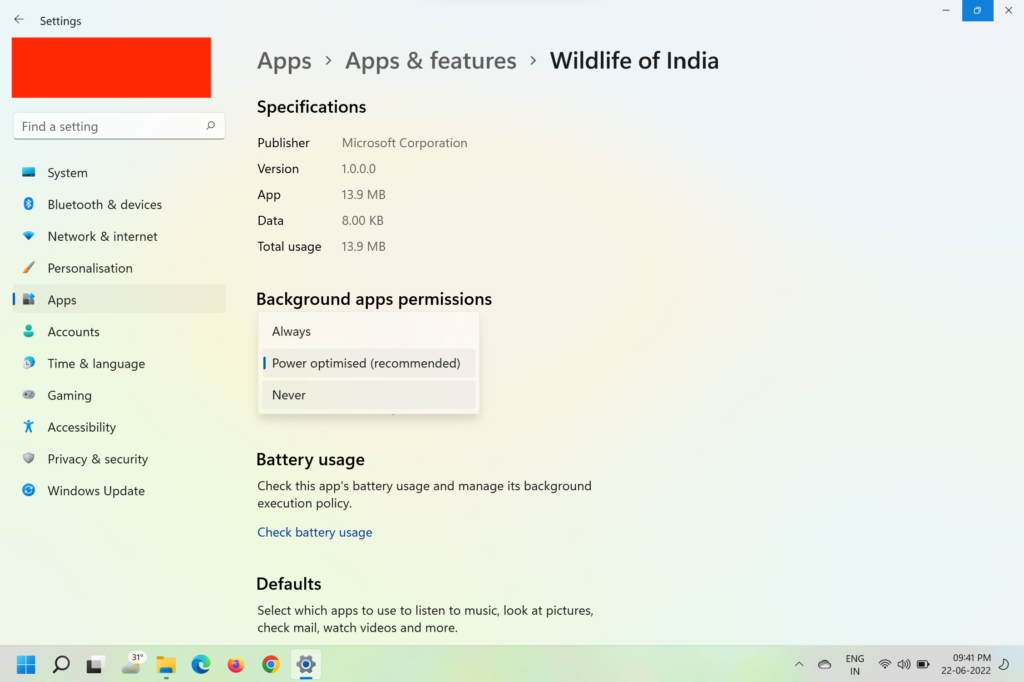
Disable Background Apps
Another major cause of 100% disk usage in Windows 11 is the background apps.
While its meant to make your setup snappy, the opposite of it is actually true.
you gotta turn off the Background Apps to make your PC responsive.
Heres how you might do it.
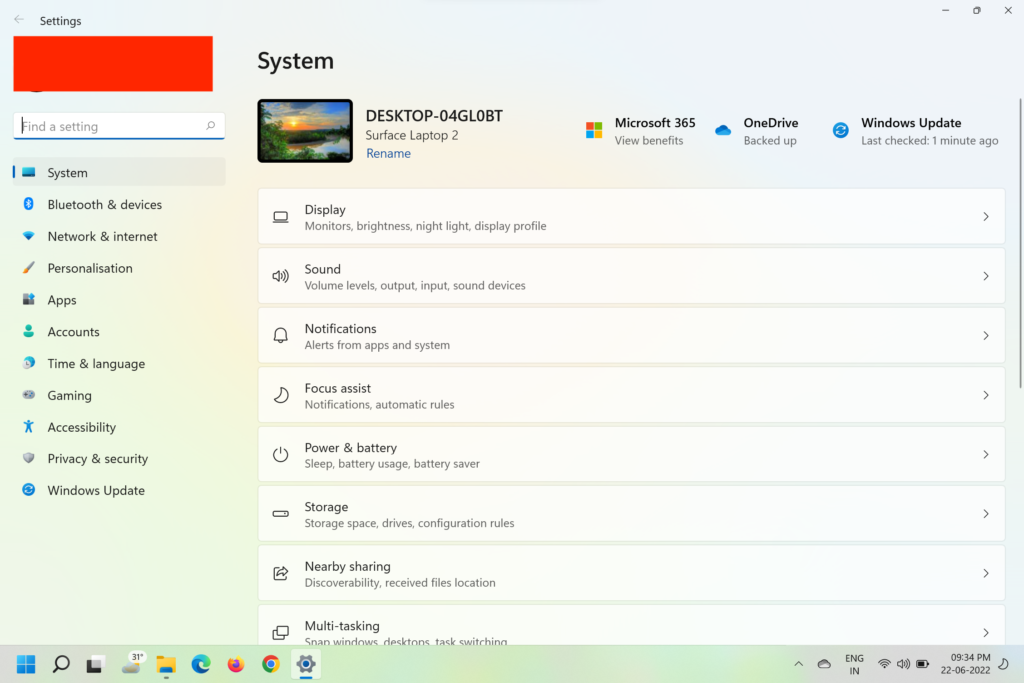
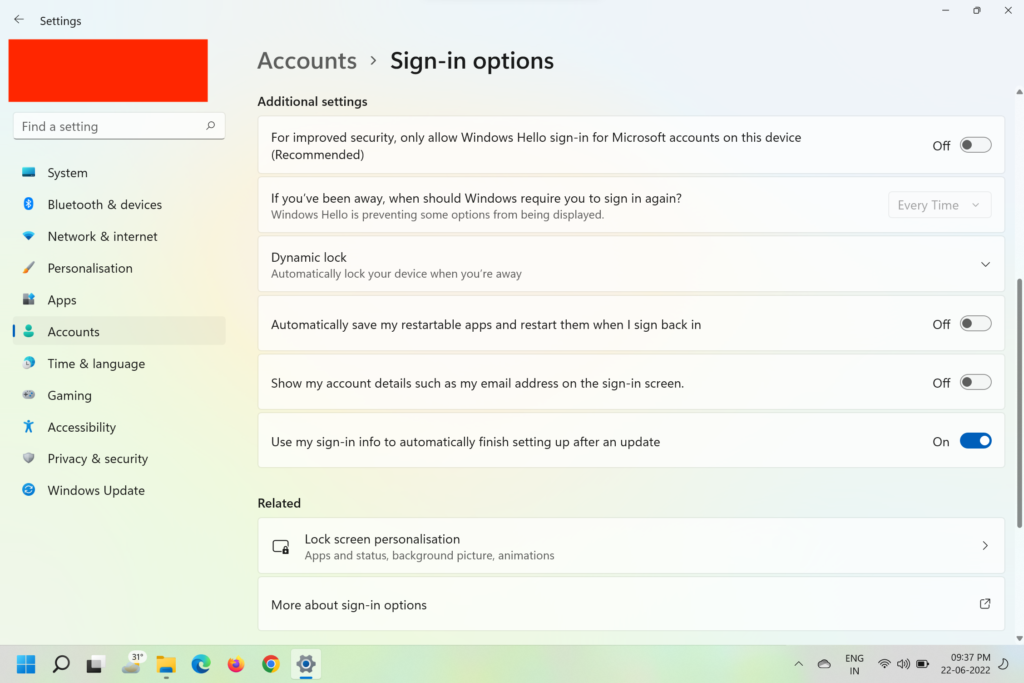
1.PressWin + Ito open Windows prefs.
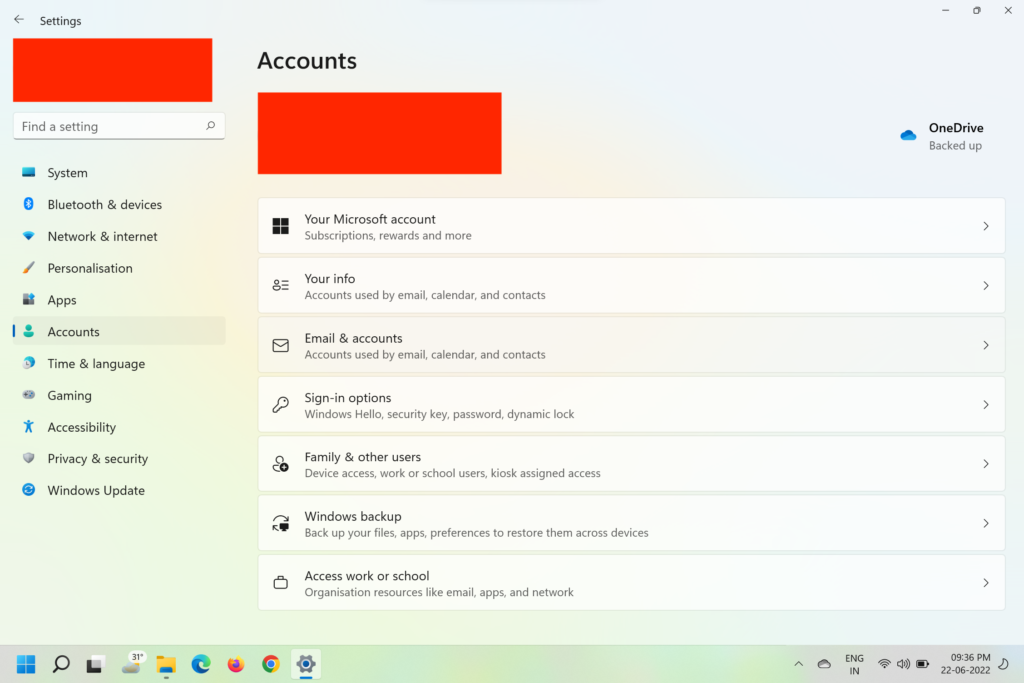
2.Click onAccountsin the sidebar and selectSign-in options.
3.Disable theAutomatically save my restartable apps and restart them when I sign back intoggle.
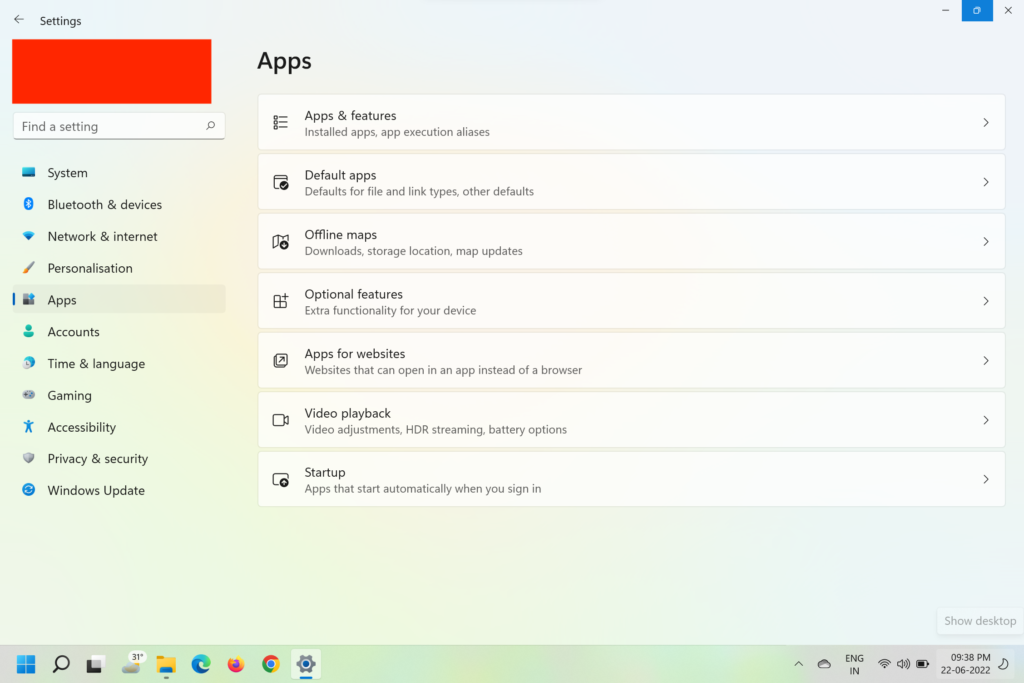
Now, punch theAppsoption on the sidebar and selectApps and Features.
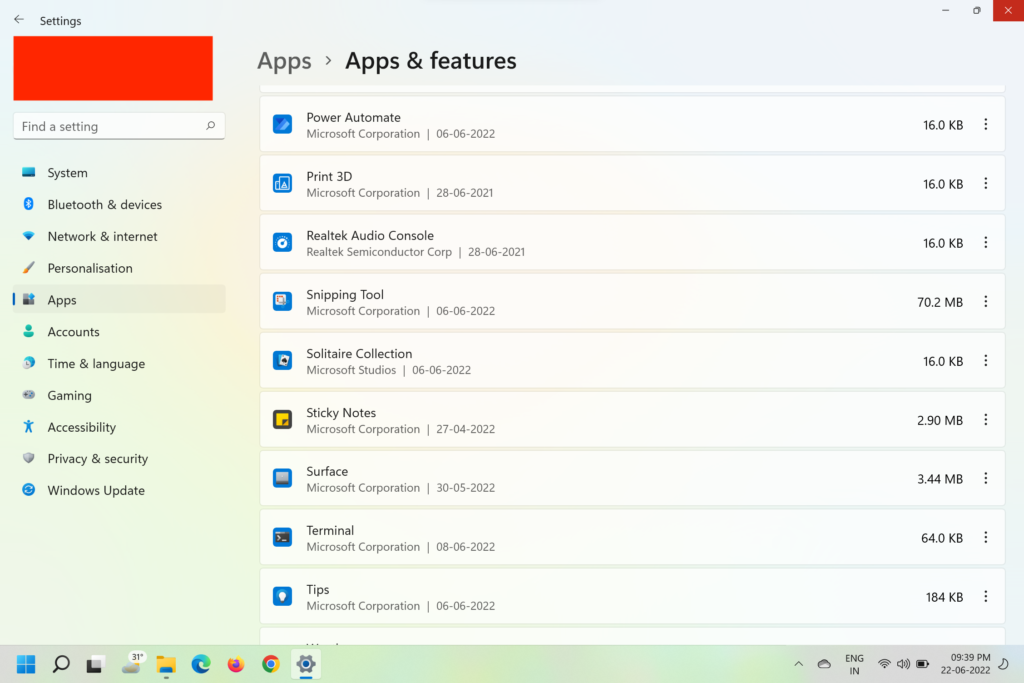
5.Youll see the list of apps installed on your PC.
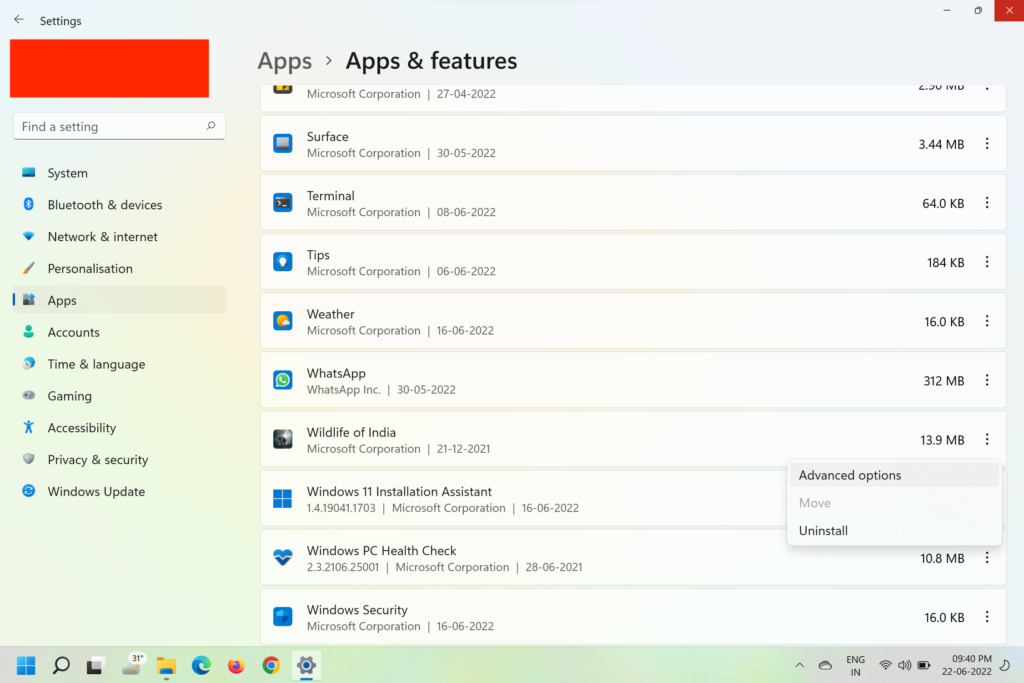
6.Locate the apps you want to stop from running in the background and choose thethree-dot iconnext to their name.

SelectAdvanced optionsfrom the drop-down menu.
8.Scroll down toBackground apps permissionsand choose Never from the drop-down menu.
9.Repeat this for every app that you dont want to run in the background.
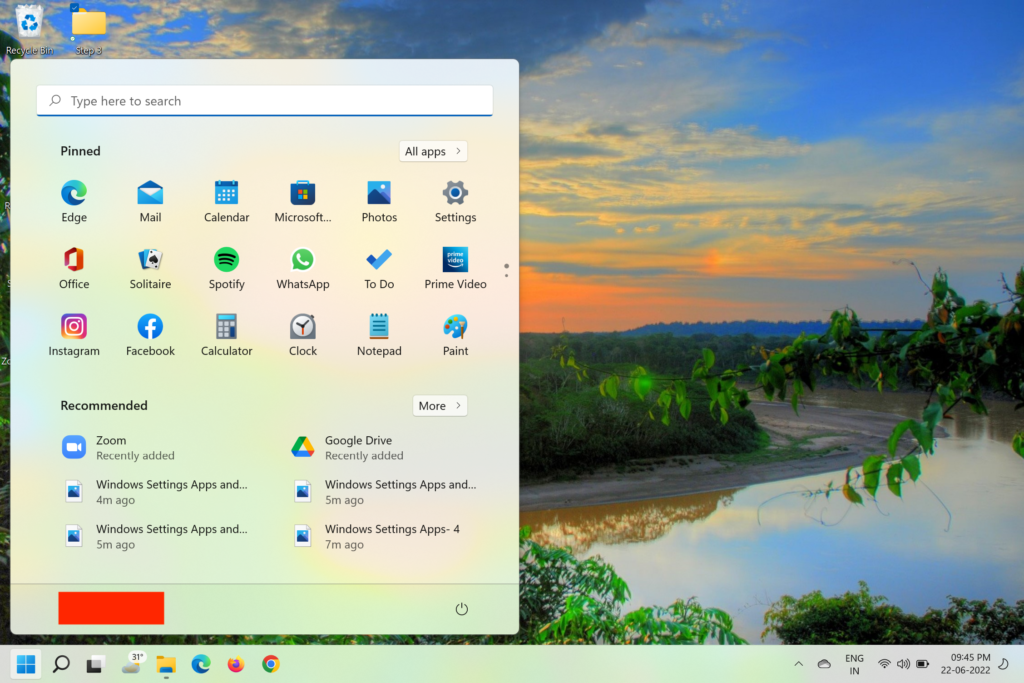
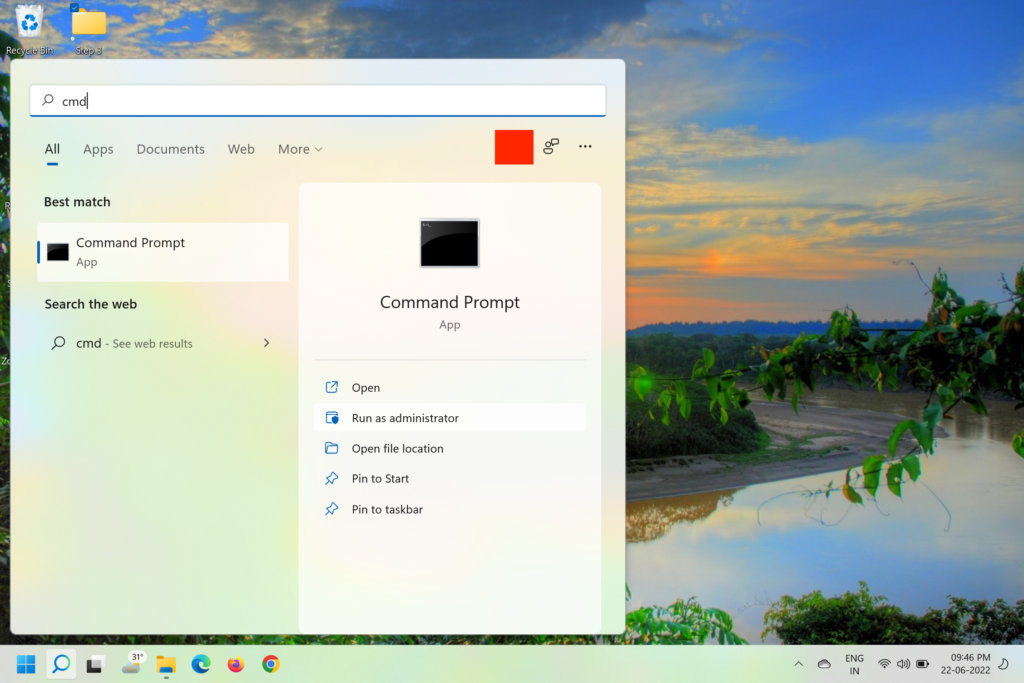
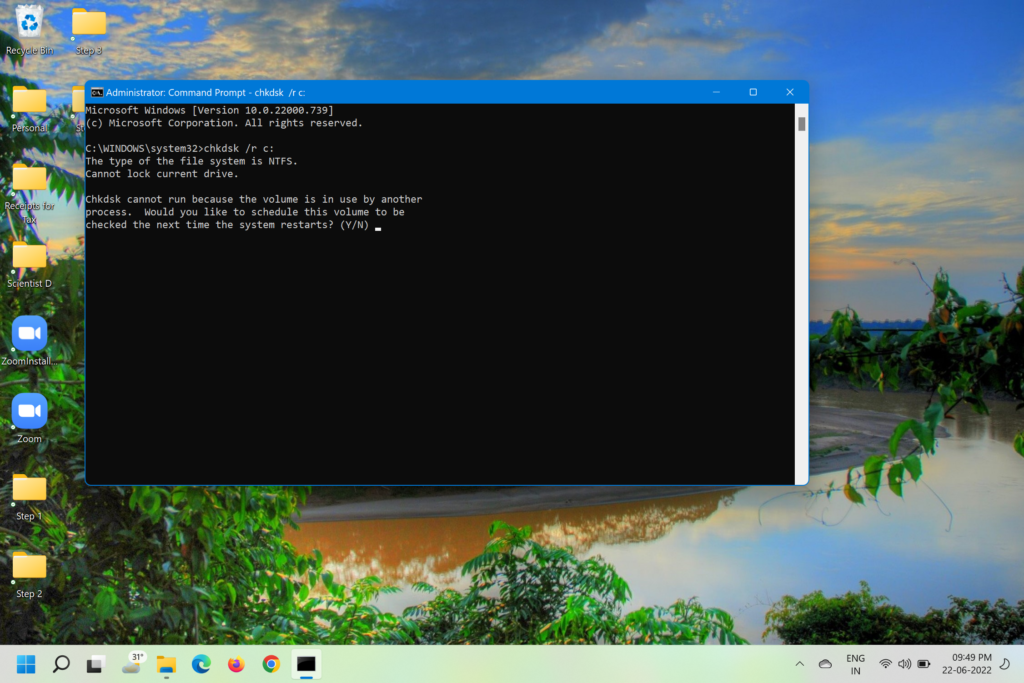
2.Typecmdin thesearchbar and hitEnter.
3.Click onRun as administratoron the right pane.
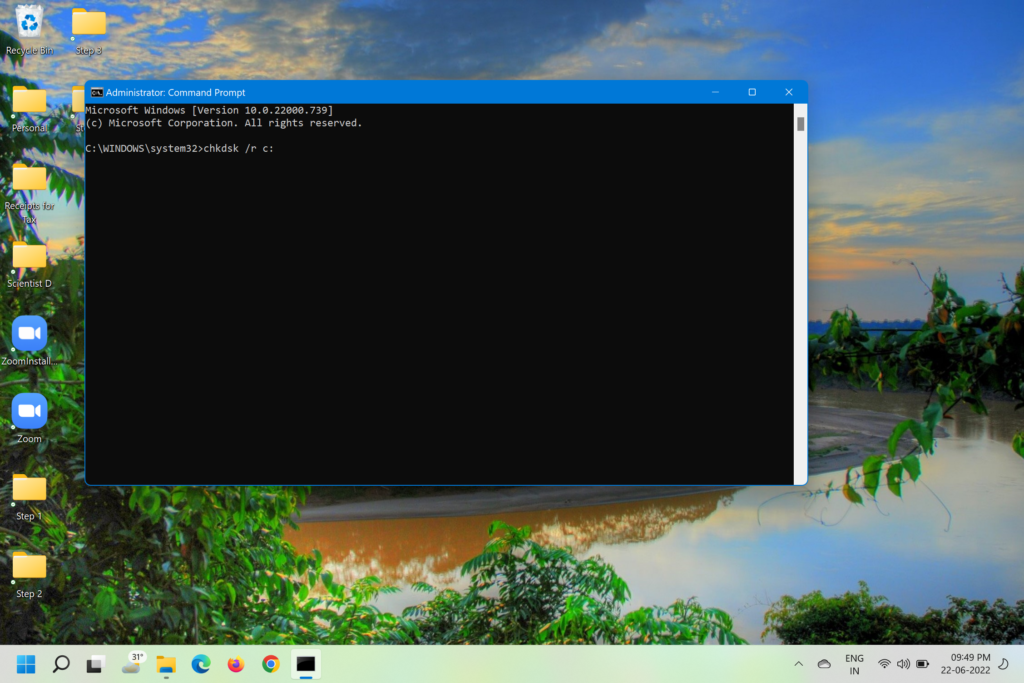
4.In the command prompt typechkdsk /r c:and hitenter.
5.TypeYand hitEnterto confirm the disc check next time your PC restarts.
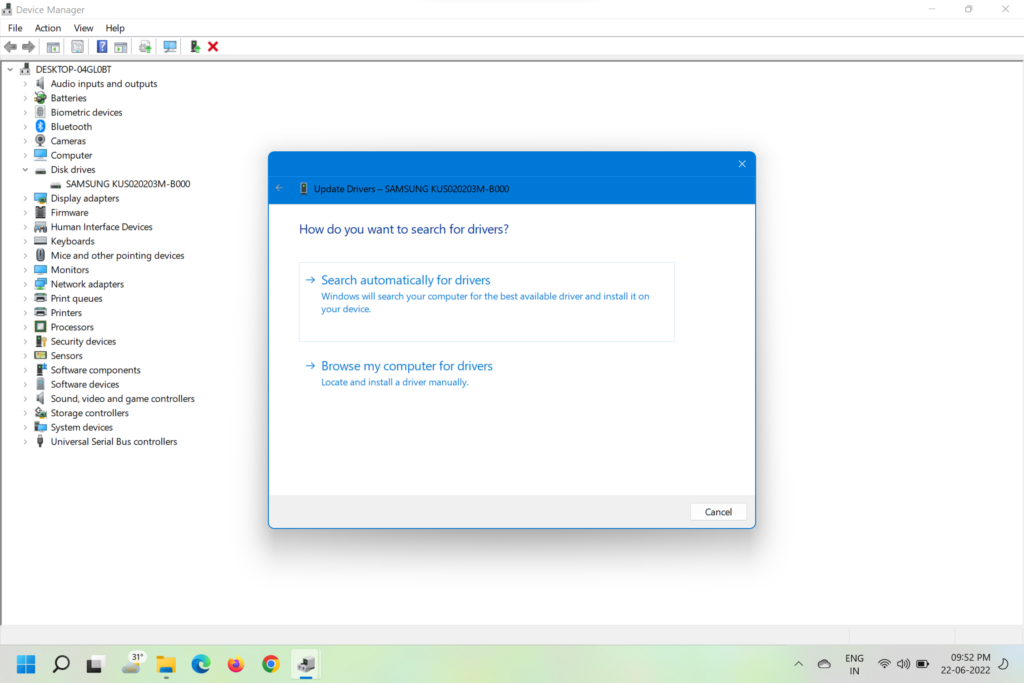
Heres how it’s possible for you to update the storage drivers to patch this up.
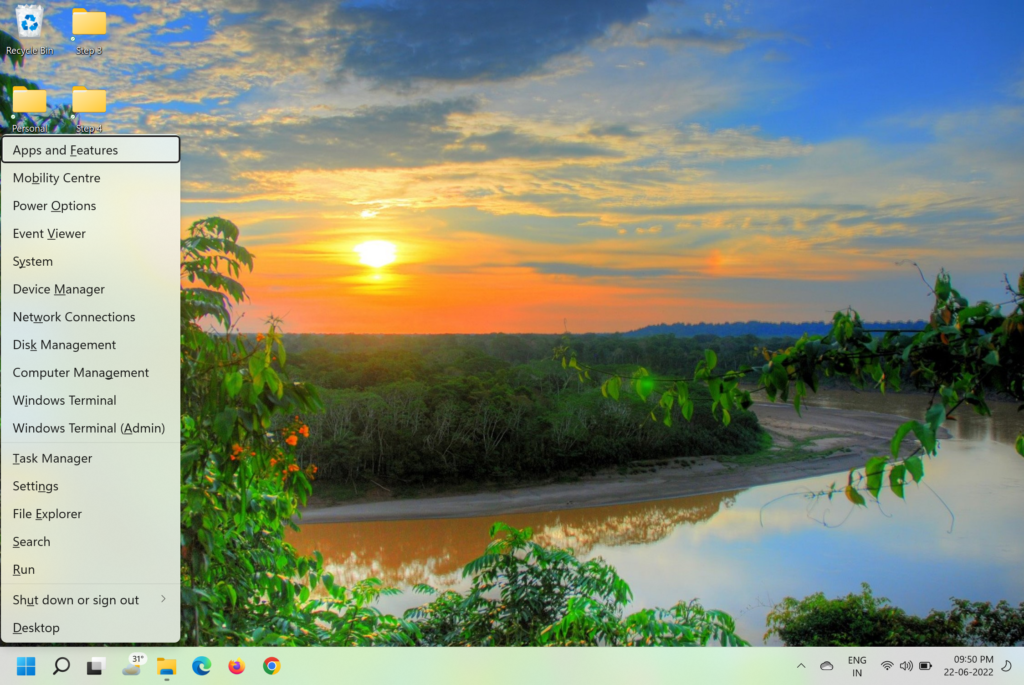
1.Open theQuick Linksmenu by pressingWin + Xon the keyboard.
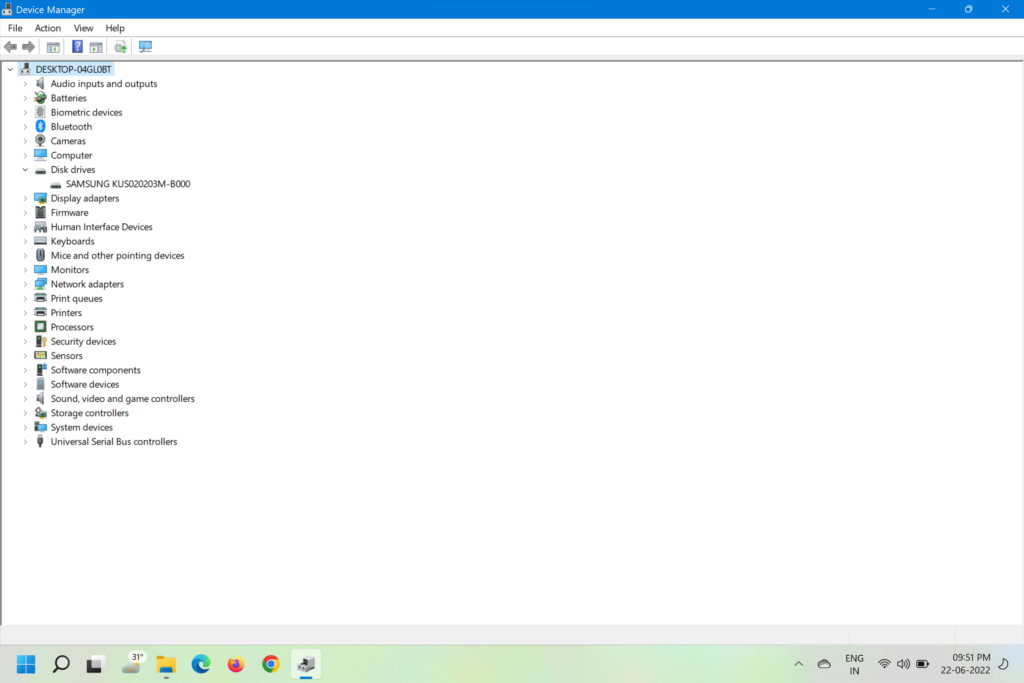
2.SelectDevice Managerfrom the menu.
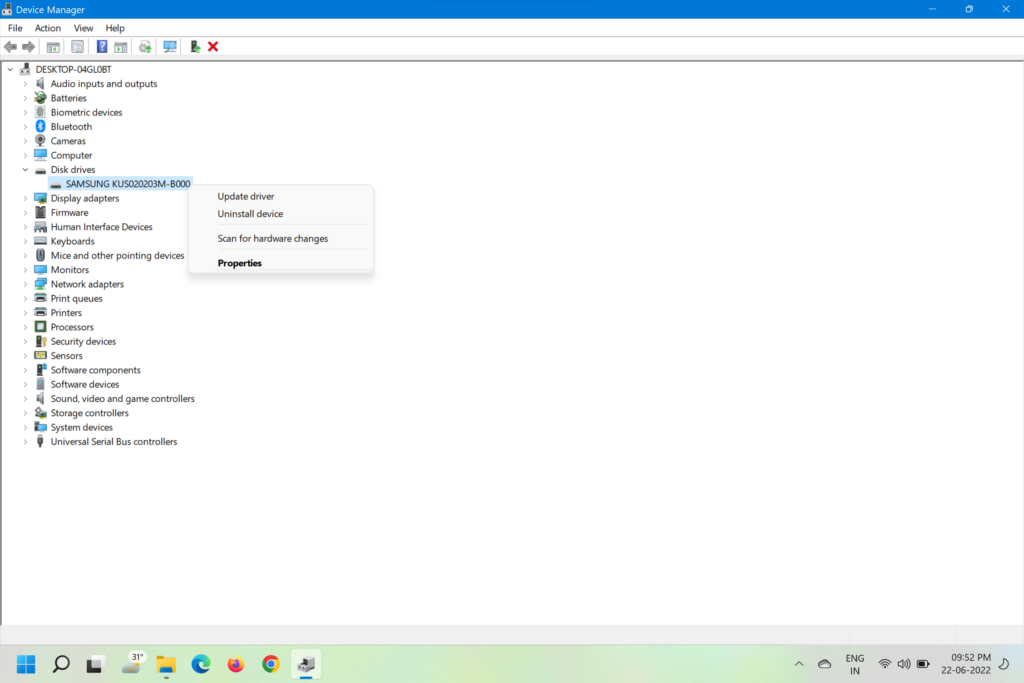
3.In the next window, expand theDisk Drivesoption and right-press the relevant disk.
From the menu that pops up, selectUpdate driver.
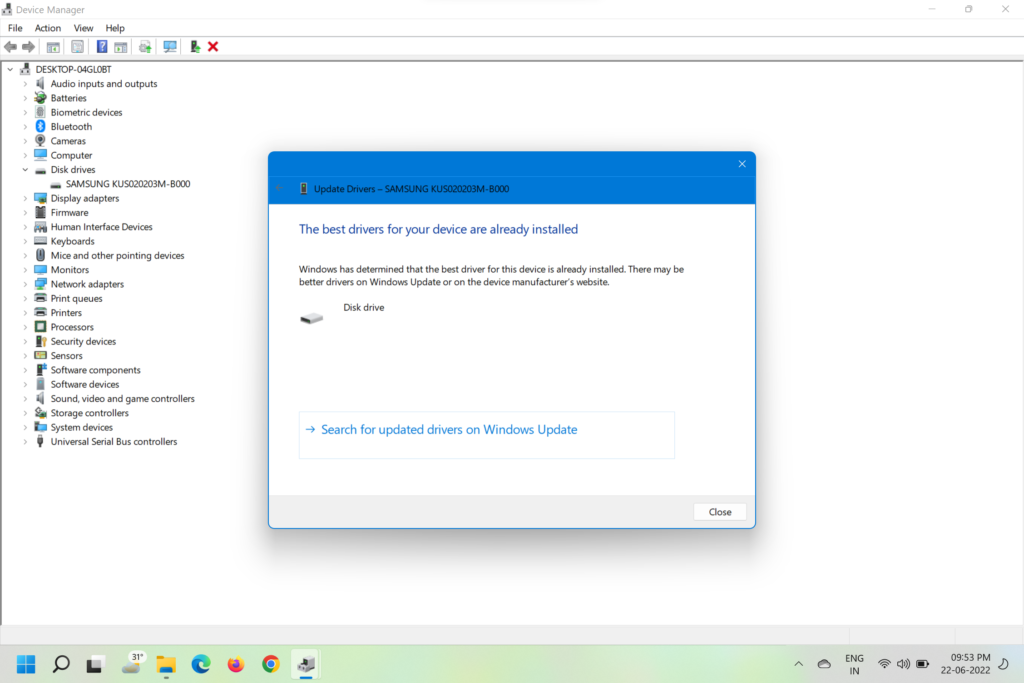
5.In the next window, click onSearch automatically for drivers.
6.Windows 11 will look for anynew update available,installit, and ask for arestart.
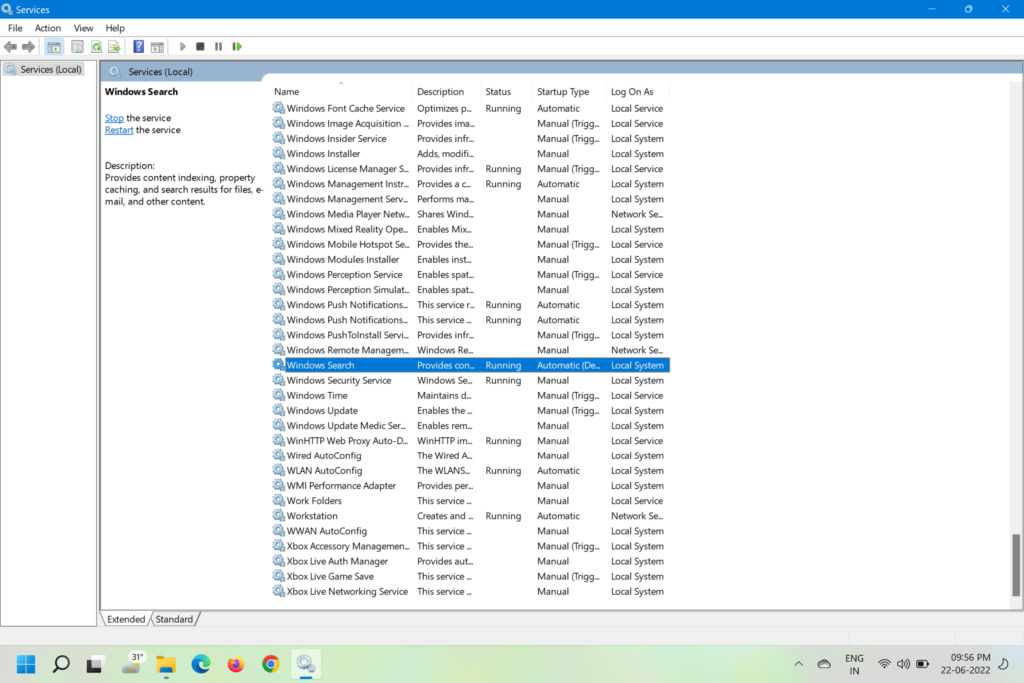
Disable Windows Search
This method affects files and folder search on the PC and hence is not much recommended.
Heres how you might do it.
3.In the next window, scroll to Windows Search and double-tap on it.
6.Nowrestart your PCto enjoy low disk usage
7.
However, it also causes the 100% disk usage error and thus needs to be disabled.
Here are the steps to disable Scheduled Defragmentation in Windows 11.
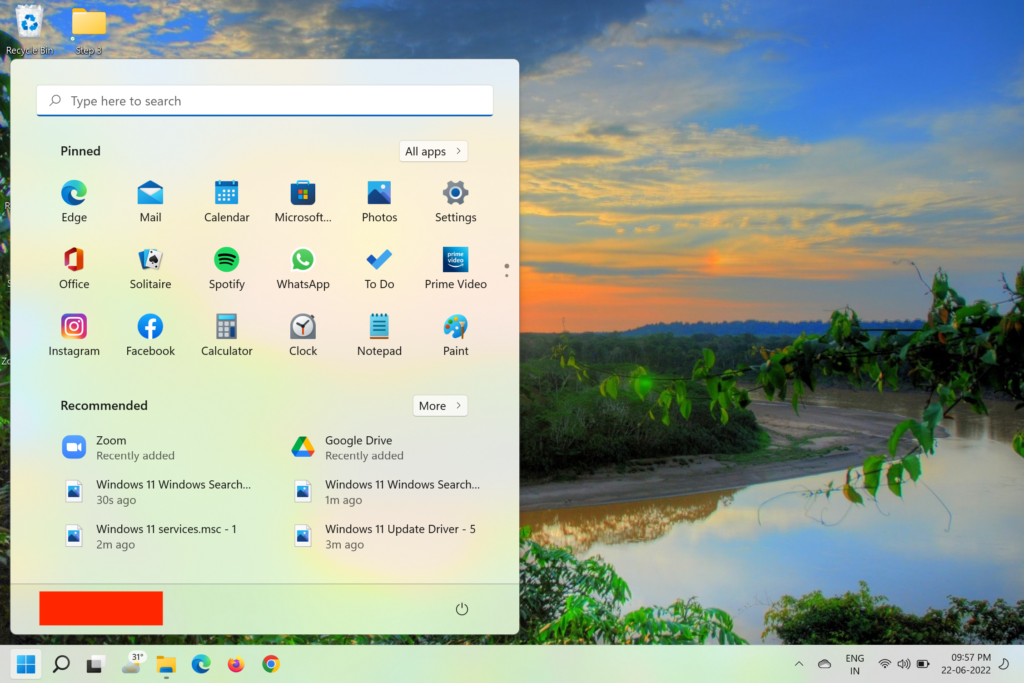
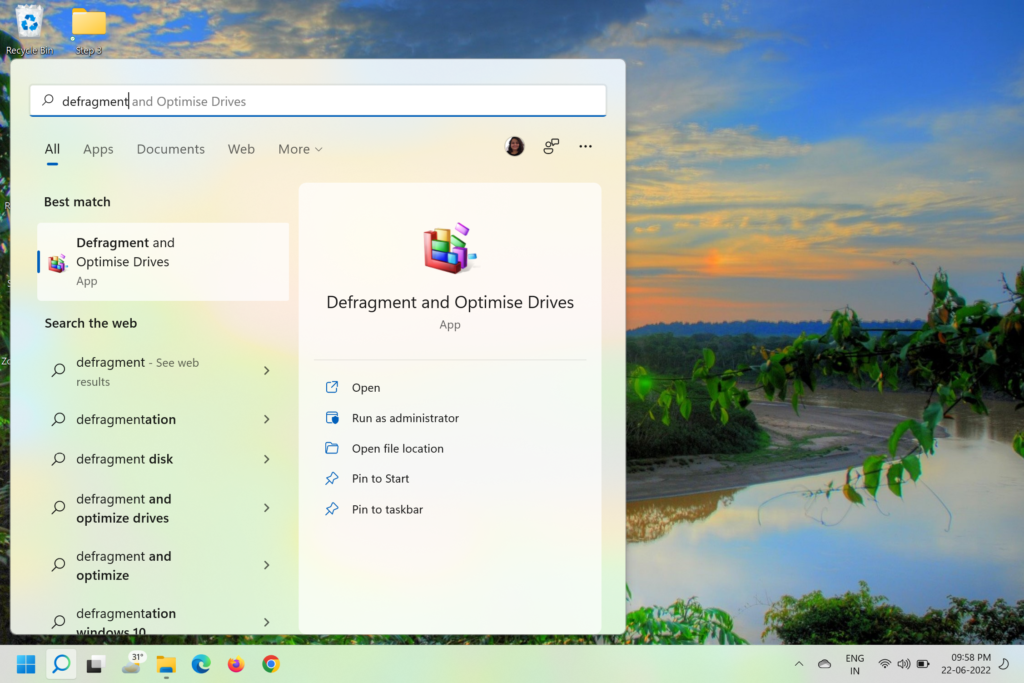
2.TypeDefragmentin thesearchbar and hitEnter.
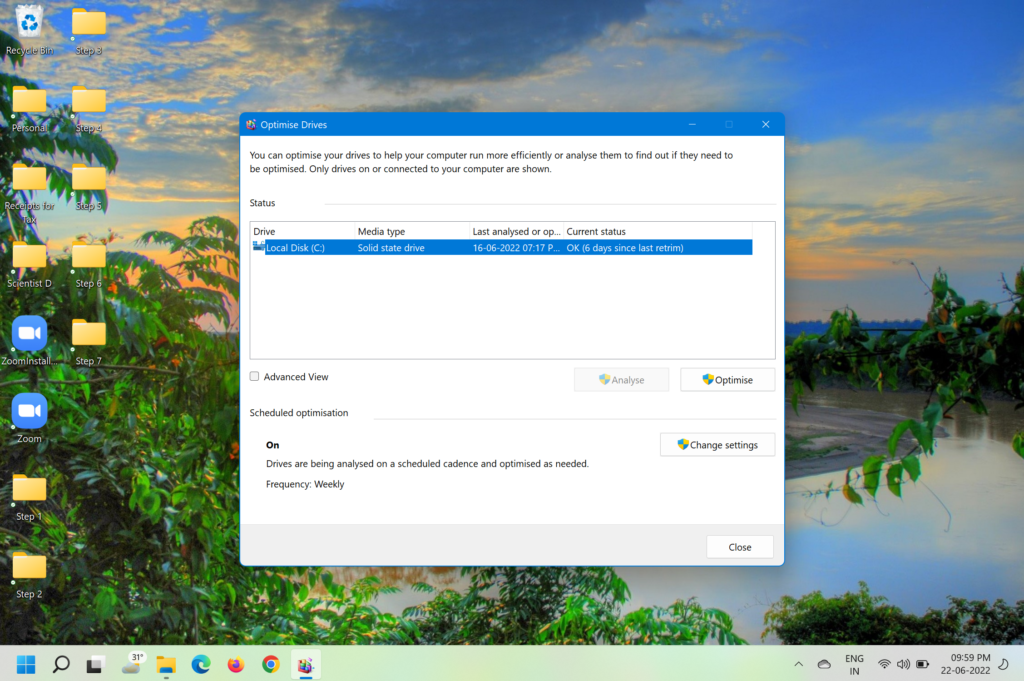
3.choose theDefragment and Optimize Drivesand open it.
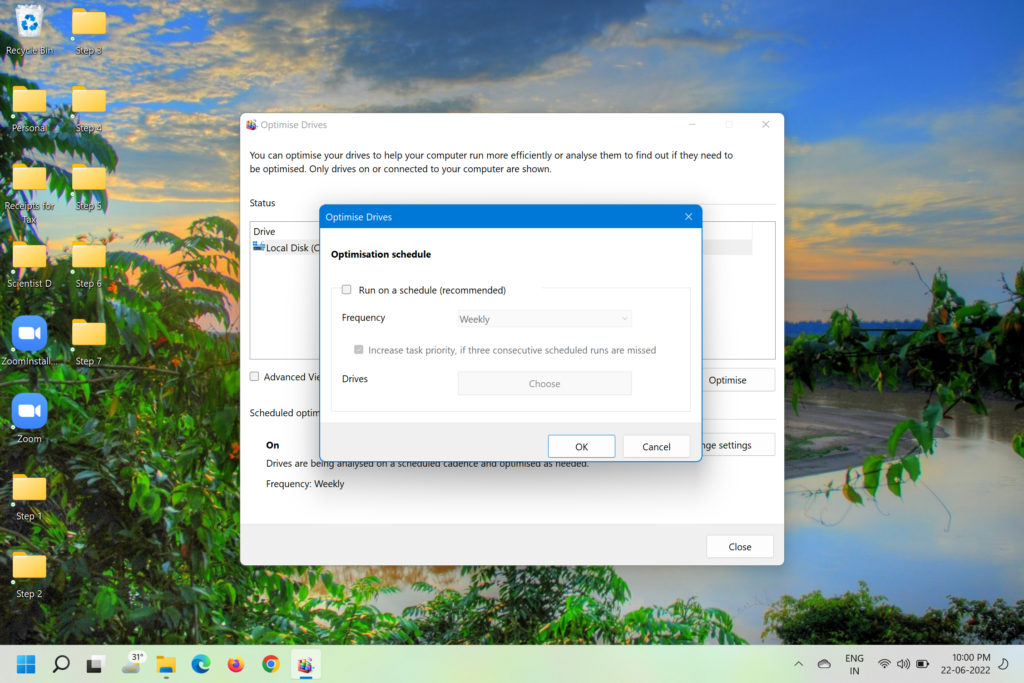
4.In the next window, select theChange Settingsbutton.
5.Now, uncheck theRun on a schedule (recommended)checkbox to deactivate the feature and then click onOK.
Heres how to do it.
1.Open theQuick Linksmenu by pressingWin + Xon keyboard.
3.In the next window, expandIDE ATA/ATAPI controllersand right-hit the option that drops down.
4.SelectPropertiesfrom the drop-down menu.
5.In the window that pops up, select theDrivertab.
6.Now, press theDriver Details.
7.Move ahead only if you seeStorAHCI.sysunderDriver Files.
8.Go to theDetailstab in the same window and change thePropertytoDevice instance path.
Right-clickon thecharacter stringunderValueand copy it in Notepad.
10.Close theDevice Managerand open theStart Menu.
13.Find the entry that matches the string you copied in Notepad.
14.Keep expanding the entry till you reachDevice Parameters > Interrupt Management > MessageSignaledInterruptProperties.
15.Look forMSISupportedon the right pane and double click to open it
16.Now, change theValue Datato0.
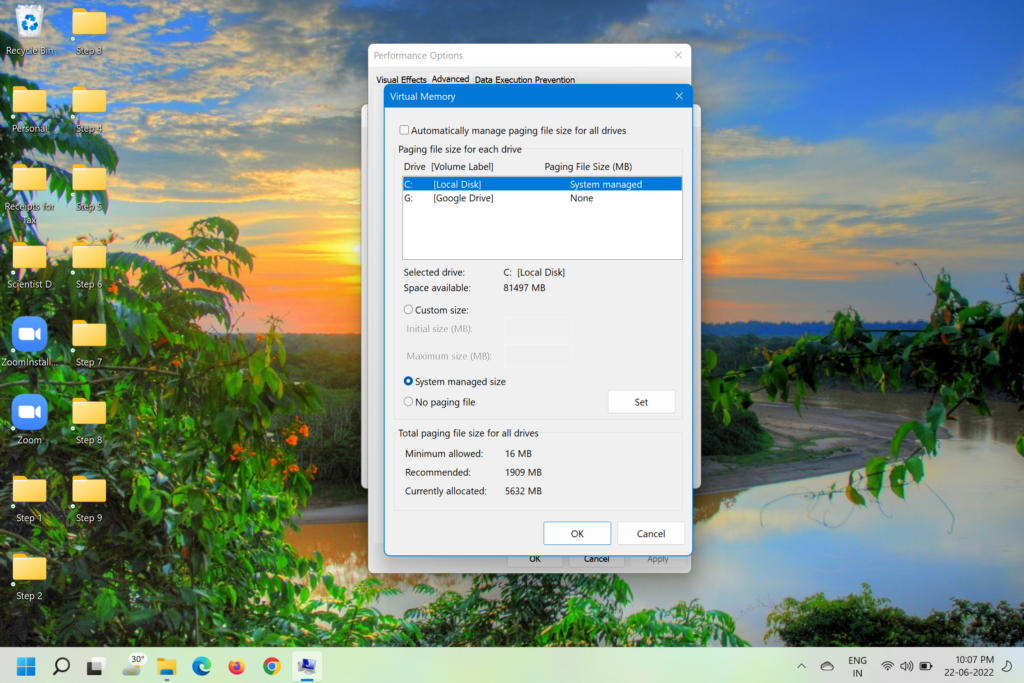
At times, this takes up major space and ends up causing the 100% disk usage issue.
you’ve got the option to reset the virtual memory to avoid this.
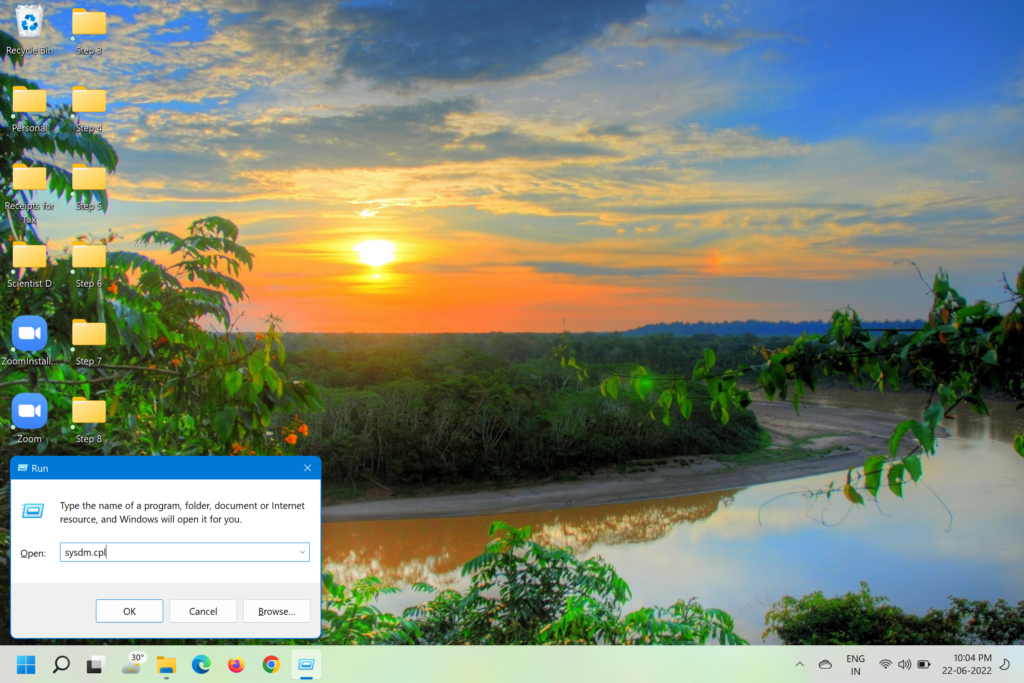
Heres a step-by-step guide on how to reset virtual memory in Windows 11.
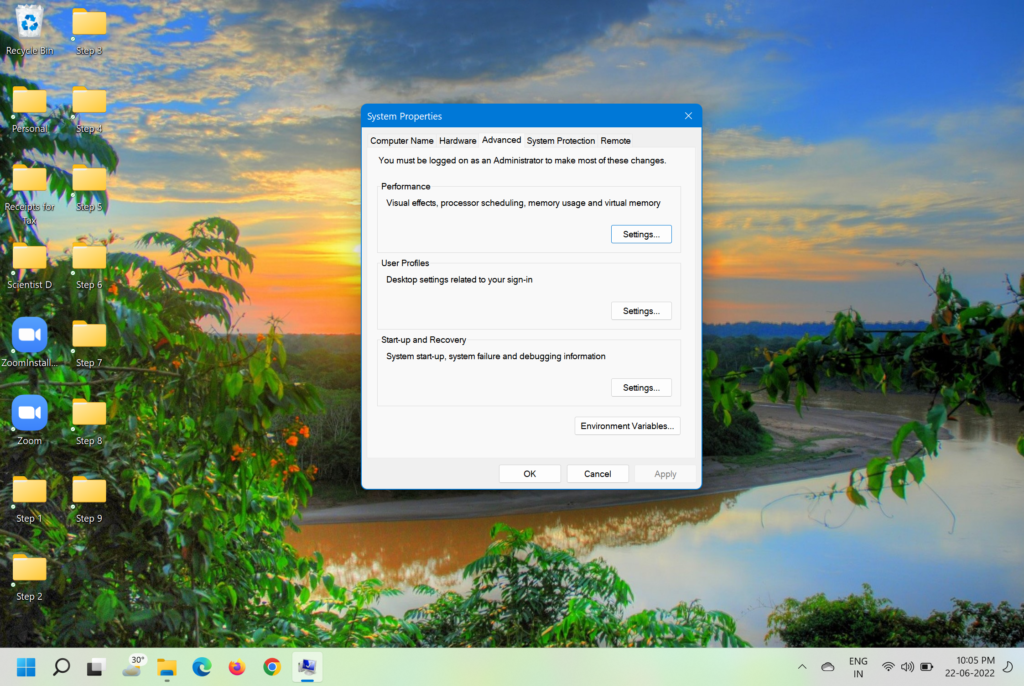
3.When theSystem Propertieswindow opens, move to theAdvancedtab.
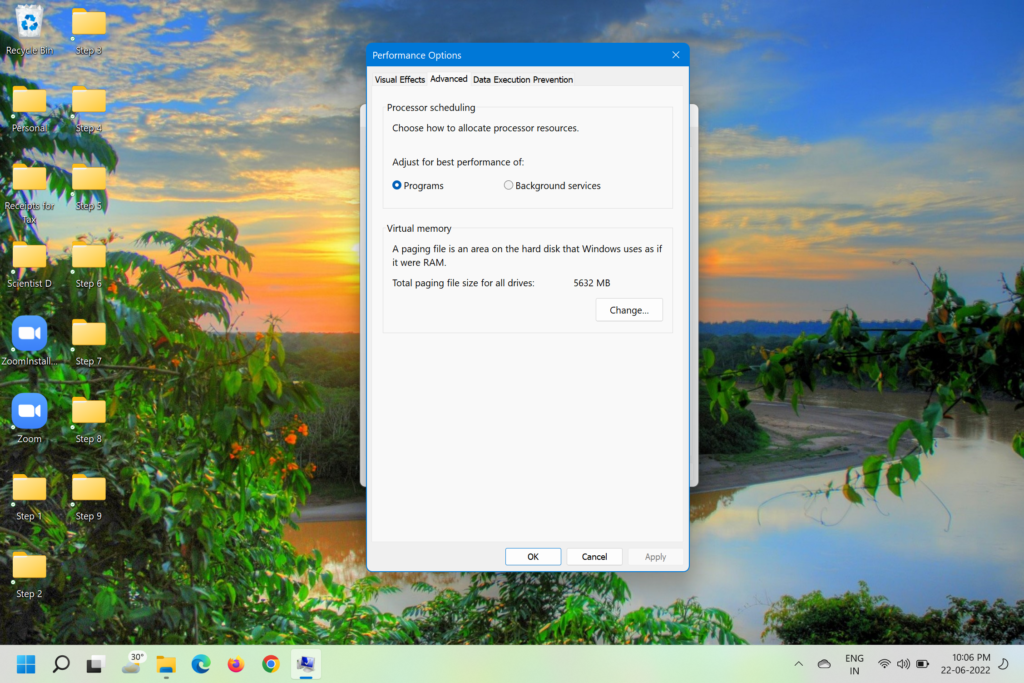
5.Now, again move to theAdvanced tab in the Performance Optionswindow and click onChangeunderVirtual Memory.
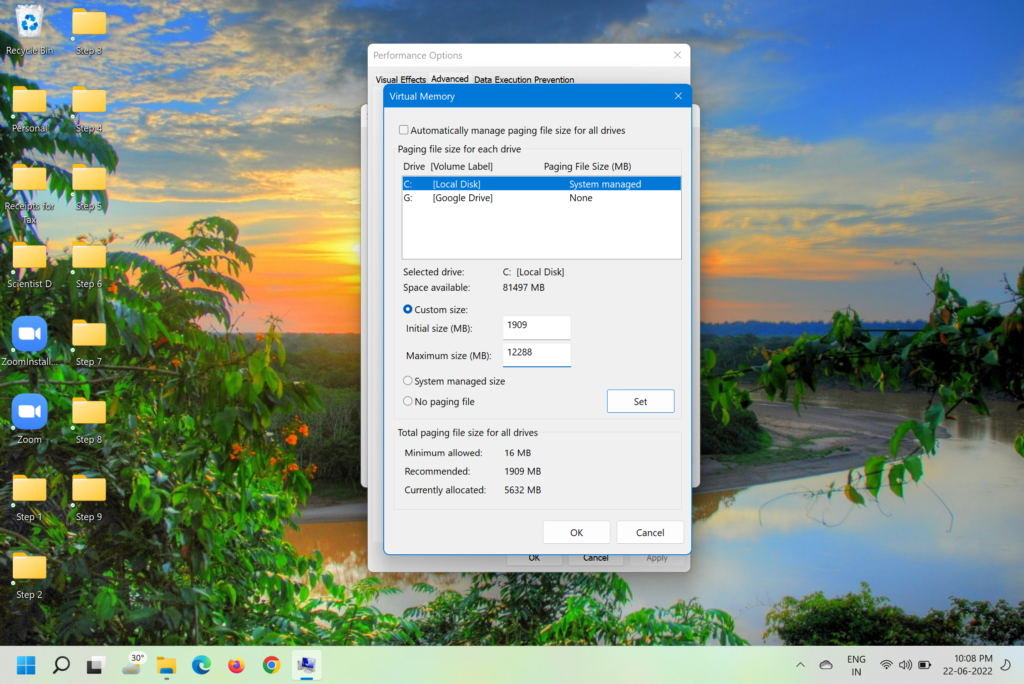
6.Now, uncheck theAutomatically manage paging file size for all drivescheckbox.
7.SelectCustom Sizeand enter theRecommendedfigure in theInitial Sizebox.
8.In theMaximum sizebox, enter 8x your RAM size in MB.
(For example, if RAM is 8GB enter 1024 x 8 x 1.5 = 12288).
9.Now, clickSetand thenOK.
10.Now, start your PC.
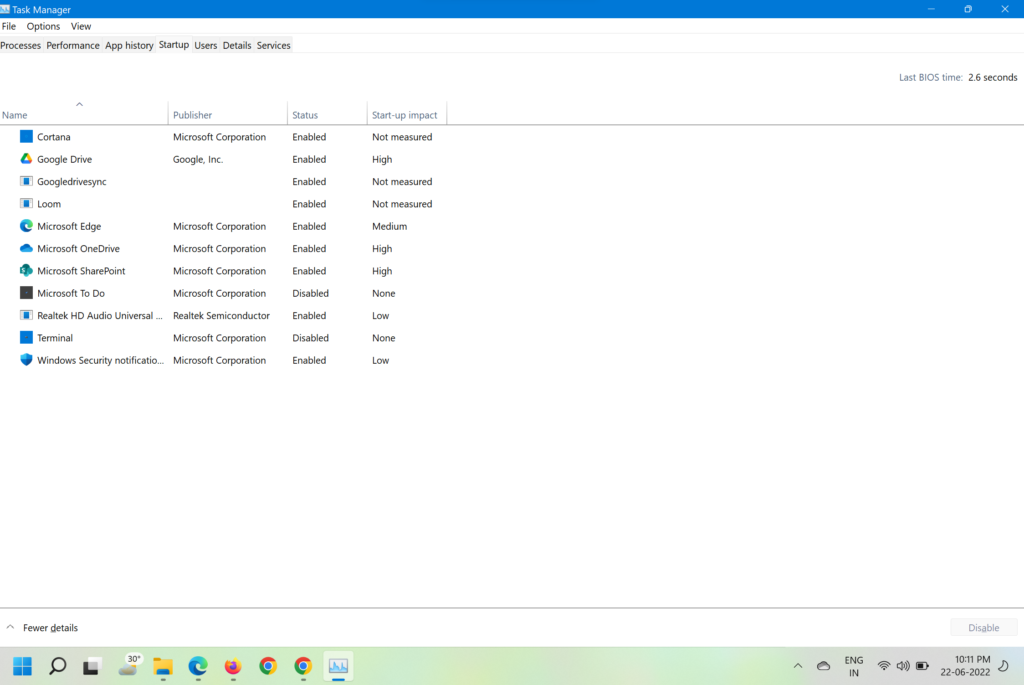
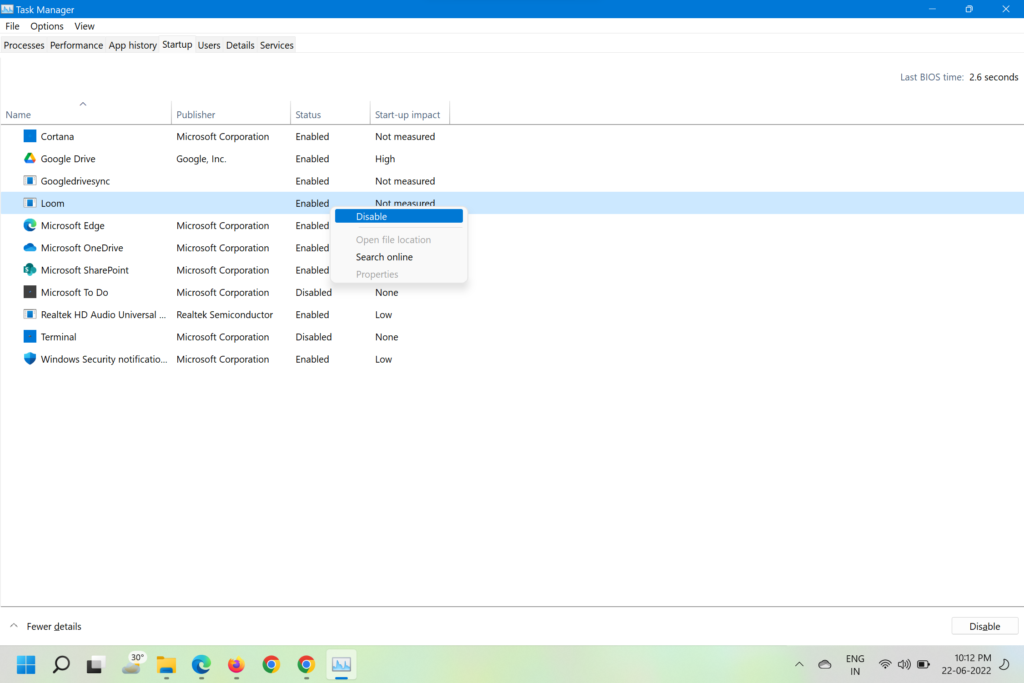
Disable Startup Apps
Windows 11 runs several apps automatically in the background whenever you turn on your setup.
These apps take up significant space at times.
you’re free to disable unnecessary startup apps by following the steps below.
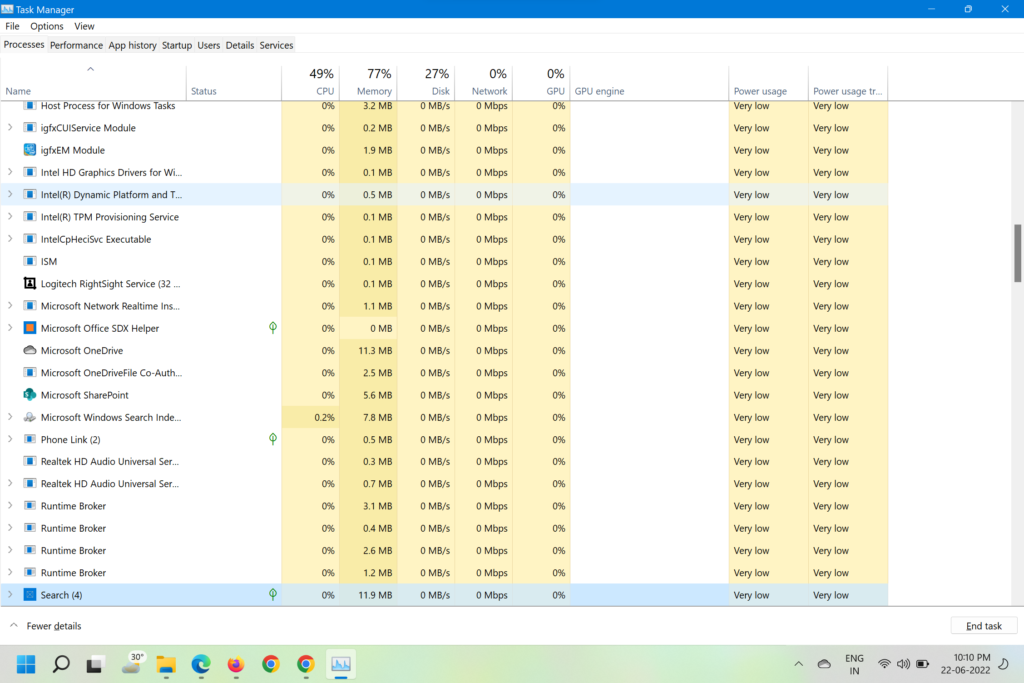
1.PressCtrl + Shift + Escto pop pop the Task Manager.
2.Tap on theStartuptab on top.
3.Check out the list of apps.
5.Do this for all unnecessary startup apps.
FAQs
Why is my disk constantly on 100%?
There are several reasons behind 100% disk usage.

It could be because of Virtual RAM, Background apps, startup apps, and more.
you’re able to follow the steps in this article to sort out the issue.
What is Superfetch and should I disable it?
SuperFetch enables a snappy startup by launching apps even before Windows could get up and running.
However, the background service uses both CPU and GPU resources and tends to slow down the PC.
Its best to disable it to speed up your box.
Will SSD solve 100% disk usage?
Yes, apparently SSD doesnt show 100% disk usage all the time.
your rig will feel a lot faster after upgrading to SSD.
Let us know if any of these methods worked for you, in the comment box below.


Our laptop didn’t have “IDE ATA/ATAPI controllers” but you can follow the steps below to disable MSI mode