In Windows 11, Microsoft makes its TPM Diagnostics tool as its optional feature.
Administrators can query the information stored on the TPM chips.
How can you enable and use Windows 11 TPM Diagnostics tool?
Go to this post and you’ve got the option to find some details given byMiniTool.
To know details stored on the TPM chip, Windows 11 comes with a new tool called TPM Diagnostics.
It is an optional feature.
This means you could install it.
It is not mandatory.
How can you enable and use the TPM Diagnostics tool to query a TPM for stored information?
Proceed to the next part.
But you’re free to only use tpm.msc to find a bit of basic information about the TPM.
The following are the detailed instructions focusing on how to enable this tool.
Step 1: PressWin + Ikeys on your keyboard to open Windows options.
Alternatively, it’s possible for you to hit the Windows icon and chooseSettingsto get the options interface.
Step 2: In the left sidebar, clickApps.
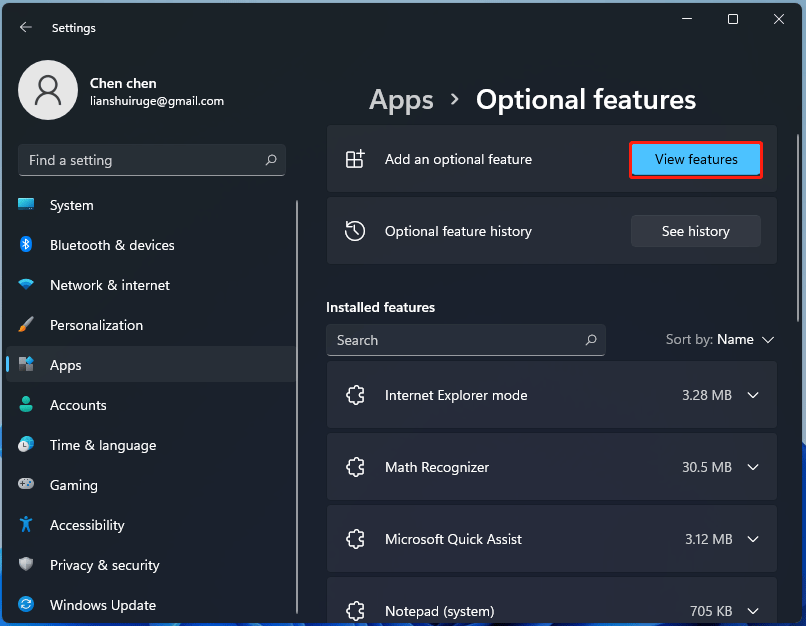
Step 3: Go toOptional featuresand clickView featuresunder theAdd an optional featuresection.
Step 4: Typetpminto the search box, check the box ofTPM Diagnostics,and clickNextto continue.
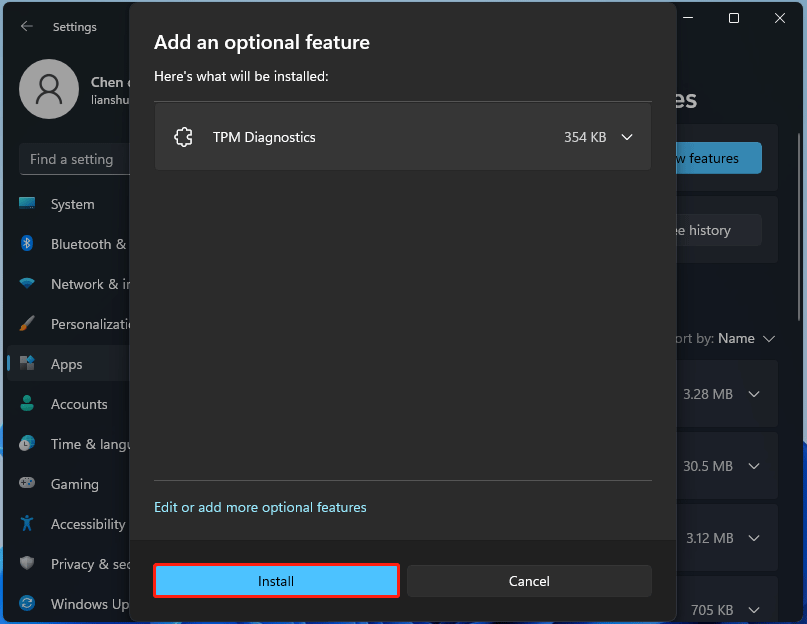
Step 5: In the new window, click theInstallbutton.
This installation process will take several minutes.
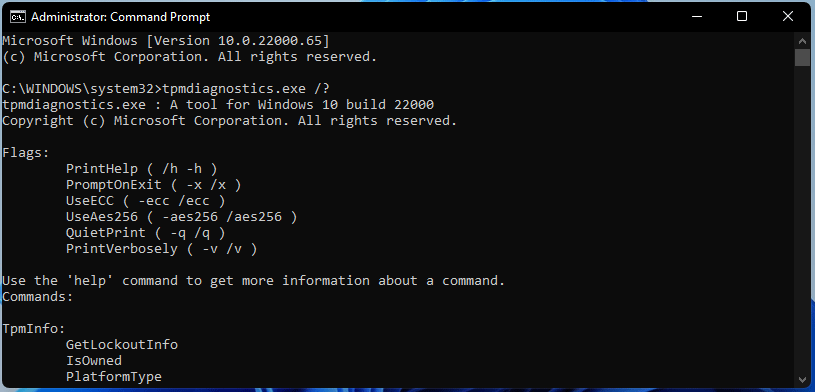
Or, you could run this program in Command Prompt.
Launch Command Prompt as administrator.
- jot down in the commandtpmdiagnostics.exe /?and pressEnter.
Then, you might get all the commands that are available in the tpmdiagnostics.exe tool.
For example, if you want to know the TPM version, use the commandtpmdiagnostics.exe getdeviceinformation.
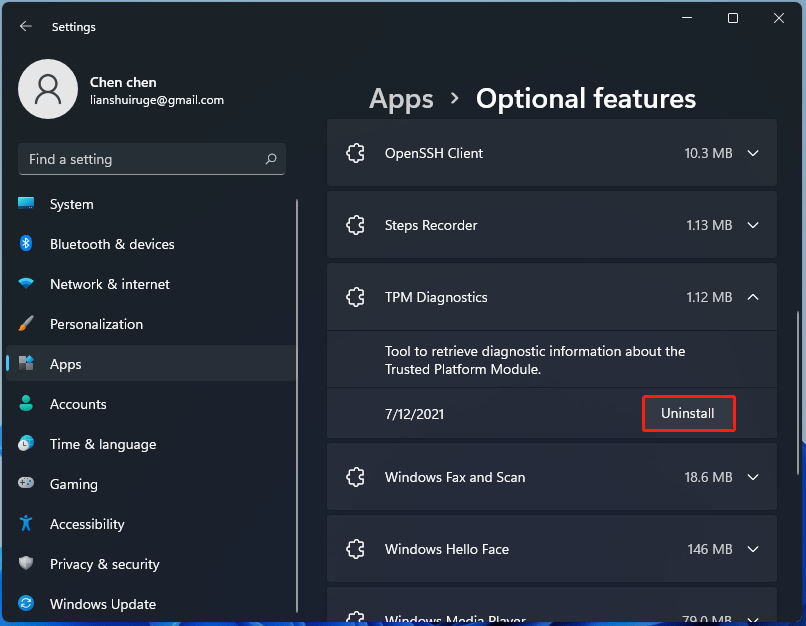
Step 2: Go toApps > Optional features.
Step 3: Under theInstalled featuressection, find TPM Diagnostics, click it and then click theUninstallbutton.
Final Words
This is all the information about the TPM Diagnostics tool in Windows 11.
If you have a need, install and use it by following the detailed instructions above.
As well, uninstall it when needed by following the given way.
