Live Captions is one of the most loved iOS features.
Many users who have upgraded to the latest iOS are wondering where the Live Captions feature is gone.
Frankly speaking, I got caught in this loop as well for a while.
That said, follow along to learn how to enable Live Captions on iPhone.
Its no secret that Apple wants to keep the big-ticket features exclusive to the latest iPhone models.
Therefore, see to it your unit is compatible.

Take a look at the list of iPhone models that support Live Captions!
Yeah, you read that right!
If you have selected any other language, the Live Captions feature will not appear in controls.
Thats the reason why it does not appear when other languages are set.
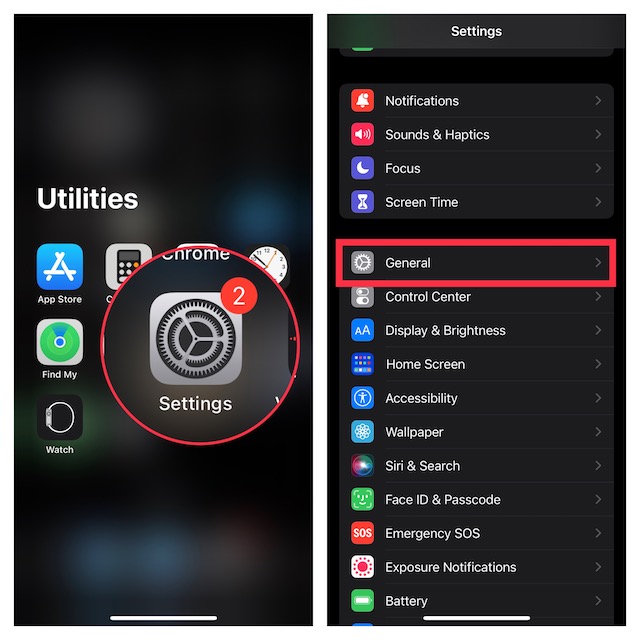
1.To get started, open theSettings appon your iPhone.
2.In the options menu, chooseGeneral.
3.Now, tap onLanguage & Region.
4.Then, tap onAdd Language.
5.After that, search forEnglish (US) or English (Canada).
6.In the end, tap onUse English (US or Canada) in the popup to confirm the action.
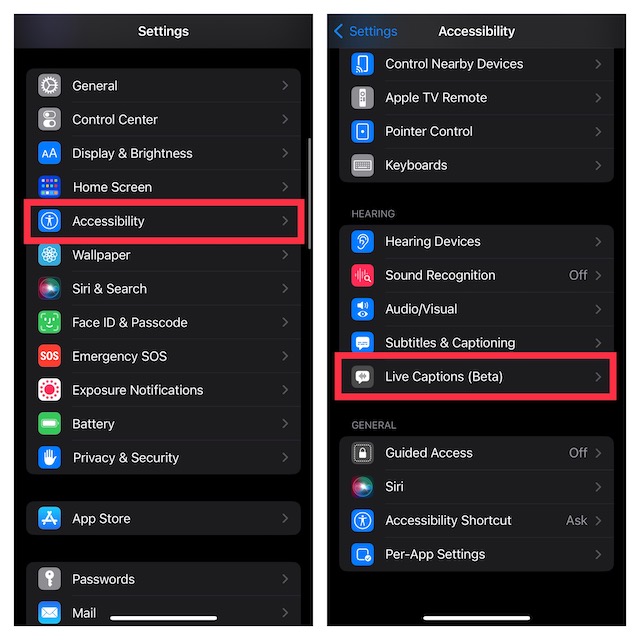
1.Now, go to theSettings app-> scroll down and chooseAccessibility.
2.Then, scroll down to theHearingsection and tap onLive Captions (Beta).
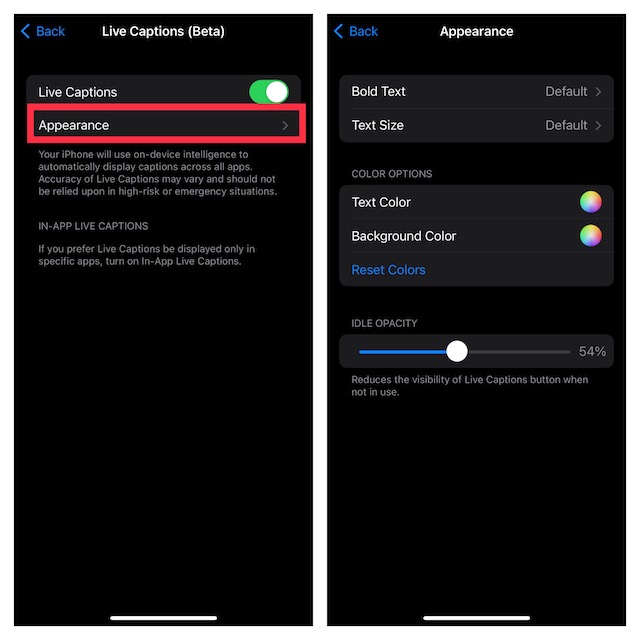
3.Finally, turn on the switch next to Live Captions.
Head into theSettings appon your iPhone or iPad-> Accessibility> Live Captions.
Ensure that the toggle forLive Captionsis turned on.
After that, tap onAppearance.
On the next screen, do the following:
