you’ve got the option to run 2 operating systems on a computer.
So, how can you dual boot Windows 11 and macOS?
Read this guide ofMiniTooland you could find the detailed steps for this task.
Running two operating systems is a common thing.
Here, we will show you much information focusing on Windows 11 and macOS dual-boot.
This is because there is a built-in tool in a Mac to help you install Windows operating system.
With it, you could switch between macOS and Windows.
This tool can work best when you are using the latest version of macOS.
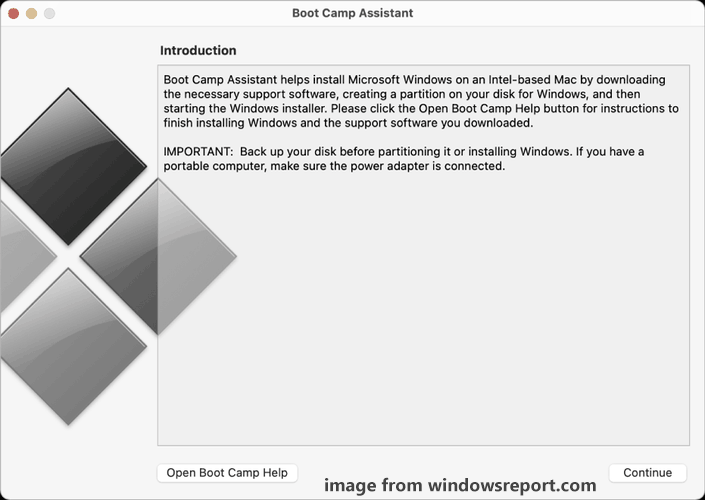
Step 2: Go toUtilitiesand chooseBoot Camp Assistant.
Step 3: You are asked to back up your Mac.
Step 4: Locate the Windows 11 ISO file you have downloaded.
you could see the system disk is divided into two drives one for macOS and another for Windows 11.
Allocate 64GB or more for the Windows partition.
Step 5: pop in in a password and reboot your Mac.
Step 6: Your Mac will enter the Windows setup environment.
you better choose a language, time format, and input method to continue.
Step 7: ChooseI dont have a product key.
Step 8: Choose a version of Windows 11.
Further Tip:
Boot Camp is only available for devices with Intel Processor running Mac OS.
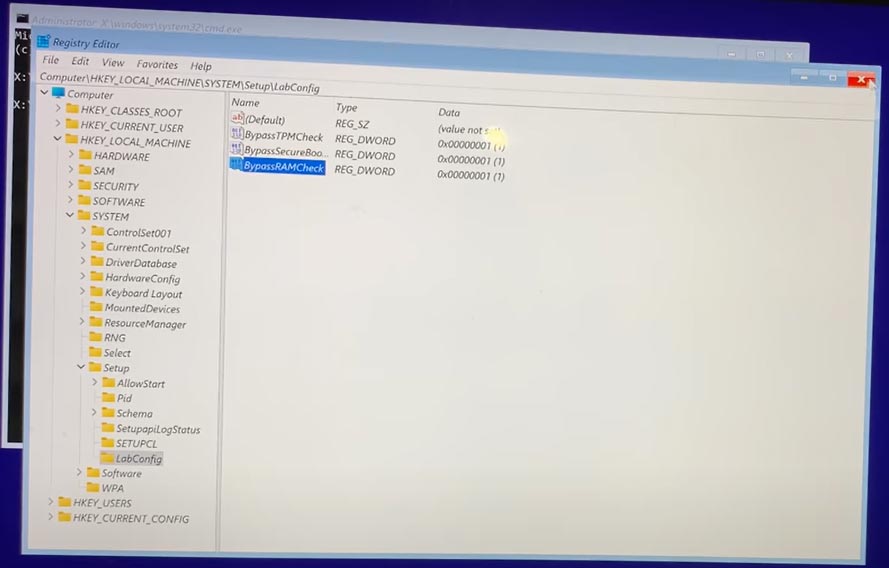
Besides, not all Macs have a TPM 2.0 chip.
Thus, you gotta use a workaround to bypass the TPM 2.0 requirement.
Boot Camp Assistant enables you to install Windows on Mac.
This post shows you how to install Windows on Mac with the step-by-step guide.
If you have any suggestions on the dual-boot, let us know by leaving a comment below.
