With the help of KVM (Kernel-based Virtual Machine), QEMU can offer fast running speed.
Therefore, it develops fast and is going to replace VirtualBox and VMware on Linux.
In addition, the quickgui is also not available to Windows.
But QEMU develops fast and many people still want to use this VM software on Windows.
QEMU for Windows Download and Install
1.
Download QEMU for Windows
To use QEMU for Windows, you should download and install it first.
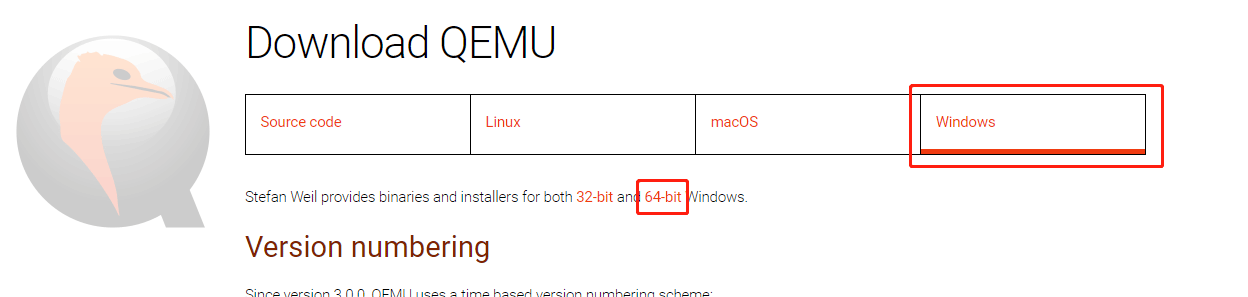
Click theDownloadbutton at the top section.
You will go to the QEMU download page.
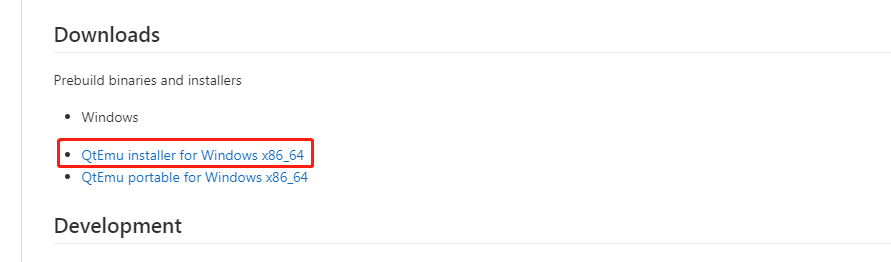
Step 2:Click theWindowstab to get the QEMU Windows version.
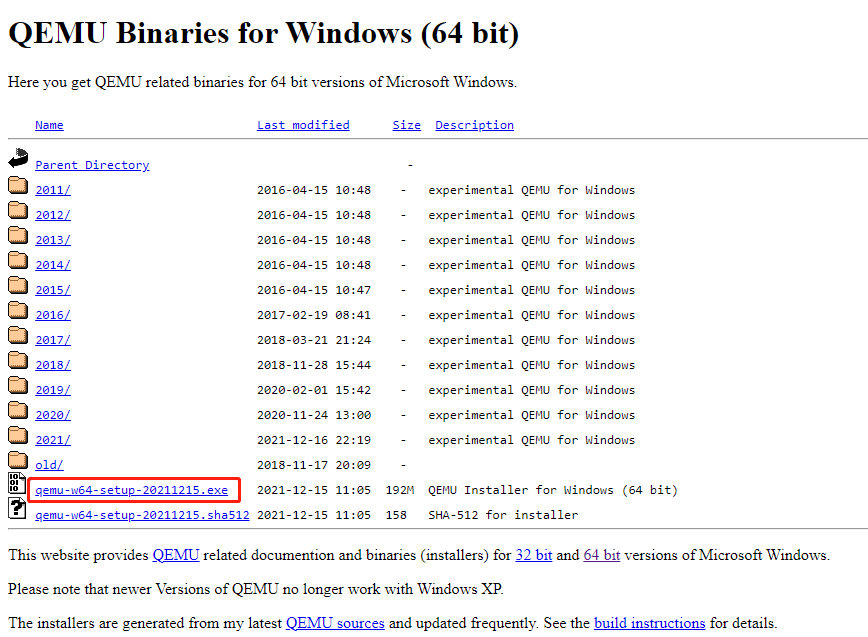
Step 3:On the new page, snag the.exefile to download it.
This file is the installer file.
Install QEMU for Windows
After the installer file is downloaded, you could double-click it to run directly.
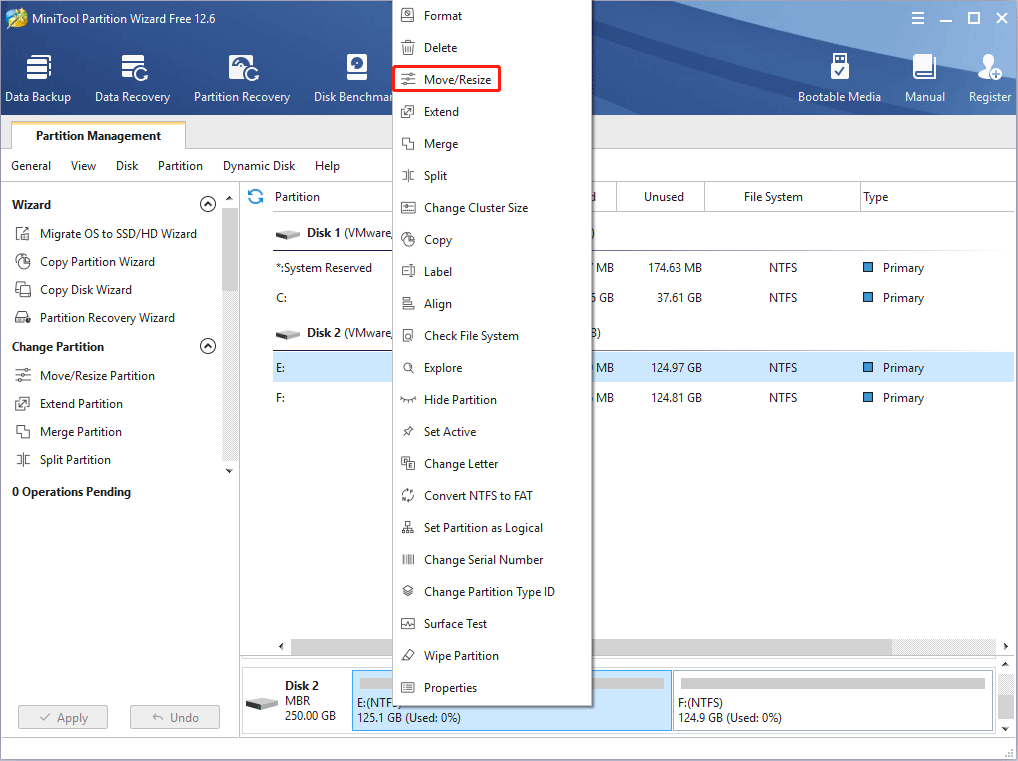
Before doing that, I recommend you to create a partition separately for it.
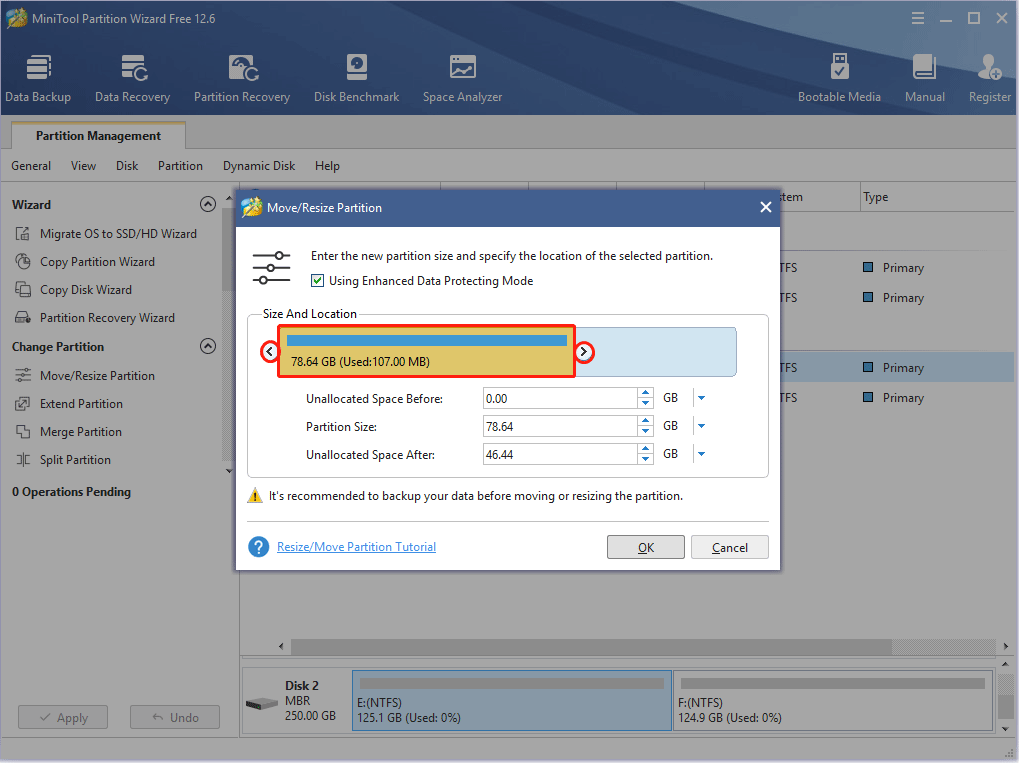
Right-click a partition and chooseMove/Resize.
Then, click theOKbutton.
In this way, you could get unallocated space.
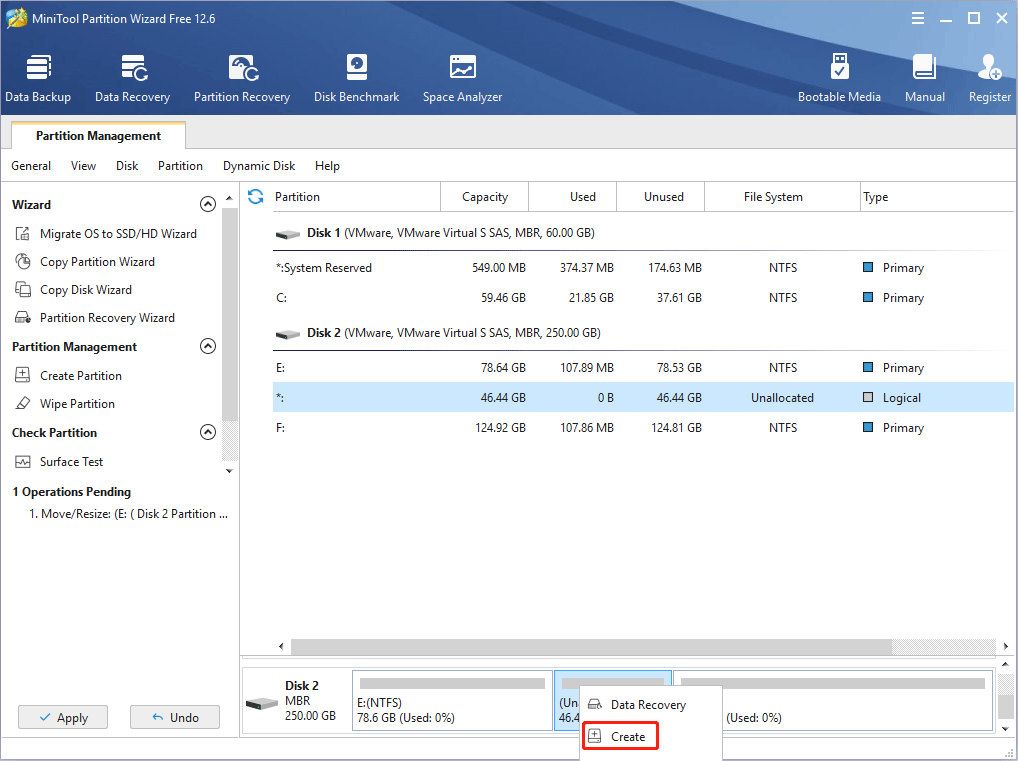
Step 3:Right-nudge the unallocated space and choose theCreatebutton.
Step 4:Set parameters for the new partition.

you’re free to keep all of them to the default value if you dont have specific demands.
Then, click theOKbutton.
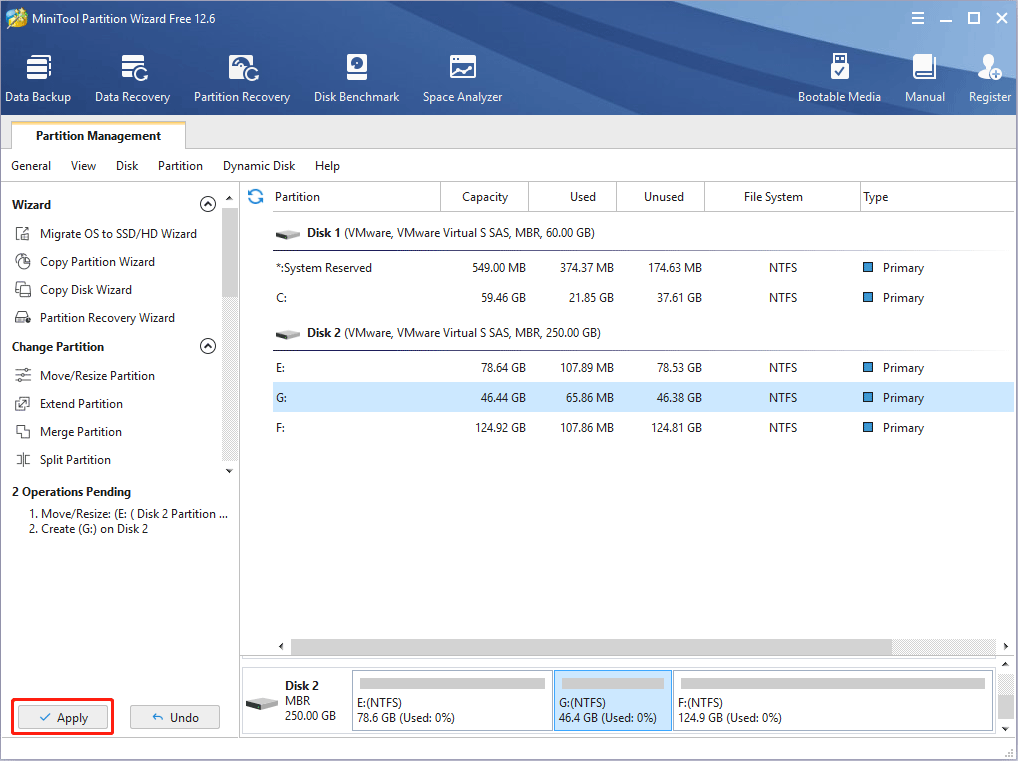
Step 5:Click theApplybutton to execute pending operations.
You just need to follow the on-screen instructions to complete the installation.
Here are 2 ways and the 2ndway is better.
Way 1.
Create a Virtual Machine Using Commands
QEMU doesnt come with a GUI.
If you dont install a GUI manually, you better use commands to run QEMU.
Step 1:Download the Ubuntu ISO file from the official website.
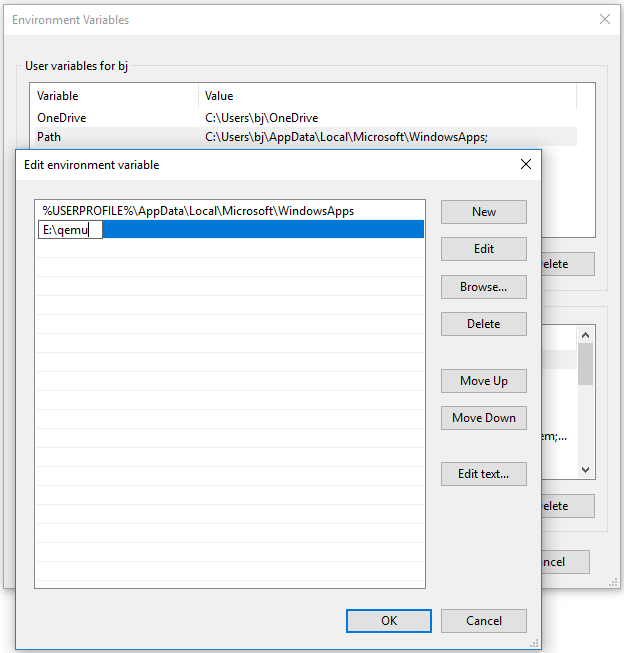
Step 2:Add QEMU path intoEnvironment Variables.
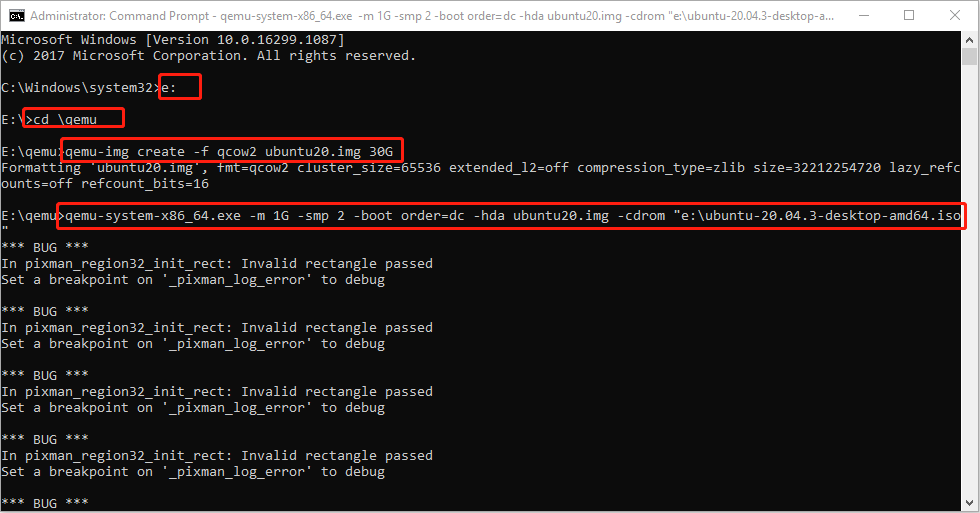
Step 3:Run Command Prompt as administrator and then execute the following commands.
Step 4:Go through the Ubuntu installation process.
How to Install Linux (Ubuntu) on Windows 10 [Ultimate Guide 2022]
Way 2. you’re gonna wanna search for various tutorials online.
In addition, once errors occur, you may have no idea how to solve them.
Therefore, I recommend you to use QtEmu, an open-source GUI for QEMU Windows.

How to use QEMU on Windows via QtEmu?
Here is the guide:
Step 1:Download the Ubuntu ISO file and QtEmu.
The QtEmu official website is https://qtemu.org and the QtEmu source is placed on https://gitlab.com/qtemu/gui.
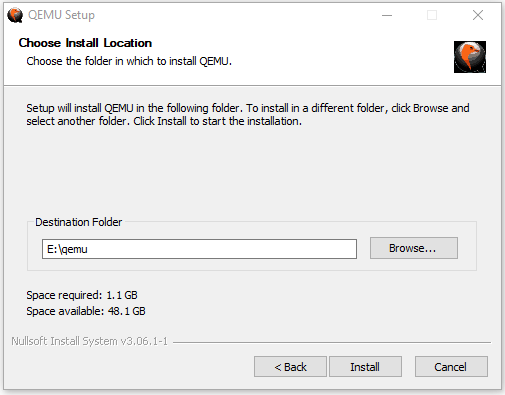
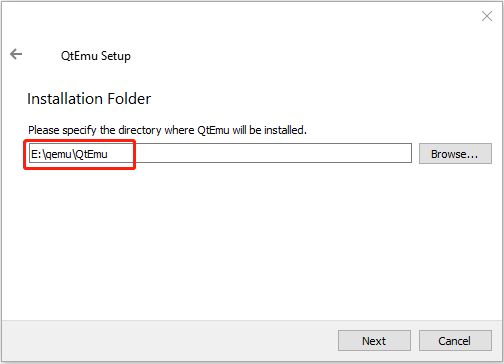
Step 2:Double-snag the QtEmu installer file and go through the installation process.
For me, I punch in:E:\qemu\QtEmu.
Step 3:After QtEmu is installed, go toE:\qemu\QtEmu.
Right-click theqtemu.exefile and chooseSend to>Desktop (create shortcut).
Then, create a folder namedVMsunder the E drive to store all VM files to be created.
Step 4:Double-poke the QtEmu shortcut to launch this software.
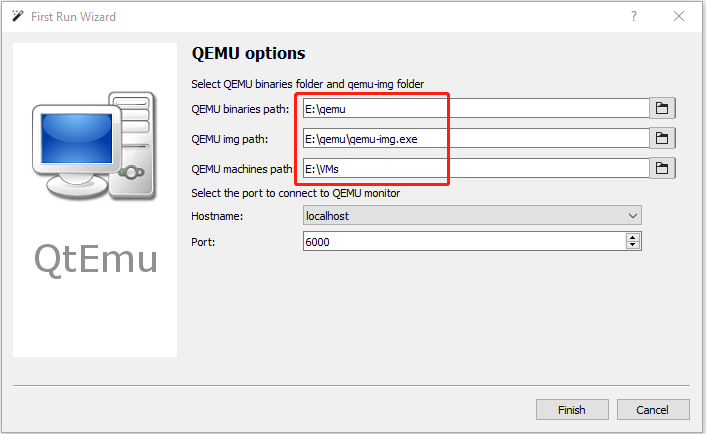
Then, click theFinishbutton.
Step 5:ClickMachine>New Machine.
Step 7:Select a correctCPU pop in, and setCPU,Graphics,Audio, andNetworkparameters.
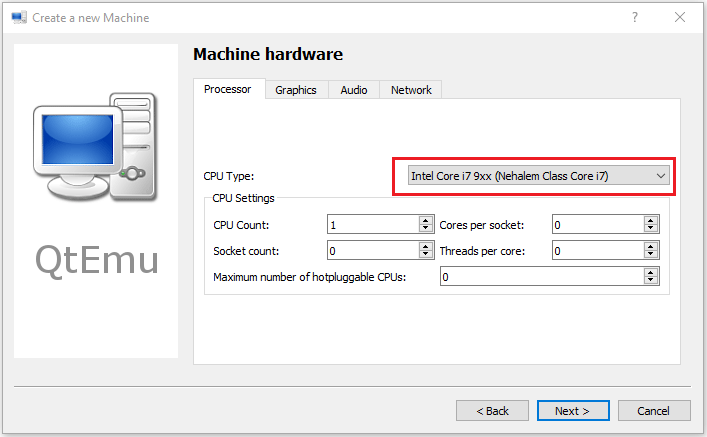
If all is OK, click theNextbutton.
HAXM is chosen by default.
However, some computers may not support this technology.
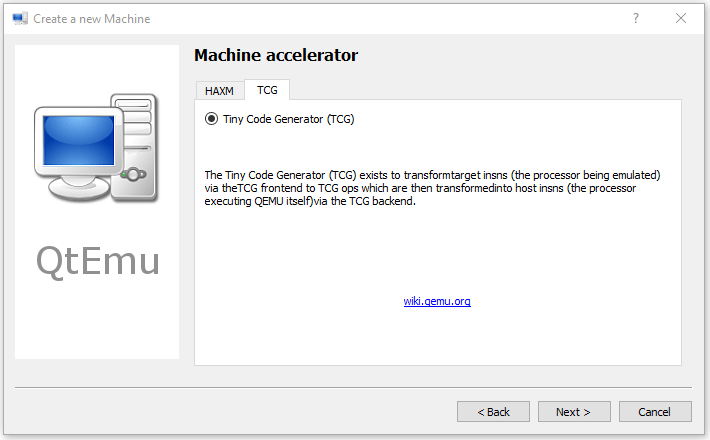
Therefore, I recommend you uncheck HAXM and then choose TCG instead.
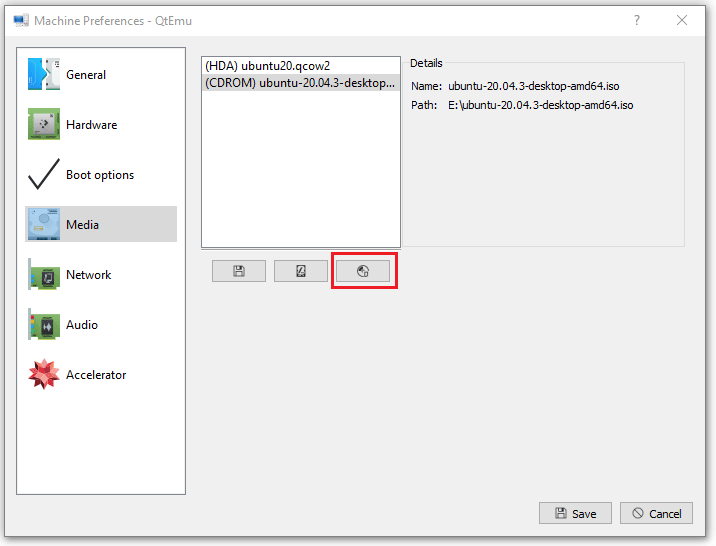
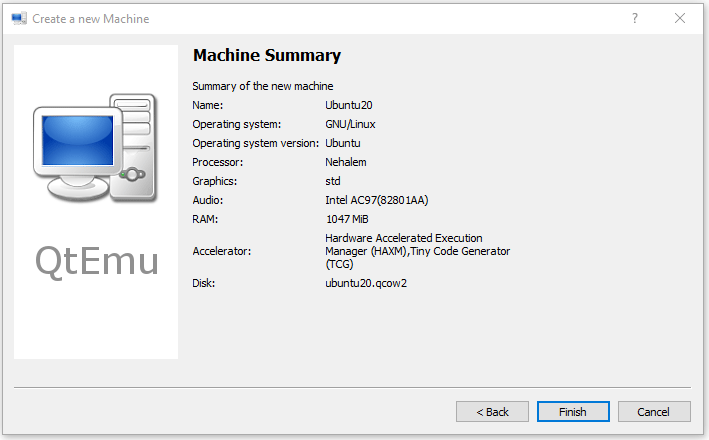
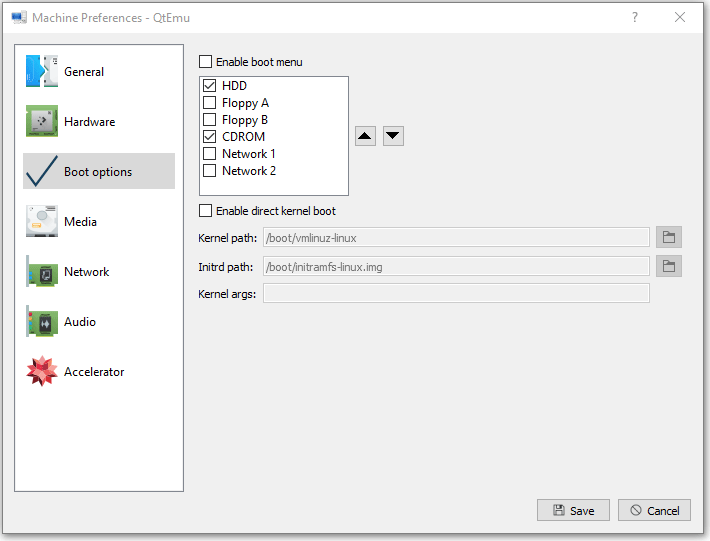
Step 10:Right-hit the newly-created VM and chooseMachine controls.
Go to theBoot optionstab, and tickCDROM.
Step 11:Go to theMediatab, click thedisc icon, and grab the Ubuntu ISO file.
Step 12:grab the VM and then click thePlayicon.
Then, you may need to go through the Ubuntu installation process.
After the installation process is completed, you could enjoy the VM.
If you are interested in this software, this post may help you.Click to Tweet
Bottom Line