Well, we are happy to break it to you that there is nothing like that!
Check out the following section for all the details!
The earphones connect with Windows 11 devices via Bluetooth, as usual.
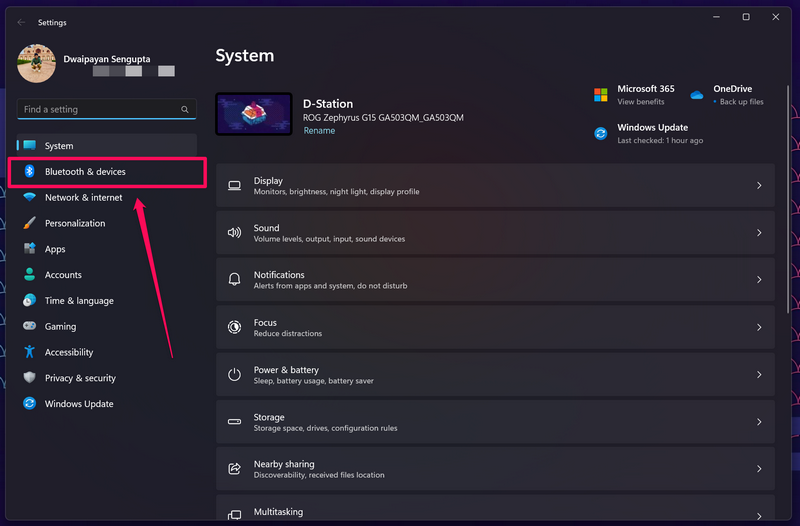
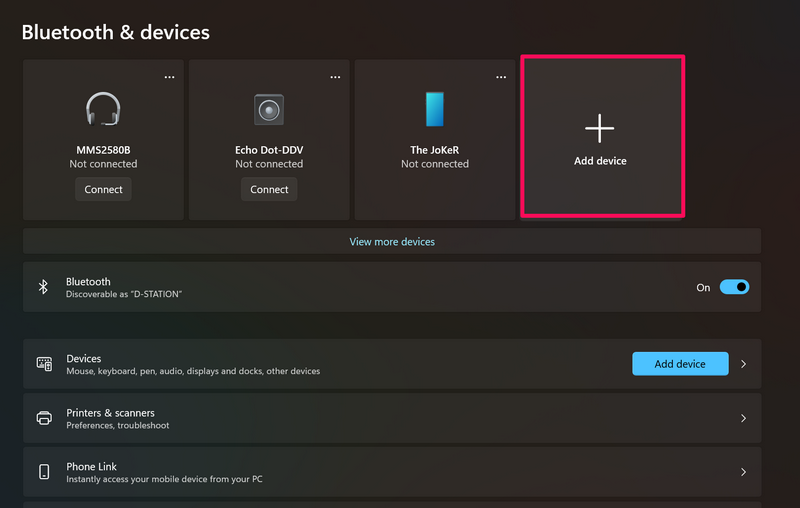
2.On the left navigation bar, go to theBluetooth & devicestab.
3.Now, on the right pane, click theAdd devicebutton.
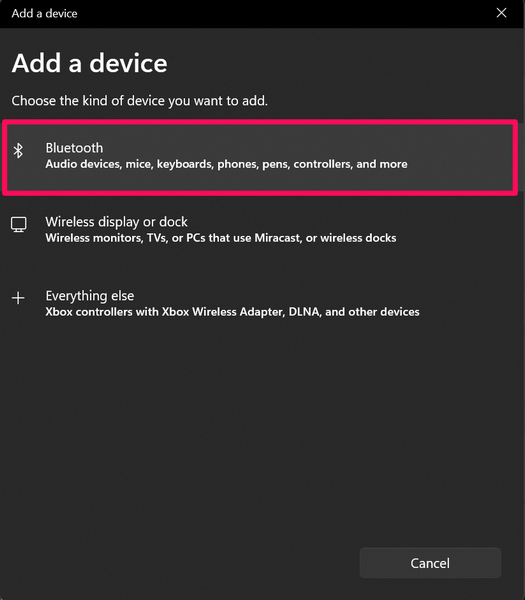
4.In the followingAdd a gadget window, select theBluetoothoption at the top.
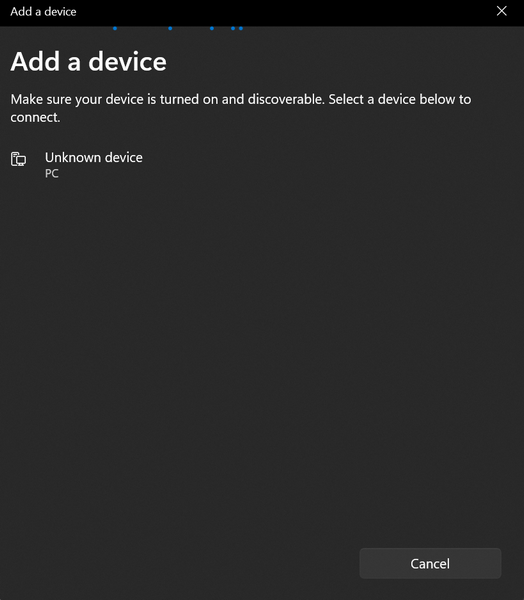
5.You will now see your PC or laptopsearch for nearby Bluetooth devices.
Note:Do not take the earphonesout of their charging case just yet!
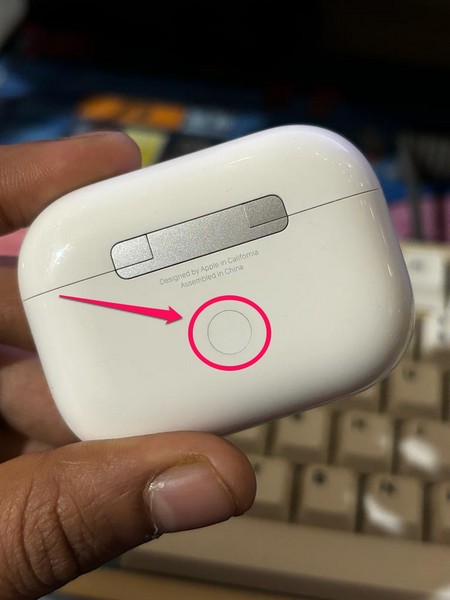
8.On thefirst- and second-gen AirPodsmodels,the LED indicator is located inside the charging case.
9.Once the LED indicator of your AirPods turns white, it will become discoverable by nearby Bluetooth devices.
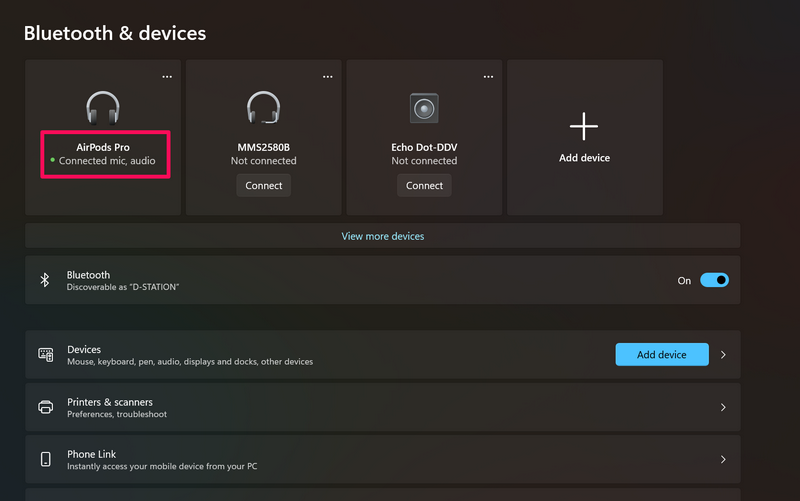
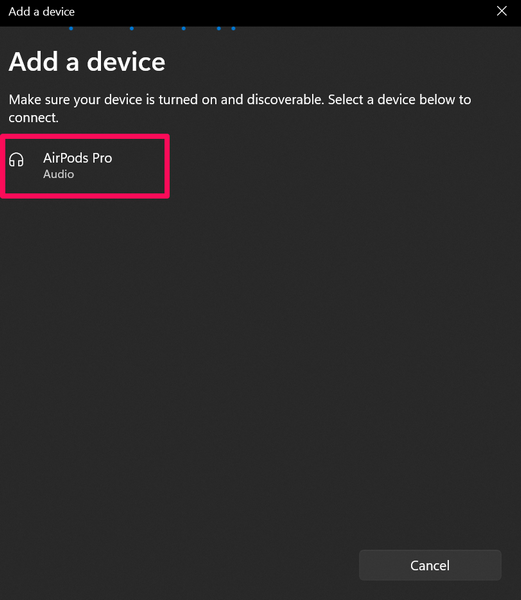
So,it should now show upin theAdd a gear windowon your Windows 11 PC or laptop.
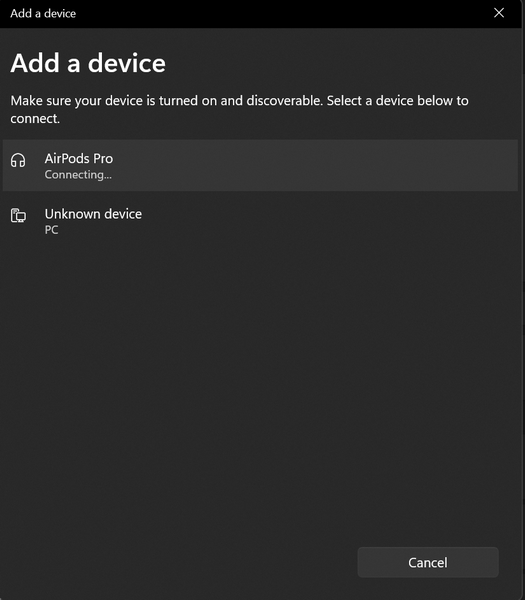
10.Click itto initiate the pairing process.
11.Wait for your Windows 11 PC or laptop to successfully connectto your AirPods.
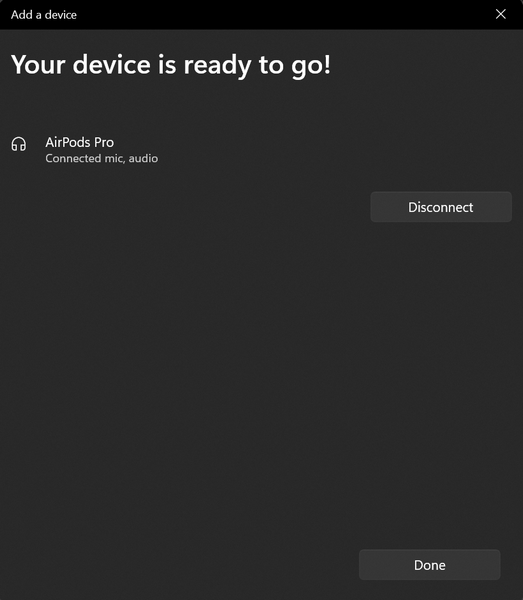
12.When it is done, you will seea confirmation of the successful connection.
At this stage, you cantake the AirPods outof their charging case andput them on.
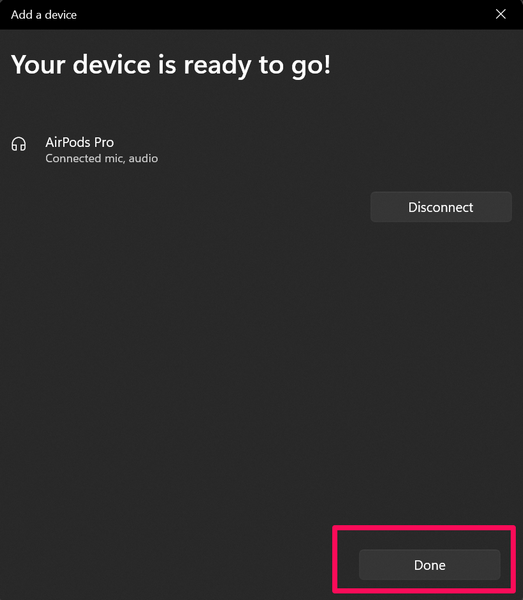
13.Click theDonebutton to finish the process.
So, this is how you could easily connect your AirPods to your Windows 11 PC or laptop.
Wrapping Up
So, there you have it!
This was our in-depth guide on how to connect the AirPods to Windows 11 PCs and laptops.
Apples AirPods are great TWS earbuds, offering high-quality audio, seamless connection, and various other features.
Hence, we hope this article helps you connect your AirPods to your Windows 11 PC or laptop.
We will see you in our next guide!