You could be one of such users.
If so, your hard disk might have errors.
you should probably perform Windows 7 disk check to solve the problem.
To help you do this, we will show you a full guide about fixdisk Windows 7 here.
This software can recover your files in different situations.
So, just try it to perform data recovery.
On Windows 7, you might use the Disk Check tool to check hard disk for errors.
This tool is designed to identify and automatically correct file system errors.
This can make you continue to load and write data from the hard disk.
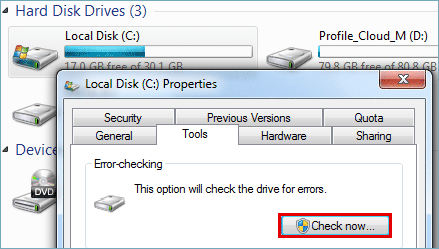
Step 3: Right-nudge the problematic drive, then selectProperties.
Step 4: Switch to theToolstab.
Step 5: Click theCheck nowbutton underError-checking.
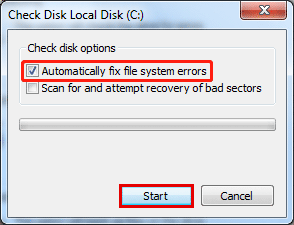
This window always appears when you are checking a system drive.
If you are checking a non-system, it’s possible for you to skip to Step 9 to continue.
Step 8: Close all open programs, then kickstart your PC.
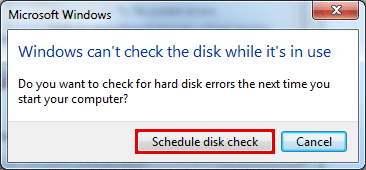
The disk-checking tool will start to scan and fix errors on your hard drive before the computer startup.
Step 10: The Windows 7 disk check process will start.
When it ends, you’re able to see the scan results.

Bottom Line
Want to check your hard disk for errors on your Windows 7 computer?
you might find a full guide in this post.
If some issues happen when using MiniTool Software, you might contact us via[email protected].

