In this in-depth guide, we have listed a few ways to check the CPU temperature in Windows 11.
Check out the following sections for all the details!
With that said, check out the methods to check the CPU temperature in Windows 11 right below.

However, it is worth mentioning that you will need to reboot your PC or laptop.
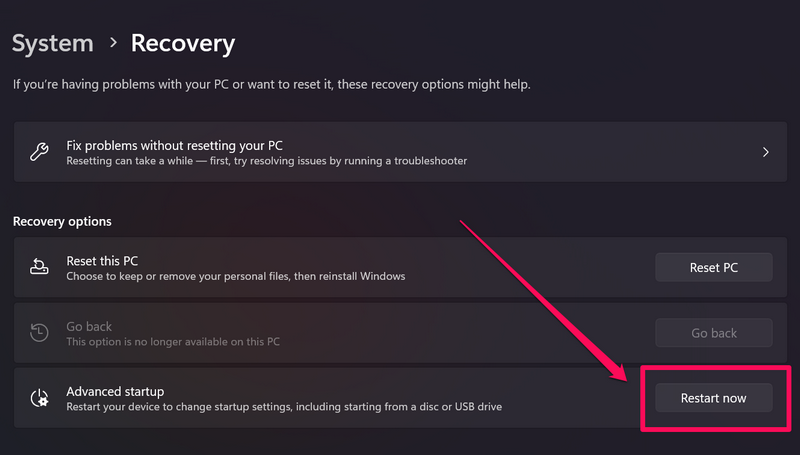
2.Under theSystemtab on the left navigation bar, click theRecoveryoption on the right pane.
3.On the following page, click theRestart nowbeside theAdvanced startupoption under the Recovery options section.
4.Now, your Windows 11 PC or laptop will restart directly on theAdvanced startup screen.
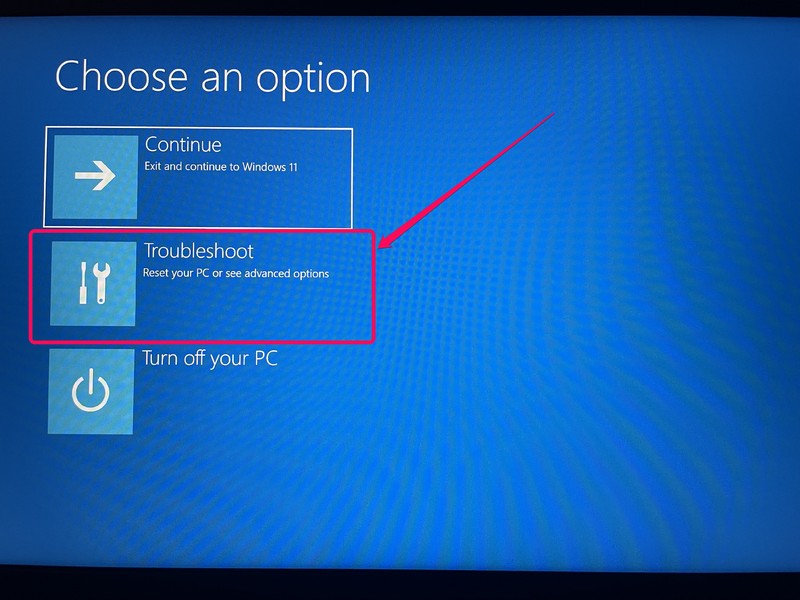
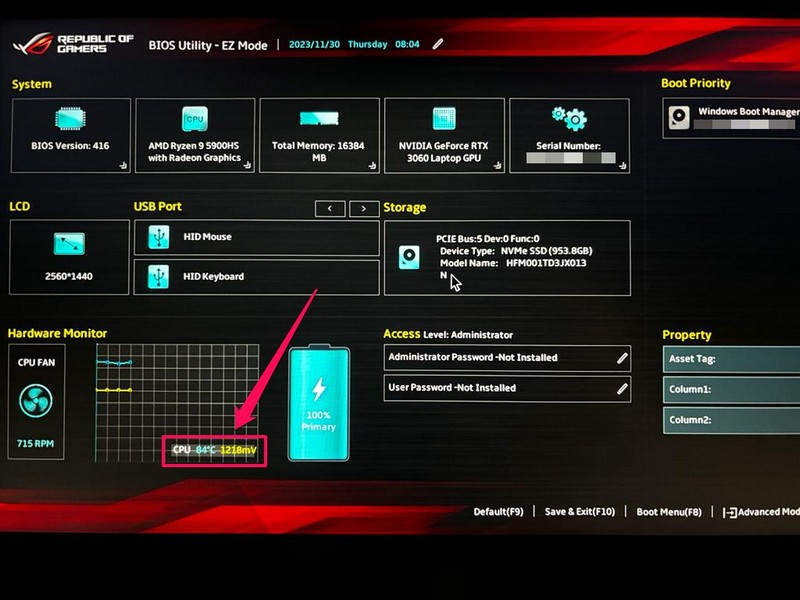
Here, select theTroubleshootoption.
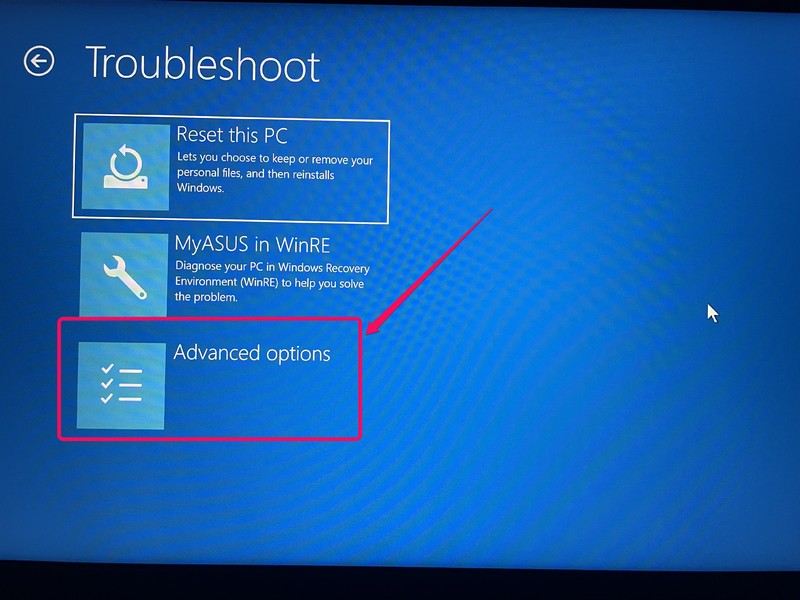
5.Next, selectAdvanced Optionsfrom the menu.
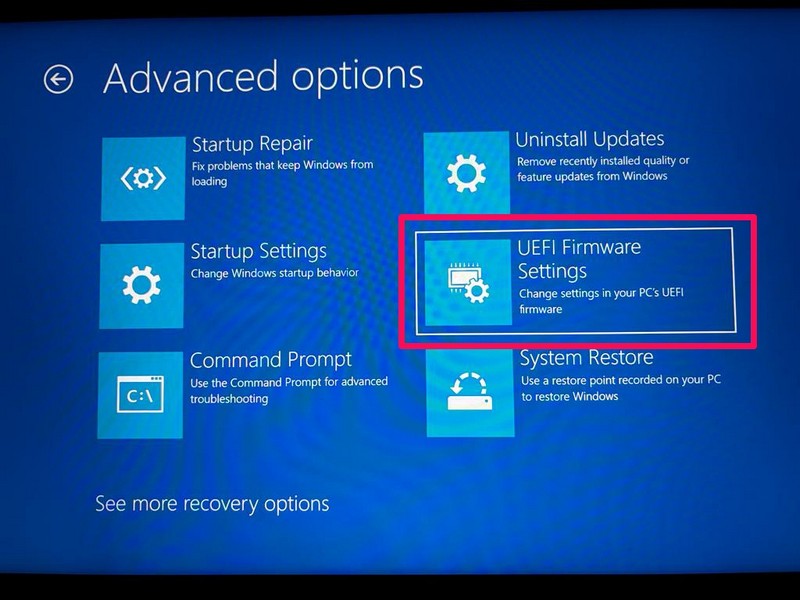
6.On the following page, select theUEFI Firmware Settingsoption.
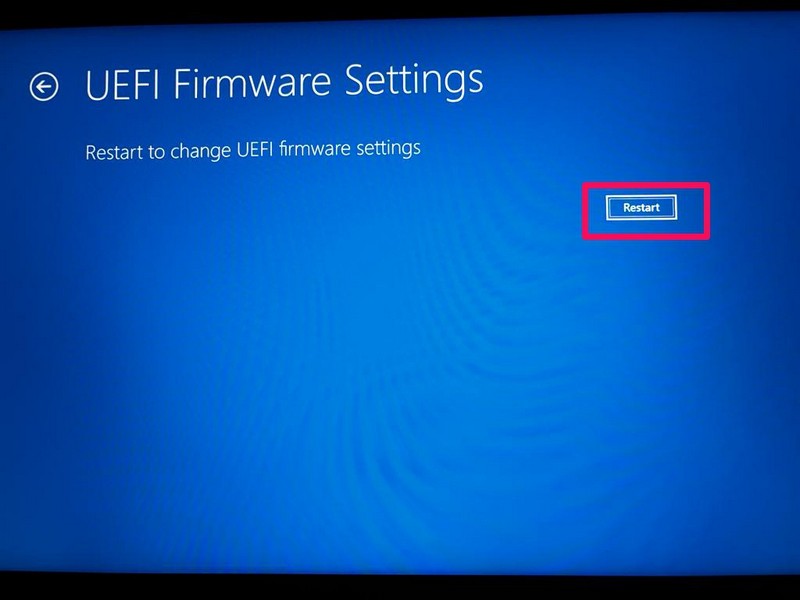
7.Click onRestartwhen prompted, and your PC or laptop will boot up right on the BIOS or UEFI screen.
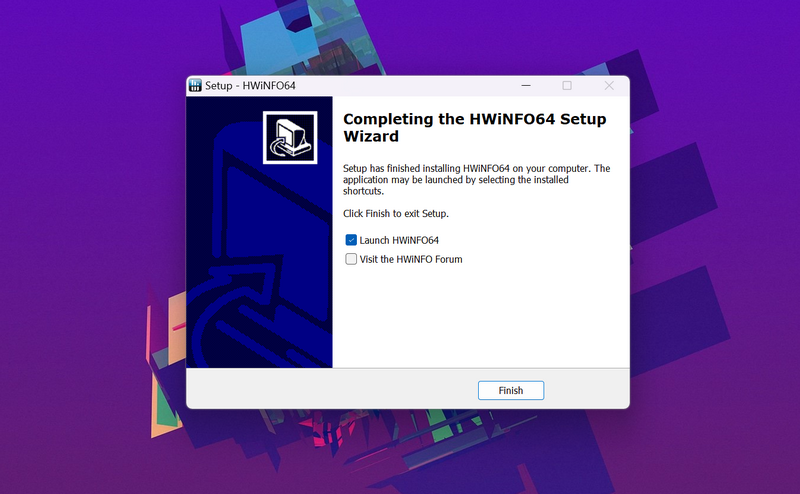
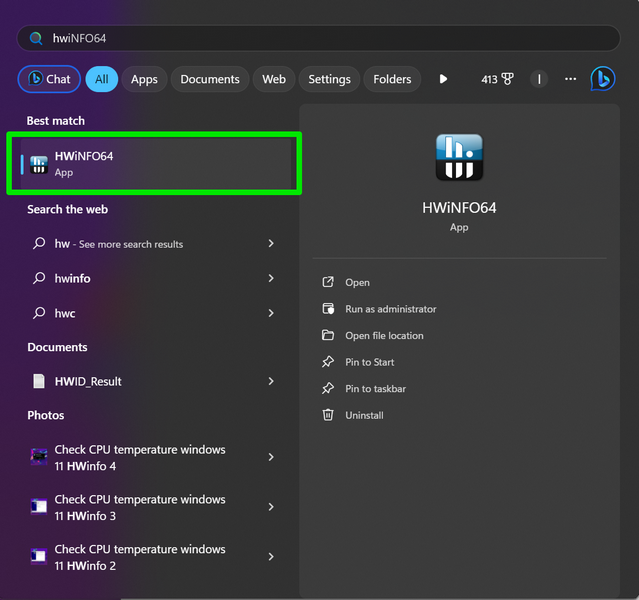
3.After the installation is complete,spin up the HWinfo appon your machine.
4.On the startup page, see to it the checkbox for theSensors-onlyoption ischecked.
Then, click theStartbutton to launch the program.
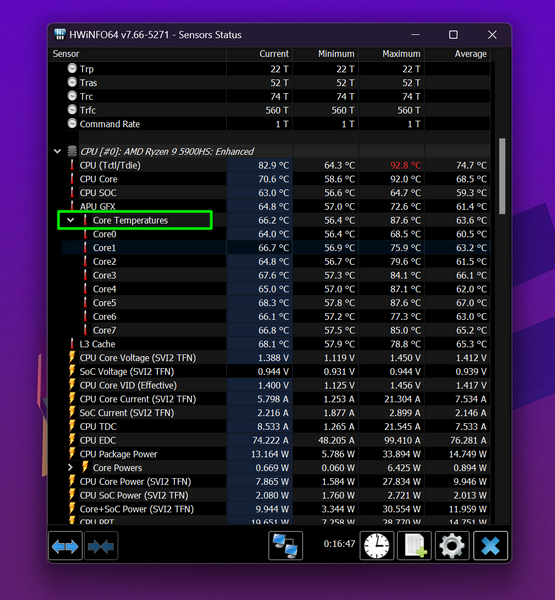
6.you could alsoclick the arrowbeside theCore Temperaturesoption tocheck the temperatures of individual coresof the CPU unit.
Explore all the options within the app to check out all the features.
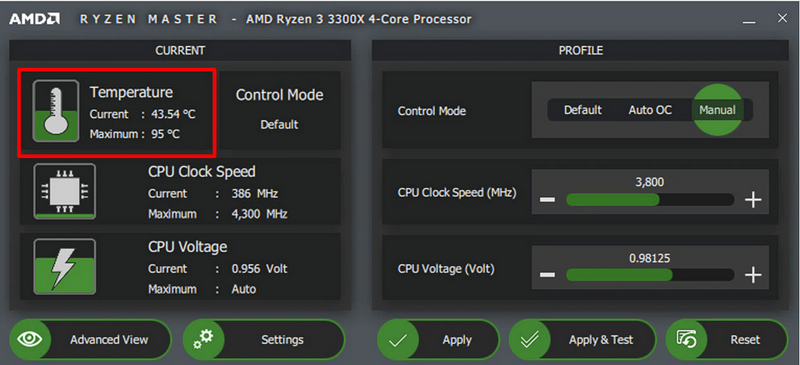
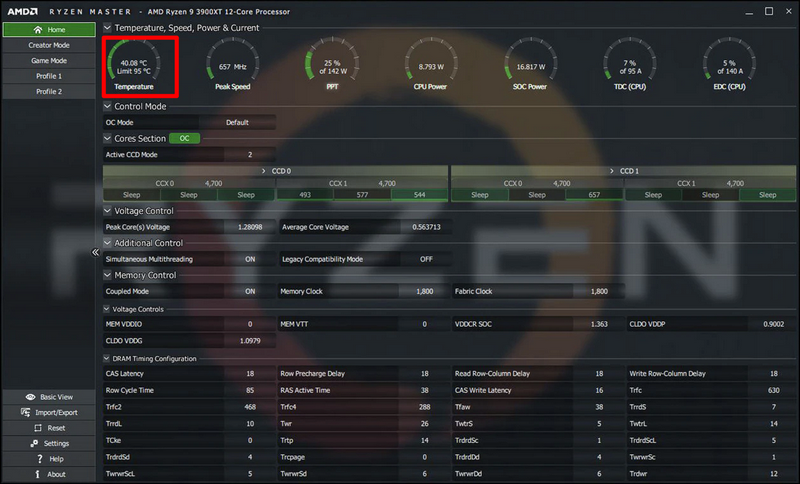
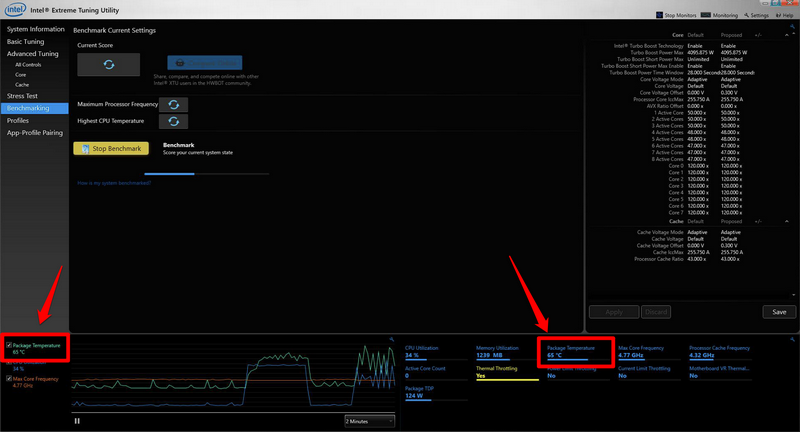
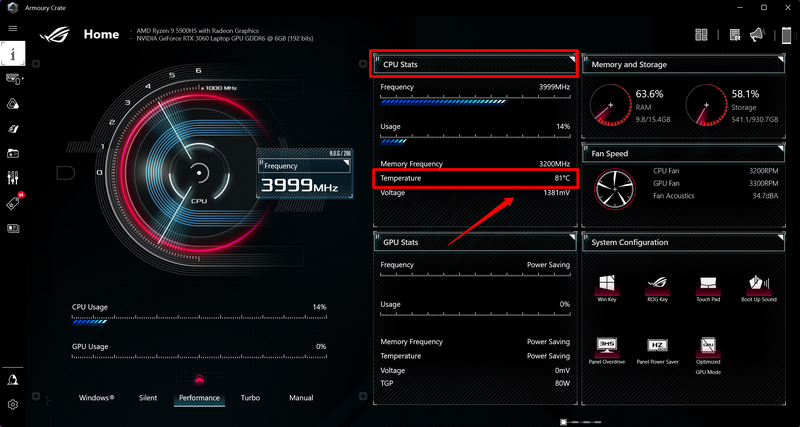
you’ve got the option to check the CPU temperature of your unit under theCURRENTsection inBasic View.
FAQs
How to check CPU temperature in Windows 11?
What is the ideal CPU temperature in Windows 11?
What is a dangerous CPU temperature in Windows 11?
Wrapping Up
So, there you have it!
This was our take on how to check the CPU temperature in Windows 11.