There could be several reasons for changing the email address youve been using for many years.
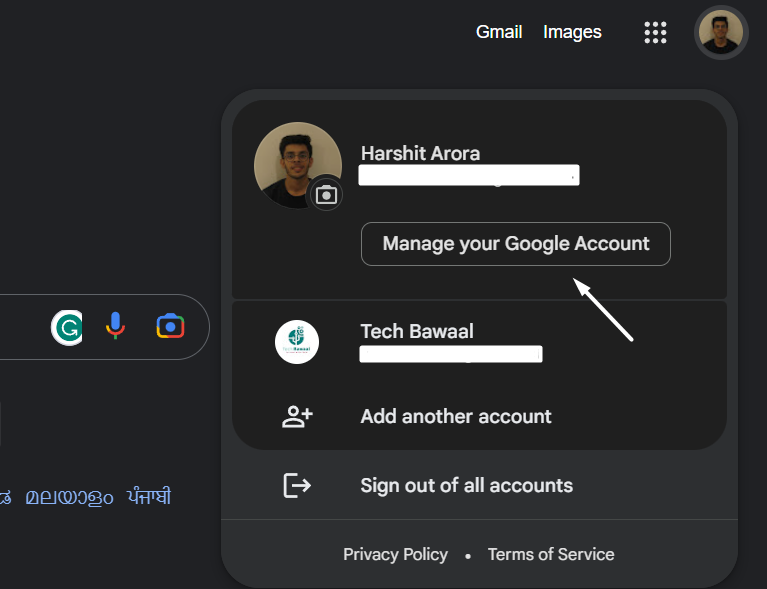
2.press theManage your Google Accountbutton on the popup to access your accounts dashboard.
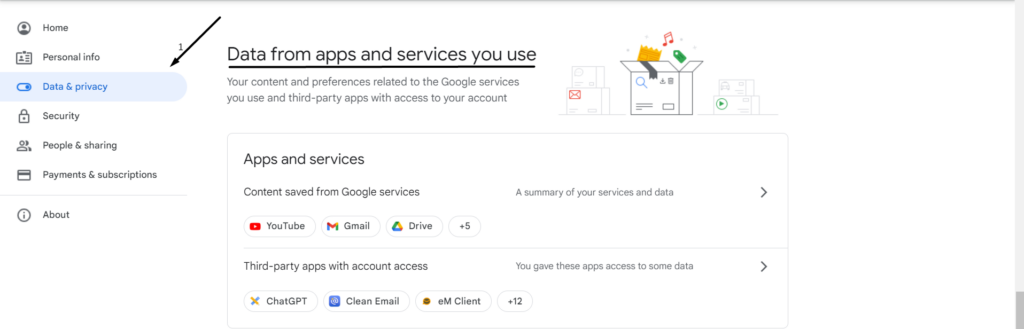
3.Click onData & privacyin the left sidebar and go to theData from apps and services you usesection.
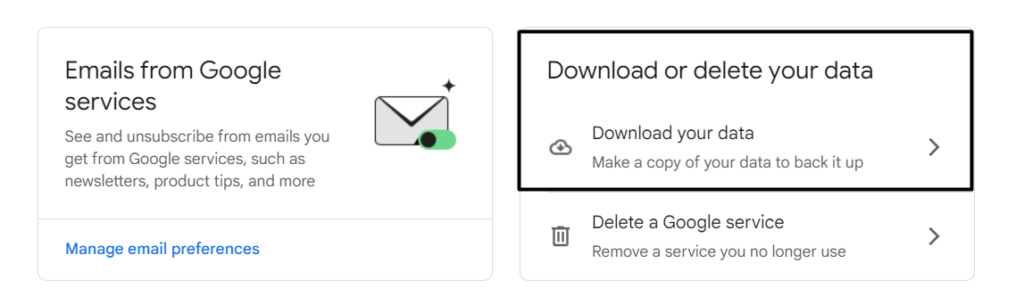
4.After that,expand theDownload your datasection belowDownload or delete your data.
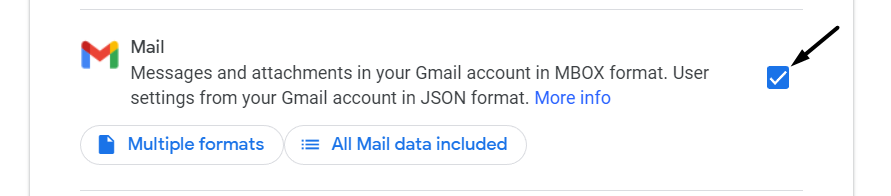
5.Click theDeselect allbutton, move to theMailcheckbox, and tick it.
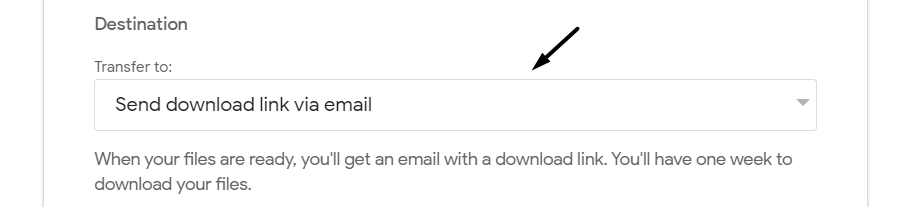
6.Click theNext stepbutton and selectSend download link via emailfrom theTransfer to:dropdown.
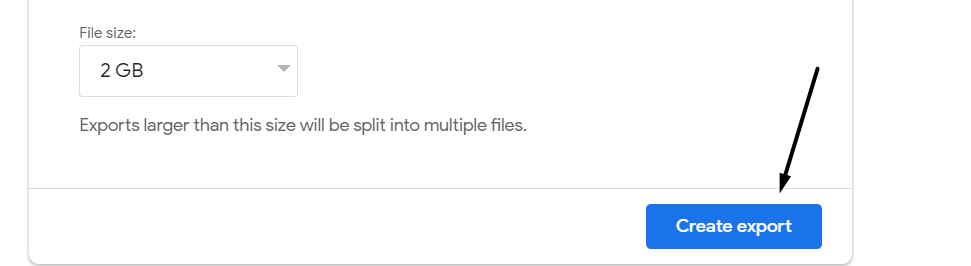
7.Click theCreate exportbutton to download the .csv file on your system with all the emails in it.
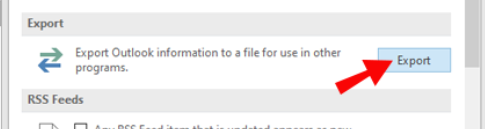
2.SelectOptions, then selectAdvancedfrom the left side pane and click onExportunderExport.
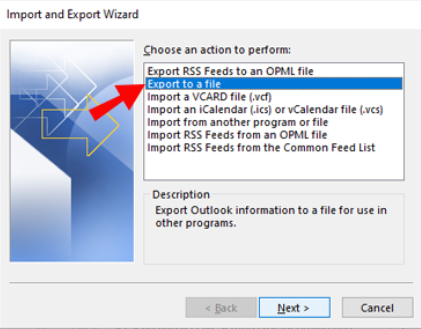
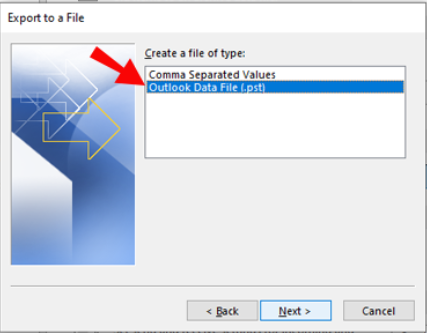
3.Click onExport to a fileoption in theImport and Export Wizardwindow and then clickNext >.
4.Select theOutlook Data File (.pst)option on the next window and select theNext >button.
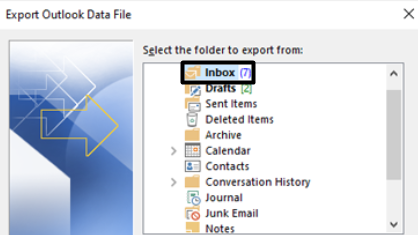
5.Choose theInboxfolder on theExport Outlook Data Filewindow and press theNext >button.
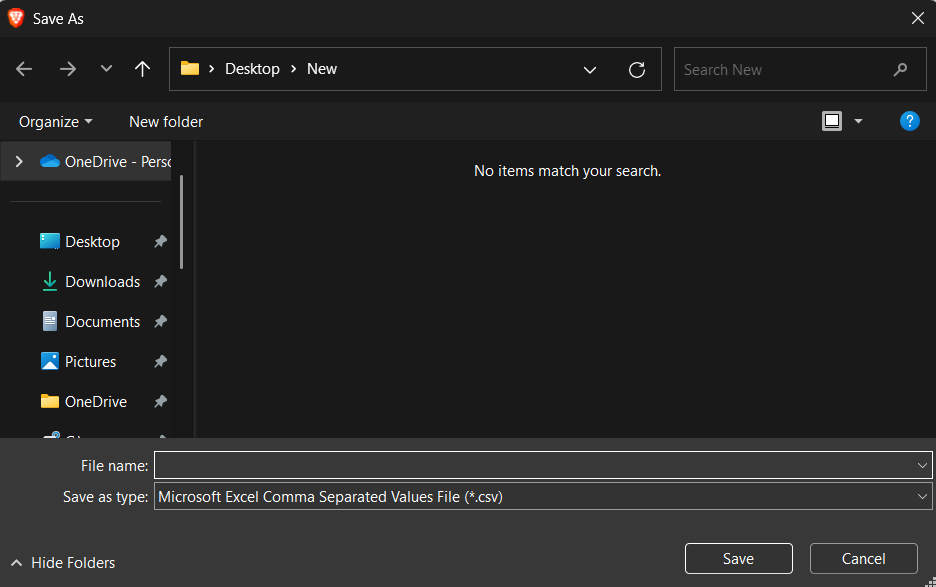
6.In the end, proceed to the location where you want to save exported emails and click theFinishbutton.
Create a New Email Account
To switch to another email account, you need tocreate a new email account.
There are many email clients to choose from, and all come with many useful features.
Thus choosing the best one becomes a bit more difficult.
But one of the most common reasons is that its thebest free email clientand alsoperfect for professional use.
Mail:One of the reasons to choose Yahoo!
Mail isfree 1 TB of cloud storage.
Outlook:One thing that makesOutlookdifferent from other email clients is its vast and smooth ecosystem.
It smoothly integrates with all Microsoft 365 services, which is great for professionals and students.
GMX Email:GMX Email is a free email client known for offering apremium experience.

Its the best option if you want an email address for personal use only.
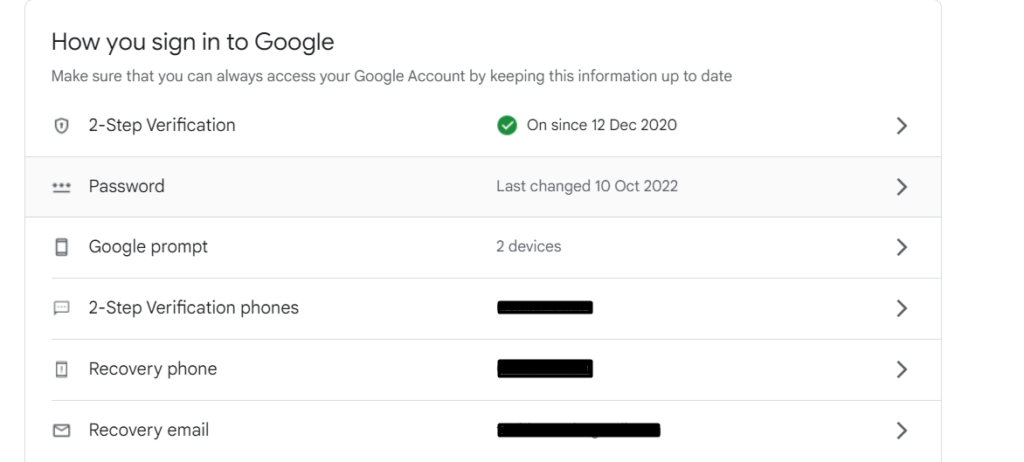
You shouldenable 2-Factor Authenticationfor your email address so that unauthorized users cant access it.
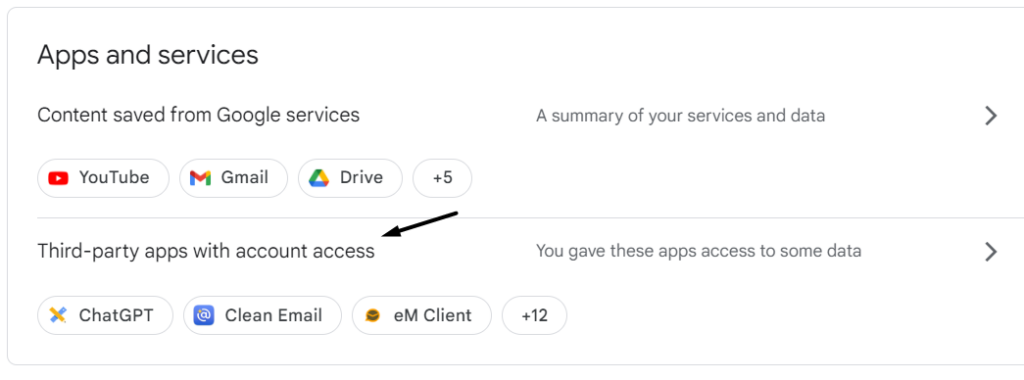
Most email clients let us check all the apps & services linked to our email in their dashboard.
For instance, Google lets us check the same in theData & privacytab of theMy Accountdashboard.
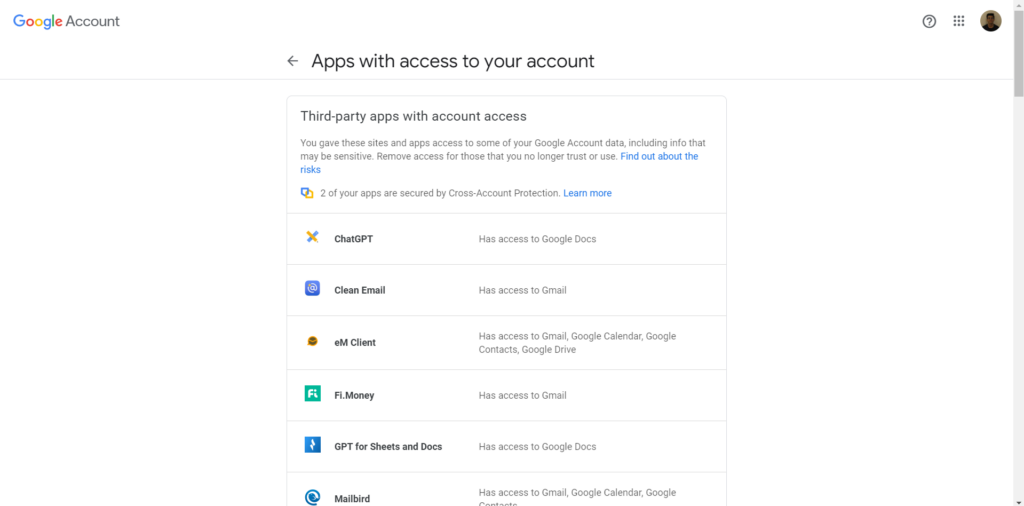
3.Click onThird-party apps with account accessto see all the apps with access to your Google account.
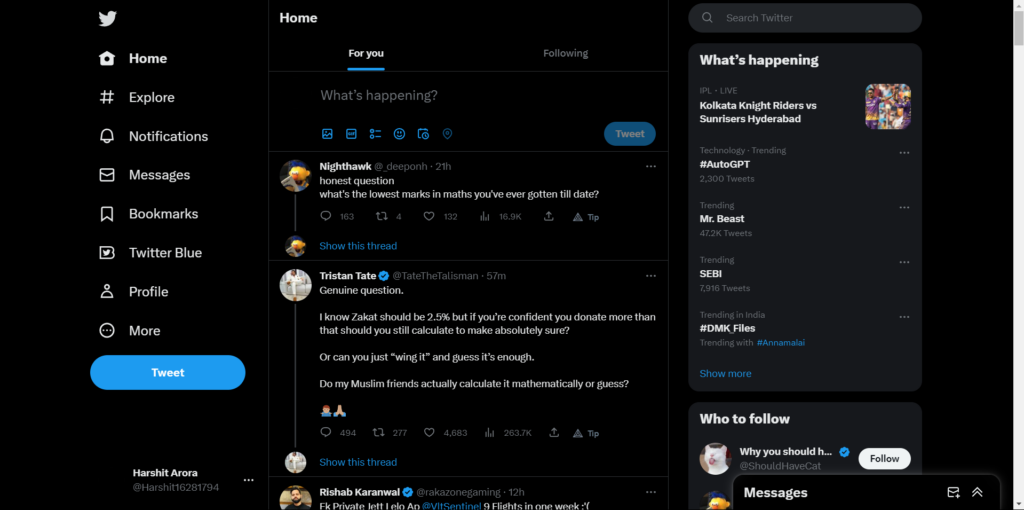
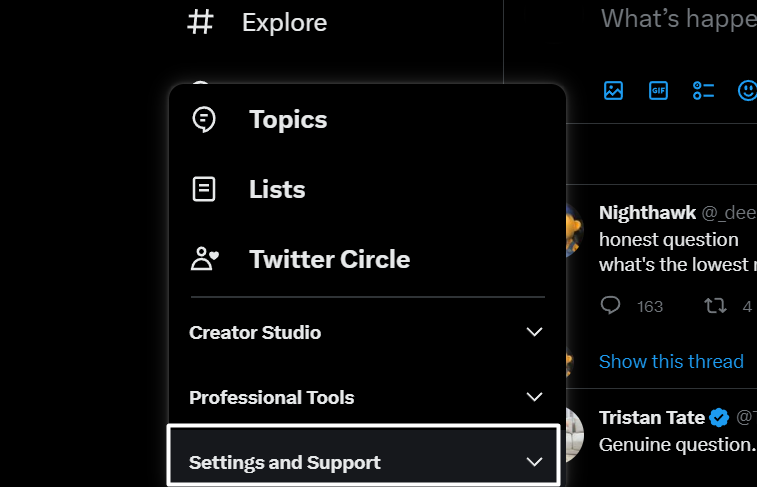
2.choose theMore (…)option in the left sidebar and expand theSettings and Supportsection.
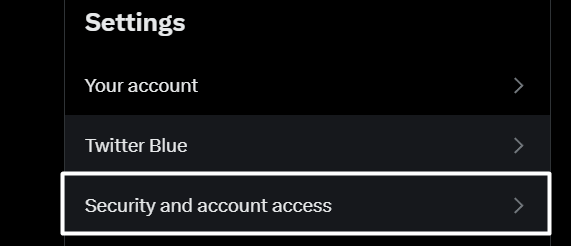
3.Click onSettings and privacyon the popup and then selectSecurity and account access.
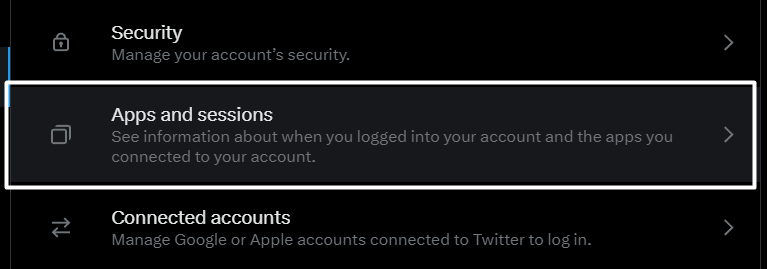
4.Expand theApps and sessionssection in the right panel and click onLogged-in devices and apps.
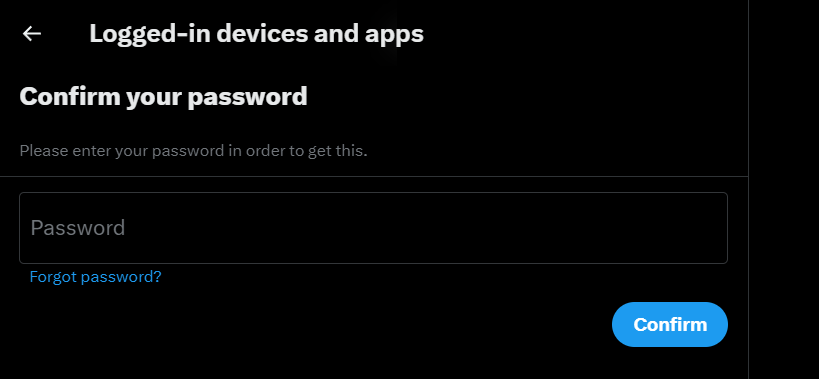
5.On the next screen, put in your accounts password in thePasswordtext field and pressConfirm.
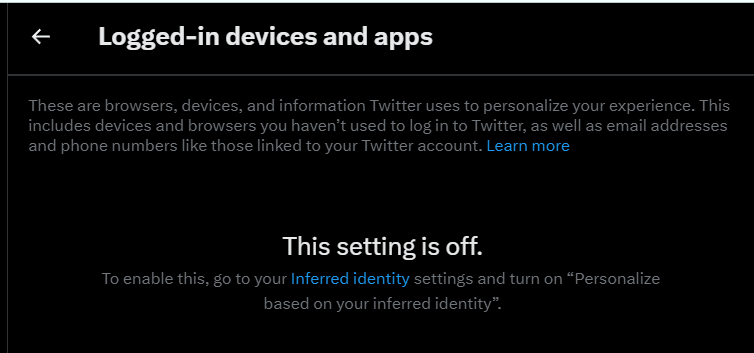
6.Youll now see all apps & services that currently have access to your Twitter account.
You canuse those verification emailsto know what apps & services are linked to your old account.
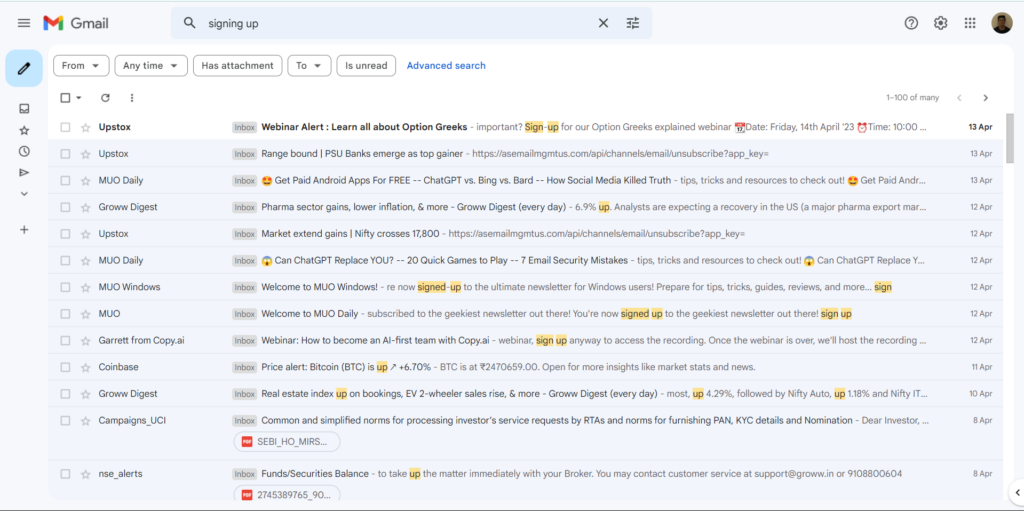
3.Once you do this, youll see all the emails that include these words in their subject or content.
If thats the case, you canset up an email forwarding on your old email.
Weve explained the process to do the same in Gmail, Outlook, and Yahoo!
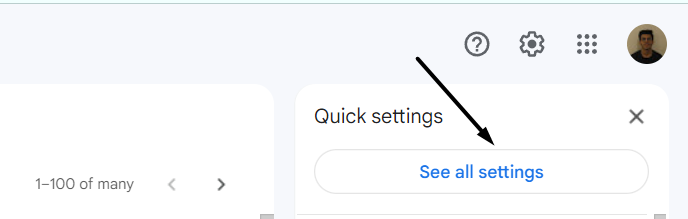
2.Select theSee all settingsoptions from the popup sidebar to access your Gmail accounts options.

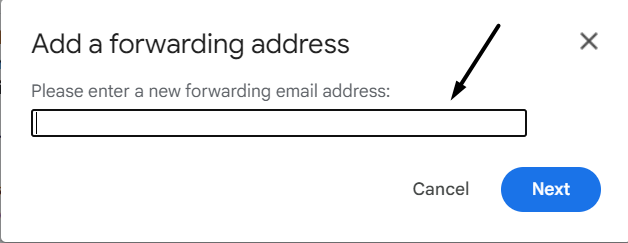
3.Go to theForwarding and POP/IMAPtab and click theAdd a forwarding addressbutton next toForwarding:.
4.pop in your new email address in thePlease enter a new forwarding email address:text field and clickNext.
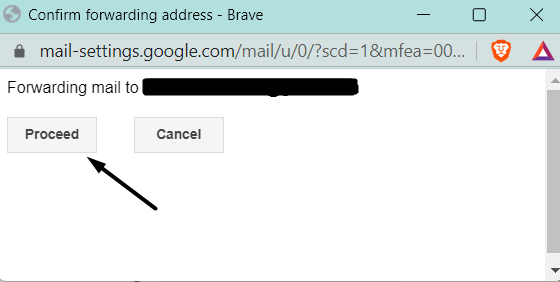
5.On theConfirm forwarding addressprompt, choose theProceedbutton to move ahead.
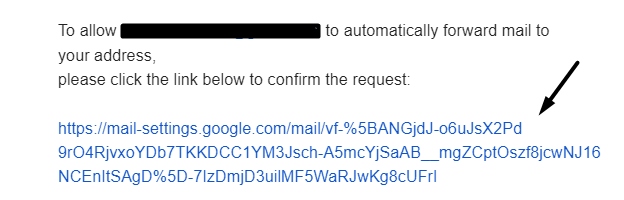
7.press the link inside theGmail Forwarding Confirmationemail and then press theConfirmbutton.
10.Open your old email account, and navigate to theForwarding and POP/IMAPsection.
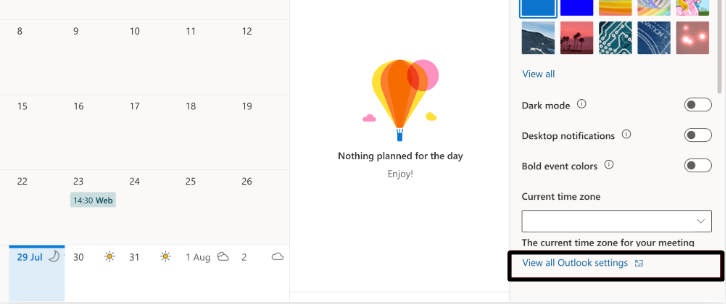
1.OpenOutlookon your system and select theGearicon orSettingsoption in the upper right corner.
2.punch theView all Outlook settingslink in theSettingspanel to get into the options.
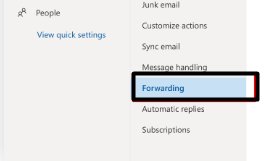
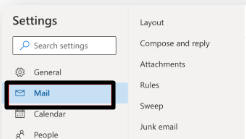
3.SelectMailfrom the left navigation pane and then select theForwardingoption from its submenu.
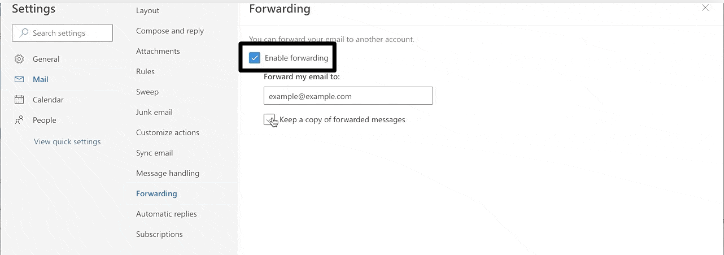
4.Tick theEnable forwardingcheckbox and punch in your new email address in theForward my email to:text field.
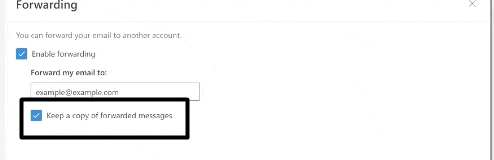
5.Finally, checkmark theKeep a copy of forwarded messagescheckbox box and pressSave.
Below are the steps to setup email forwarding in Yahoo!
Mail:
1.Open yourYahoo!
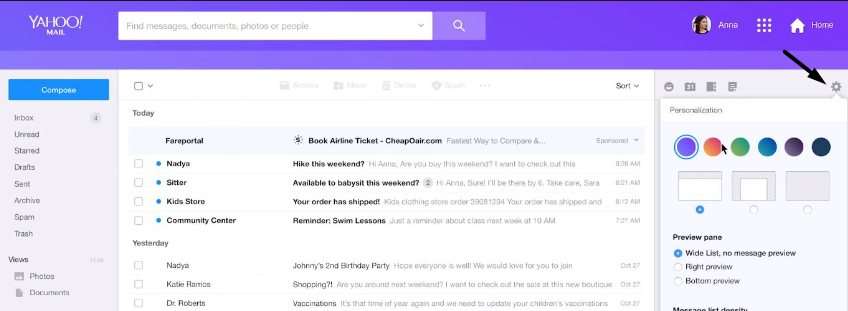
Mailaccount and proceed to theSettingssection by clicking on theGearicon.
2.select theMore settingsoption to view and manage all your email account options.
3.Click onMailboxesin the left navigation pane and tap on your Yahoo!
Mail account underMailbox list.
4.Next,pop in your new email address in theForwardingtext field and press theVerifybutton.
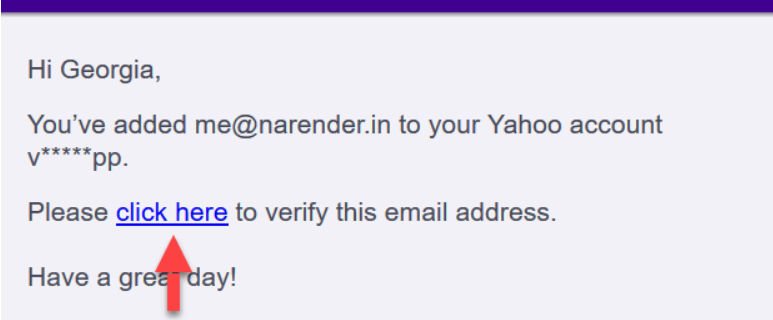
5.Once done, open your old email account and hit theclick heretext in the email received from Yahoo.
6.Click theVerifybutton on the next window to set up email forwarding.
2.Click theSee all settingsbutton and proceed to theAdvancedsection.
3.Select theEnableradio button underTemplatesand click onSave Changes.
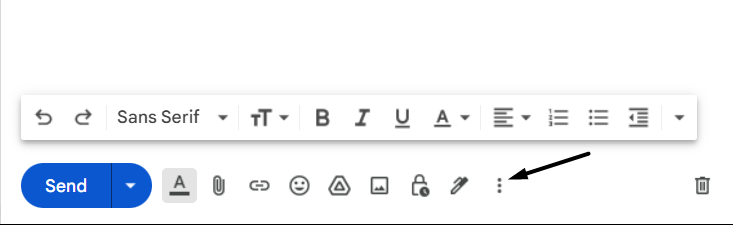
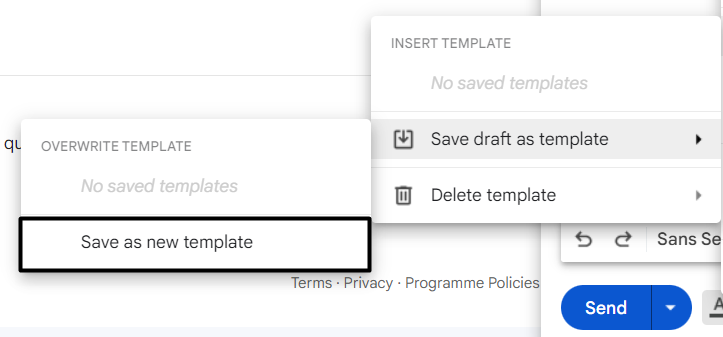
4.Click onthree vertical dots (…)in the bottom right corner to open theMore optionspopup.
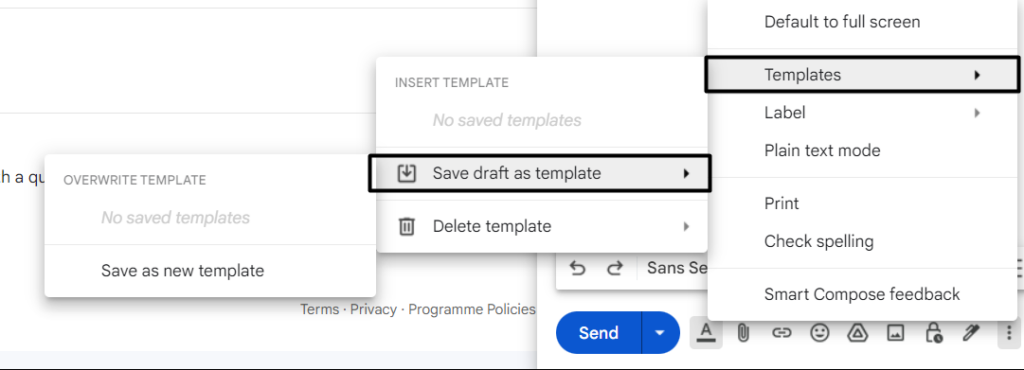
4.Hover the arrow onTemplates, then hover it onSave draft as templateto get another menu.
5.tap on theSave as new templateoption in the submenu, and give a new name to your new template.
6.punch theFiltericon in the search box and specify the criteria for your new automatic reply filter.
8.Click onCreate filterin the lower left corner and go toSettings > Filters and blocked addresses.
9.Search foryour recently created filter and click theSave changesbutton to activate the auto-reply.
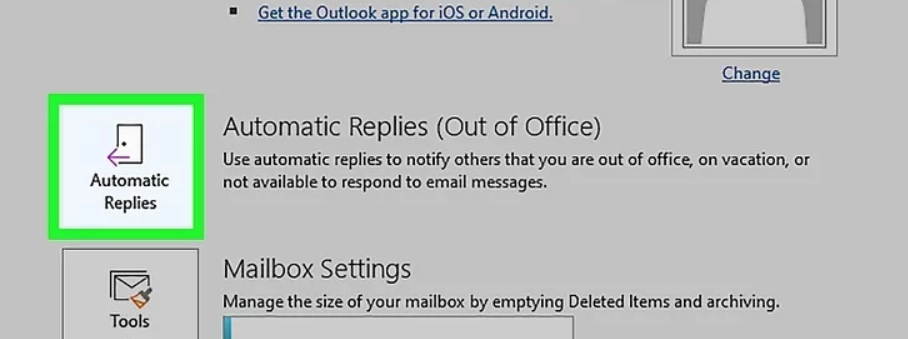
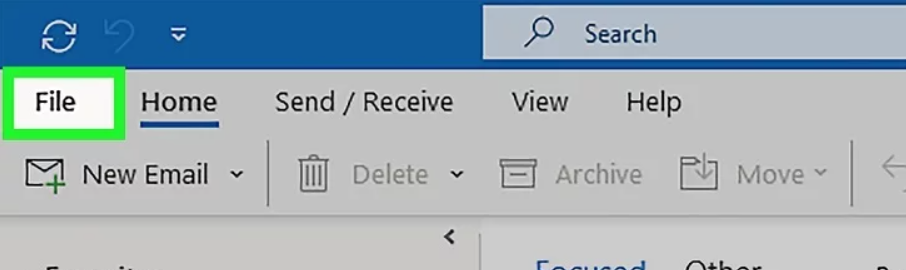
1.OpenMicrosoft Outlookon your system and press theFILEoption at the windows top-left corner.
2.Select theAutomatic Repliesoption to open theAutomatic Replieswindow on your screen.
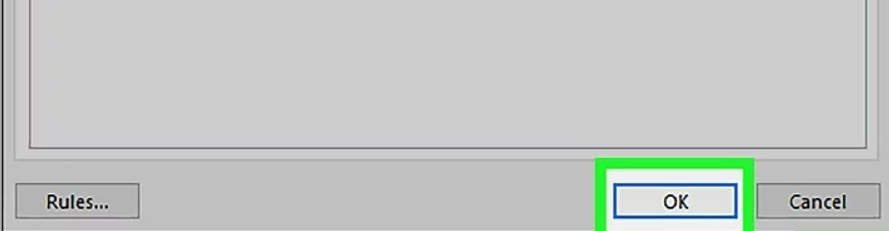
3.Select theSend automatic repliesradio button and untick theOnly send during this time rangebox.
4.Once done, write your auto-reply message in the text box and click theOKbutton to create an auto-reply.
you’ve got the option to check the below steps to create an auto-reply in Yahoo!
Mail to inform users about the email change:
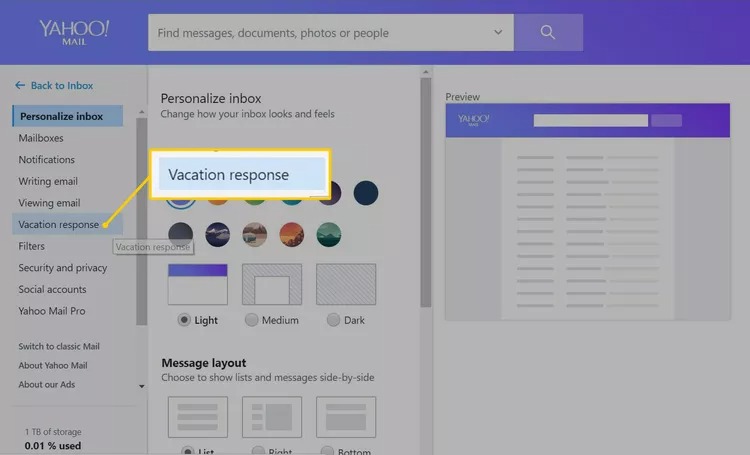
1.OpenYahoo!

Mailon your system and hit theGearicon at the top right corner of the tab.
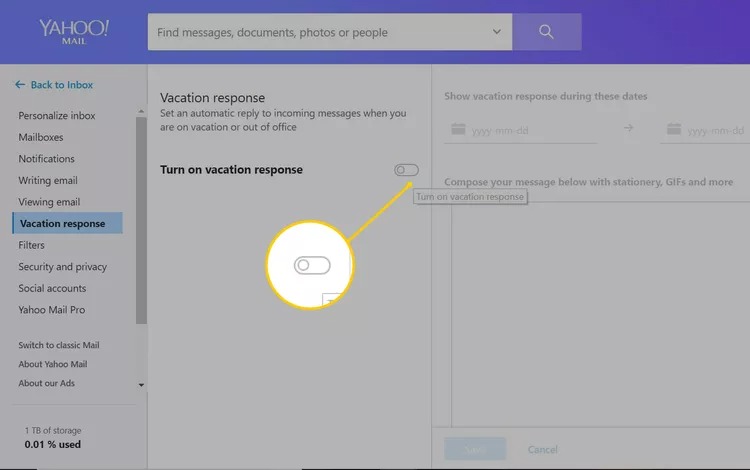
2.Select theMore Settingsoption from the popup and selectVacation responsefrom the left pane.
3.Enable theTurn on vacation responsetoggle switch under theVacation responsesection.
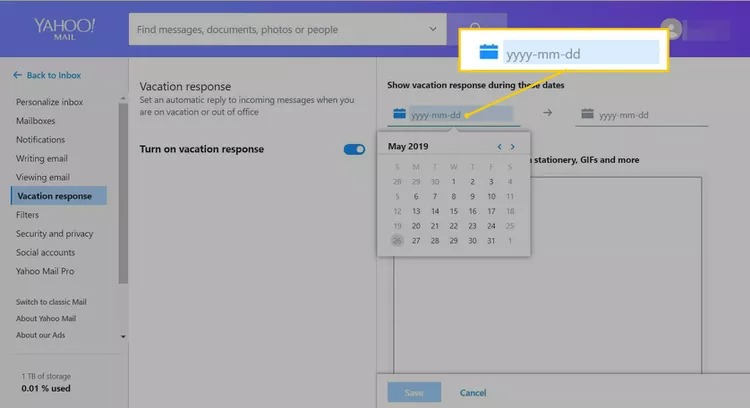
4.snag the start and end date for the automatic reply and write your reply message in the text box.
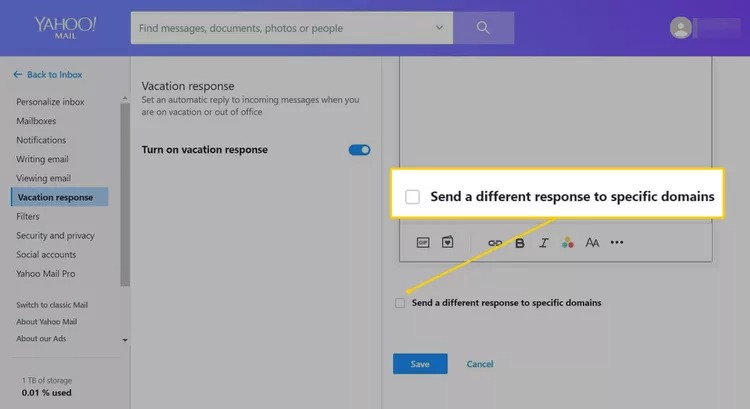
5.Tick theSend a different response to specific domainscheckbox and clickSaveto create an auto-reply.
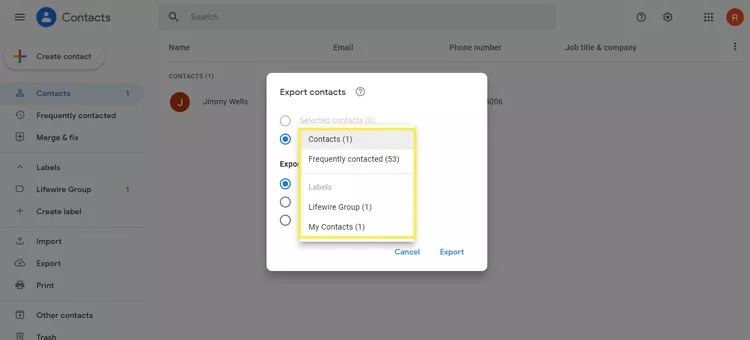
Weve mentioned the steps to export your contacts from Gmail, Outlook, and Yahoo!
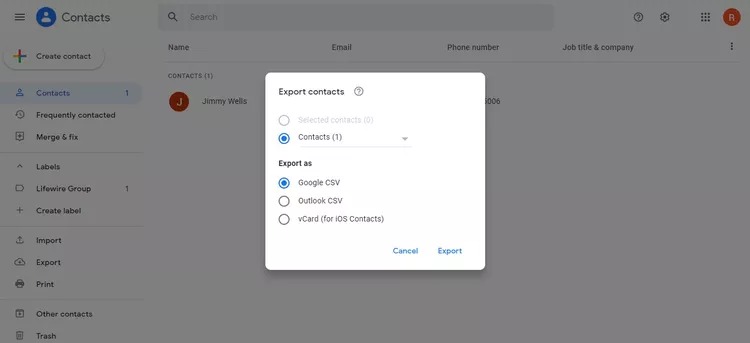
2.SelectExportfrom the left-side menu and choose theContactsradio button on the next prompt.
4.Choose theGoogle CSVradio button under theExport assection and then press theExportbutton.
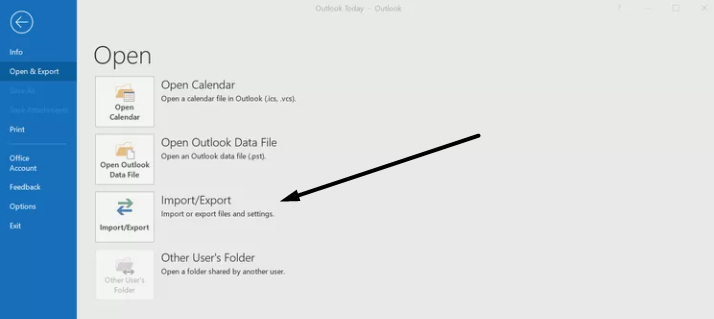
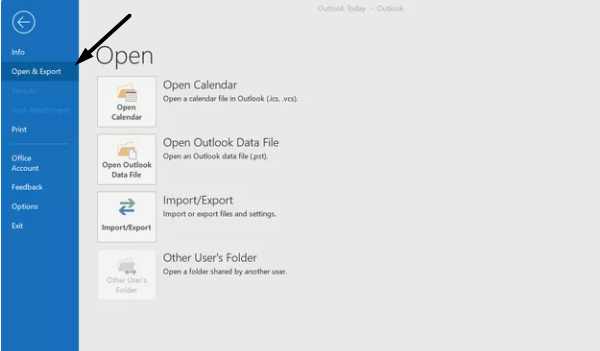
2.SelectOpen & Exportfrom the left navigation pane and then choose theImport/Exporttitle.

3.select theExport to a fileoption on theImport and Export Wizardprompt and clickNext >.
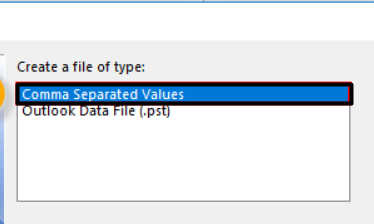
4.ChooseComma Separated Valuesin theExport to a Filewindow and click theNext >button.
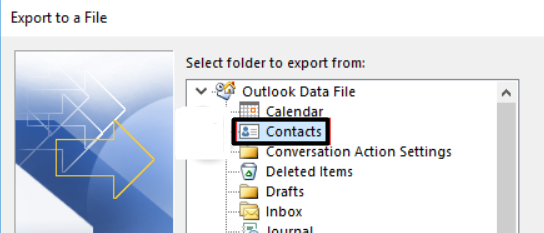
5.Expand theOutlook Data Filesection, select theContactsoption, and then hit theNext >button.
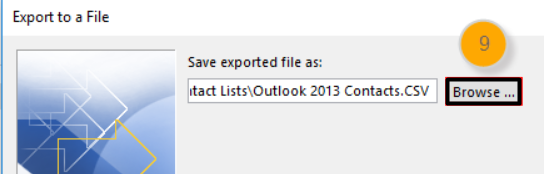
7.choose theNext >option, then click theFinishbutton, and save the contacts file in the selected location.
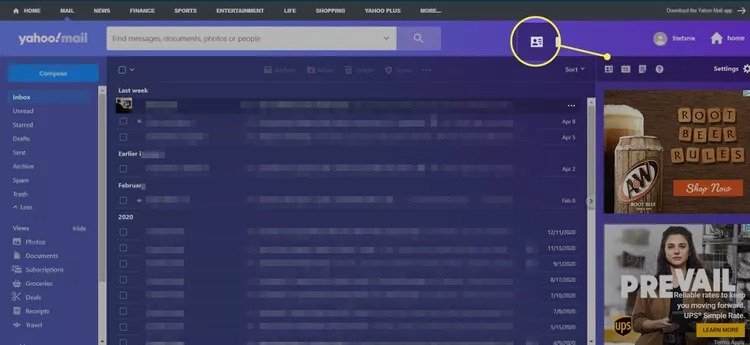
Mailon your gadget, sign on to your email account, and click onContactsin the top ribbon menu.
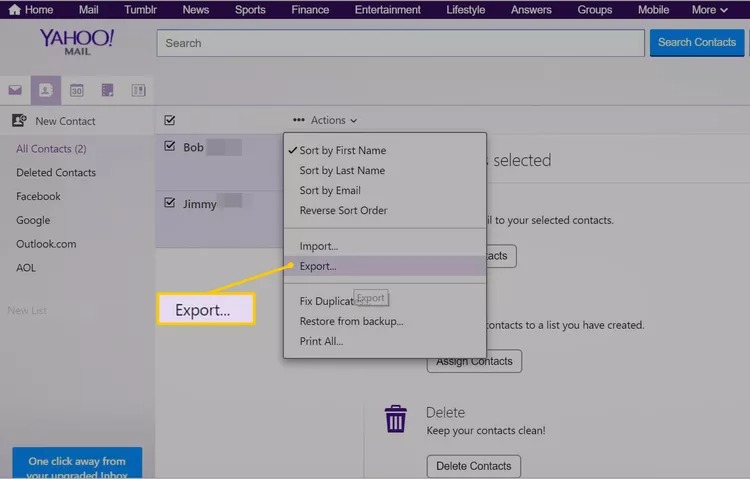
2.pick the contacts that you want to export into a file by checking the checkbox next to them.
you might also select all the present contacts in one go by ticking the checkbox at the top.
3.Once done, select theActionsoption and select theExport…option from the dropdown menu.
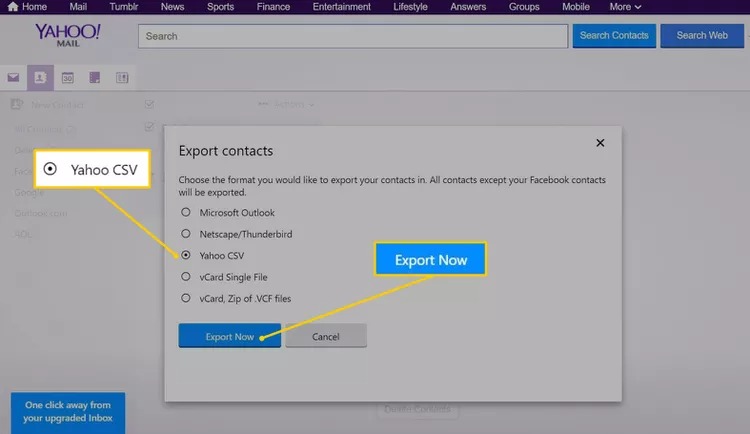
4.Select theYahoo CSVradio button to export your contacts in a .csv file and then clickExport Now.
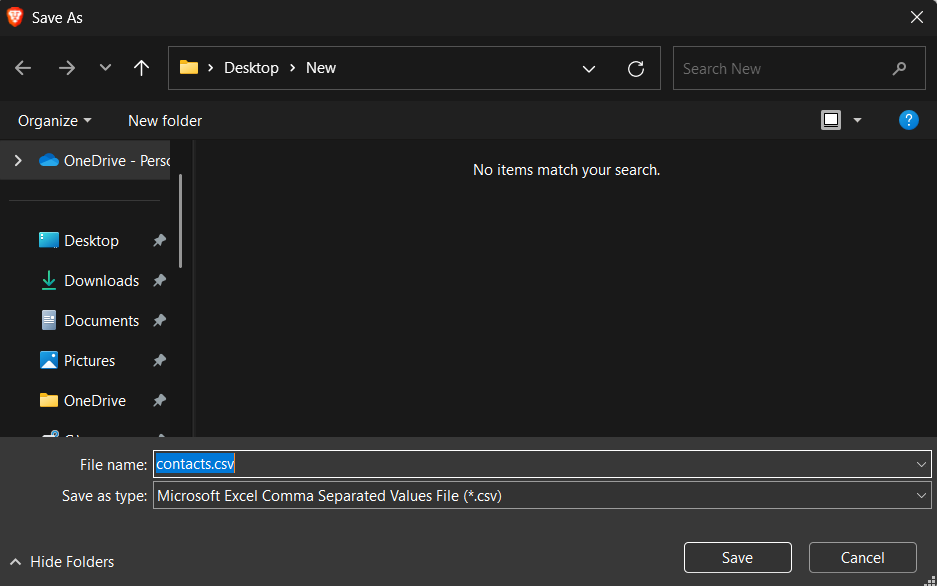
Your .csv file will now start downloading after pressingExport Nowon theExport Contactsprompt.
Else, theres no point in keeping them on the system.
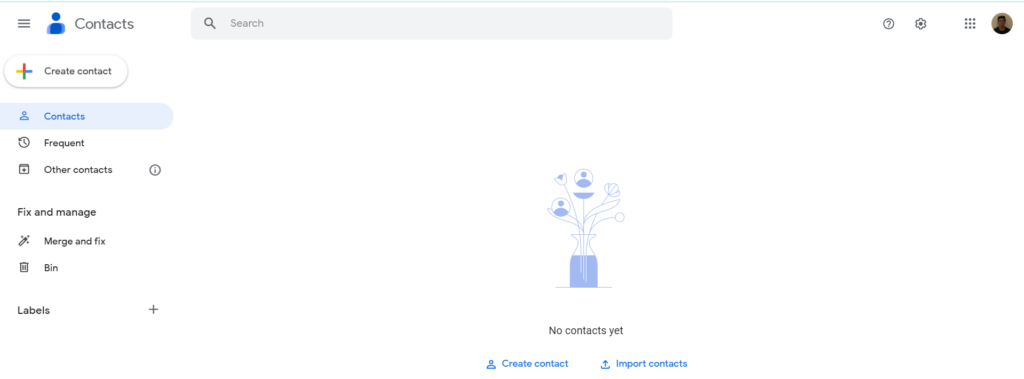
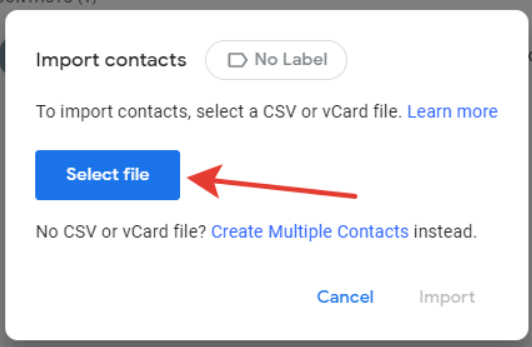
2.Select theImportoption from the left pane of the tab and click theSelect filebutton.
3.Move to the location where youve saved your contacts file and upload it.
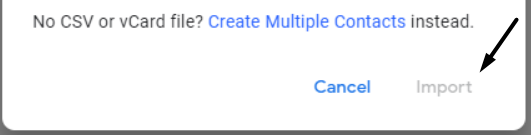
4.Once the file is uploaded, click theImportbutton on the prompt and upload your contacts.
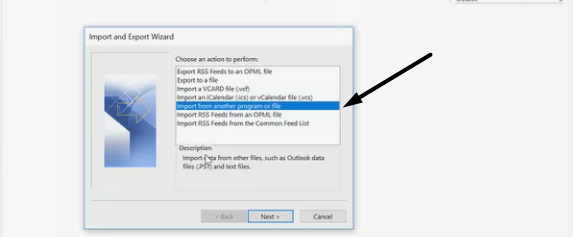
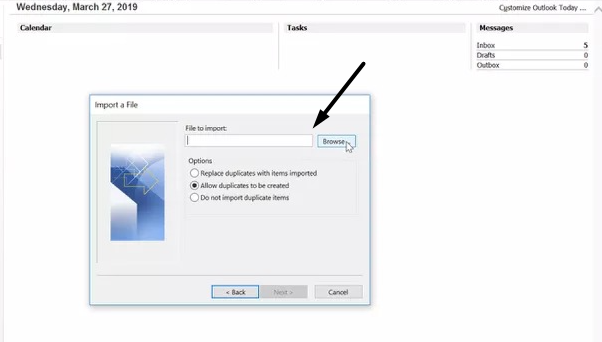
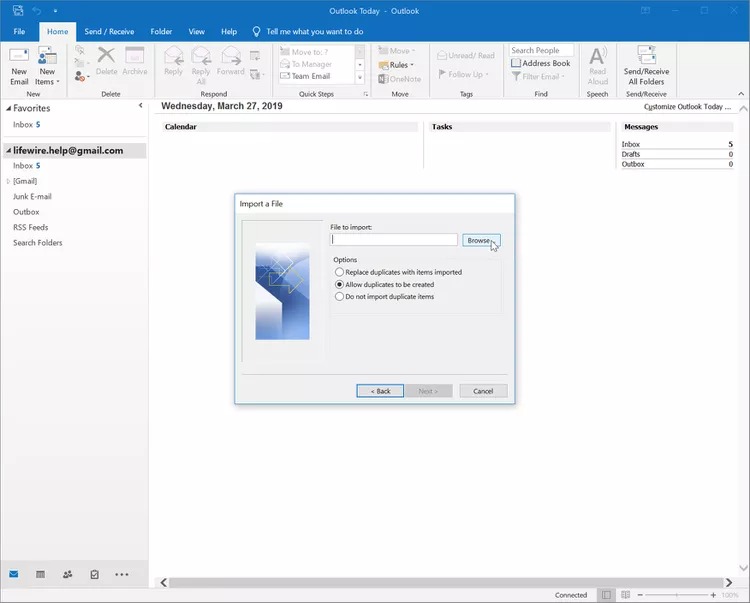
3.Choose theImport from another program or fileoption on theImport and Export Wizardprompt.
4.Press theNext >button using the arrow at the bottom and selectComma Separated Values.
5.Click theNext >button,thenclick onBrowse,and select your CSV file containing all your contacts.
6.Once done, select theAllow duplicates to be createdradio button and click onNext >.

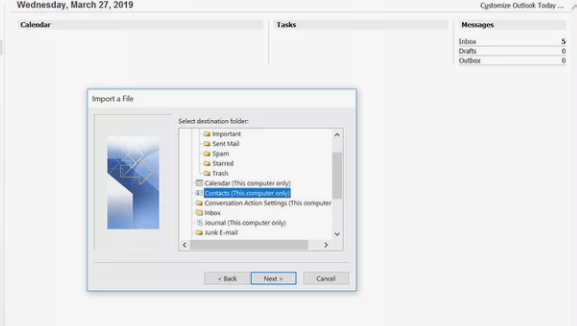
7.snag the Outlook folder in which you want to import all your contacts on theImport a fileprompt.
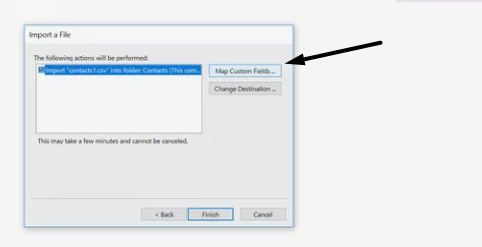
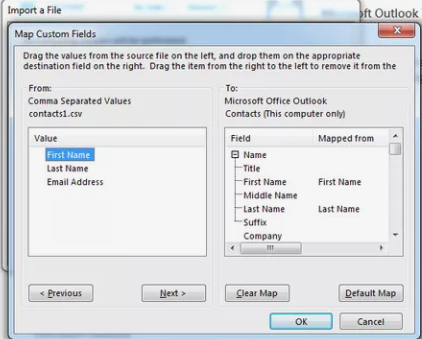
8.select theNext >button, then click theMap Custom Fields…button.
9.Press theFinishbutton and select all the columns that you wish to add to your Outlook accounts address book.

10.Once done, choose theOKbutton at the bottom, and then clickFinishto terminate the current prompt.
If youre a Yahoo!
Mail user, follow the below-listed steps to import your email contacts into it:
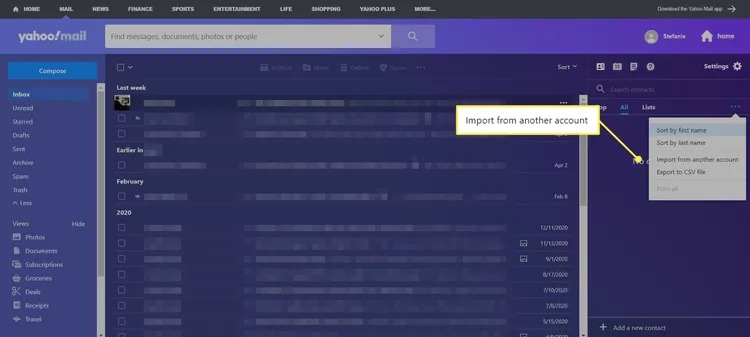
1.OpenYahoo!
Mailon your system and hit theContactsicon in the upper right corner of the tab.
2.Click onthree horizontal dots (…)and choose theImport from another accountoption from the menu.
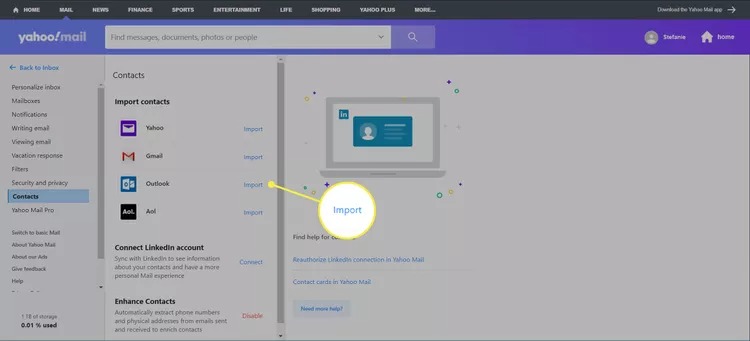
3.Click theImportbutton next to your old email client and drop your login credentials to move ahead.
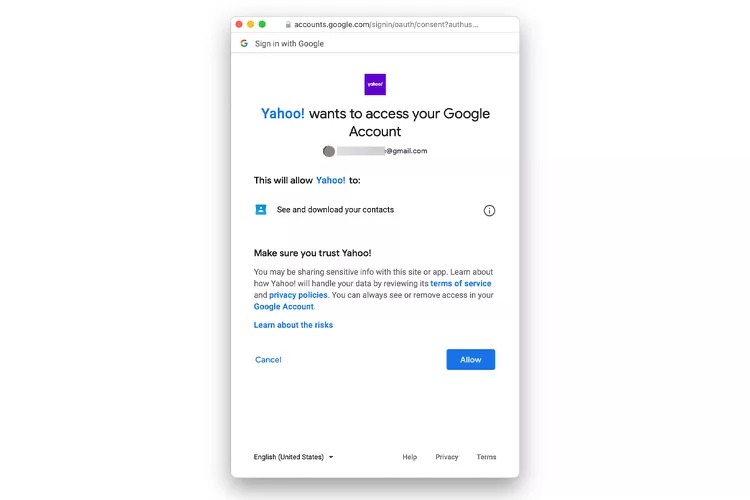
4.Press theAllowbutton using the cursor on theSign in with Googleprompt.
Mail will now automatically import all your contacts from the selected email account.
We wont suggest you email everyone in your address book, as it could be time-consuming.
Youve already created an auto-reply on your old email address for the remaining people.
FAQs
How Do I Change My Gmail Email Address Without Losing Everything?
How Do I Transfer My Old Emails to My New Email?
How Do I Rename My Email Address?
You cant rename your email address.
Instead of this, you could create a new address with the name you want.
Can I Rename My Gmail Id?
you’re free to rename your Gmail ID.
To do so, you better go to thePersonal infosection of your Google accounts dashboard.
Can I Transfer All My Emails From One Gmail Account to Another?
you’re free to transfer your emails from one Gmail account to another using the Import/Export function.
Youre Good To Go
Was it difficult to change your email address without losing emails?

Our main aim in creating this guide was to make this entire process much smoother and easier.
And we hope this guide reached that purpose and helped you do so without screwing up anything.
Before saying goodbye, verify to share your experience with this in-depth guide.